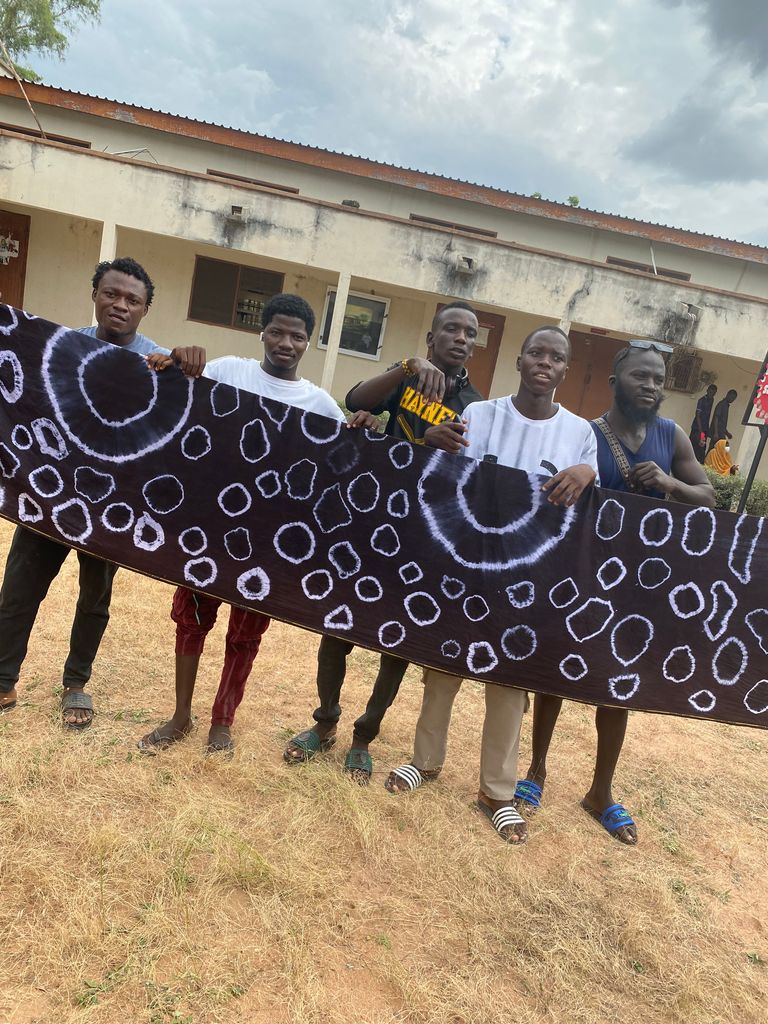
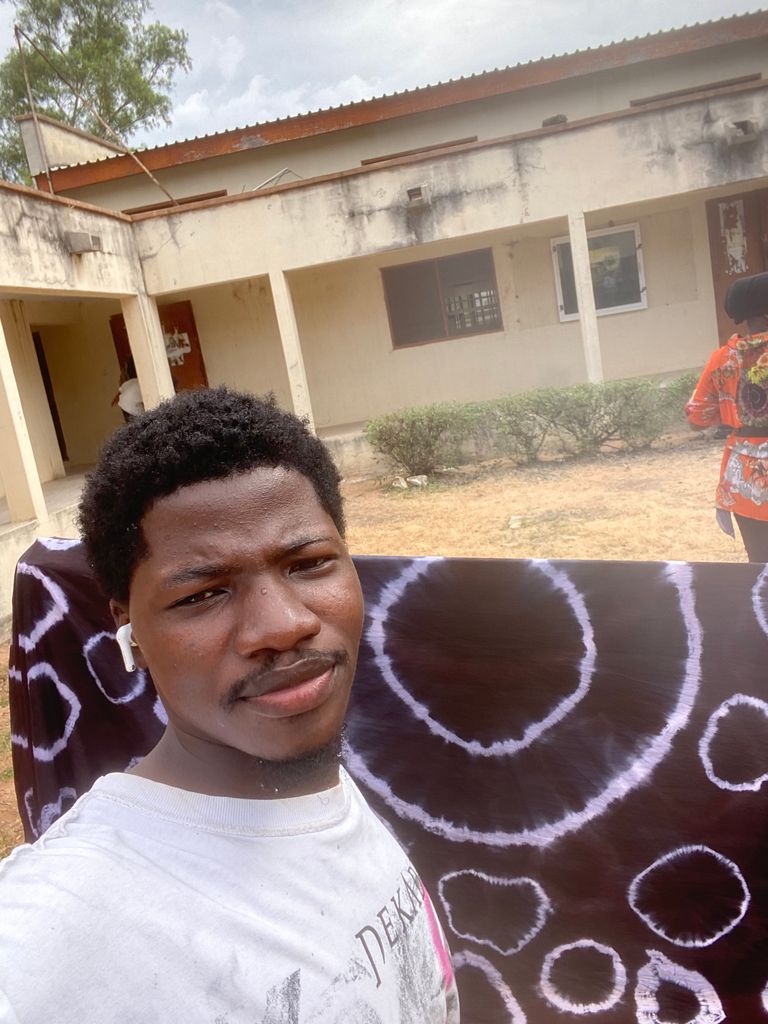
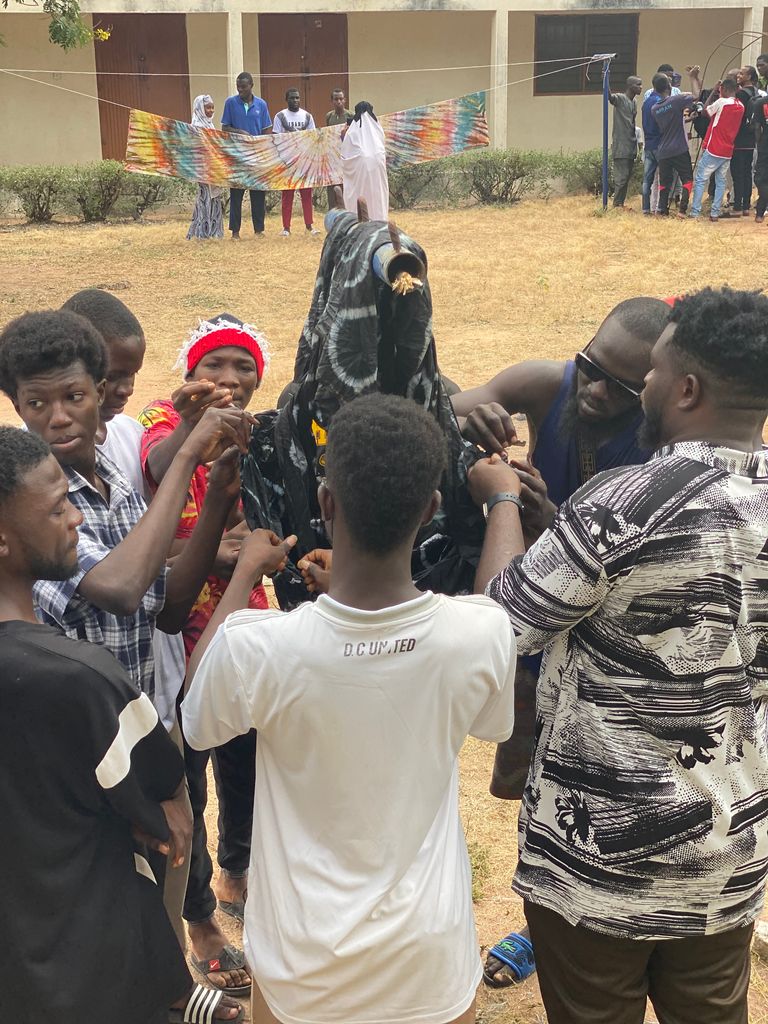
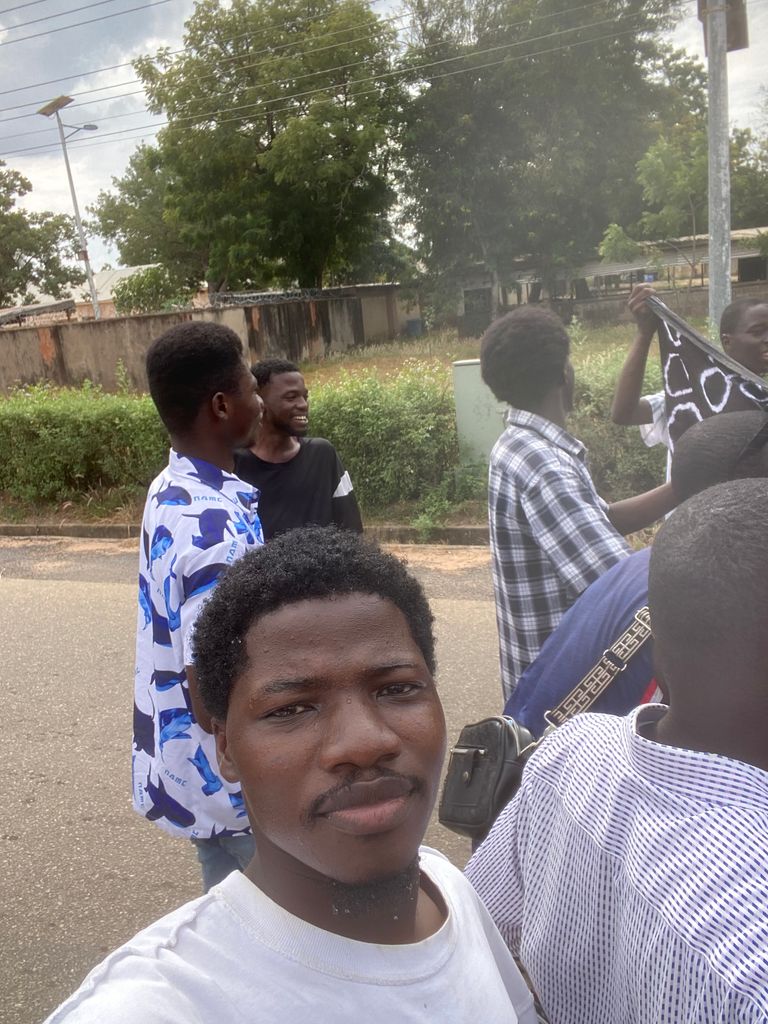
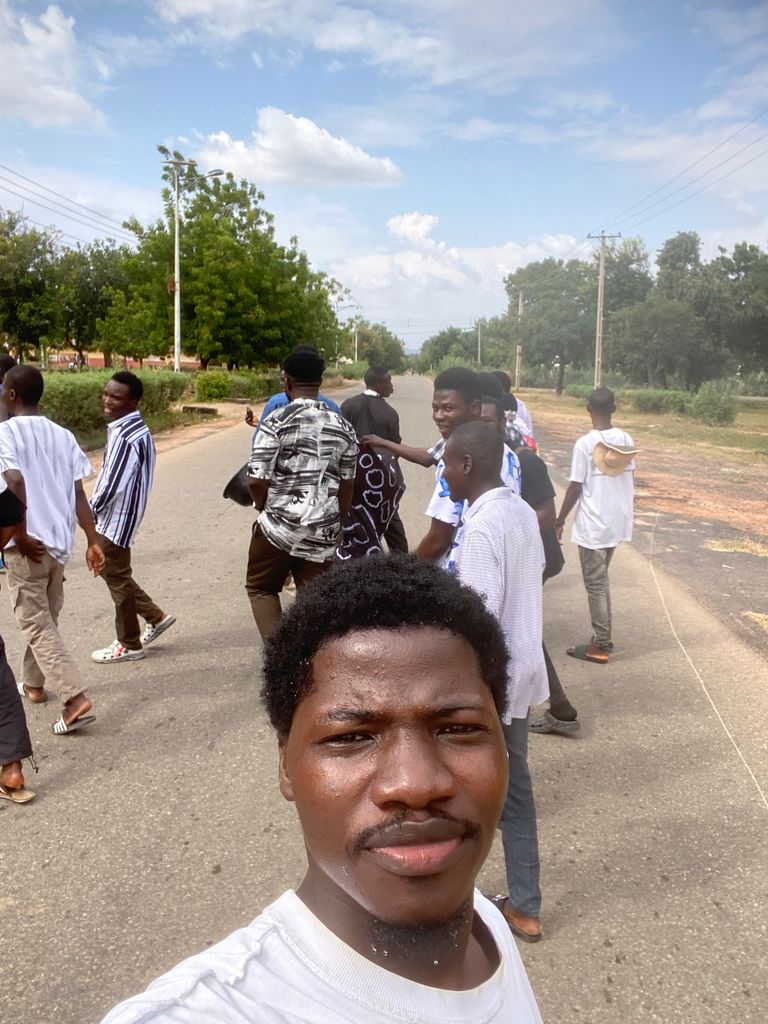
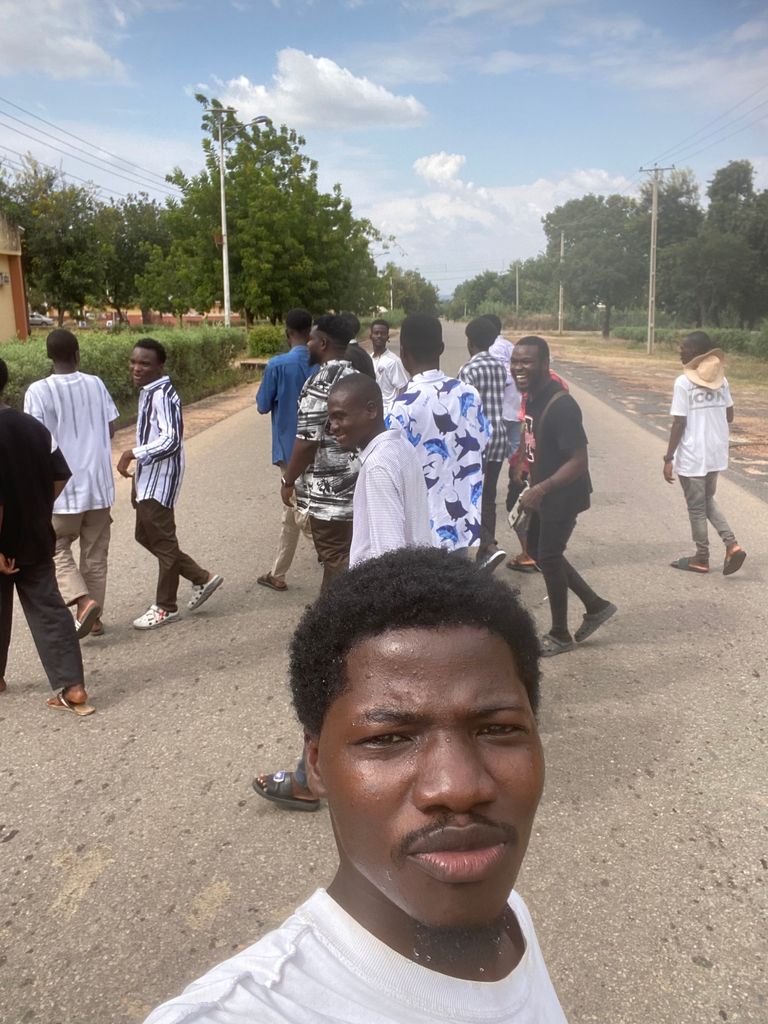
Hello everyone so we the students of faculty of physical sciences had our own practical on GST 304 on Tie and Dye, we this all this works today been Saturday we started 7 o clock in the morning and ended 3Pm it’s was such a funny, interesting and loving moment we all had fun in partaking in all the procedures of tie and dyeing, from the tie, mixing of dye, soaking of the tie fabric in the dye solution to the washing and drying of it. The above picture was the lovely outcome of our job from my own personal group members, as you can see above we the group members took pictures with our own personal work! Below are more details on tie and dye, take a little bit of your time and read through the content.
Tie-dyeing typically involves folding, twisting, or tying the fabric with strings or rubber bands to create different patterns and then applying various colored dyes. The fabric absorbs the dye in the untied areas, resulting in a distinctive, multicolored design. It's a fun and versatile craft that allows for endless experimentation with colors and patterns.
Tie-dye is a popular fabric dyeing technique that involves tying or binding sections of fabric before applying colorful dyes to create unique patterns. It's a creative and vibrant way to personalize clothing and fabrics.
Steps in creating a tie dye fabrics.
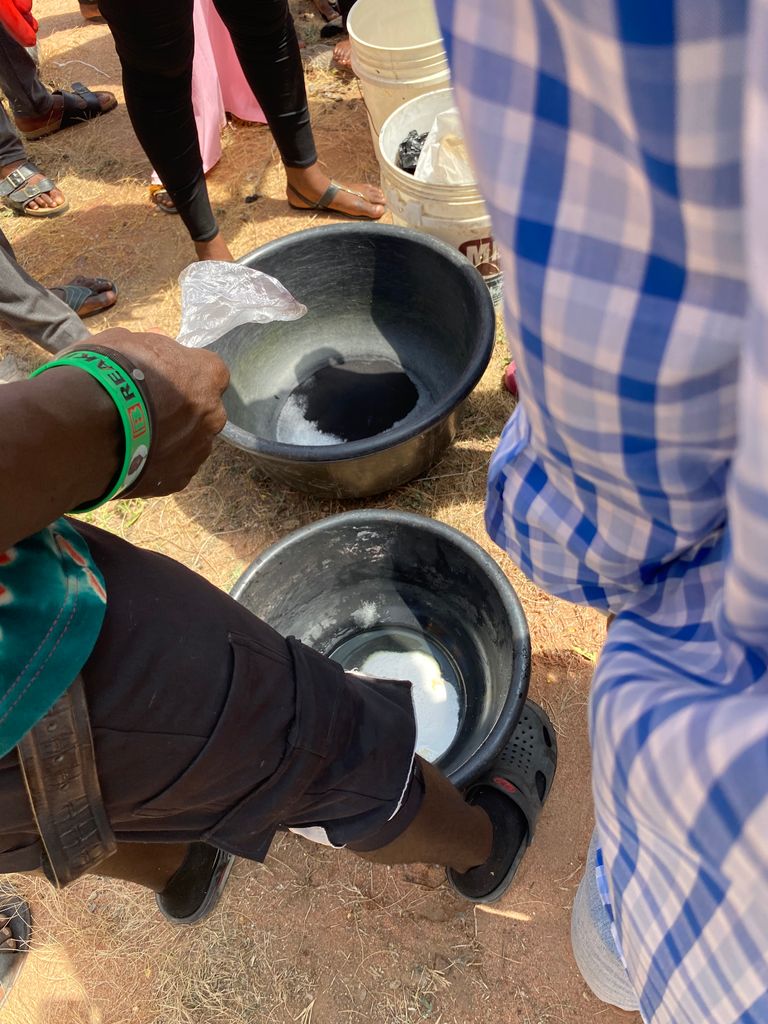
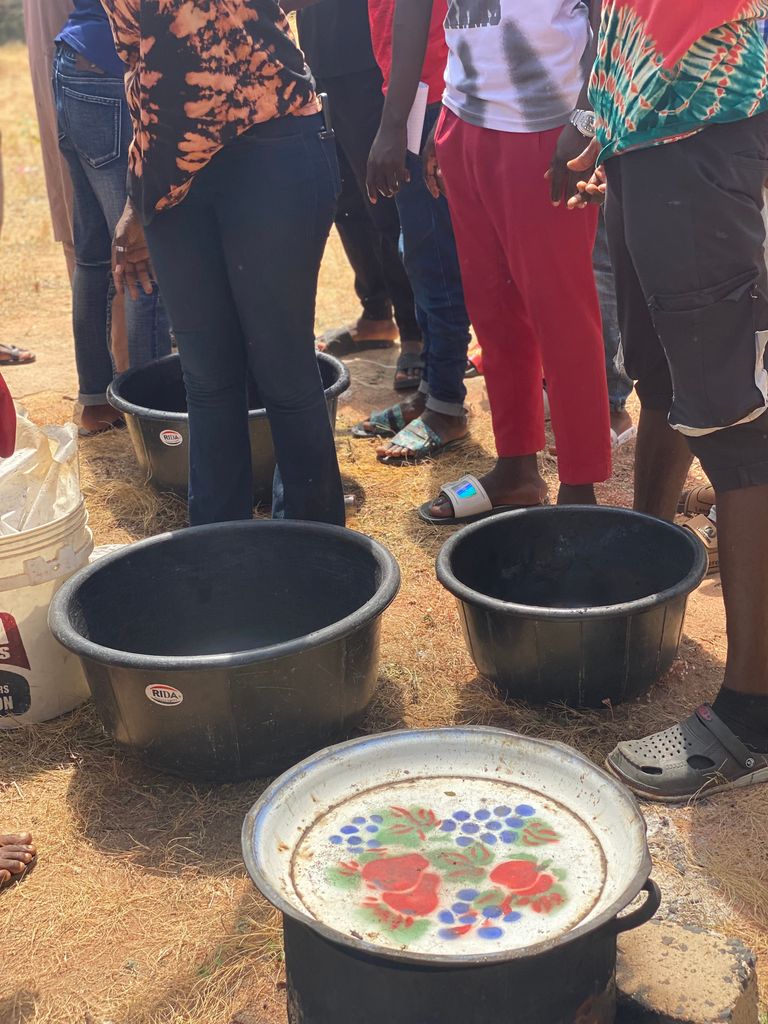
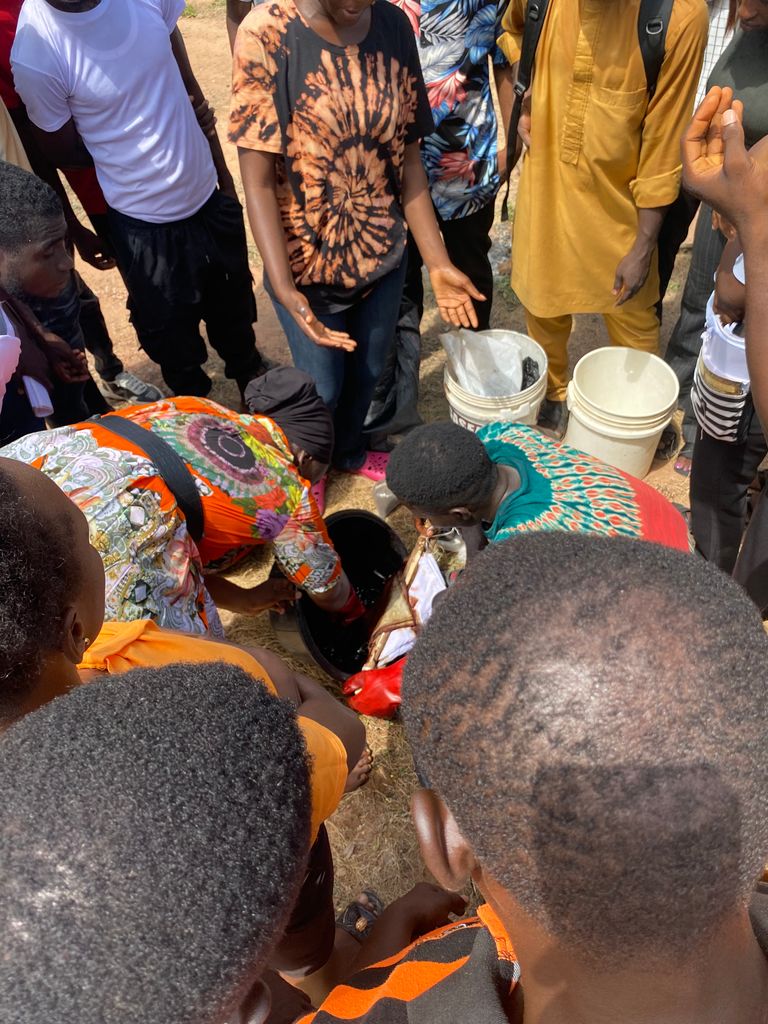
Gather your materials: You'll need plain white cotton fabric or clothing (such as a T-shirt), fabric dyes in various colors, rubber bands, plastic squeeze bottles, plastic gloves, and a plastic cover for your work area.
Prepare your work area:Cover your work surface with plastic or old newspapers to protect it from dye splatters.
Prepare the fabric:Wash and dry the fabric to remove any sizing or residues. It should be damp but not soaking wet when you start.
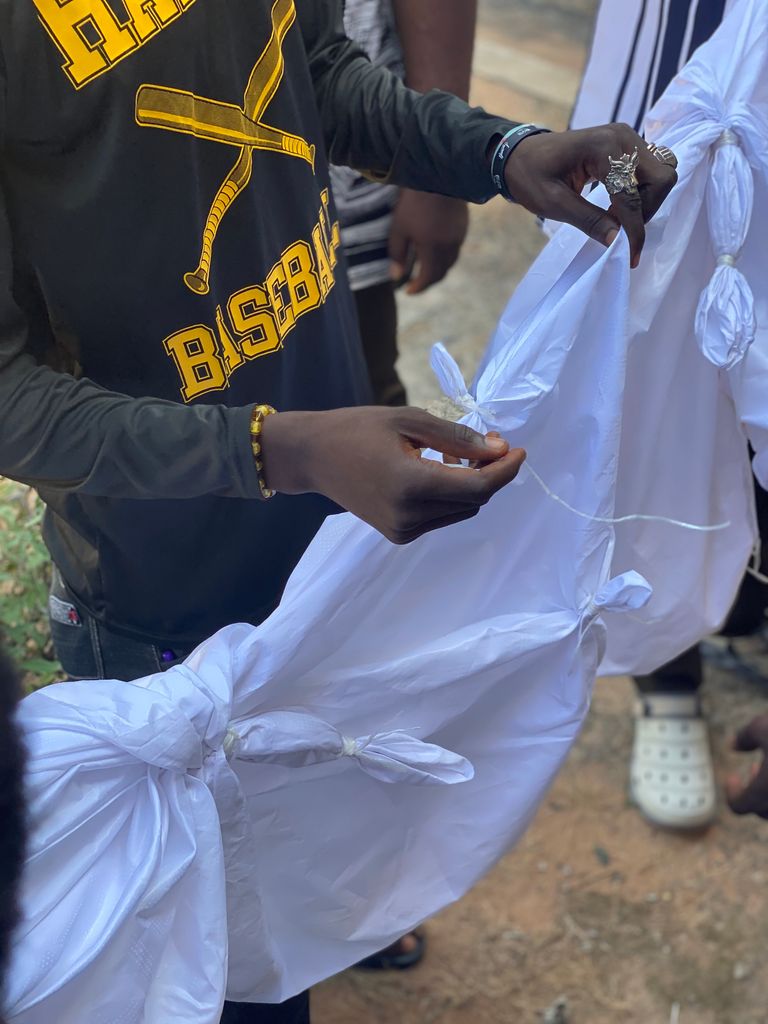
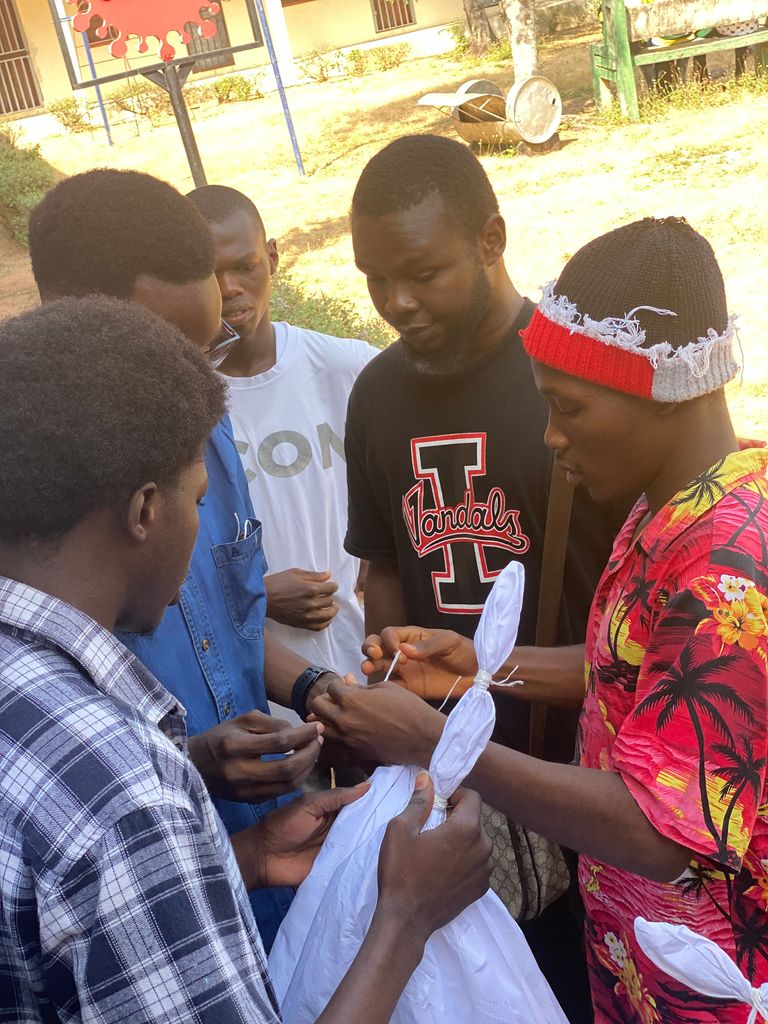
Create your design:
Fold or twist the fabric in different ways to achieve the desired pattern.
Use rubber bands to secure the fabric. The tighter you bind it, the more white space will remain.
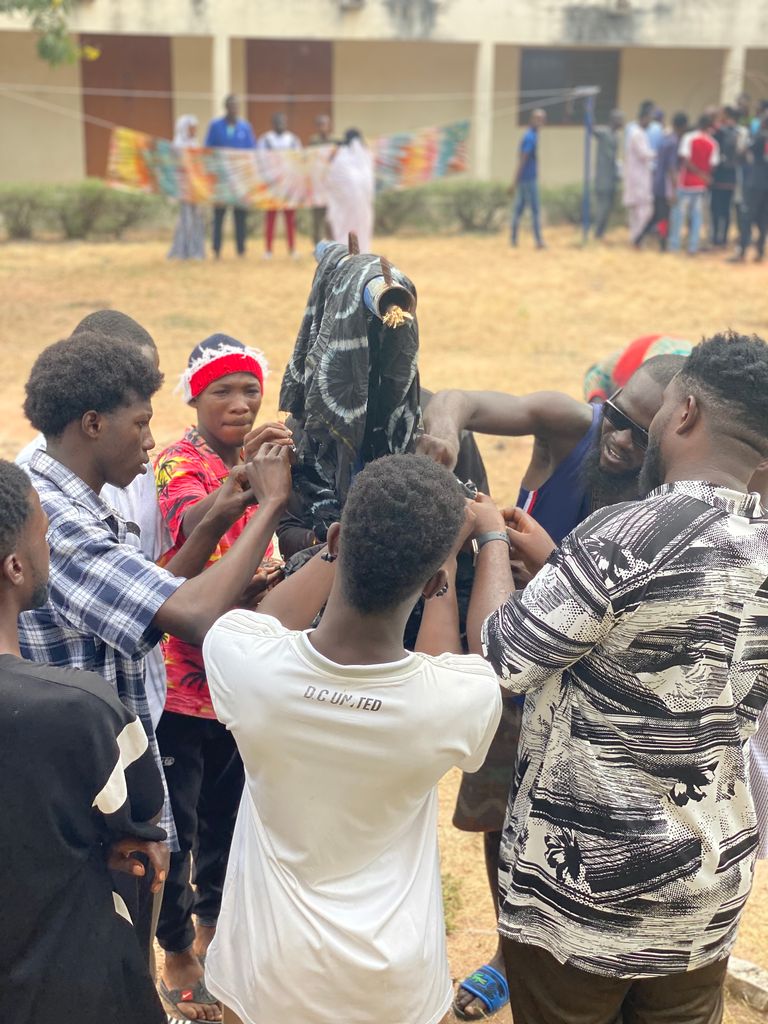
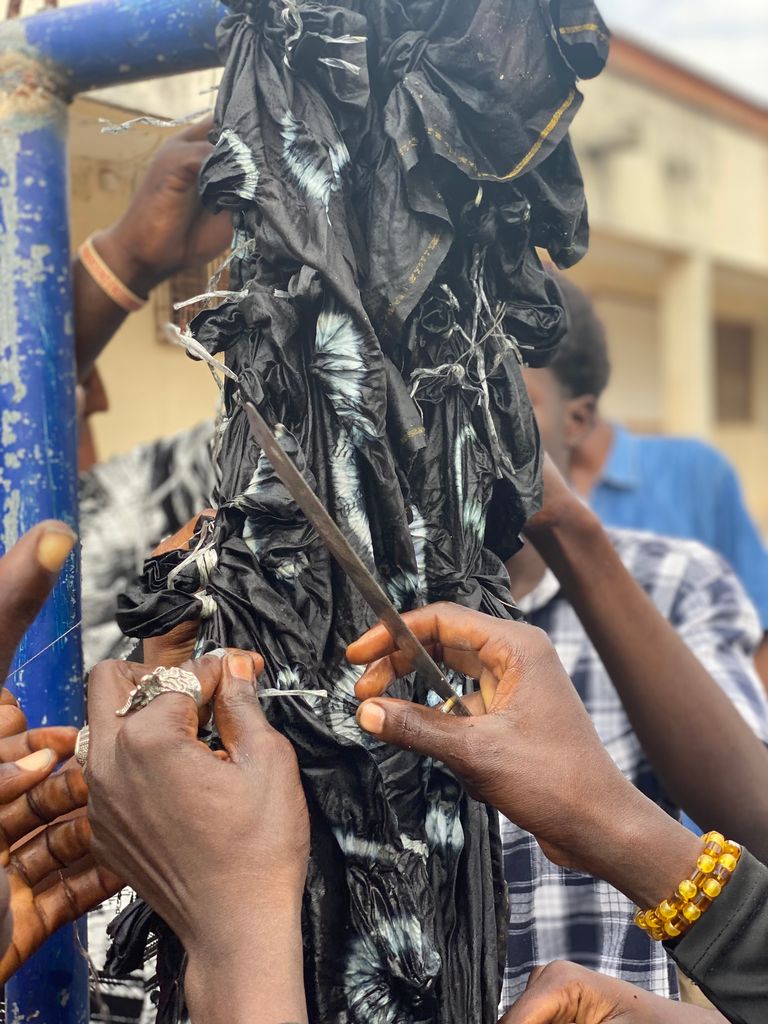
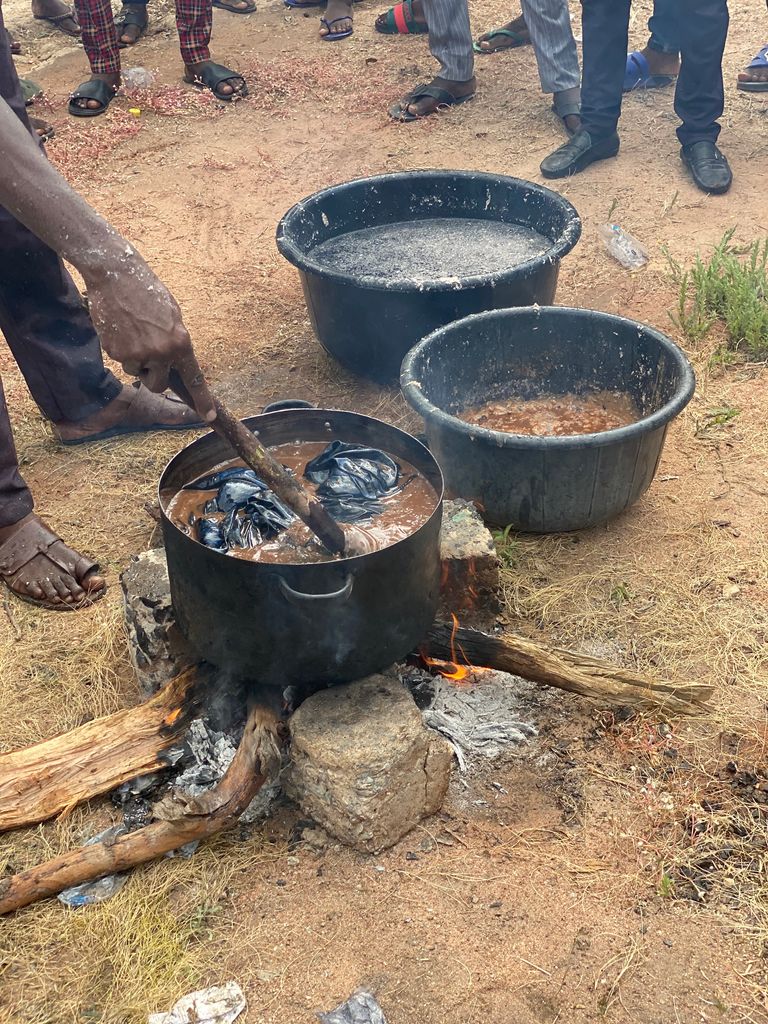
Mix the dyes:Follow the instructions on the dye packaging to mix your chosen colors. You can create custom colors by mixing primary dyes.
Apply the dye:Use the squeeze bottles to apply the dye to the fabric. Be creative and use different colors for each section. Make sure to saturate the fabric well.
Let it set: Place the dyed fabric in a plastic bag or wrap it in plastic wrap to keep it moist. Allow it to set for 6-8 hours or as indicated on the dye package.
Rinse and wash: After the setting time, rinse the fabric under cold water until the water runs clear. Then, remove the rubber bands and rinse again. Finally, wash the fabric in cold water with a mild detergent.
Dry the fabric: Hang or lay the fabric flat to dry. Avoid exposing it to direct sunlight until it's completely dry.
Thank you for stopping by my post today, I hope you enjoy my content please drop a comment below and state how useful this content was to you. Thank you for your time

This is a lovely content, keep it up bro 👍