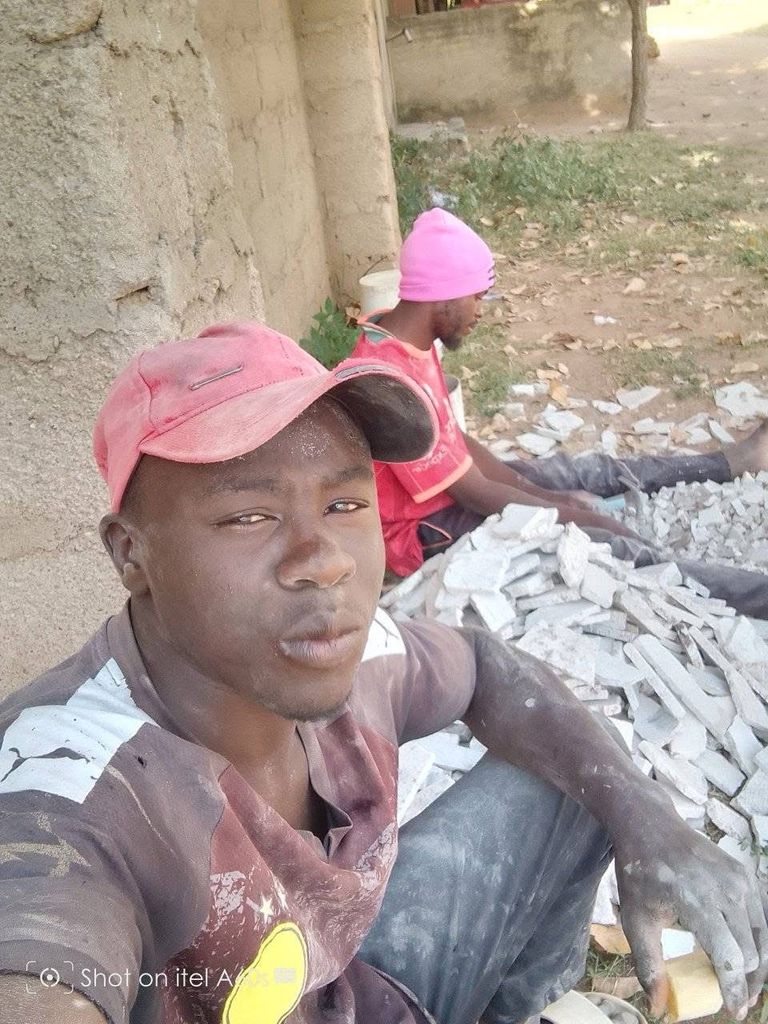
Screeding and plastering are two essential steps in the construction process, particularly when it comes to creating a smooth and even surface for walls and floors.
Screeding:
Screeding is the process of applying a layer of material, usually a mixture of cement, sand, and water, to a surface to create a smooth and even base. This layer is called a screed. The purpose of screeding is to:
- Create a level surface: Screeding helps to ensure that the surface is level and even, which is essential for laying flooring materials like tiles, carpet, or hardwood.
- Provide a strong base: A screed provides a strong and stable base for the flooring material, which helps to prevent cracking and unevenness.
- Improve drainage: Screeding can help to improve drainage by creating a slope or fall in the surface, which allows water to run off easily.
Plastering:
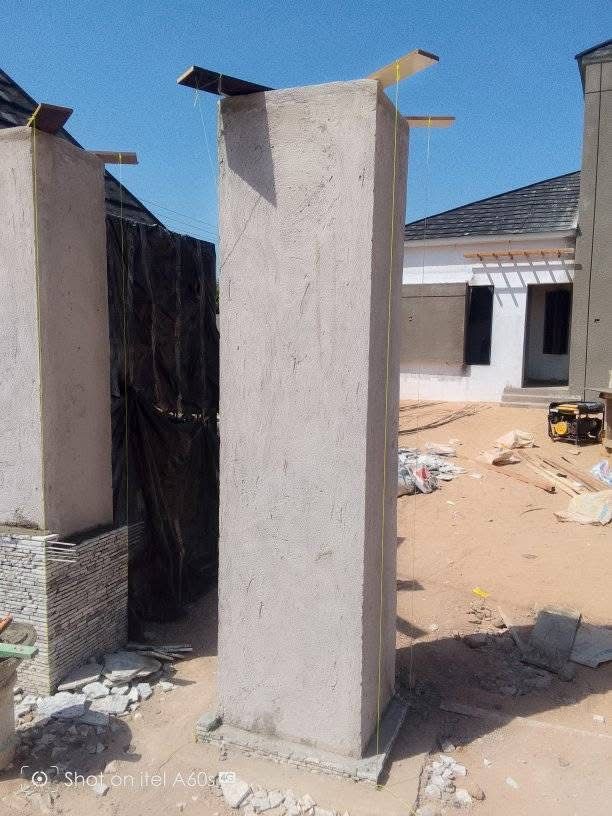
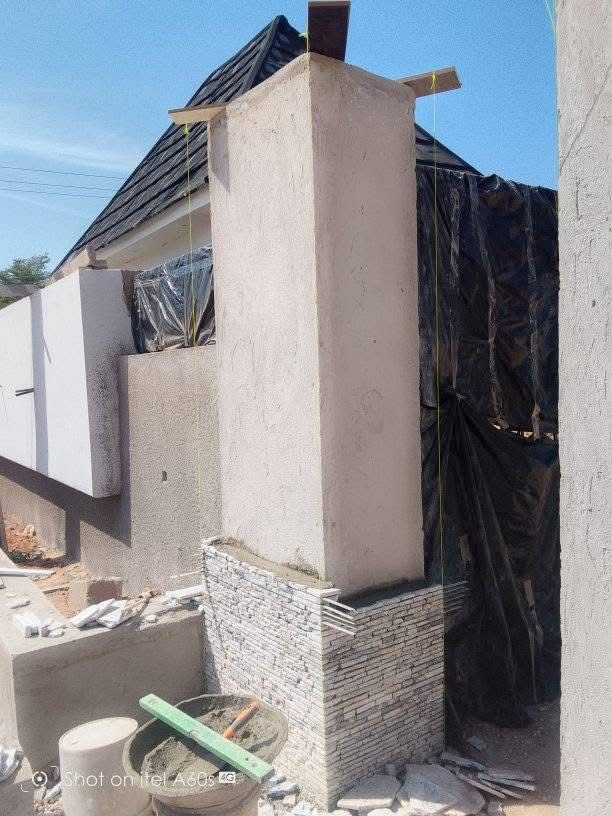
Plastering is the process of applying a layer of plaster to a wall or ceiling to create a smooth and even surface. Plaster is a mixture of cement, sand, and water, and it is applied to the surface using a trowel or brush. The purpose of plastering is to:
- Create a smooth surface: Plastering helps to create a smooth and even surface, which is essential for painting or decorating.
- Cover imperfections: Plaster can be used to cover imperfections in the surface, such as cracks or holes.
- Provide insulation: Plaster can help to provide insulation by filling gaps and cracks in the surface, which can help to reduce heat loss and improve energy efficiency.
Types of Screeds:
There are several types of screeds, including:
- Cement screed: A mixture of cement, sand, and water.
- Anhydrite screed: A mixture of anhydrite, sand, and water.
- Latex screed: A mixture of latex, cement, and water.
Types of Plaster:
There are several types of plaster, including:
- Cement plaster: A mixture of cement, sand, and water.
- Gypsum plaster: A mixture of gypsum, sand, and water.
- Lime plaster: A mixture of lime, sand, and water.
Tools and Equipment:
Some of the common tools and equipment used for screeding and plastering include:
- Trowels: Used to apply and smooth out the screed or plaster.
- Brushes: Used to apply plaster to small areas or to create a textured finish.
- Floats: Used to smooth out the screed or plaster and create a even surface.
- Mixing buckets: Used to mix the screed or plaster mixture.
- Pumps: Used to apply the screed or plaster mixture to the surface.
Tips and Best Practices:
Some tips and best practices for screeding and plastering include:
- Ensure the surface is clean and dry before applying the screed or plaster.
- Use the right mixture and ratio of ingredients to achieve the desired consistency and strength.
- Apply the screed or plaster in thin layers, allowing each layer to dry before applying the next.
- Use a level and straightedge to ensure the surface is level and even.
- Allow the screed or plaster to dry completely before finishing or decorating the surface.

Building a house can be a complex and exciting process.
- Planning and Design:
- Determine your budget and requirements (e.g., number of bedrooms, square footage, location).
- Research and hire an architect or designer to create a custom plan or choose a pre-designed plan.
- Consider factors like climate, terrain, and local building codes.
- Land Acquisition:
- Find a suitable building site, considering factors like zoning, accessibility, and environmental concerns.
- Purchase the land or negotiate a lease agreement.
- Permits and Approvals:
- Obtain necessary permits and approvals from local authorities, such as building permits, zoning permits, and environmental permits.
- Ensure compliance with local building codes, regulations, and ordinances.
- Site Preparation:
- Clear the land, removing any debris, trees, or obstacles.
- Grading and excavation: prepare the site for construction, including leveling and compacting the soil.
- Foundation Work:
- Excavate and pour the foundation, whether it's a slab, crawl space, or full basement.
- Lay the foundation walls, footings, and piers (if necessary).
- Framing:
- Construct the frame of the house, including the walls, roof, and floors.
- Install windows, doors, and roof trusses.
- Installation of Electrical, Plumbing, and HVAC Systems:
- Hire licensed professionals to install electrical, plumbing, and HVAC systems.
- Ensure that all systems meet local building codes and regulations.
- Insulation and Drywall:
- Install insulation in the walls, ceiling, and floors.
- Hang and finish drywall to create smooth walls and ceilings.
- Finishing Work:
- Install flooring, cabinets, countertops, and fixtures.
- Finish the interior with paint, trim, and molding.
- Exterior Finishing:
- Install siding, trim, and exterior doors.
- Finish the exterior with paint, stucco, or other materials.
- Final Inspections and Occupancy:
- Conduct final inspections to ensure that the house meets local building codes and regulations.
- Obtain a certificate of occupancy and move in!
Timeline:
The construction process can take anywhere from 3 to 12 months, depending on the size and complexity of the project. Here's a rough estimate of the timeline:
- Planning and design: 1-3 months
- Land acquisition and permits: 1-3 months
- Site preparation and foundation work: 2-4 months
- Framing and installation of systems: 2-4 months
- Insulation, drywall, and finishing work: 2-4 months
- Exterior finishing and final inspections: 1-2 months
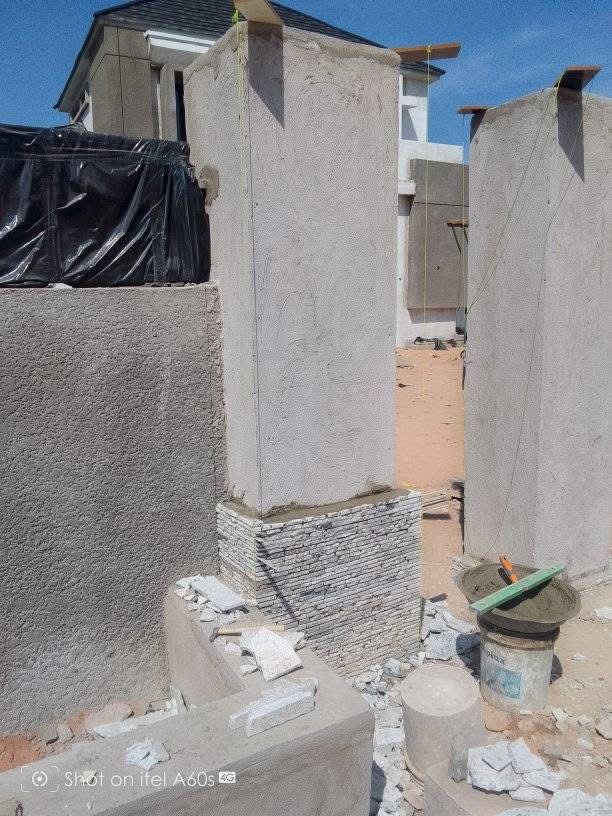
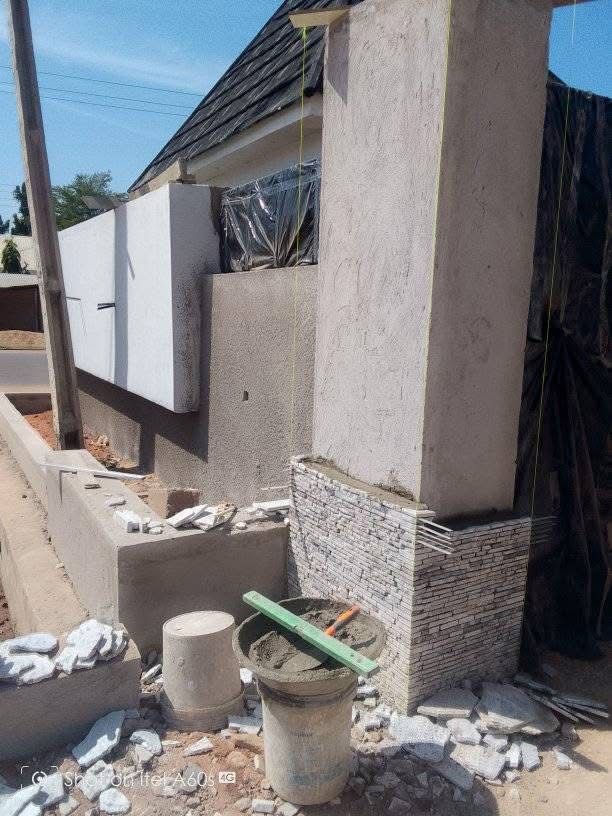
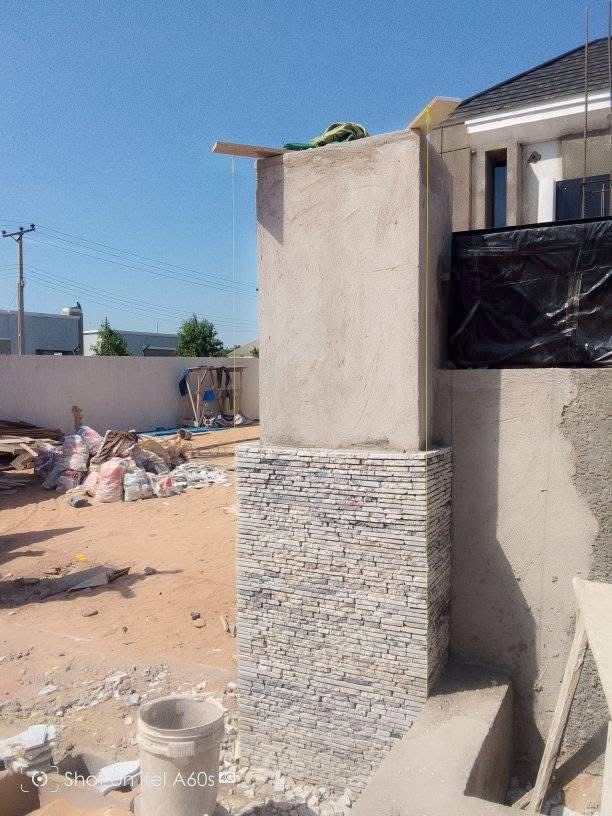
Thank you for stopping by my post today, I hope you enjoy my content please drop a comment below and state how useful this content was to you. Thank you for support
