About a month ago I made a post about the start of a repair I needed to do on my surfboard.
https://blurt.blog/diy/@leifasaur/bummer-surfboard-repair-dude-part-1-the-disaster
We left off with the last repair with a big hole int he fiberglass of the board and some of the foam went with the glass. I needed to get some resin and catalyst before I could finish the repair. I got these supplies a few weeks ago and I was waiting for the right time to get started again.
Last week the light went off and I was not able to do much work online so I took the opportunity to get started on the board again.
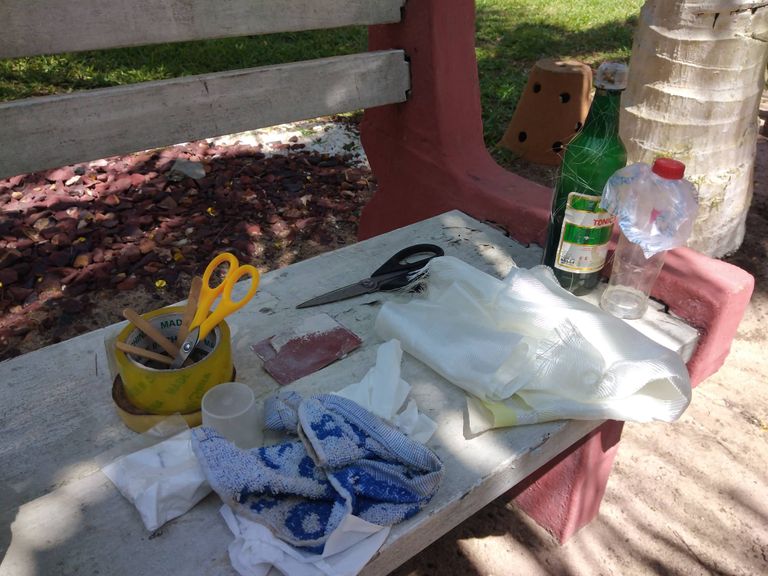
The supplies were a bit different for this fix as I needed to do some actual fiberglassing.
- Epoxy Resin (green bitters bottle)
- Hardener or catalyst, this one is different than the last one, I only need a few drops per 100 ml of epoxy. (clear bottle next to the epoxy)
- Masking tape
- Sessors
- Woven fiberglass cloth
- Measuring cup
- Stirring stick
- Paint brush would have been ideal (I didnt have one until the last steps another day)
- Something to push around the resin since I did not have a brush I used a cardboard card.
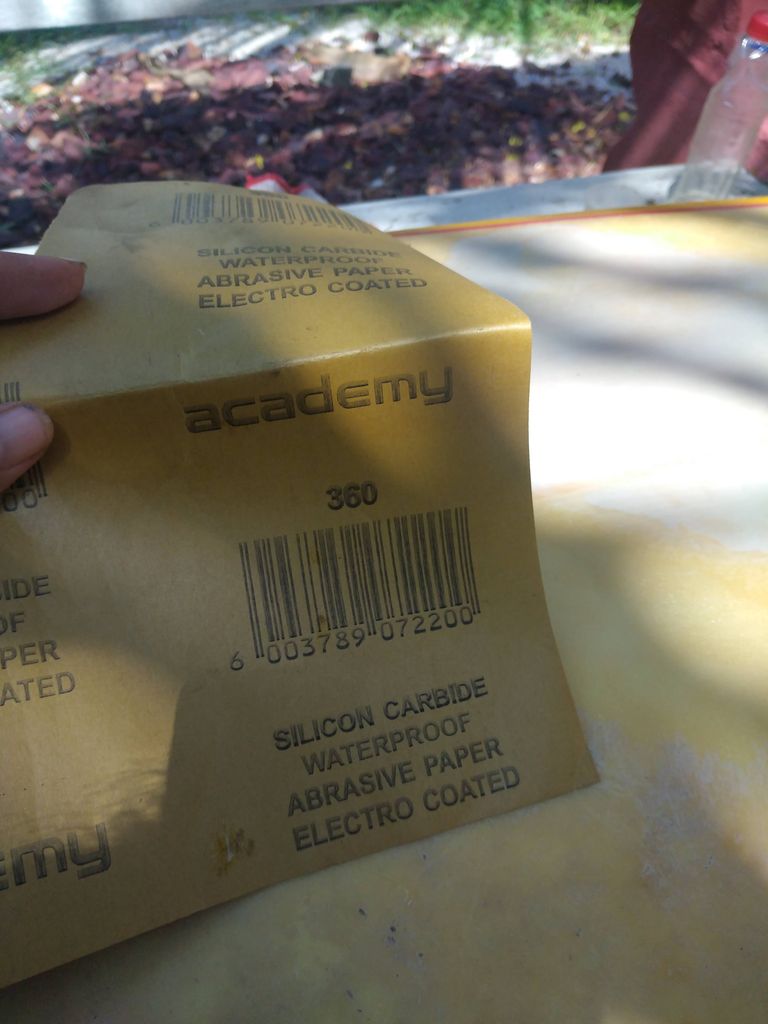
- Sand paper course to fine
- Q cell foam powder
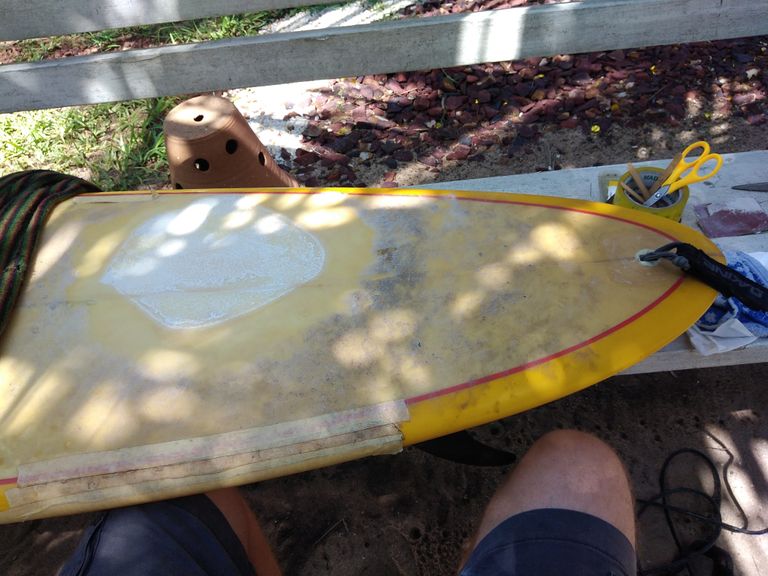
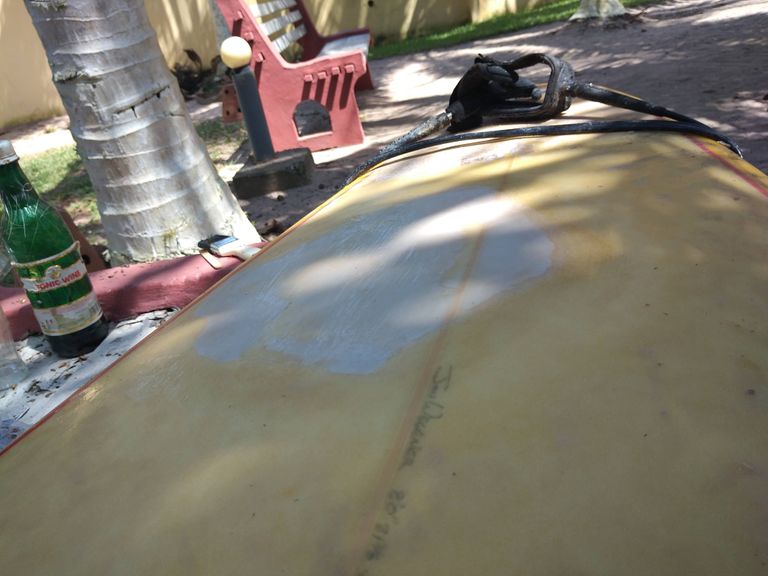
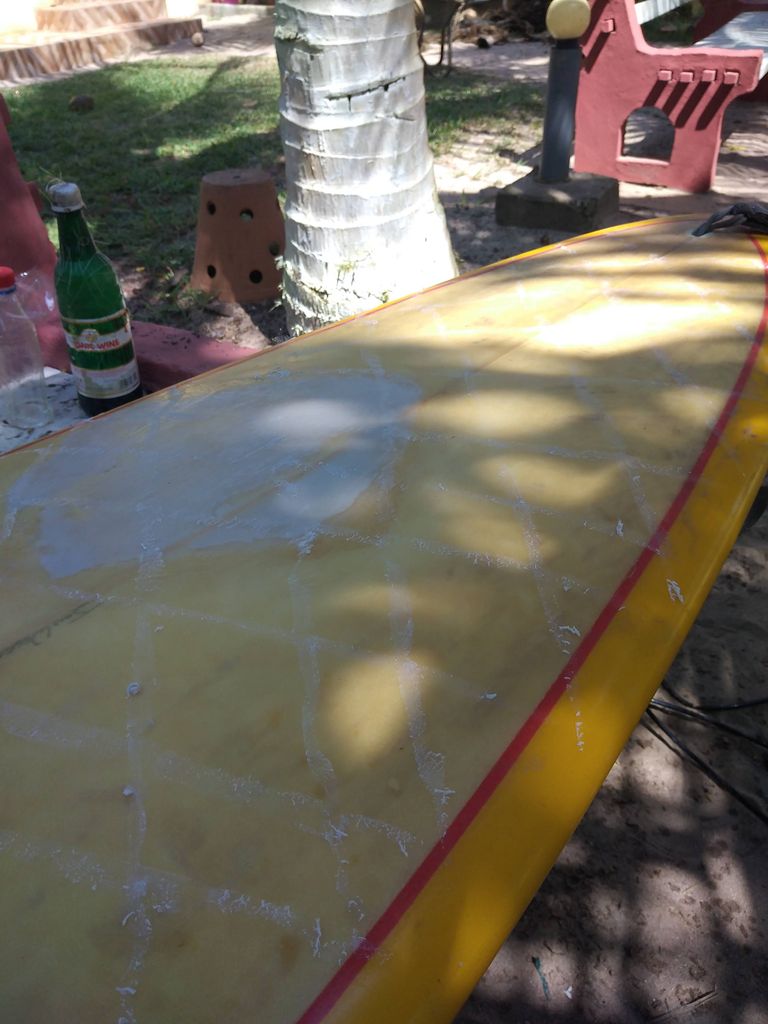
I assessed where we left off with the big fix area. I then cleaned up the wax around the area a little and made sure to mask the edges of the board again and cleaned up where I will be filling and laying the glass.
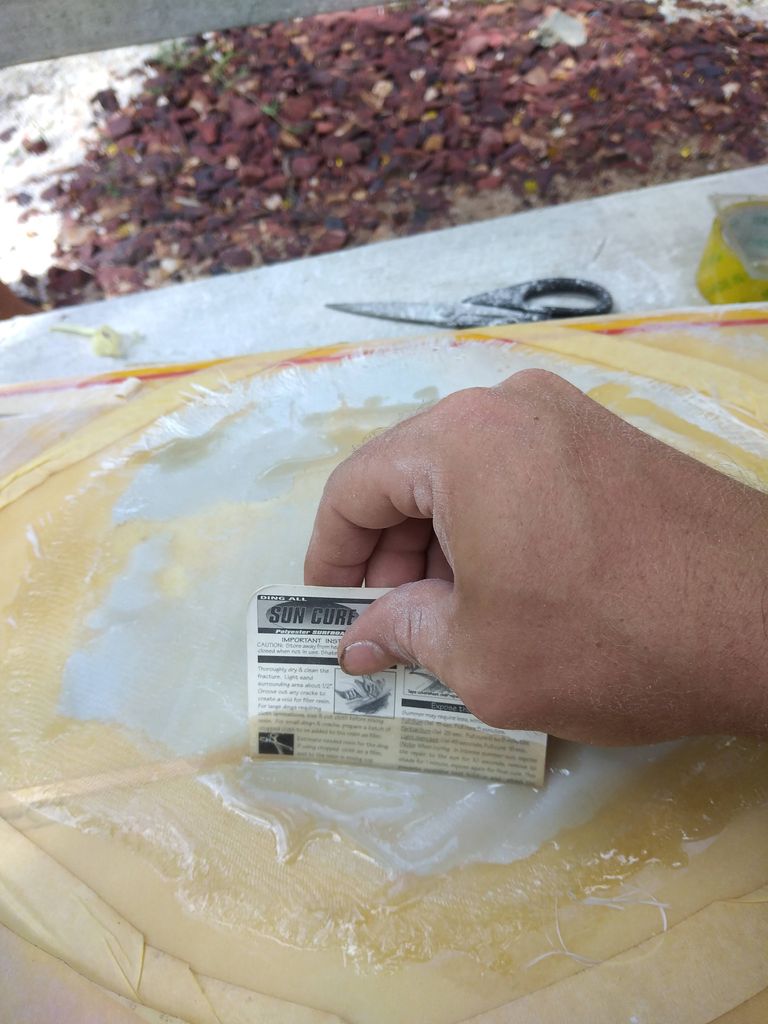
The first thing I wanted to do was to mix some epoxy and hardener and mix in some foam powder. This will thicken the epoxy and make it more light weight and easier to sand. I needed to fill the void a bit where some of the foam had been taken away by the old fiberglass and also make a nice transition all around the repair area. I mixed 100ml of resin and put about 7 drops of hardener in and mixed it well.
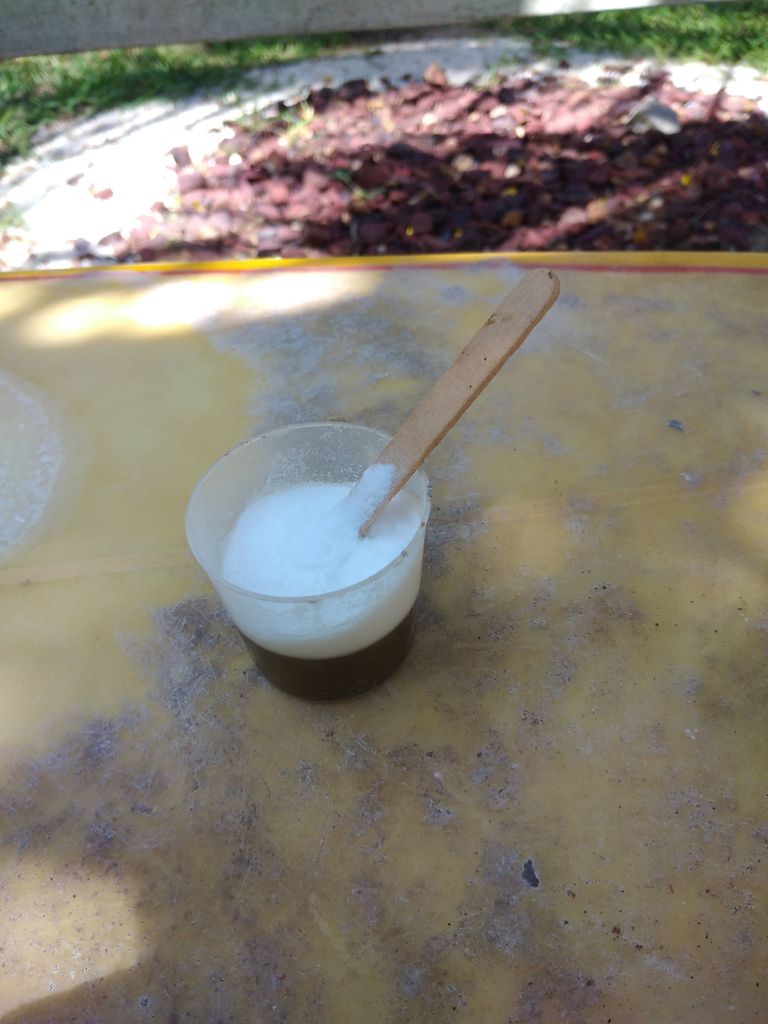
I then mixed in a lot of the Q cell foam powder stirring it well making it a homogeneous liquid.
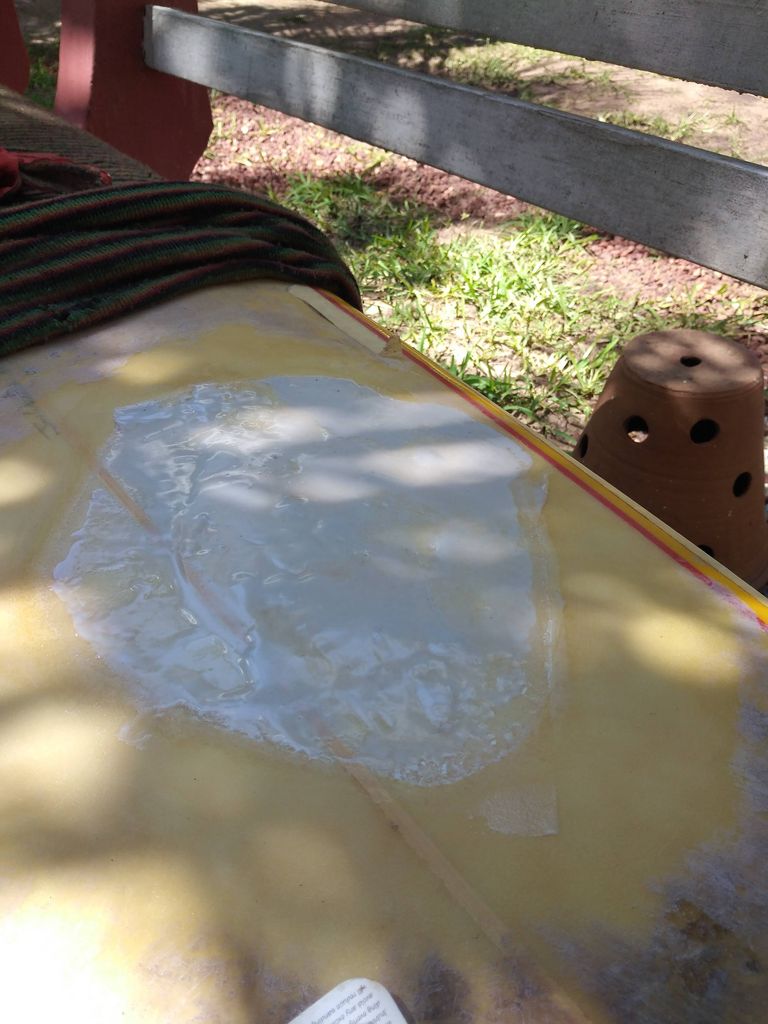
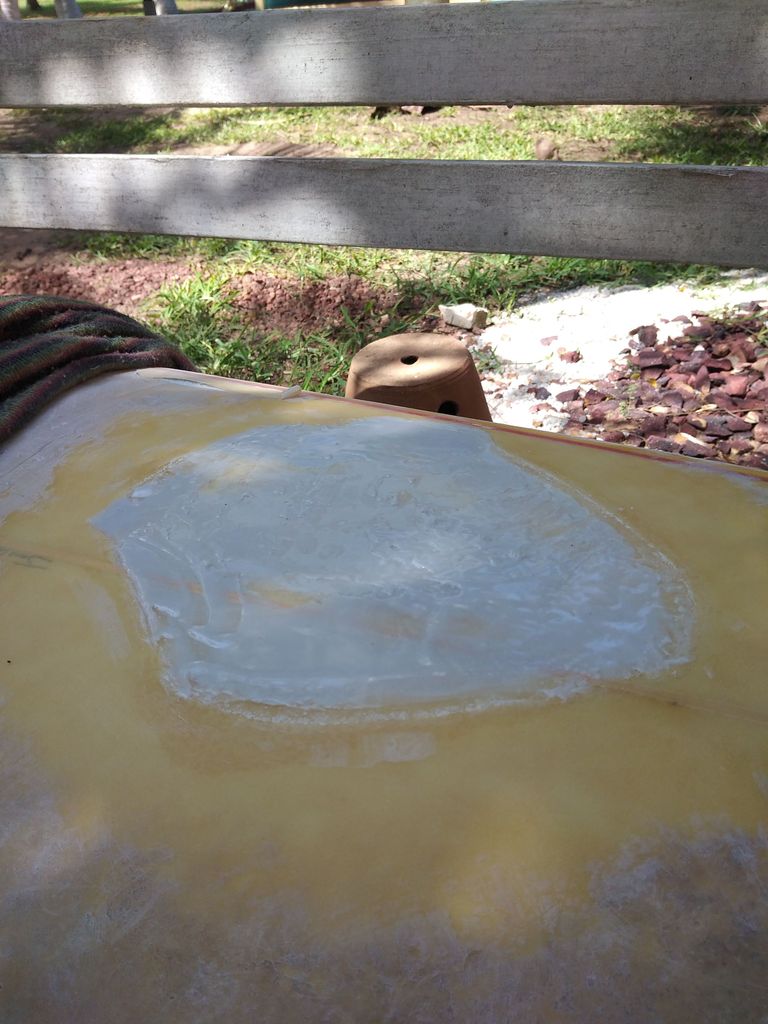
I then poured it into the hole and spread it around as much as I could trying to fill the low spots.
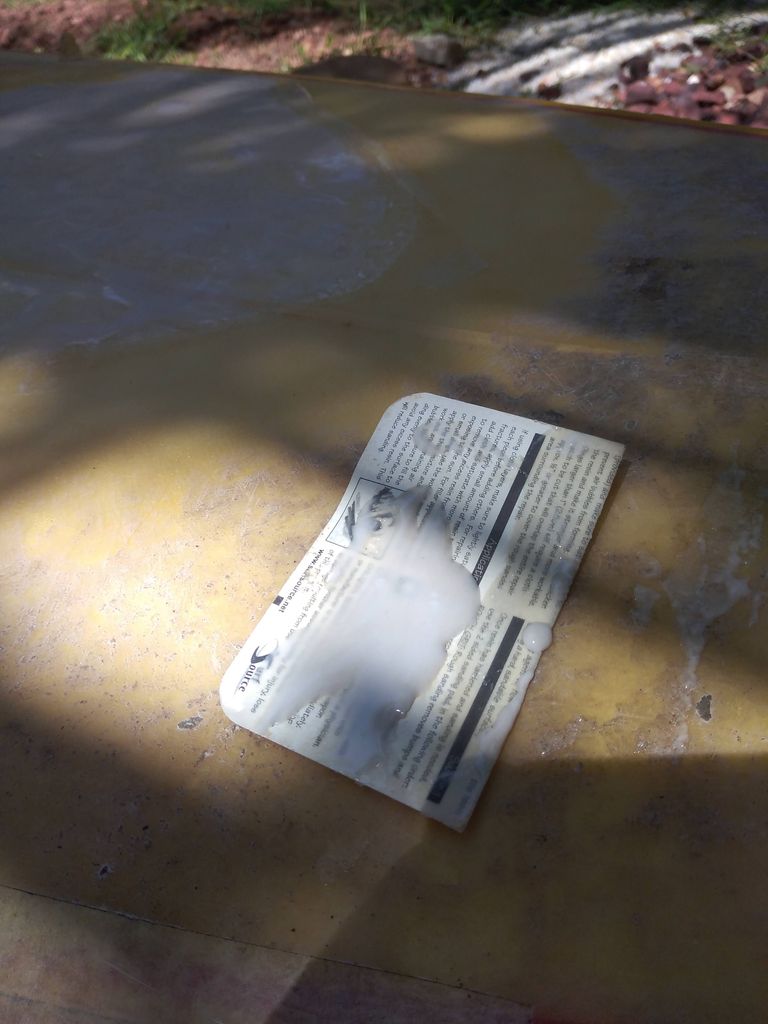
As you can see I used a cardboard card to do this.
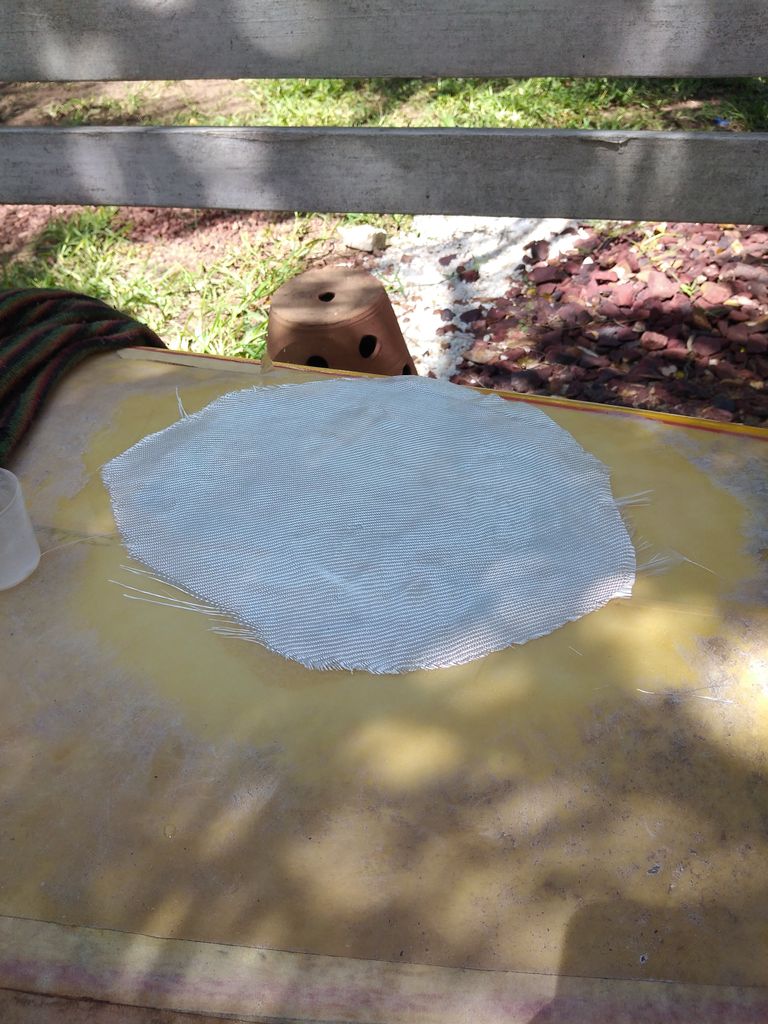
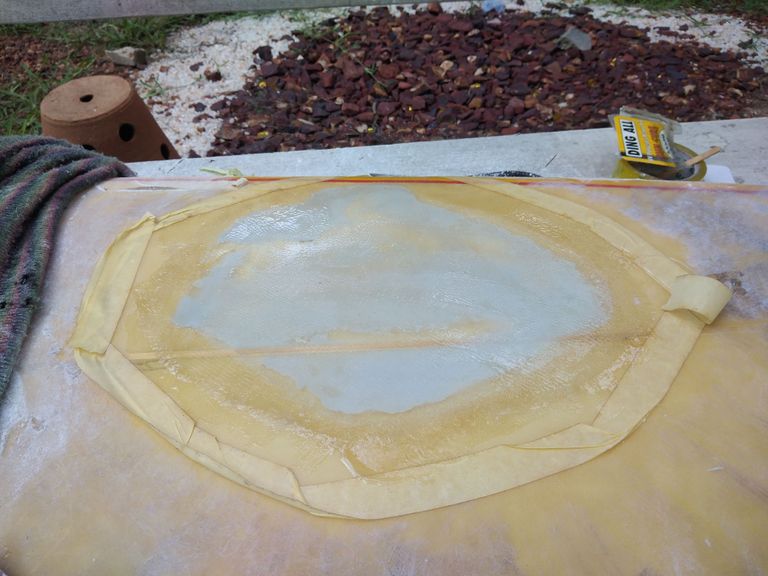
While the filler was drying after it was tacky and no longer too sticky I took this chance to start cutting out the fiberglass patch. I wanted it to overlap with the old fiberglass a little bit but not too much to avoid too much sanding and an uneven surface.
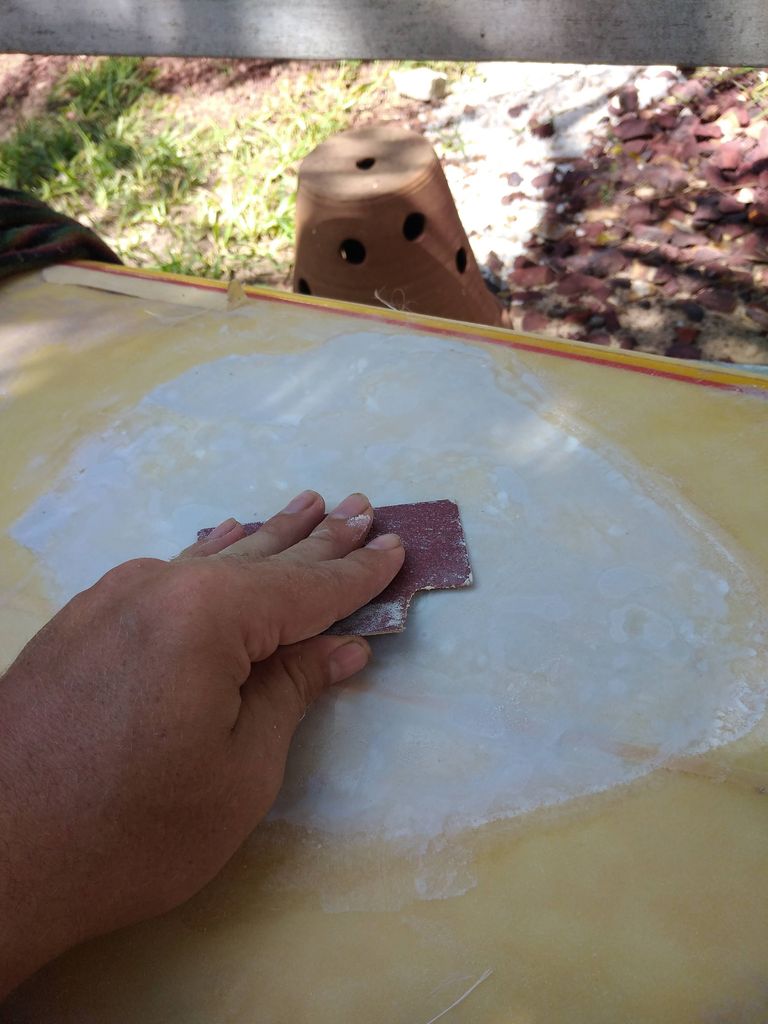
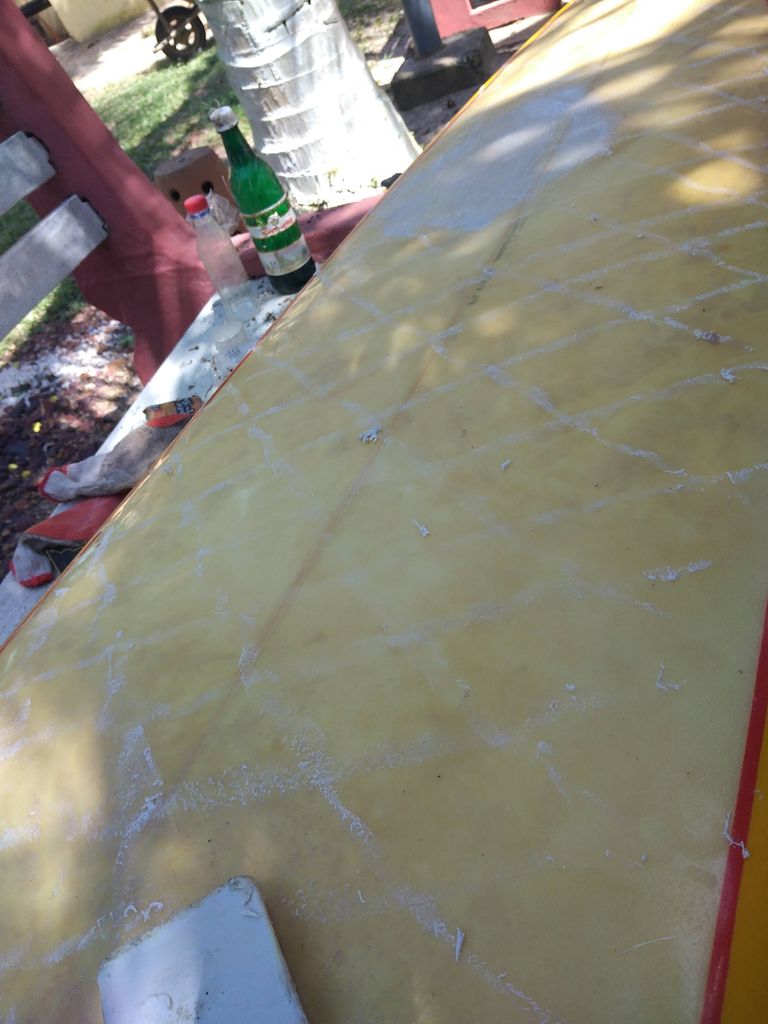
I don't know about you but this is the part that always sucks. Lots of sanding. At least this layer of sanding was pretty easy because of the use of the foam powder in the filler. I got a pretty level surface but there were still a few low spots.
So I mixed up another batch of filler and did another layer, this time finishing out those low spots and any holes.
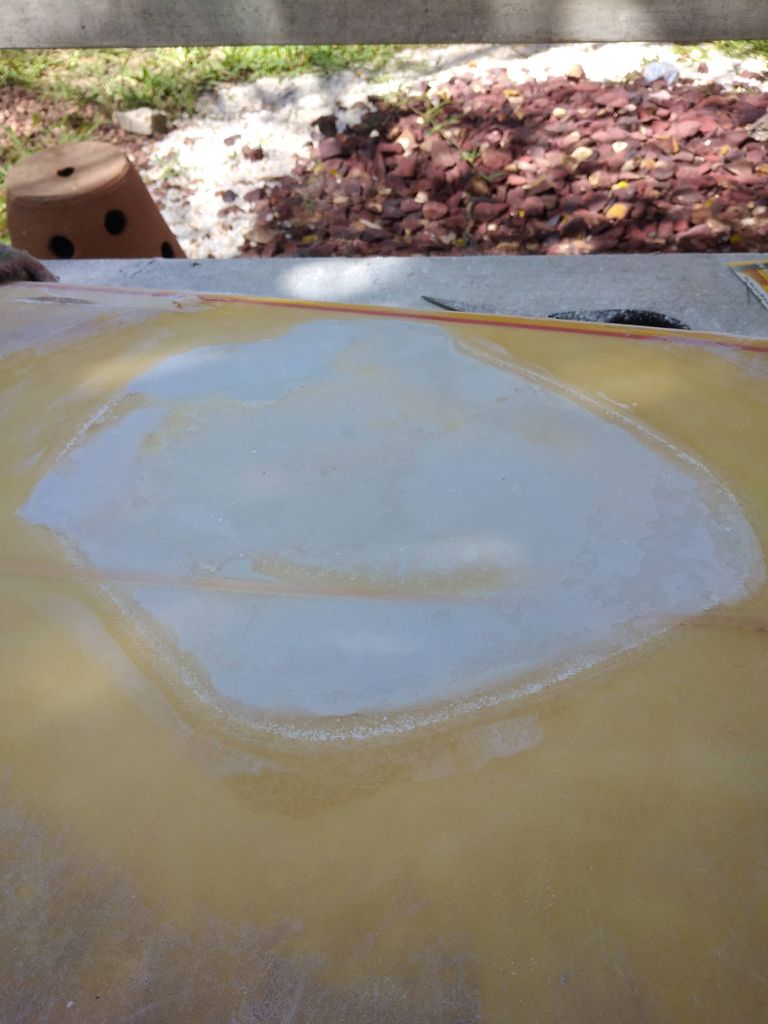
After that back to the sanding. I sanded until I had a nice even flat surface and the edges of the old glass and filler melded well together.
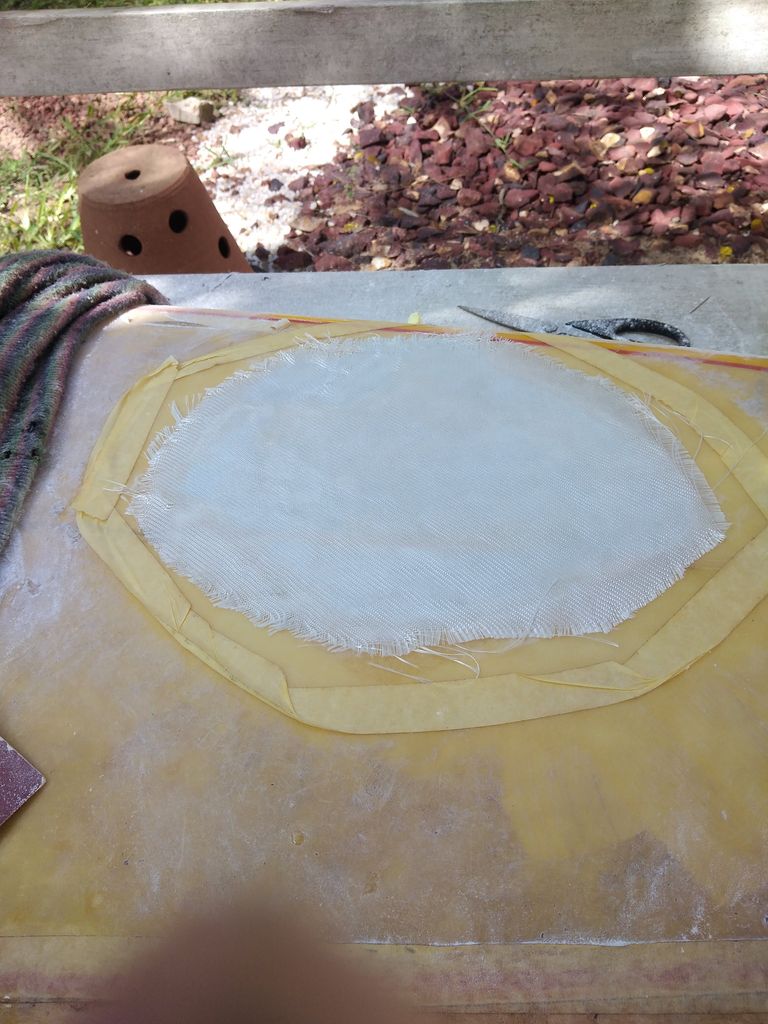
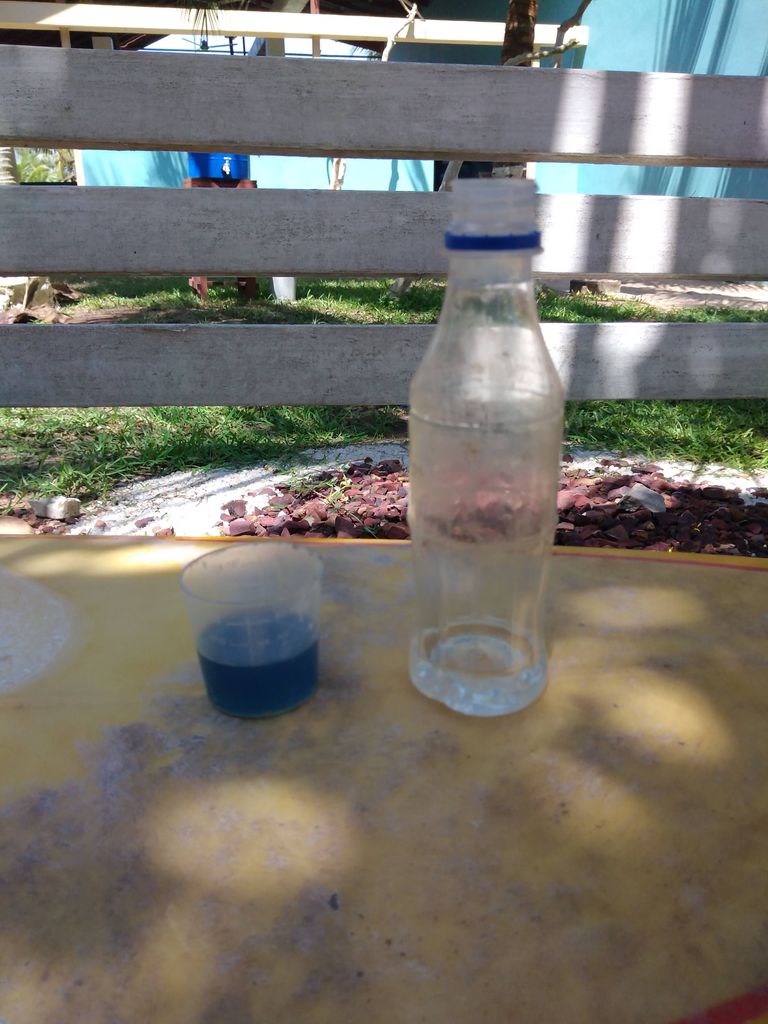
I then masked off the immediate area and placed the cloth to be ready for the resin. I mixed up about another 100ml of resin.
This time I did not add any foam to the resin, I poured it directly on the cloth and used the cardboard card to spread it around the cloth. Saturating every bit of it. Then I used the card like a squeegee to push off any extra resin. You want to remove as much as possible after the cloth is wet because it will add weight and also require more sanding.
After as much resin is removed as possible and the cloth is totally saturated it is is waiting game for the epoxy to become hard enough to sand.
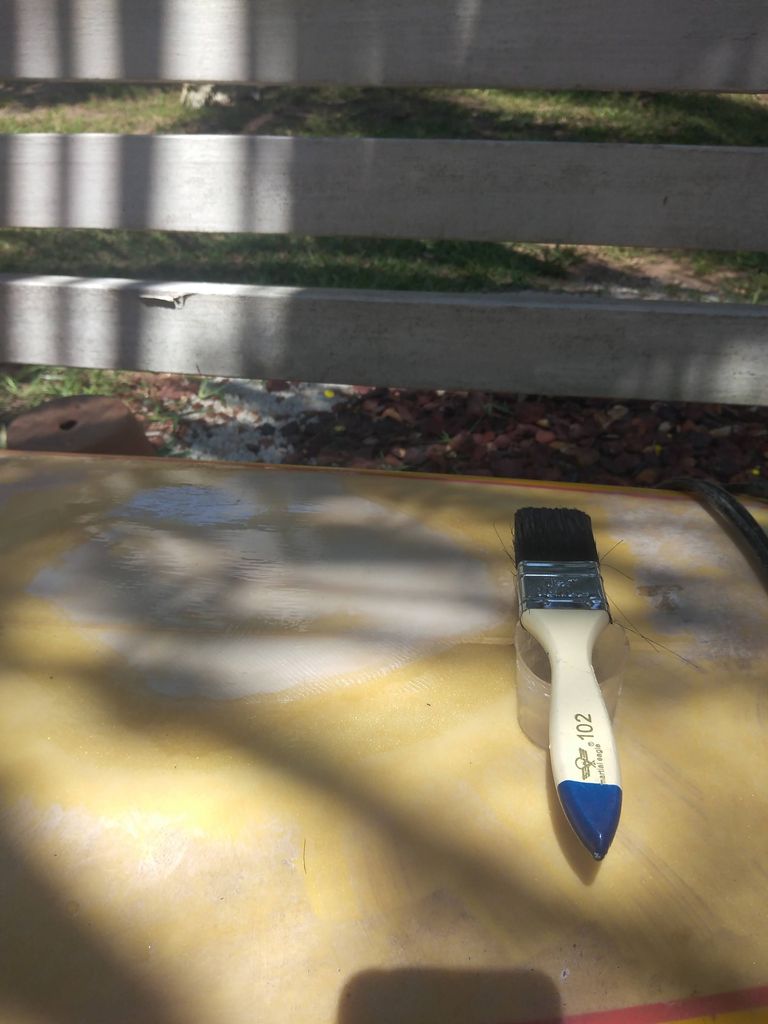
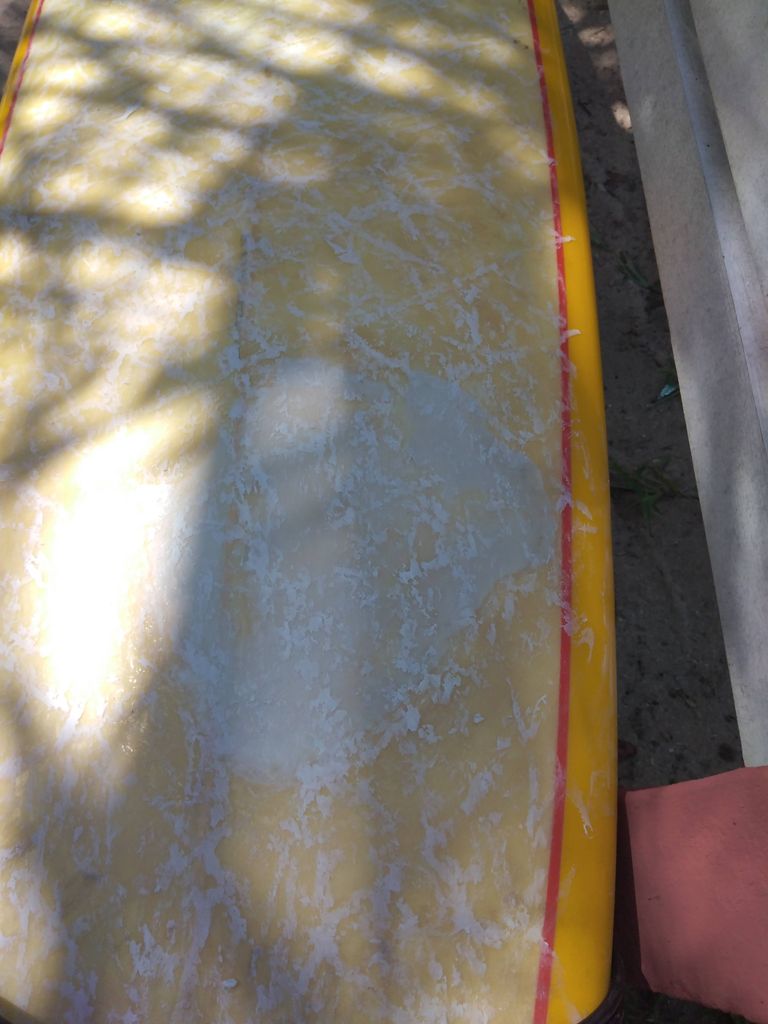
I sanded everything down well and mixed up another batch of epoxy this time I had a brush and I brushed on a layer getting it as smooth as possible.
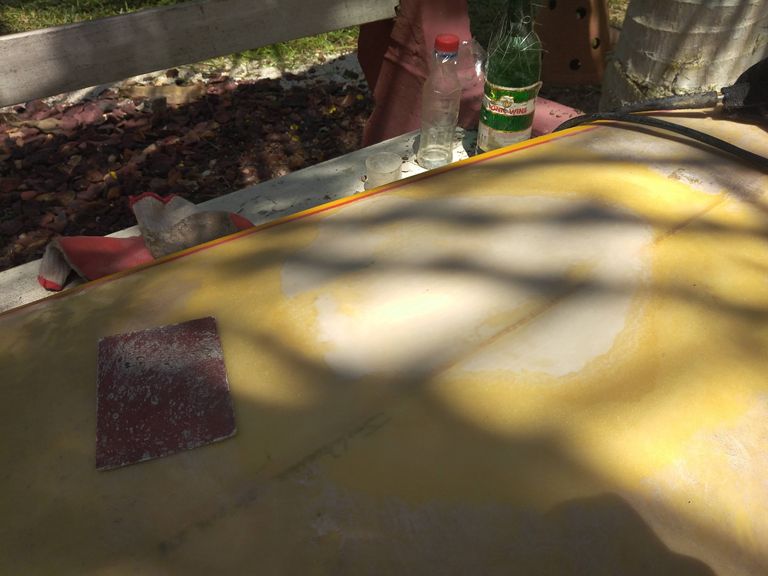
I then used the course sand paper to smooth down any high spots.
I then went to a 360 grit wet dry sandpaper.
I sanded and sanded and sanded with some water until I had a nice smooth surface.
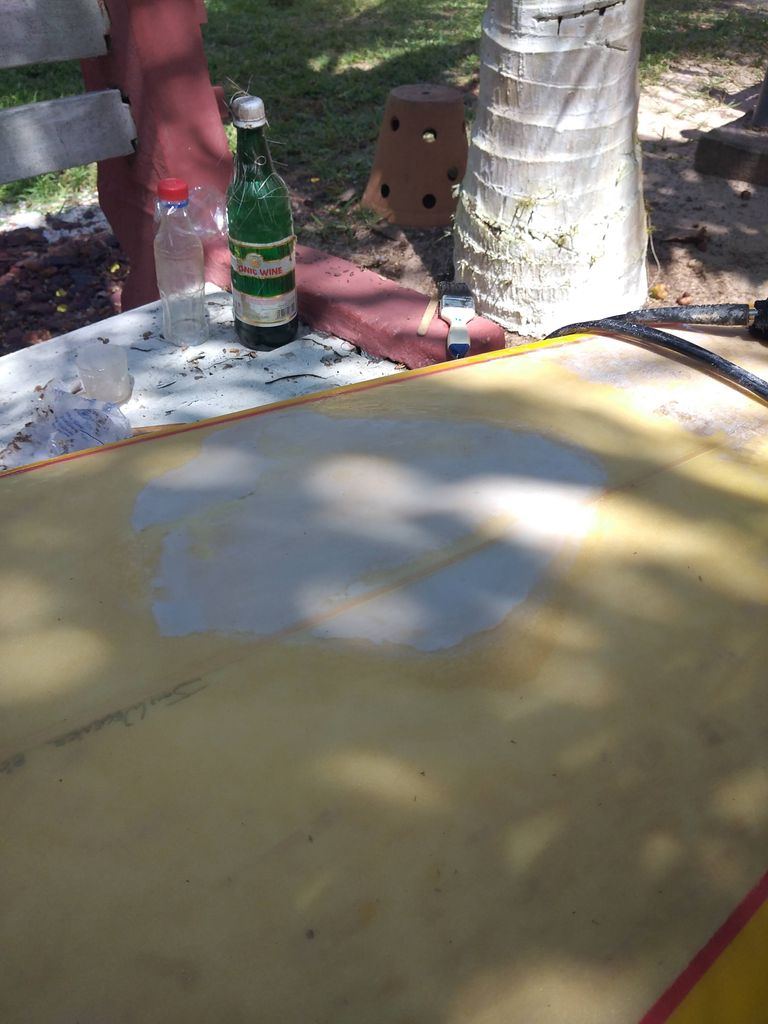
At this point the fix was basically completed. It is not pretty, but it is smooth and hard as a rock so I cant complain.
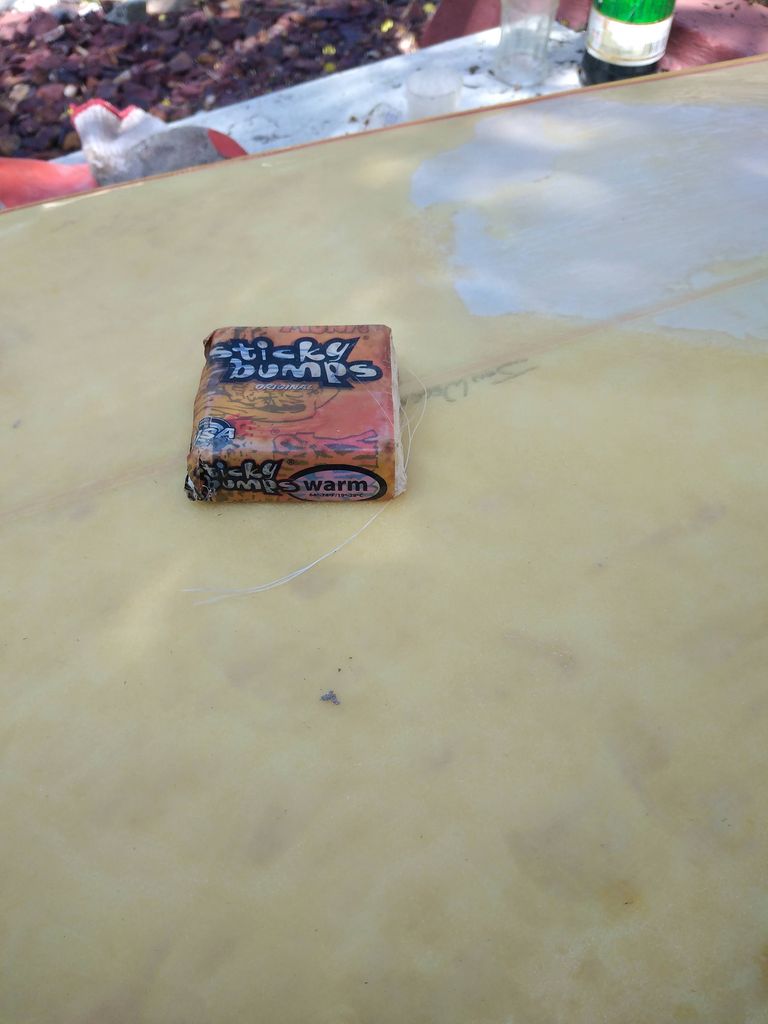
I then took the time to clean up the old wax off the board scrapping it. I then reached into my wax bag and came out with a new wax bar by sticky bumps. I like the smell of it a mix between bubble gum and what what you would like sex on the beach to smell like. Tropical and fuity.
I started with a cross hatch with the wax and then built it up from there with a circular pattern. This is an 8 foot board and I am a big dude so I like a bit section of wax for my feet when I get up and also for my body when paddling out. The wax allows you to stick to the board and have traction. Otherwise fiberglass and water make very slick surface.
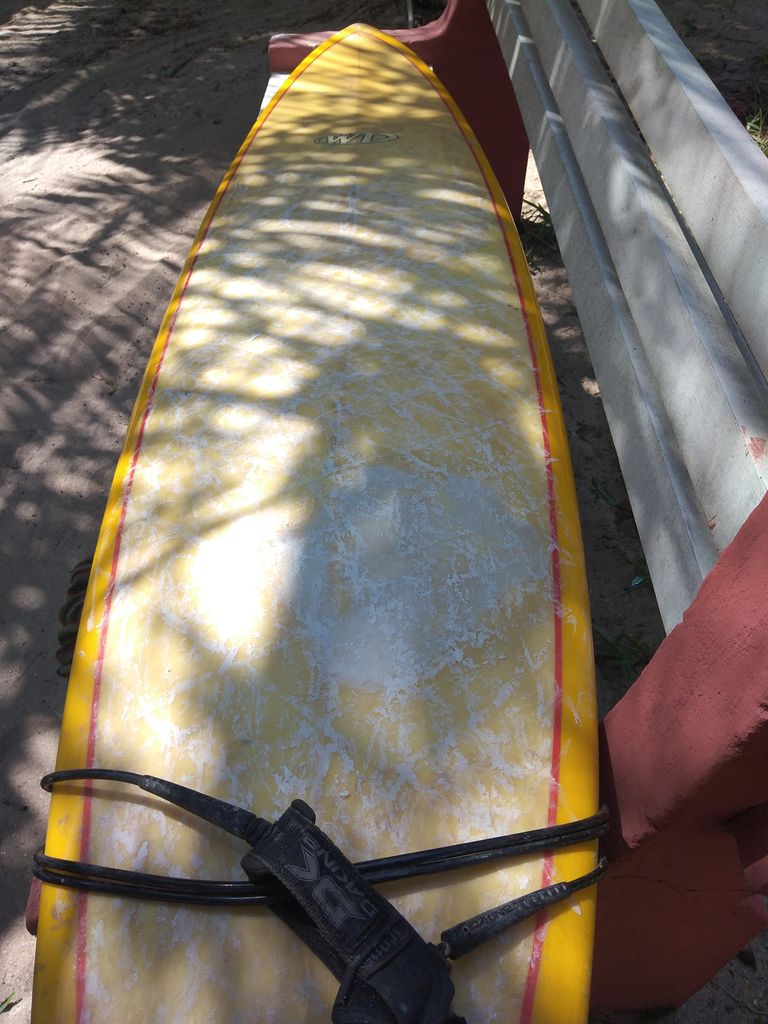
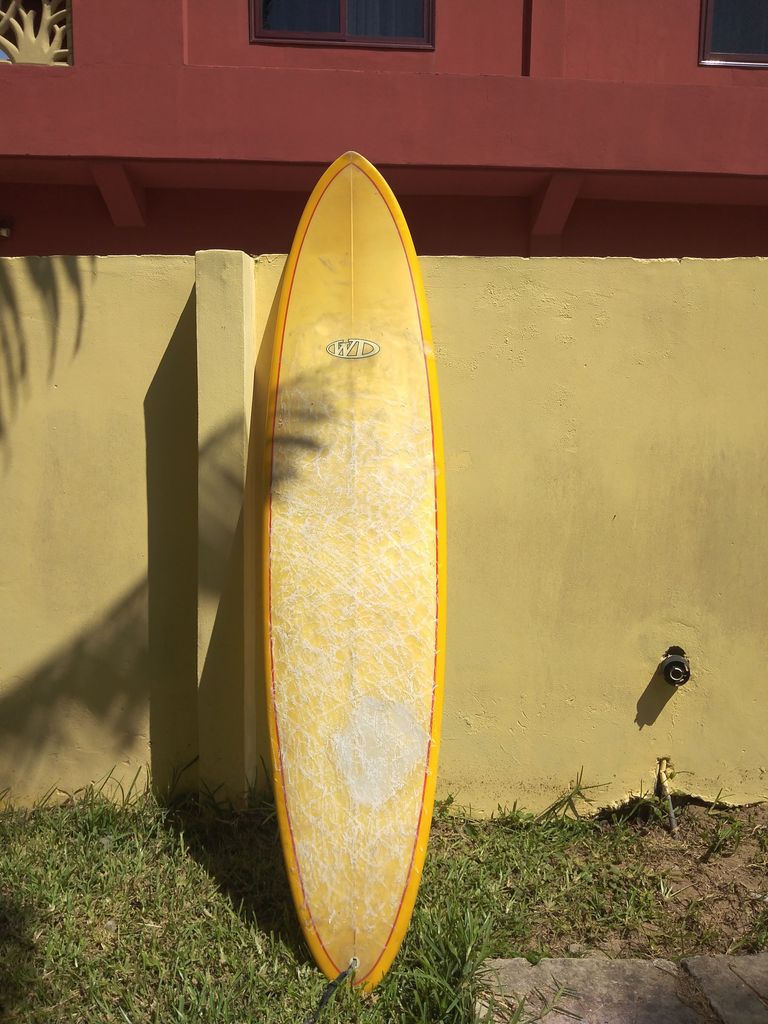
After the wax job was finished the board was ready to ride.
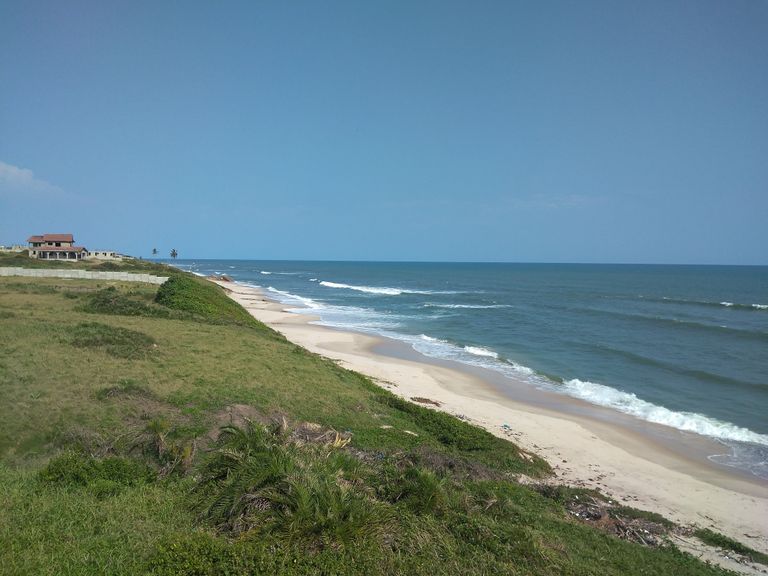
By this time it was late afternoon and the wind was blowing. The waves were messy so I decided to wait until this morning to get out on the water. I was rewarded with very little wind at around 7am this morning and had a nice surf. I did not catch any fancy waves but got up a few times and paddled long enough to know that I am going to have to work on my paddling muscles again. I will hope to make it a bit of a morning routine it is so therapeutic a good workout and a lot of fun.
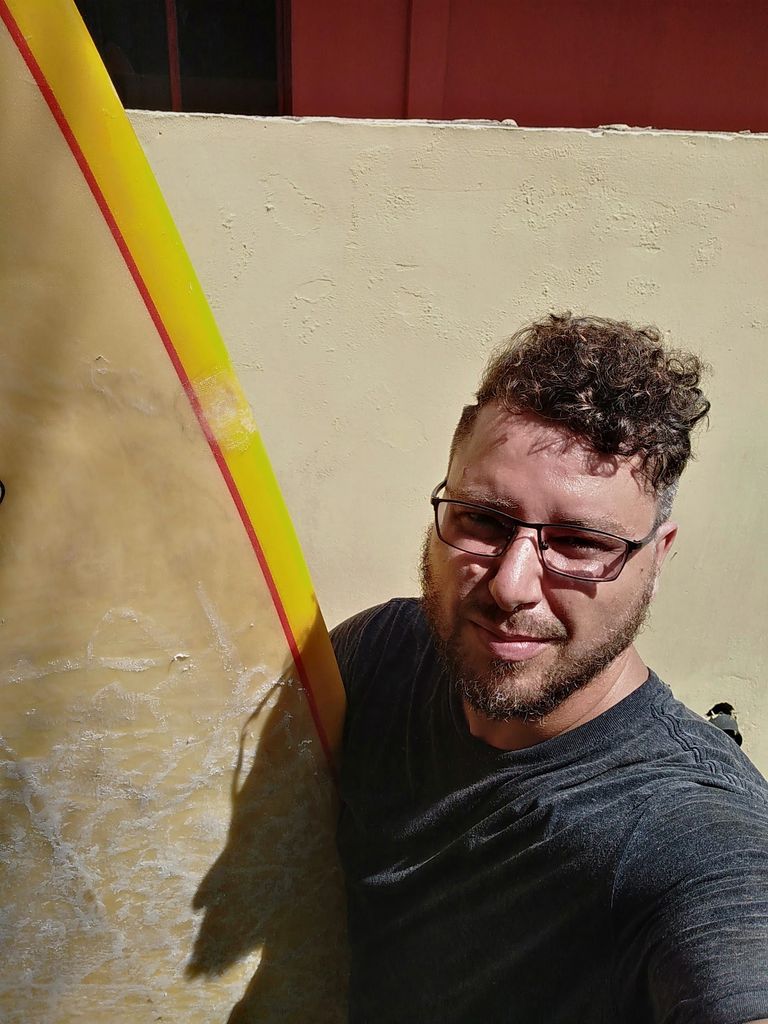
As you can see in the first pic I am very happy to reunited with my board who is my main side chick.
Hahah... The main side chick is back. The other side chicks are about to get jealous. Hehe
Nice one. This DIY project of yours is a very nice one. It helps to know how to take care of such minor (I call it minor because you solved the issue like a pro. Hehe) issue.
It's good to see that you've already worked with the board and it doesn't seem to have any other problem. Nice one.
Nah she only has competition from the main chick.
This one was a little more than minor and kinda out of my league but I took my time and step by step and we got there.
Te invitamos a votar por @blurthispano como Witness
Thank you for using my upvote tool 🙂

Your post has been upvoted (1.63 %)
Delegate more BP for better support and daily BLURT reward 😉
@tomoyan
https://blurtblock.herokuapp.com/blurt/upvote
Congratulations! This post has been upvoted by the @blurtcurator communal account,
You can request a vote every 12 hours from the #getupvote channel in the official Blurt Discord.Don't wait to join ,lots of good stuff happening there.
Congratulations, your post has been curated by @dsc-r2cornell. You can use the tag #R2cornell. Also, find us on Discord
Felicitaciones, su publicación ha sido votada por @ dsc-r2cornell. Puedes usar el tag #R2cornell. También, nos puedes encontrar en Discord