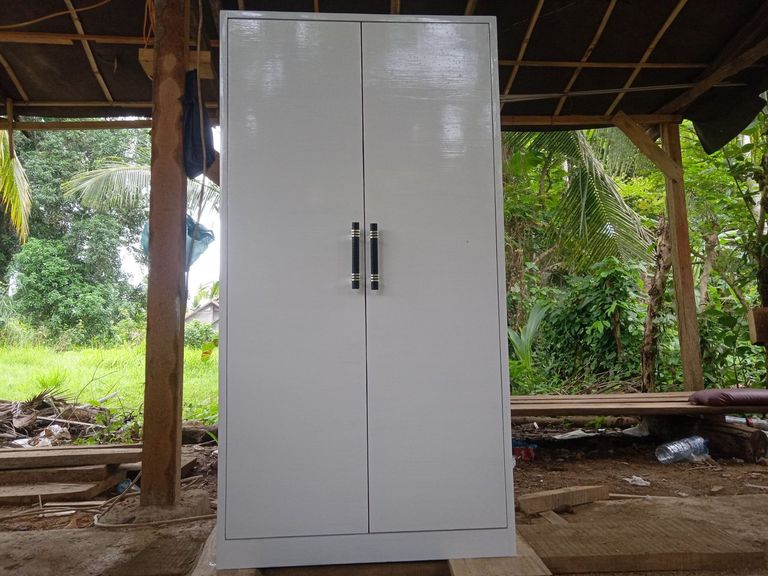
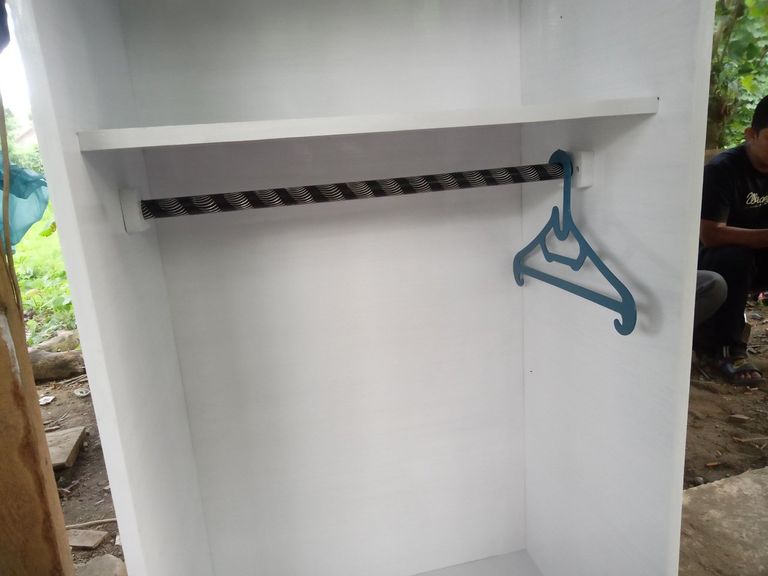

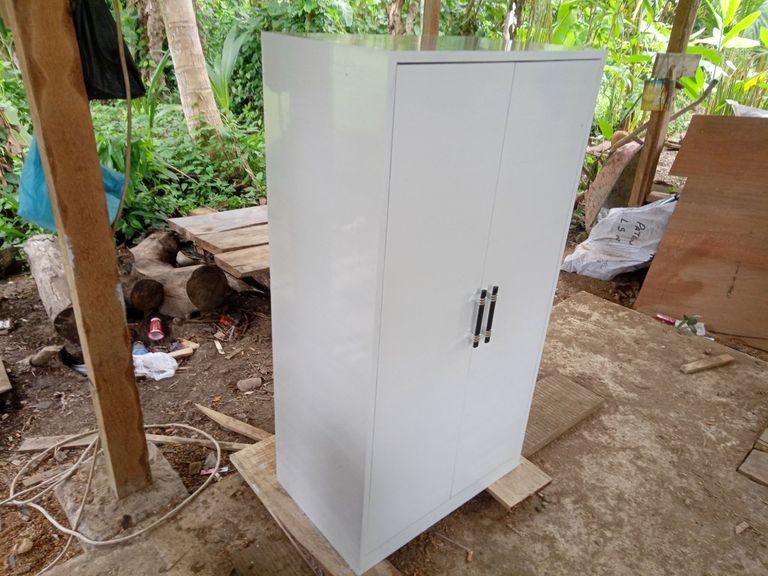
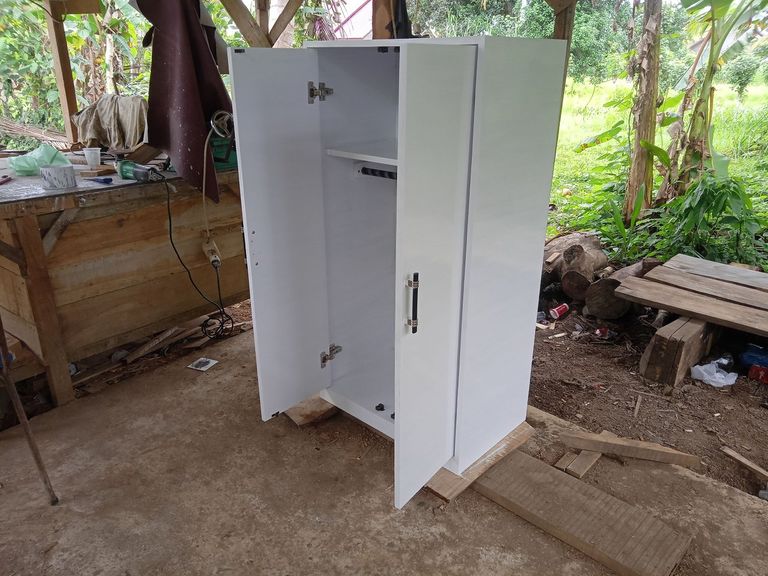
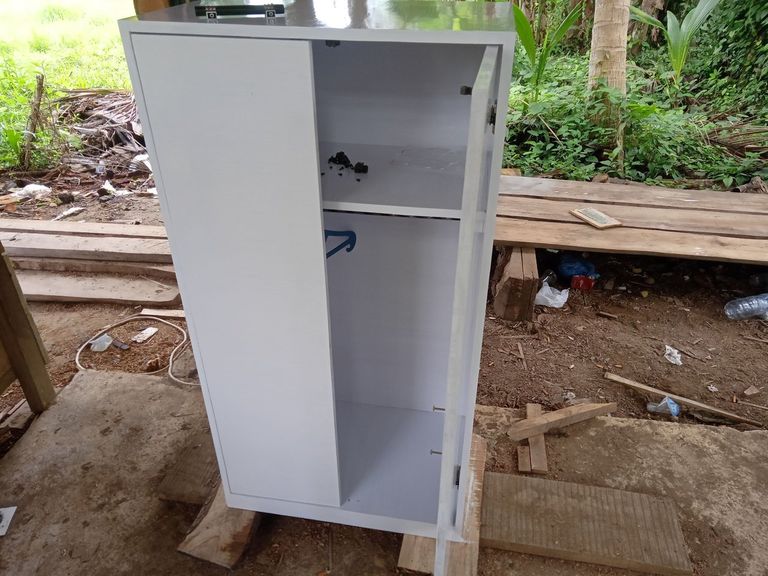
To day I made a medium sized wardrobe with a height of 120 cm and a length of 65 cm and a width of 40 cm and there is only one shelf at the top and the rest at the bottom is used as a place for hangers.
For the main material, I use 20mm thick plywood, this size is very suitable for making furniture like this because it can be directly combined from one part to another without having to make the framework first and the quality is guaranteed and this can make the process faster and neat compared to using boards that must be combined first to get the size needed.
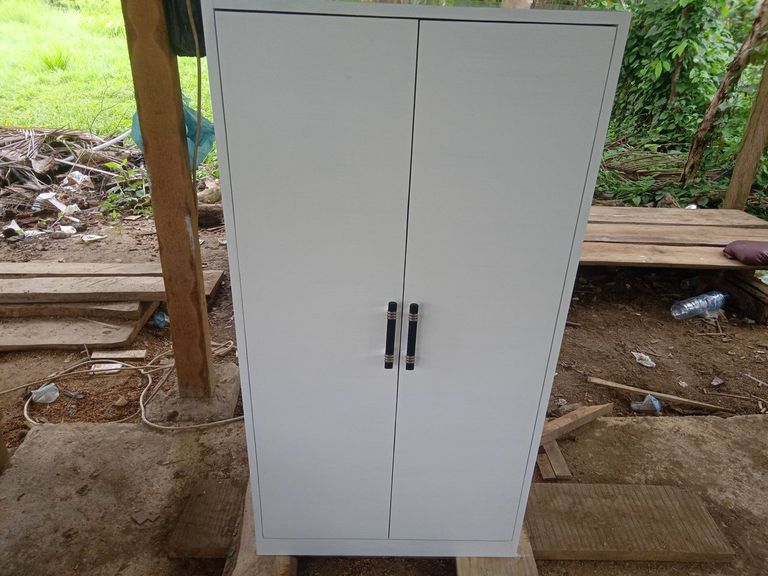
This wardrobe is a request from my consumer for his daughter who is still 10 years old and this cupboard will be placed in her room and of course this will make her child more independent, for the design of this wardrobe I made myself by adjusting to the location and room of my consumers ,and the reason I chose white for the wardrobe is to make it look cleaner and more aesthetic and add a bit of a classic impression when combined with the color of the room which is also a bit bright.
For the process of working on this cabinet it took 5 days, this was caused by the painting process which I had to wait for 3 days while for the process of making the cabinet it only took one day and another day for the caulking process and installing hinges and other things.
And now I will explain a little about the process, starting from preparing a sheet of multiplex material as thick as 20mm which I will cut into pieces according to the size of the design.
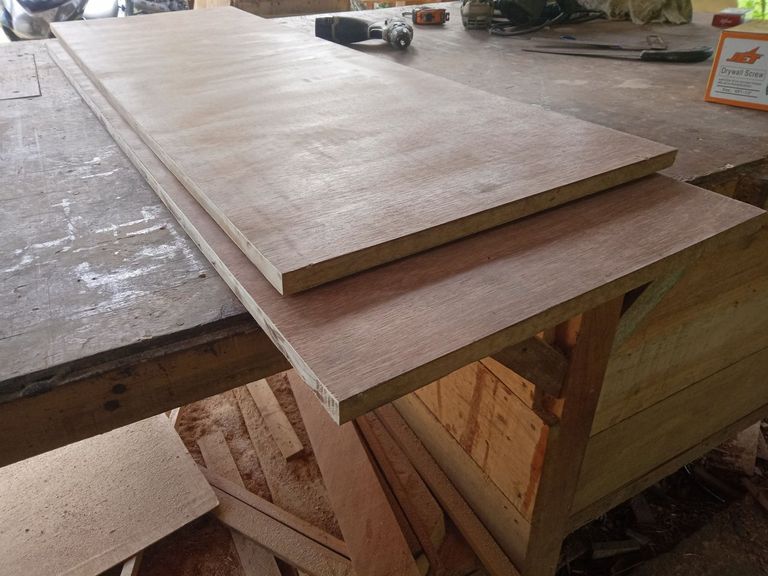
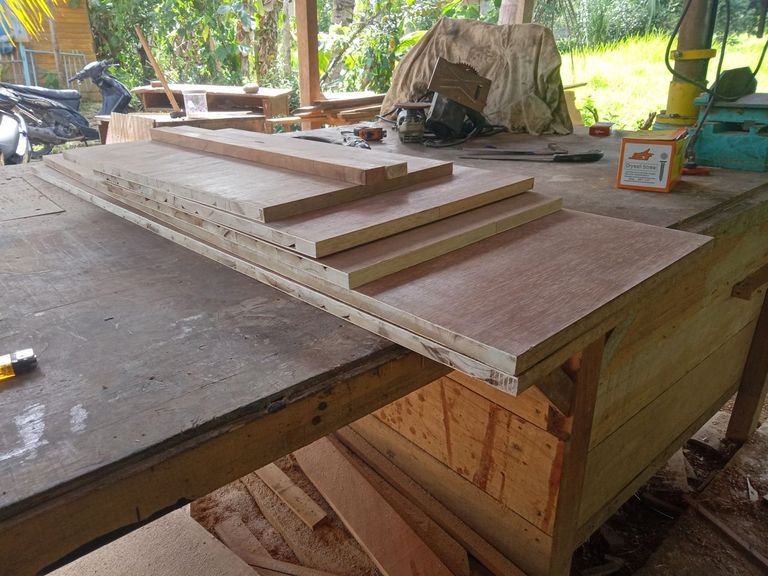

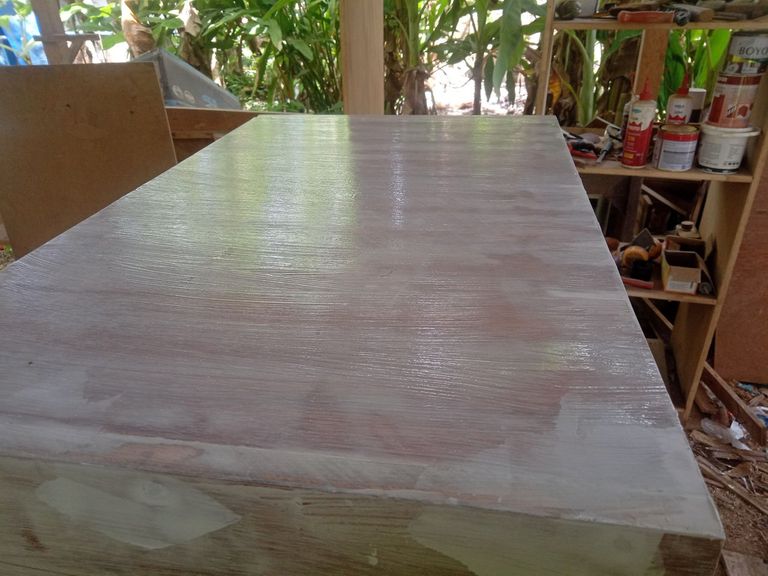

First I cut 2 pieces of 120 cm x 40 cm for the left and right sides of this wardrobe, and then I cut 2 pieces of 40 cm x 61 cm for the top and bottom of the wardrobe so that when combined with the left and right then you will get a size of 65 cm.
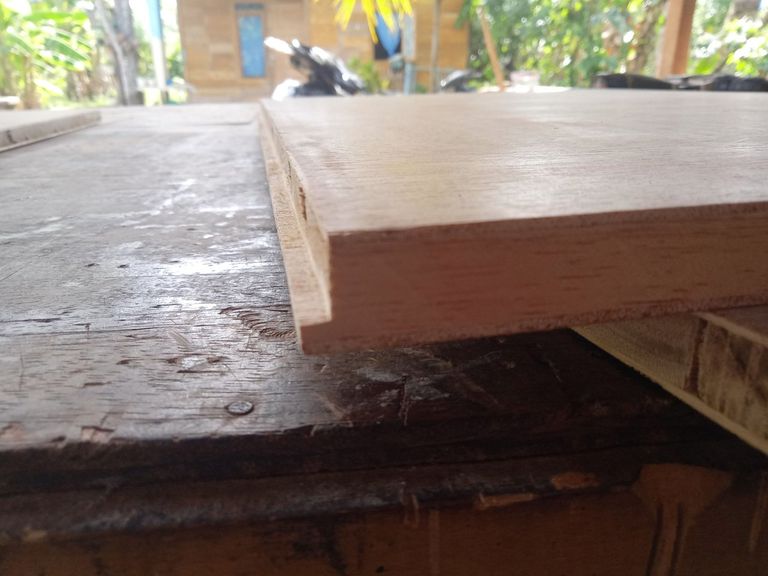
And then I cut the inner shelf with a size of 35 cm x 61 cm because I made the wardrobe door inside so I had to subtract a little from the size of the top and bottom of this wardrobe, then I cut it with a size of 4 cm x 61 cm for the retaining base from the bottom, because the bottom I raised a little from the legs of the cupboard as high as 6 cm, and for the back of the left and right sides I cut a little but didn't break (like sponging the frame) as deep as 5mm, and also I did that on the pieces for the bottom and top, this is so that the plywood back cover of the closet is not visible.
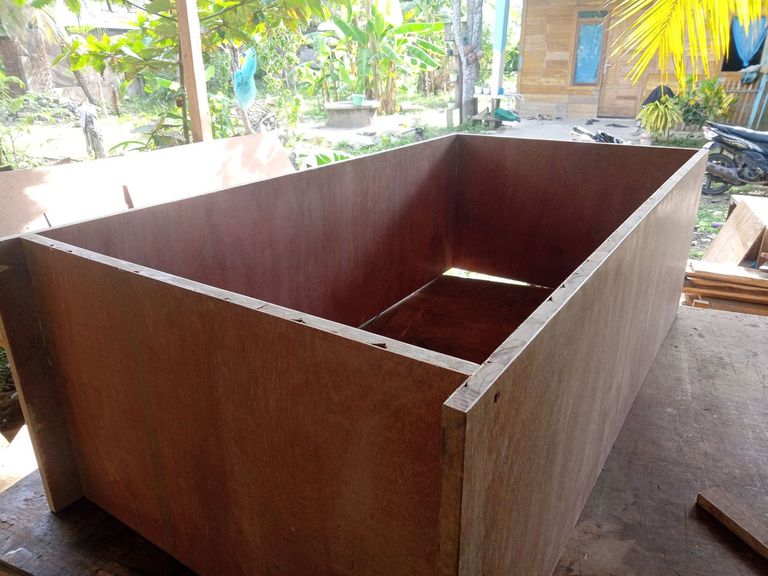
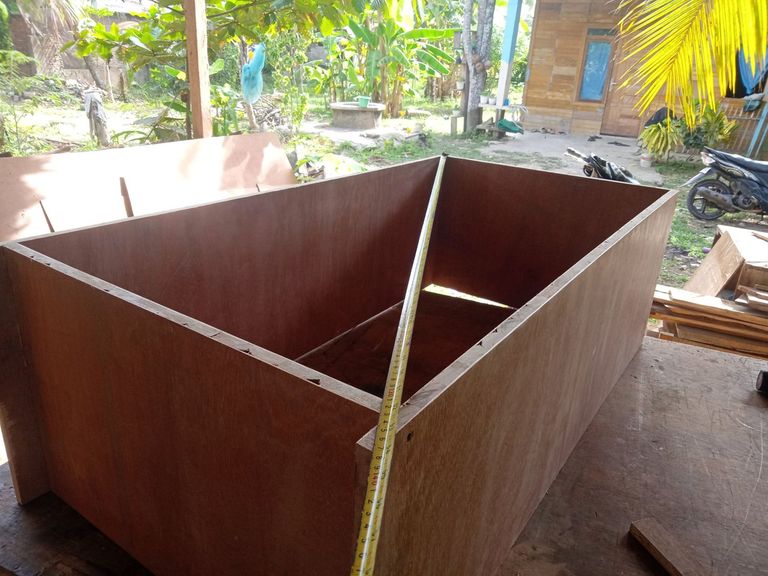
Then I sanded all the pieces until smooth and then I started to assemble them using glue and screwed them using bolts this I prefer than using nails because it is tighter and neater, I started from the top then the bottom and then the inner shelf that I made with a size of 30 cm and then I elbowed it using a meter by pulling the meter in a cross shape until it was the same size.
After that was done, then I cut 4mm plywood for the back cover with a size of 64 cm x 115 cm, and then I cut 20mm multiplex for the door with a size of 111.5 cm x 30.3 cm as much as 2 pieces, both of which I subtracted from the original size, namely to 112 cm high and 30.5 cm wide so that the door is slightly loose and easier to install.
I gave a little way to measure the door, the height of this cupboard is 120 then subtract 2 cm (the top of the cupboard) and 6 cm (the bottom of the cupboard which I slightly raised) so that the result is 112 cm, and for the width 65 cm, subtract the thickness of the sides the right and left are 4 cm then the result is 61 cm and divided by 2 the result is 30.5 cm.
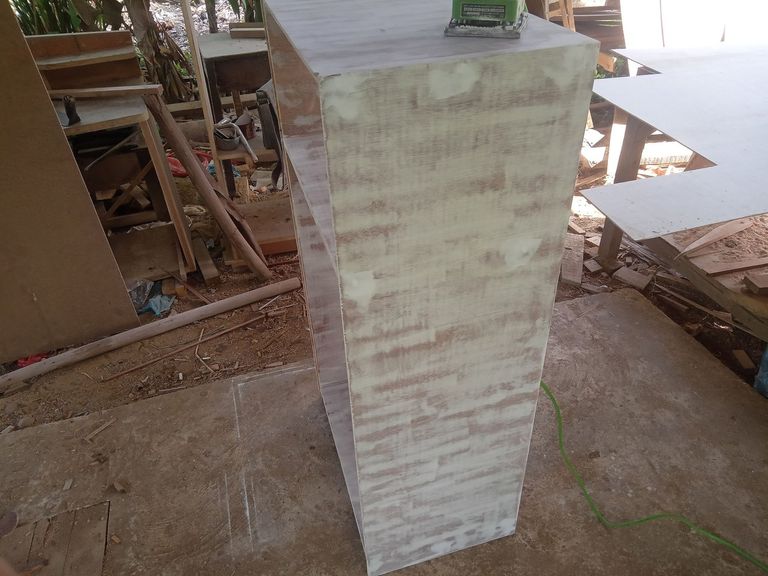
Then I started installing the hinges on the two doors and adjusted them to fit, I did this so that later when I finished painting the cupboard I just had to stick it on me, after that was done I started caulking all parts of the cupboard using a brush but first I mixed the putty with water to make it a little runny and easy to do, then I waited for it to dry and then I sanded it using sandpaper number 400 so the results were smooth and neat.
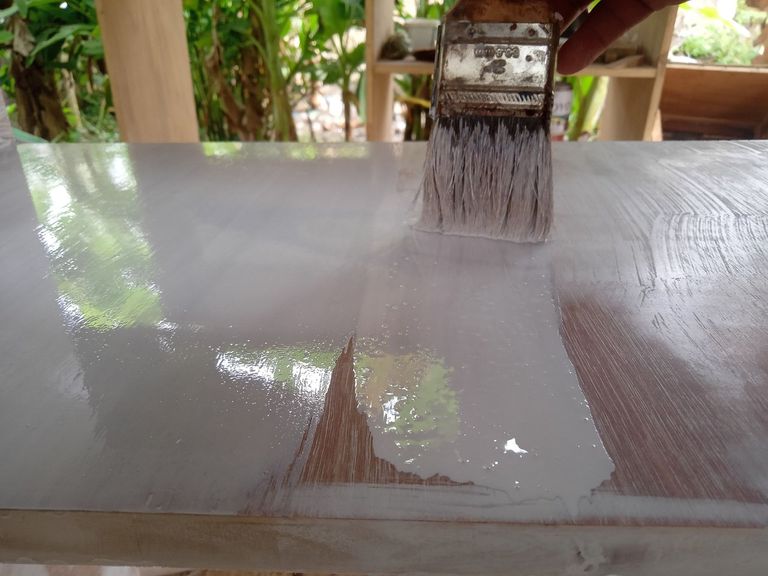
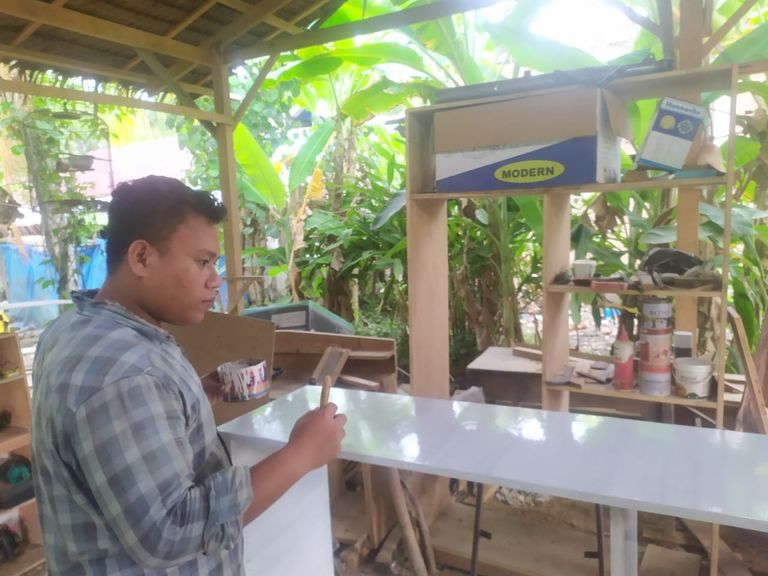
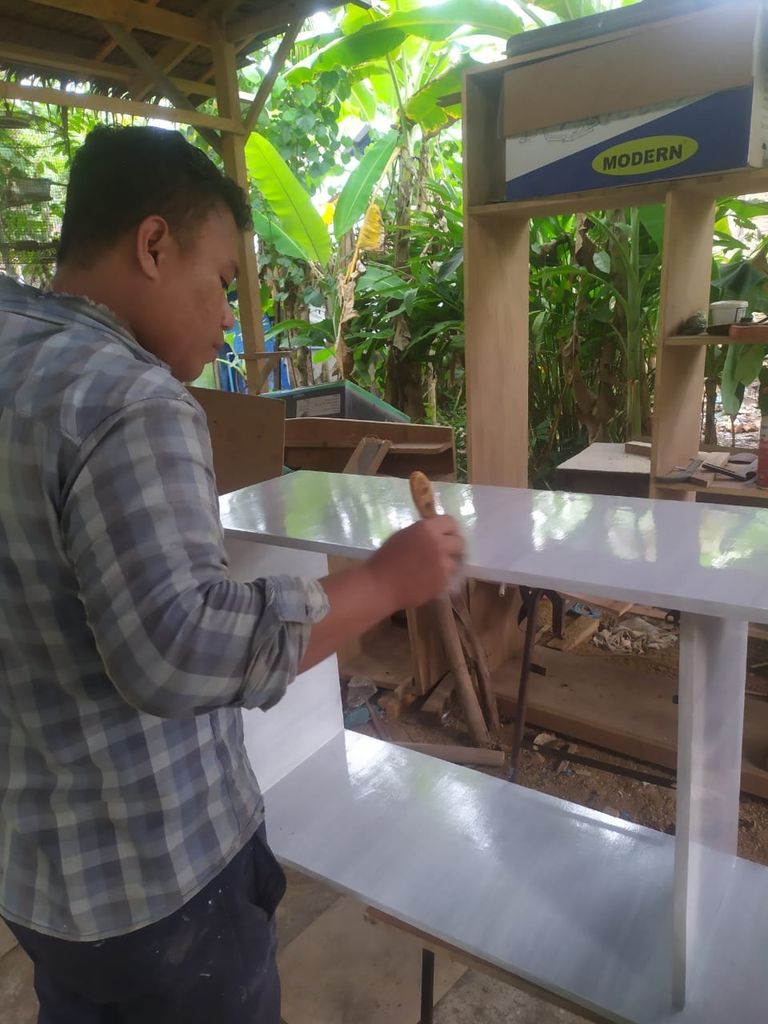
Then I mixed the paint with thinner in a ratio of 1:1 so the paint wasn't too thick and started painting it using a brush too but this can also be done using a spray gun so the results are neater but here I don't have it so I just use a brush and The results are also quite satisfactory, I did this process several times until the results were shiny and satisfying.
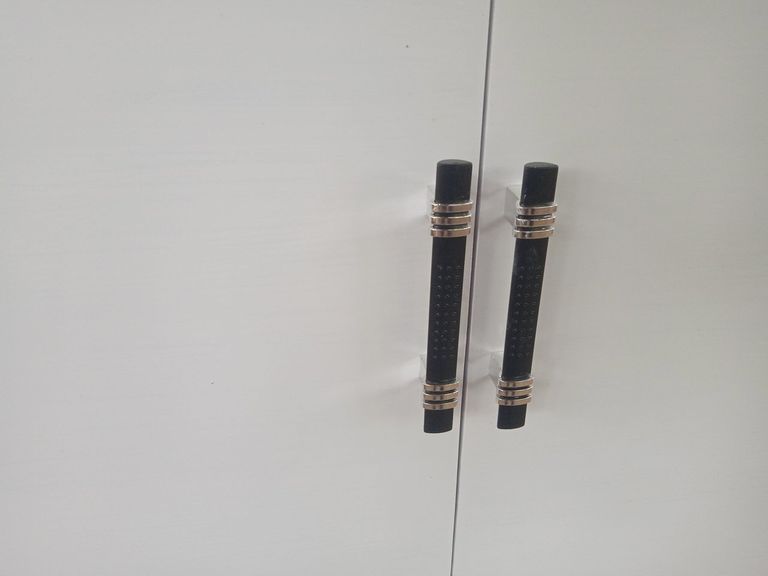
After waiting for the paint to dry for about 3 days, then I installed the door with the hinge holes that I made earlier and then put a pull on the door and also installed a clamp bolt to hold the door on each door at the top and bottom because this cupboard doesn't work. use a key and also don't forget I put aluminum for hangers in the closet.
** Your post has been upvoted (1.16 %) **
Curation Trail is Open!
Join Trail Here
Delegate more BP for bigger Upvote + Daily BLURT 😉
Delegate BP Here
Upvote
https://blurtblock.herokuapp.com/blurt/upvote
Thank you 🙂 @tomoyan