Hello all DIYers, today I want to show you all how I made a playwood bookcast.
The first stage (choose the material to be used)
First of all I choose the material that I will use, namely playwood with a thickness of 18 mm. The bookcase that I will make has a length of 120 cm and a width of 40 cm and a height of 200 cm, so for this project I need 2 sheets of 18 mm thick playwood which I will cut. according to the required size and 1 sheet of 5 mm playwood for the back cover of the cupboard.
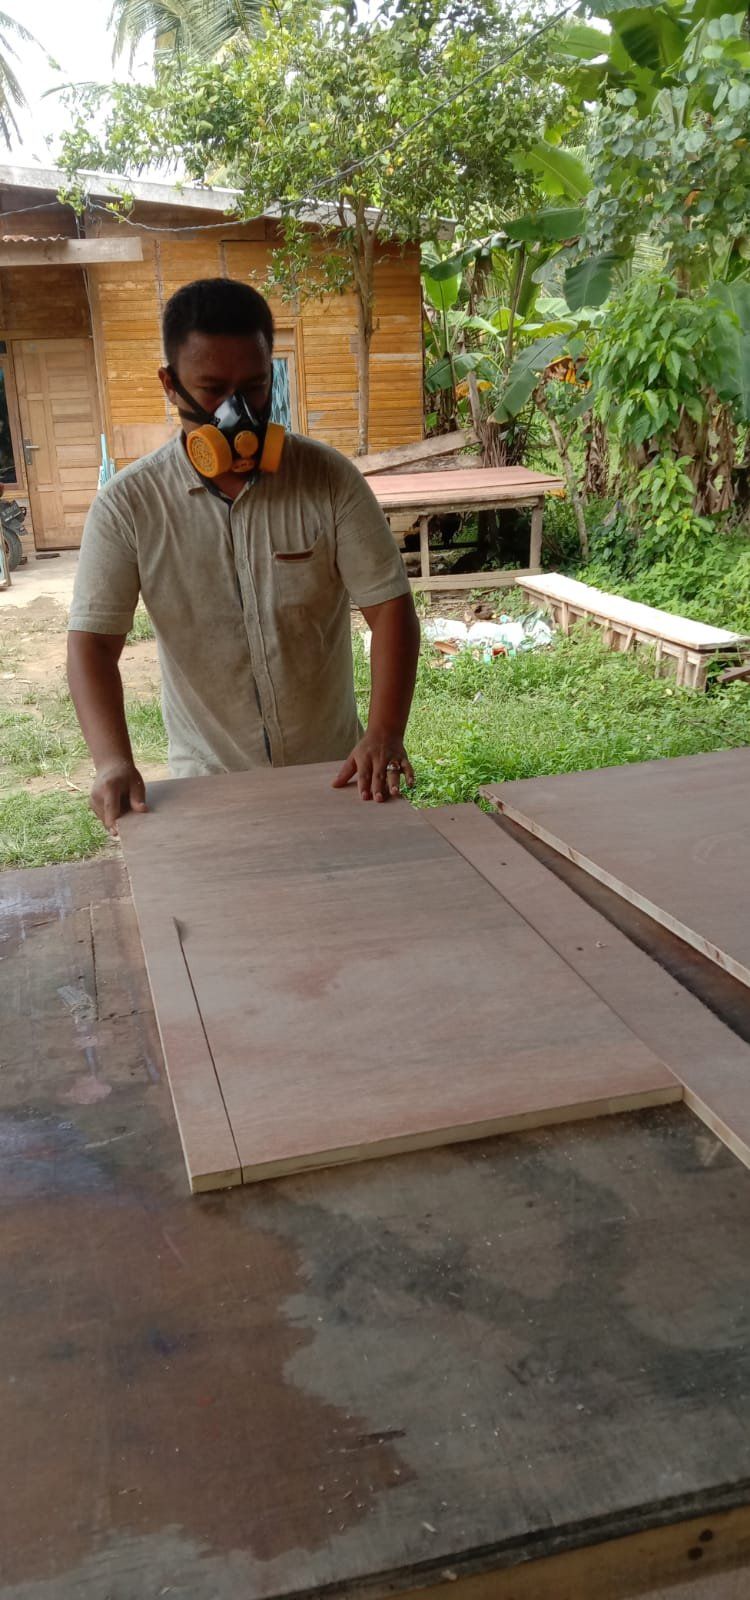
Second stage (cutting)
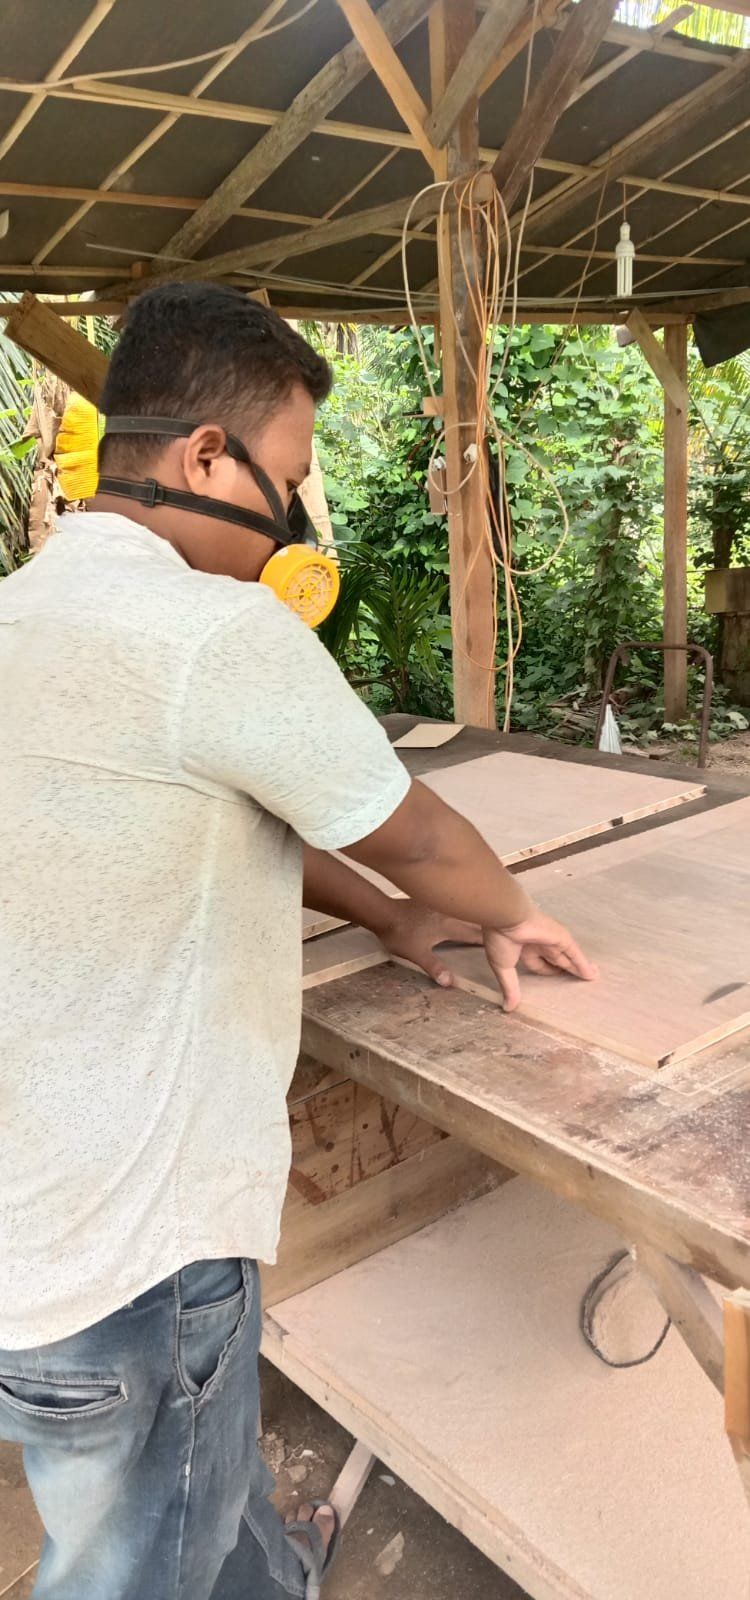
This stage is the stage of cutting the playwood, I cut it using a circular saw machine that I have made into a table saw because I can't afford a table saw machine, I cut the playwood with the following sizes;
Playwood 18mm.
40 cm × 200 cm = 2 sheets
40 cm ×116.4 cm = 6 sheets
40 cm × 36 cm = 5 sheets
8 cm × 116.4 cm = 1 sheet
Playwood 5mm.
120 cm × 200 cm = 1 sheet
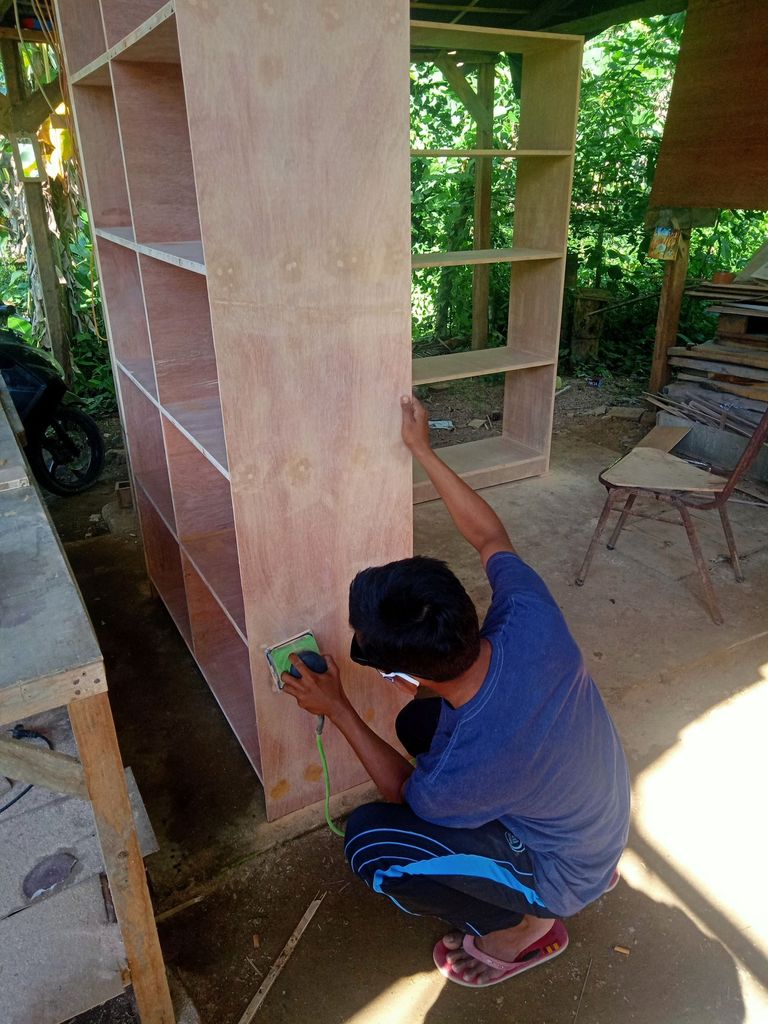
After I cut everything according to the size above I sanded all the pieces, this sanding is actually included in the last stage, namely finishing but this I do now because when I have assembled all the pieces it will be a little more difficult to sand it and this can be a trick to make it easier in doing work.
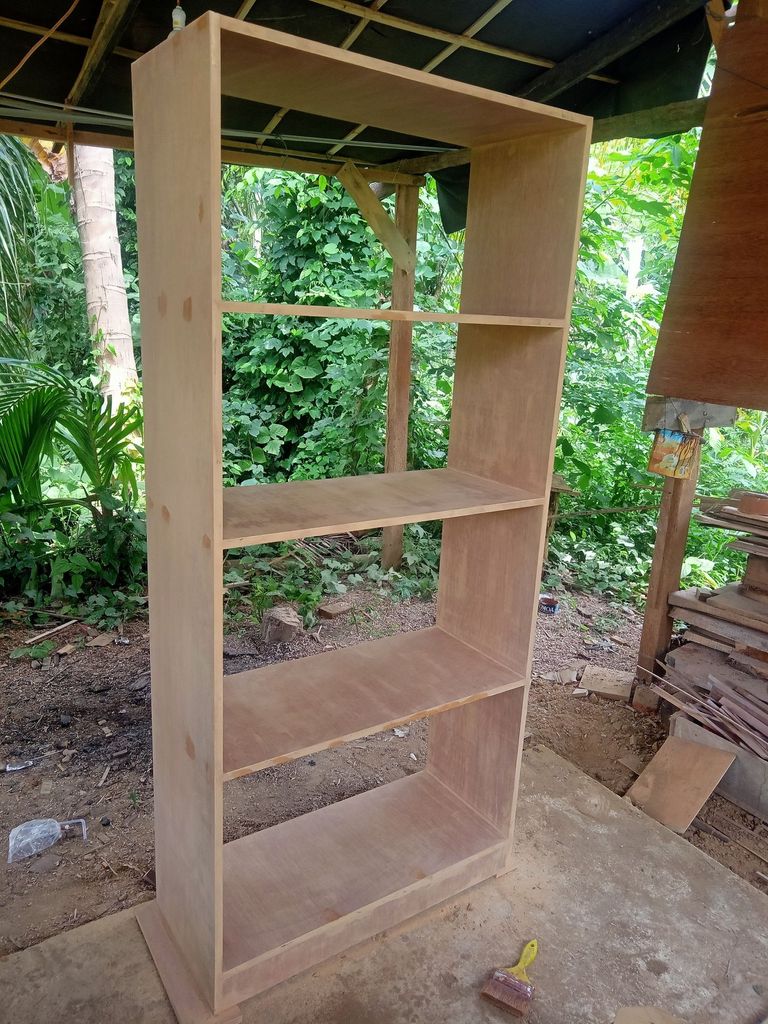
Third stage (assembly)
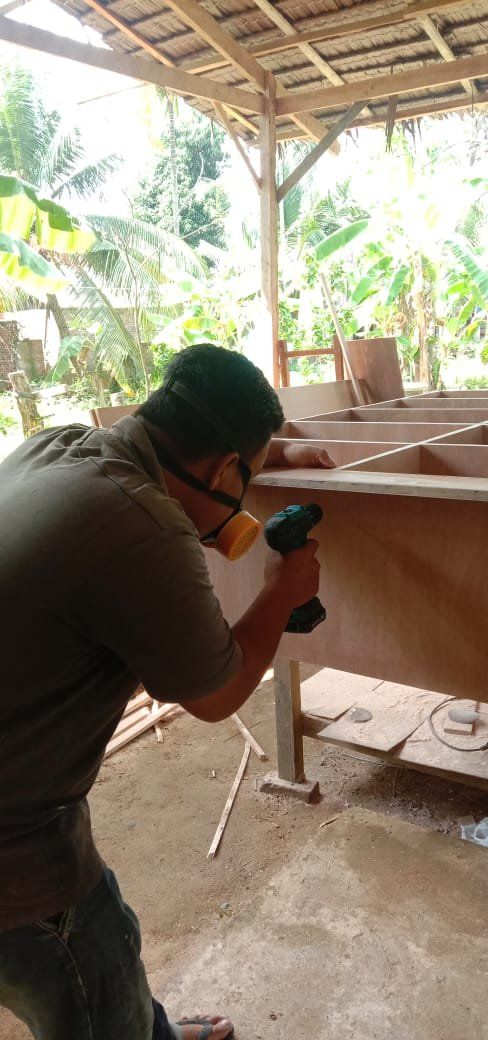
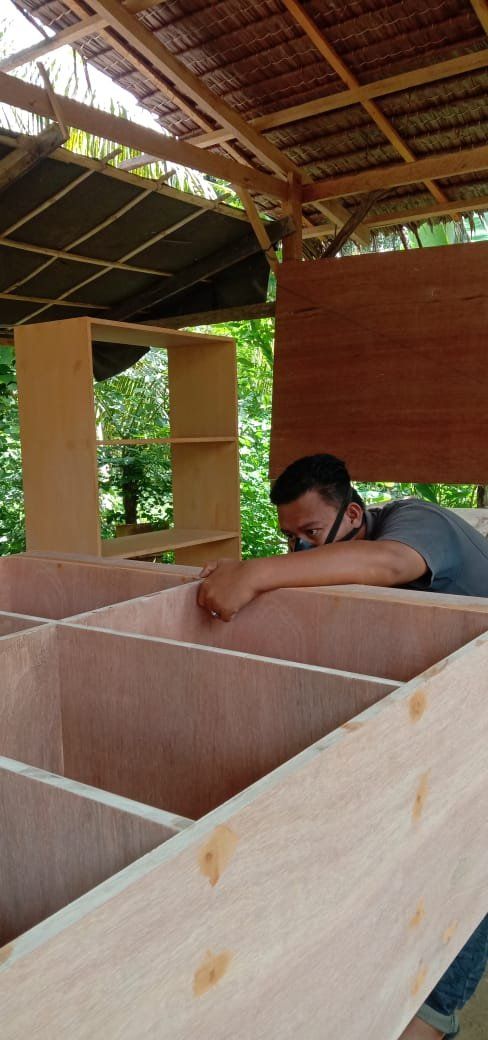
After the sanding is finished I start assembling them, I assemble one by one and in each part I give glue to make it stronger then I screw it with bolts using a drill, I use a cordless drill that I bought last week on the online market using a cordless drill, the job will be easier because this drill no longer uses cables so we can move more freely, but if you don't have one you can also use a regular drill, namely a wired drill, in this process we need friends to help but this stage can also be done yourself if you have a gun nailer tool it could be faster and also easier on the job but i don't have it so i need a friend.
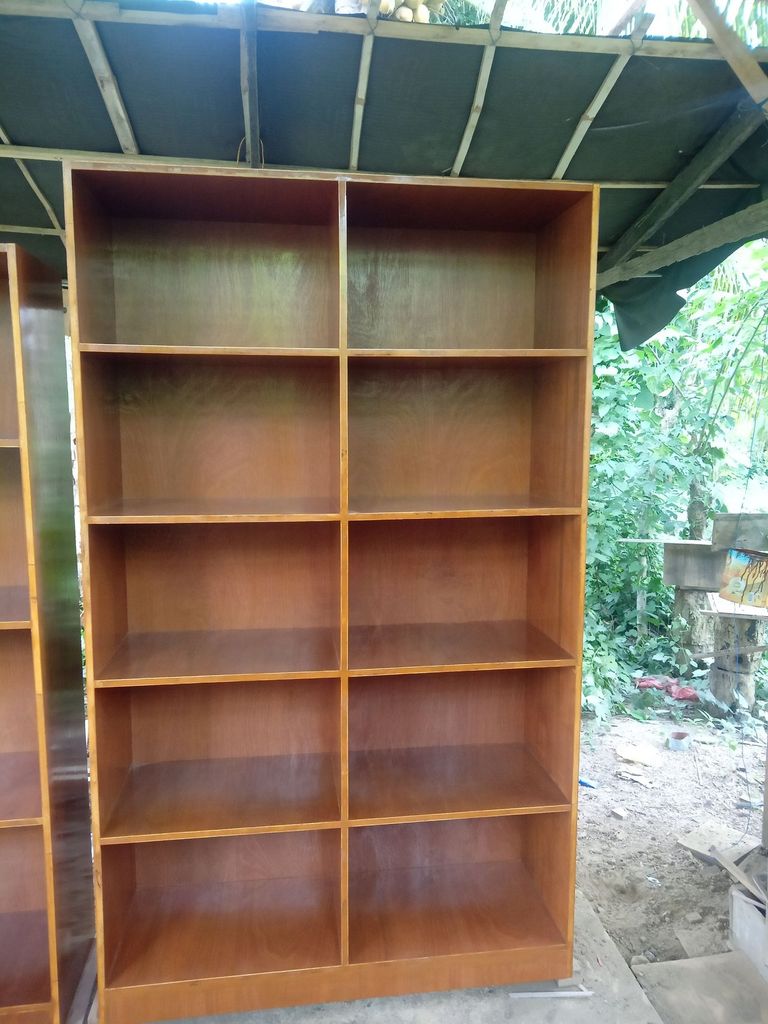
Fourth stage (finishing)
After completing the assembly stage we immediately enter the finishing stage in this stage there are several steps, the first step is caulking, first we caulking the marks from the bolts that we screwed earlier in the assembly process, this uses a rather hard putty in order to cover the marks from screwing then caulking on the all parts of the cabinet that have been assembled using putty that has been mixed with thinner and mixed thoroughly using a paint brush this is done so that all the pores of the playwood are closed so that when painting it will be smooth and shiny, then wait for it to dry.
The second step after the putty is dry is sanding using fine sandpaper, this can be done with an sanding machine or manually, namely using hands sanded until the surface of the playwood will be smooth when touched, in this step use a mask to protect it from sanding dust because This is very dangerous if it gets into the respiratory tract, so prioritize work safety.
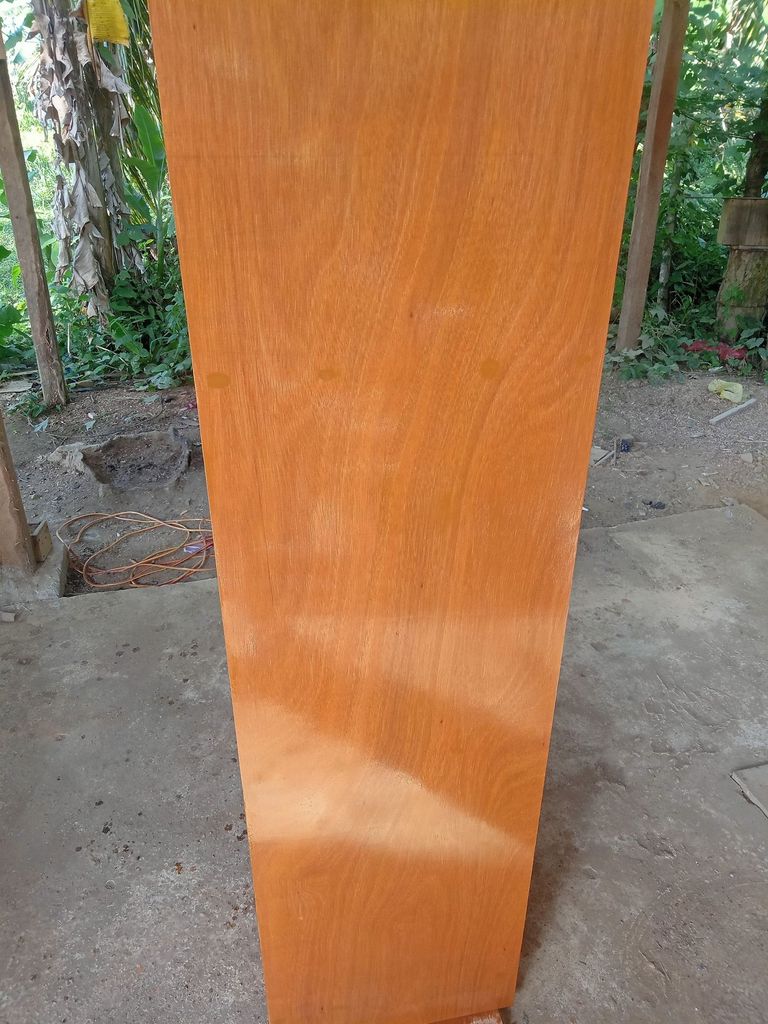
The last step is painting, after everything is finished then we immediately paint all the surfaces here I use varnish paint the reason I use this paint is because it can be used directly without having to mix with thinner again so that the colors will all be the same, painting can be done with a spray gun or with the manual method, but I use the manual method, namely using a brush because I don't have a compressor yet.


And that's the ways and tips that I can share with all of you hope you like it and thank you very much for reading my post and thank you also to #DIYhub who has provided a place for us DIY lovers, see you in the next post and have a good day pleasant.