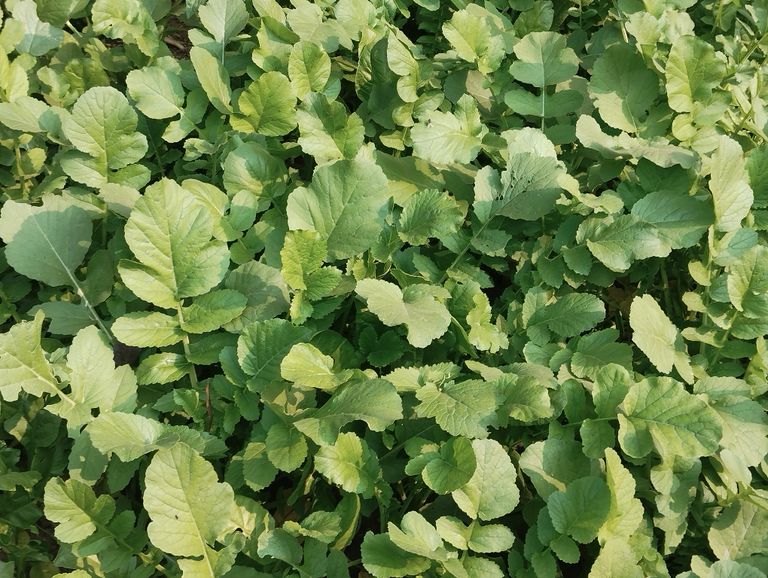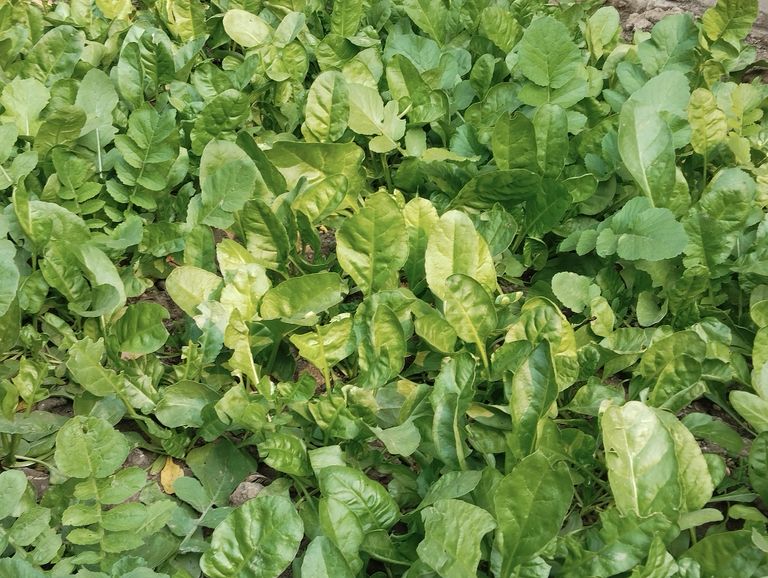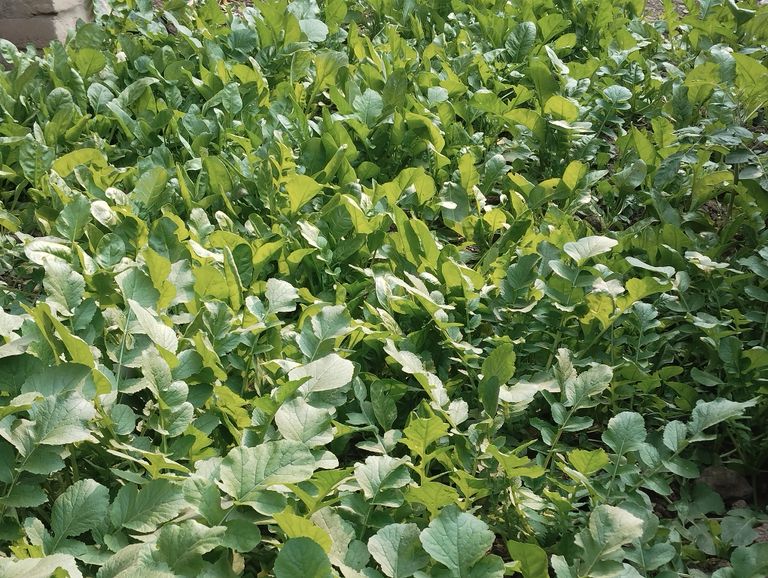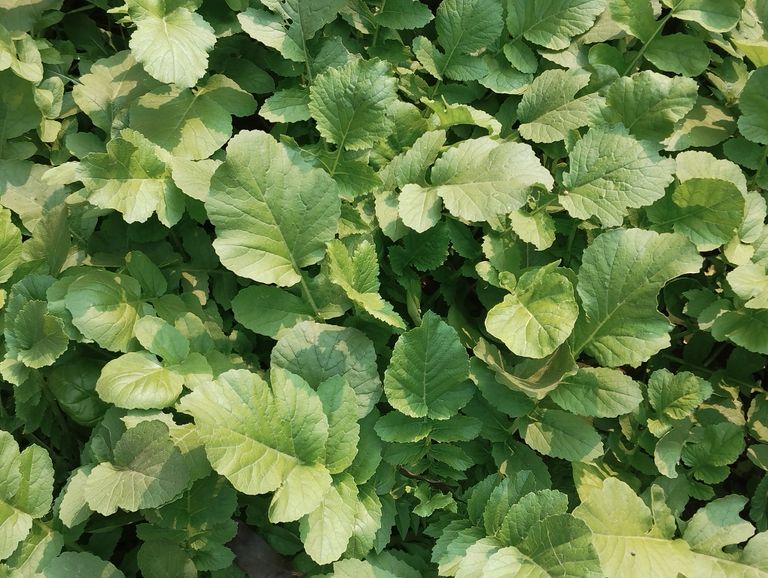
How to Cultivate Radish A Step by Step Guide.
Radish (Raphanus sativus) is a fast-growing, nutritious root vegetable that can be cultivated in both home gardens and commercial fields. It thrives in a variety of climates and is one of the easiest vegetables to grow. This guide provides detailed instructions on how to plant, care for, and harvest radish to ensure a bountiful yield.
- Choosing the Right Variety
Radishes come in many varieties, each suitable for different climates and seasons. Some popular types include:
Spring Radishes: Fast-growing, harvested within 3-4 weeks. Examples: Cherry Belle, White Icicle.
Winter Radishes: Take longer to mature, store well. Examples: Daikon, Black Spanish.
Select a variety based on your growing season and desired harvest time.
- Preparing the Soil
Radishes grow best in loose, well-drained soil with a pH of 6.0–7.0. Follow these steps to prepare the soil:
- Loosen the Soil: Use a hoe or spade to loosen the top 8-10 inches of soil. Remove stones and debris to ensure root growth.
- Enrich with Organic Matter: Mix compost or well-rotted manure into the soil to improve fertility and drainage.
- Test the pH: If the soil is too acidic, add lime; for alkaline soil, incorporate sulfur.
- Choosing the Planting Time
Radishes are cool-season crops that prefer temperatures between 10°C and 25°C.
Spring Planting: Sow seeds 2-4 weeks before the last frost date.
Fall Planting: Plant seeds 4-6 weeks before the first expected frost.
Sowing the Seeds
Spacing and Depth:
Sow seeds ½ inch deep and 1 inch apart.
Maintain a row spacing of 6-12 inches for adequate air circulation.
- Watering: After sowing, water the soil lightly to keep it moist but not waterlogged.
- Caring for the Plants
Watering: Water regularly to keep the soil evenly moist. Inconsistent watering can lead to split or bitter radishes.
Thinning: Thin seedlings to 2-3 inches apart once they are 1-2 inches tall. This ensures enough space for root development.
Weeding: Remove weeds to prevent competition for nutrients and sunlight.
- Managing Pests and Diseases
Common radish pests and diseases include:
Pests: Flea beetles, aphids, and root maggots. Use row covers and organic pesticides to manage infestations.
Diseases: Downy mildew and clubroot. Practice crop rotation and avoid overwatering to minimize risks.
- Harvesting Radishes
Radishes are ready for harvest when roots are 1-2 inches in diameter.
Gently pull out the radishes by hand or use a garden fork to avoid damaging the roots.
- Storing and Using Radishes
Storage: Remove the leaves and store radishes in the refrigerator for up to two weeks.
Usage: Radishes can be eaten raw in salads, pickled, or cooked in various dishes.
Tips for Successful Radish Cultivation
Ensure consistent watering for tender, flavorful radishes.
Rotate crops to maintain soil health and prevent disease buildup.
Plant radishes in succession every 2-3 weeks for a continuous harvest.

Proper Fertilizer Application for Radish Cultivation
Radish is a fast-growing and highly nutritious root vegetable that thrives in well-drained, loose soil with adequate nutrients. Proper fertilization is essential for achieving optimal growth, ensuring healthy roots, and boosting yield. This blog outlines the steps and guidelines for applying the right fertilizers to radish crops.
Soil Preparation
Before planting radish, it’s crucial to prepare the soil:
- Soil Testing: Conduct a soil test to determine the pH and nutrient levels. Radish thrives in slightly acidic to neutral soil with a pH of 6.0–7.0.
- Loosen the Soil: Plow or till the soil to a depth of 6–8 inches to ensure root penetration.
- Organic Matter: Add organic matter like well-rotted compost or aged manure to improve soil texture and fertility.
Nutrient Requirements for Radish
Radish plants require three primary nutrients for healthy growth: nitrogen (N), phosphorus (P), and potassium (K). Understanding their roles can help you balance fertilizer application:
Nitrogen (N): Promotes leafy growth. Over-application can result in excessive foliage at the expense of root development.
Phosphorus (P): Encourages strong root growth, which is critical for radish development.
Potassium (K): Improves overall plant health and enhances disease resistance.
Recommended Fertilizer Application
- Before Sowing:
Apply a balanced fertilizer like NPK 10:10:10 or 5:10:10 at a rate of 2–3 kg per 100 square meters.
Mix the fertilizer thoroughly into the top 4–6 inches of soil to make nutrients readily available.
- Organic Fertilizers:
Use well-rotted farmyard manure or compost at 10–15 tons per hectare.
Incorporate bone meal or rock phosphate (1–2 kg per 100 square meters) to boost phosphorus content.
- After Sowing:
Radish is a short-duration crop (20–50 days, depending on the variety). Apply a light dose of nitrogen-rich fertilizer like urea (10–15 g per 100 square meters) 7–10 days after germination. Avoid excess nitrogen to prevent stunted roots.
- Top Dressing:
Apply a second light dose of potash (potassium sulfate) after 15–20 days to support root enlargement.
Irrigation and Fertilizer Efficiency
Irrigation: Ensure consistent soil moisture for uniform root growth. Avoid waterlogging, as it can lead to poor root quality and diseases.
Fertilizer Solubility: Dissolve granular fertilizers in water before application to ensure even distribution and prevent nutrient wastage.
Additional Tips
- Crop Rotation: Avoid planting radish in the same field repeatedly to prevent nutrient depletion and soil-borne diseases. Rotate with legumes or leafy vegetables to maintain soil health.
- Mulching: Use organic mulch to retain soil moisture and suppress weeds, which can compete for nutrients.
- Pest and Disease Management: Regularly monitor for pests like aphids and diseases like root rot. Healthy, fertilized plants are more resistant to stress.
Applying the right fertilizers at the appropriate time is crucial for successful radish cultivation. Focus on maintaining a balanced nutrient supply, starting with soil preparation and continuing with light applications during the growing cycle. By following these guidelines, you can maximize yield and produce high-quality radish roots that are ready for market or home consumption.

The Proper Way to Enjoy Radish Stir-Fry (Mulor Chechra)
Radish, commonly known as "mula" in Bengali, is a versatile root vegetable loved for its crisp texture and slightly spicy flavor. Among the many ways to prepare radish, mulor chechra, or radish stir-fry, is a popular Bengali dish that combines health benefits with amazing taste. This dish utilizes the whole radish plant, including the root and the leaves, making it both economical and nutritious. Here, we will explore the perfect way to cook and enjoy mulor chechra.
Health Benefits of Radish
Before diving into the recipe, let’s take a moment to appreciate why radish is a great addition to your diet:
- Rich in Nutrients: Radish is packed with vitamins like Vitamin C and B6, as well as minerals like potassium and calcium.
- Good for Digestion: Its high fiber content aids in digestion and prevents constipation.
- Detoxifying Properties: Radish helps cleanse the liver and kidneys.
- Low in Calories: Ideal for those looking to maintain or lose weight.
- Antioxidant-Rich: It helps boost immunity and protects against free radicals.
Ingredients for Mulor Chechra
To prepare this delicious dish, you’ll need the following ingredients:
- Radish (mula) - 2 medium-sized (including leaves)
- Potatoes - 1 medium (optional)
- Pumpkin - 100 grams (optional, for sweetness)
- Mustard seeds - 1 teaspoon
- Turmeric powder - ½ teaspoon
- Red chili powder - ½ teaspoon (optional)
- Green chilies - 2-3, slit
- Nigella seeds (kalonji) - ½ teaspoon
- Dry red chilies - 1-2 (optional, for tempering)
- Mustard oil - 2 tablespoons
- Salt - to taste
- Sugar - a pinch (optional)
Preparation Steps
- Wash and Clean:
Thoroughly wash the radish and its leaves. Peel the radish root and chop it into thin slices or small cubes.
Chop the radish leaves finely. Ensure no dirt remains in the leaves.
- Prepare the Vegetables:
If using potatoes and pumpkin, peel and chop them into small cubes.
- Heat the Oil:
Heat mustard oil in a pan until it begins to smoke slightly. This removes its raw smell and enhances the flavor.
- Add Tempering:
Add mustard seeds, nigella seeds, dry red chilies, and slit green chilies. Sauté for a few seconds until aromatic.
- Cook the Vegetables:
Add the chopped radish and stir well. If using potatoes or pumpkin, add them at this stage.
Sprinkle turmeric powder, red chili powder, and salt. Mix well.
- Simmer and Cook:
Cover the pan and let the vegetables cook on low heat for 10-15 minutes. Stir occasionally to prevent sticking. Radish releases water as it cooks, which helps soften the vegetables.
- Add the Leaves:
Once the vegetables are half-cooked, add the chopped radish leaves. Mix everything thoroughly and cook for another 5-7 minutes until the leaves are tender and well-integrated.
- Finish with Sugar (Optional):
Add a pinch of sugar to balance the flavors, especially if the radish tastes slightly bitter.
- Serve:
Once cooked, remove the pan from heat and let it rest for a minute. Serve hot with steamed rice or chapati.
Tips for Perfect Mulor Chechra
- Choose Fresh Radish: Always use fresh radish with vibrant, green leaves. Wilted or yellowed leaves may not taste as good.
- Adjust Spices: Feel free to tweak the spice levels based on your preference.
- Don’t Overcook: Radish and its leaves cook quickly, so keep an eye on them to maintain texture.
- Use Mustard Oil: For an authentic Bengali flavor, mustard oil is a must. If unavailable, you can use vegetable oil, but the taste will differ.
Serving Suggestions
With Rice: Mulor chechra pairs wonderfully with plain steamed rice. The subtle spice and earthy flavors complement the simplicity of rice.
As a Side Dish: You can serve this stir-fry alongside lentils (dal) and fried vegetables for a wholesome Bengali meal.
Why You Should Try Mulor Chechra
Mulor chechra is not just a dish; it's a testament to Bengali culinary tradition. It embodies the principle of zero waste by using the entire radish plant, ensuring nothing goes to waste. The dish is light, healthy, and packed with flavors, making it a perfect addition to your regular meals.

Preparing Land for Plantation: A Comprehensive Guide
Land preparation is a fundamental step in successful farming and gardening. A well-prepared plot ensures healthy plant growth, increased yield, and reduced pest and weed issues. This guide outlines the process of preparing land for plantation, covering everything from initial assessment to final readiness.
- Assessing the Land
Before starting the preparation, evaluate the land to determine its suitability for the intended crops. Key factors to consider include:
Soil Type: Identify whether the soil is sandy, clayey, loamy, or a mix. Loamy soil is ideal for most crops as it retains moisture and nutrients.
Topography: Understand the slope and drainage patterns to prevent waterlogging or erosion.
Soil Health: Test the soil for pH levels, fertility, and nutrient deficiencies. This helps in deciding the type and quantity of fertilizers or amendments required.
- Clearing the Land
Clearing the land involves removing any obstacles that might hinder plant growth:
Remove Weeds and Grass: Use manual tools, chemical herbicides, or machinery to clear weeds and grass.
Cut Down Trees and Shrubs: Remove unwanted trees, stumps, and shrubs to make the land ready for cultivation.
Dispose of Debris: Safely dispose of stones, branches, and other debris to ensure the land is clean.
- Plowing the Land
Plowing is essential for loosening the soil, improving aeration, and facilitating root penetration. It also helps in mixing organic matter into the soil. Depending on the land size and resources, you can use:
Manual Tools: Hoes or spades for small plots.
Animal-Drawn Plows: Suitable for medium-sized farms.
Tractors: Ideal for large-scale farming.
Plow the land to a depth of 6-12 inches, depending on the crop requirements.
- Leveling the Land
Leveling ensures uniform distribution of water and nutrients. It also prevents soil erosion and waterlogging. Use a leveller or rake to flatten the surface, ensuring slight slopes for proper drainage where needed.
- Adding Organic Matter and Fertilizers
Organic matter enriches the soil with nutrients and improves its texture. Common organic additions include:
Compost: Decomposed organic matter that boosts soil fertility.
Manure: Animal dung that provides nitrogen, phosphorus, and potassium.
Green Manure: Plant residues plowed back into the soil. Additionally, add chemical fertilizers based on soil test results to address specific nutrient deficiencies.
- Irrigation System Setup
Plan and set up an efficient irrigation system based on the crop’s water needs and the land’s topography:
Drip Irrigation: For water-efficient delivery directly to plant roots.
Sprinkler Systems: Suitable for evenly watering larger areas.
Furrow Irrigation: Common in row-crop farming.
- Creating Beds or Rows
Design the plantation layout by creating raised beds, rows, or furrows, depending on the crop type. This step ensures proper spacing, sunlight exposure, and water drainage.
- Pest and Disease Control
Prevent pests and diseases by taking preemptive measures:
Soil Solarization: Cover the soil with transparent plastic sheets to trap heat and kill pathogens.
Crop Rotation: Avoid planting the same crop repeatedly in the same area.
Integrated Pest Management (IPM): Use biological, cultural, and chemical methods to minimize pest damage.
- Final Preparations
Fencing: Install fences to protect the land from animals and trespassers.
Pathways: Create pathways for easy access to different parts of the land without disturbing the plants.
Markers: Use markers to indicate planting spots or sections for better organization.
- Time for Planting
Once the land is fully prepared, it’s time to plant. Follow proper planting techniques for the specific crop, ensuring the correct depth, spacing, and orientation.
Benefits of Proper Land Preparation
- Improved Soil Quality: Better aeration, moisture retention, and nutrient availability.
- Higher Yields: Healthy soil supports robust plant growth, leading to better harvests.
- Reduced Pest and Weed Issues: Clean and well-prepared land minimizes competition and infestations.
- Efficient Resource Use: Optimized water and fertilizer application reduce wastage.
Land preparation is the foundation of successful cultivation. By following these steps meticulously, you can ensure a productive and sustainable farming or gardening experience. Whether you’re a seasoned farmer or a beginner, investing time and effort in land preparation will always yield fruitful results.
Preparing Land for Plantation: A Comprehensive Guide
Land preparation is a fundamental step in successful farming and gardening. A well-prepared plot ensures healthy plant growth, increased yield, and reduced pest and weed issues. This guide outlines the process of preparing land for plantation, covering everything from initial assessment to final readiness.
- Assessing the Land
Before starting the preparation, evaluate the land to determine its suitability for the intended crops. Key factors to consider include:
Soil Type: Identify whether the soil is sandy, clayey, loamy, or a mix. Loamy soil is ideal for most crops as it retains moisture and nutrients.
Topography: Understand the slope and drainage patterns to prevent waterlogging or erosion.
Soil Health: Test the soil for pH levels, fertility, and nutrient deficiencies. This helps in deciding the type and quantity of fertilizers or amendments required.
- Clearing the Land
Clearing the land involves removing any obstacles that might hinder plant growth:
Remove Weeds and Grass: Use manual tools, chemical herbicides, or machinery to clear weeds and grass.
Cut Down Trees and Shrubs: Remove unwanted trees, stumps, and shrubs to make the land ready for cultivation.
Dispose of Debris: Safely dispose of stones, branches, and other debris to ensure the land is clean.
- Plowing the Land
Plowing is essential for loosening the soil, improving aeration, and facilitating root penetration. It also helps in mixing organic matter into the soil. Depending on the land size and resources, you can use:
Manual Tools: Hoes or spades for small plots.
Animal-Drawn Plows: Suitable for medium-sized farms.
Tractors: Ideal for large-scale farming.
Plow the land to a depth of 6-12 inches, depending on the crop requirements.
- Leveling the Land
Leveling ensures uniform distribution of water and nutrients. It also prevents soil erosion and waterlogging. Use a leveller or rake to flatten the surface, ensuring slight slopes for proper drainage where needed.
- Adding Organic Matter and Fertilizers
Organic matter enriches the soil with nutrients and improves its texture. Common organic additions include:
Compost: Decomposed organic matter that boosts soil fertility.
Manure: Animal dung that provides nitrogen, phosphorus, and potassium.
Green Manure: Plant residues plowed back into the soil. Additionally, add chemical fertilizers based on soil test results to address specific nutrient deficiencies.