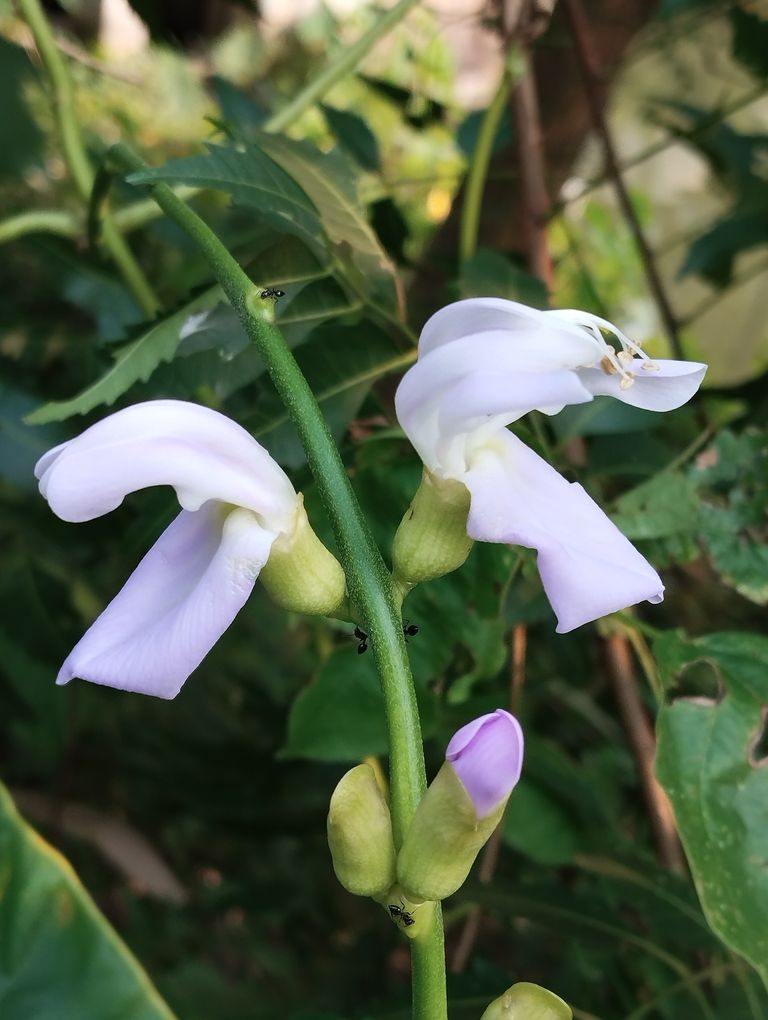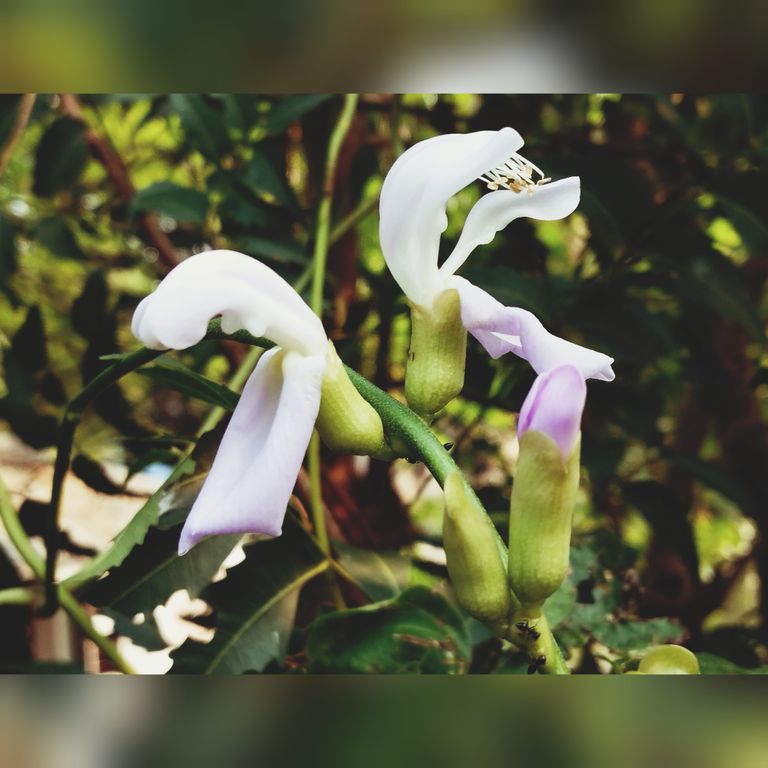
How to Care for Siam Tulip Flowers Curcuma Alismatifolia.
The Siam Tulip, also known as Curcuma alismatifolia, is a tropical plant native to Southeast Asia, particularly Thailand. Despite its name, the Siam Tulip is not a true tulip, but a member of the ginger family. It is prized for its stunning flowers that come in shades of pink, purple, and white, and it makes a wonderful addition to gardens and as indoor potted plants. If you’re interested in growing Siam Tulip flowers, this blog will guide you through how to care for them.
- Understanding the Plant’s Natural Habitat
Before diving into care tips, it's important to understand the Siam Tulip’s natural growing conditions. In the wild, these plants thrive in tropical environments with high humidity, warm temperatures, and indirect sunlight. This knowledge can help you recreate these conditions in your home or garden, ensuring healthy growth and vibrant blooms.
- Soil Requirements
Siam Tulips prefer well-draining soil that is rich in organic matter. To mimic their natural tropical environment, you should plant them in a potting mix designed for tropical plants or add compost to the garden soil to improve its texture and nutrient content. The soil should retain some moisture but should not be waterlogged, as this can cause root rot.
Best Soil Mix:
A mixture of garden loam, peat moss, and perlite works well.
Add organic compost to improve fertility.
- Light Conditions
Siam Tulips prefer bright, indirect light. They do well in filtered sunlight or partial shade. Direct sunlight can scorch the leaves and flowers, while too little light may result in poor flowering.
Ideal Light:
Indoors: Place them near a window with filtered sunlight or in a bright room.
Outdoors: They thrive in partially shaded areas where they receive some morning sunlight but are protected from harsh afternoon rays.
- Watering Schedule
One of the most crucial aspects of caring for Siam Tulips is watering. These plants need consistent moisture, especially during their growing season. However, overwatering can lead to root rot, so balance is key.
Watering Tips:
Keep the soil evenly moist but not soggy during the growing season (spring to summer).
Water less frequently during the plant’s dormant period (fall to winter) when growth slows down.
Use room-temperature water to avoid shocking the plant’s roots.
- Humidity Levels
Being tropical plants, Siam Tulips thrive in high humidity environments. If you’re growing these plants indoors, you may need to increase the humidity around them, especially if you live in a dry climate.
Ways to Increase Humidity:
Place a humidity tray or a water-filled saucer beneath the pot.
Use a humidifier in the room where the plant is kept.
Regularly mist the leaves with water to maintain moisture.
- Fertilizing
To encourage healthy growth and abundant blooming, you should feed your Siam Tulip with a balanced, water-soluble fertilizer during the growing season. A fertilizer that has equal parts nitrogen, phosphorus, and potassium is ideal.
Fertilizing Tips:
Fertilize every two weeks during the growing season (spring through summer).
Stop fertilizing during the dormant period (fall to winter).
- Pruning and Deadheading
Pruning is essential to maintain the plant’s shape and to encourage new growth. Additionally, deadheading (removing spent flowers) will help the plant focus its energy on producing more blooms.
Pruning Tips:
Remove yellow or damaged leaves with clean scissors to keep the plant looking tidy.
Cut off spent flowers to promote the growth of new ones.
- Repotting and Propagation
Siam Tulips can become root-bound over time, so repotting every couple of years is necessary. When repotting, you can also propagate new plants by dividing the rhizomes.
Repotting and Propagation Steps:
Repot the plant in fresh soil every 1-2 years during the dormant period.
To propagate, gently divide the rhizomes, making sure each section has healthy roots and a few stems.
Plant the divided rhizomes in separate pots and water them well.
- Dormancy Period
In colder climates or during the winter months, the Siam Tulip enters a dormancy period. During this time, the plant’s growth slows down, and it may lose its leaves. Don’t worry—this is normal, and the plant will regrow once the growing season starts.
Dormancy Care:
Reduce watering during dormancy to prevent the soil from becoming too wet.
Keep the plant in a cooler, shaded location during dormancy.
Resume normal care once new growth appears in the spring.
- Pests and Diseases
Siam Tulips are relatively resistant to pests, but they can occasionally be affected by spider mites, aphids, or fungal infections. Regularly check the leaves for signs of pests or mold.
Dealing with Pests:
Wash the leaves with soapy water if you notice aphids or mites.
Treat fungal infections by ensuring the plant has proper air circulation and avoid overwatering.
Conclusion
The Siam Tulip is a beautiful and exotic plant that, with proper care, can bring tropical elegance to your garden or home. By understanding the plant’s needs for light, water, humidity, and soil, you can ensure that your Siam Tulip remains healthy and blooms abundantly year after year. Regular pruning, fertilizing, and monitoring for pests will also help keep your plant in its best condition. Whether indoors or outdoors, this stunning plant will reward you with its lush, vibrant flowers when given the right care.
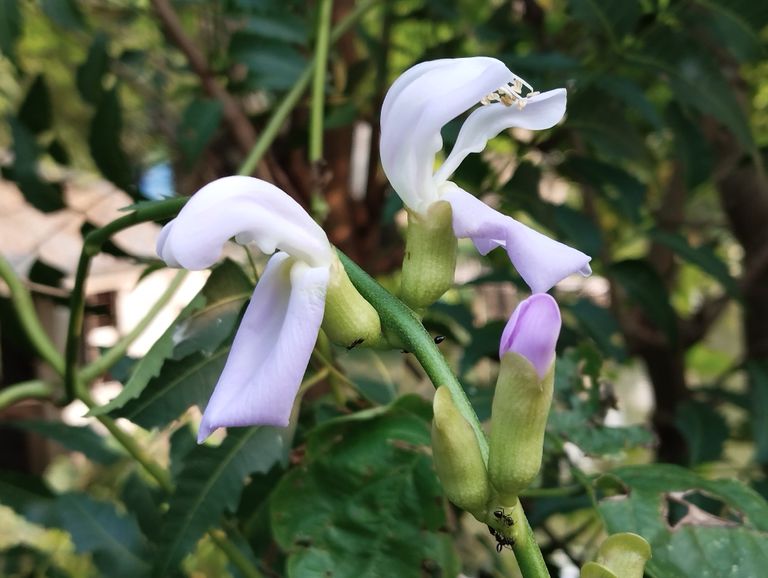
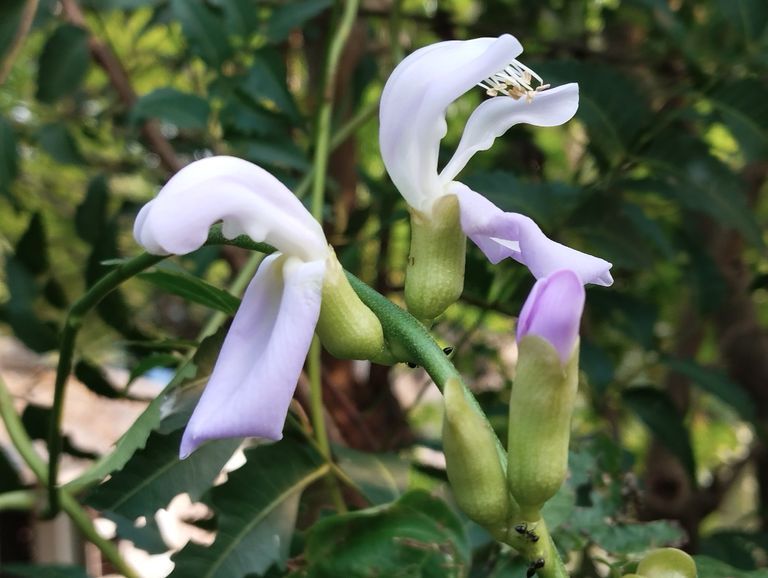
Optimal Time for Planting Bean Seeds
Beans are one of the most popular crops grown in home gardens due to their versatility and ease of cultivation. Planting beans at the right time is crucial for achieving a bountiful harvest. This blog will discuss the best time to plant bean seeds, along with important factors to consider for successful growth. Whether you're planting pole beans, bush beans, or any other variety, the timing is key to ensuring healthy plants and a productive crop.
Understanding the Bean Growing Season
Beans are warm-season crops, which means they thrive in warm weather and are highly sensitive to frost. As a result, the timing of planting is closely tied to the temperature and the growing season in your region. Beans need a minimum soil temperature of 60°F (16°C) to germinate effectively. They also prefer air temperatures between 70°F to 85°F (21°C to 29°C) during their growing period.
Spring Planting: The Best Time to Plant Bean Seeds
In most regions, the ideal time for planting beans is in the spring, after the last frost date. You can determine the last frost date in your area by checking local gardening guides or weather forecasts. Once the risk of frost has passed, and the soil has warmed up, you can safely plant bean seeds outdoors.
- Last Frost Date: A Key Consideration
Beans are sensitive to cold, so planting them before the last frost can severely damage or kill the seeds and young plants. It’s important to wait until after the final frost date in your area. Depending on where you live, this can vary between late March to late May.
- Soil Temperature: Optimal for Germination
The soil temperature should be at least 60°F (16°C) before planting bean seeds. If the soil is too cold, germination will be slow, or the seeds might rot. Use a soil thermometer to check the temperature. In warmer regions, such as the southern United States, you may be able to plant as early as March. In cooler climates, like northern regions, late May or early June may be the right time to start planting.
Planting Beans in the Summer
In warmer climates or regions with long growing seasons, beans can also be planted in the summer. However, avoid the hottest part of summer when temperatures consistently exceed 90°F (32°C). High temperatures can stress the plants and reduce yields. Late summer planting can be a good option if you want a second harvest. In this case, aim to plant beans around mid-to-late July or early August.
Fall Planting: Possible in Warmer Regions
For gardeners in warm climates, a fall planting of beans is also possible. Beans can be planted in late summer or early fall as long as they have enough time to mature before the first frost of autumn. Keep in mind that the days will start getting shorter in the fall, so it's important to select fast-maturing bean varieties if you plan to harvest before winter.
Varieties of Beans and Their Planting Time
There are two main types of beans that you can grow: bush beans and pole beans. The planting time for these two varieties may vary slightly.
- Bush Beans
Bush beans are compact and generally mature faster than pole beans. They typically take between 50 to 60 days to reach maturity, making them ideal for spring and early summer planting. Since they grow low to the ground, they don’t need a support structure. You can plant bush beans in successive batches every two to three weeks for a continuous harvest throughout the growing season.
- Pole Beans
Pole beans grow as climbing vines and take a bit longer to mature, usually around 60 to 70 days. They require a trellis or some form of support to grow properly. Pole beans are best planted in the late spring to early summer, once the soil is thoroughly warm. Due to their longer growing season, they are typically planted only once during the season, but they tend to produce beans over a longer period than bush beans.
Preparing the Soil for Planting
Before planting, it's important to prepare the soil for optimal bean growth. Beans prefer well-drained, fertile soil with a pH range of 6.0 to 6.8. Ensure the soil is loose and not compacted, as beans need proper air circulation and moisture retention.
- Adding Organic Matter
Beans grow best in soil that is rich in organic matter, such as compost or well-rotted manure. Incorporate organic matter into the soil before planting to provide essential nutrients and improve soil structure.
- Watering and Drainage
While beans need regular watering, they do not tolerate waterlogged soil. Overwatering can lead to root rot and fungal diseases. Ensure that the soil has good drainage, especially in regions with heavy rainfall. Mulching can help retain moisture while preventing soil from becoming too wet.
Sowing Bean Seeds: Step-by-Step Guide
Once you've determined the right time to plant your beans, follow these steps to ensure successful germination and growth:
- Spacing and Depth
Plant bean seeds about 1 inch deep in the soil. For bush beans, space the seeds 2 to 4 inches apart, with rows about 18 to 24 inches apart. For pole beans, plant seeds 4 to 6 inches apart, and provide ample space for trellises or supports.
- Watering After Planting
Water the seeds immediately after planting to moisten the soil. Keep the soil consistently moist until the seeds germinate, which usually takes about 7 to 10 days. After germination, reduce watering frequency but ensure the plants receive about 1 inch of water per week.
- Thinning the Seedlings
Once the seedlings are a few inches tall, thin them out to provide enough space for proper growth. For bush beans, thin the plants to about 4 to 6 inches apart. For pole beans, space the plants about 6 to 8 inches apart.
Conclusion: Timing Is Key for a Bountiful Harvest
The key to growing healthy beans and achieving a successful harvest lies in planting them at the right time. By paying attention to the last frost date, soil temperature, and your specific climate, you can ensure that your bean seeds have the best chance to thrive. Whether you’re growing beans in the spring, summer, or fall, proper timing, preparation, and care will reward you with a plentiful crop of fresh, delicious beans. Happy planting!
How to Make Banana Stem Bundles: A Step-by-Step Guide
In many parts of South Asia, particularly Bangladesh and India, the banana plant plays an essential role not only for its fruit but also for other valuable parts of the plant. One of these parts is the banana stem, locally known as "sim gacha" or banana plant stem. Though it is often overlooked, the banana stem is a highly versatile ingredient used for food, crafts, and even traditional medicine. One unique use of banana stems is the creation of banana stem bundles, a traditional craft still practiced in some rural areas. These bundles have various applications, including use as ropes, mats, or compost materials.
In this blog, we’ll explore the traditional method of preparing banana stem bundles, step by step. This is a simple, eco-friendly craft that is both sustainable and easy to learn.
Materials Needed for Making Banana Stem Bundles
Before we dive into the step-by-step instructions, you need to gather the following materials:
Banana Stem: Fresh banana stems are ideal for crafting. The banana plant's central stalk is soft but strong, making it perfect for bundling.
Sharp Knife or Sickle: To strip the stem efficiently.
String or Jute Rope: For binding the bundles together (optional).
Gloves: The juice from the banana stem can be sticky, so gloves might be helpful.
Step 1: Harvesting the Banana Stem
The first step to making banana stem bundles is harvesting the banana stem itself. The stem is located in the center of the banana plant after the outer layers are peeled away. It is best to choose a mature banana plant that has already borne fruit. Once the fruit is harvested, the plant begins to wither, making this the perfect time to cut down the stem for further use.
- Cutting the Stem: Using a sharp knife or sickle, carefully cut the stem near the base of the banana plant. Be cautious, as the sap can be slippery.
- Cleaning the Stem: Once the stem is cut, remove the outer layers until you reach the soft, inner core. This core will be the main material for your bundles.
Step 2: Slicing the Banana Stem
After you've harvested and cleaned the banana stem, the next step is slicing it into thin strips. These strips will later be dried and bound together to form the final bundles.
- Lay the Stem Flat: Place the cleaned banana stem flat on a smooth surface. Make sure it is secure so it doesn’t slip while slicing.
- Cut Thin Strips: Using a sharp knife, slice the stem into thin, long strips. The width can vary depending on the intended use of the bundles. For rope-like bundles, thinner strips are preferable. If you're planning to use the bundles for mats or other crafts, thicker strips might be more durable.
Step 3: Drying the Banana Stem Strips
Once you have your strips of banana stem, it's time to dry them. Proper drying ensures that the banana stem bundles are strong, durable, and resistant to mold or rot.
- Sun Drying: Lay the strips out in the sun for 2-3 days, depending on the weather. Make sure to turn the strips occasionally to ensure even drying on all sides. The strips should become tough and lose their moisture content.
- Indoor Drying (Optional): If outdoor drying is not an option, you can hang the strips in a well-ventilated area indoors. This method will take longer but will still result in dry, usable strips.
Step 4: Bundling the Banana Stem Strips
Now that the strips are dry, it's time to bundle them together.
- Group the Strips: Gather the dried strips into a small bundle. Depending on how thick you want the final product, you can use more or fewer strips in each bundle.
- Tie the Bundle: Secure the bundle with string, jute rope, or even a small strip of banana fiber. For some traditional uses, the stem strips themselves are intertwined to form natural bundles, eliminating the need for any additional binding material.
- Twist the Bundle: For certain applications, like rope making, twisting the bundle adds strength and flexibility. Simply hold one end of the bundle and twist the entire length tightly.
Step 5: Storing or Using the Banana Stem Bundles
Once your banana stem bundles are complete, they are ready for use. If you are not using them immediately, proper storage is key to keeping them intact.
- Store in a Dry Place: To prevent moisture from ruining the dried bundles, store them in a dry area. Ideally, hang them up to allow air circulation.
- Apply to Your Craft: Banana stem bundles can be used for many purposes such as making baskets, ropes, mats, and even as natural packaging material. Some farmers also use these bundles as compost, due to their rich organic properties.
Benefits of Using Banana Stem Bundles
Banana stem bundles offer a range of benefits, especially in rural, agrarian societies. Here are some of the key advantages:
Eco-Friendly: Banana stems are a byproduct of banana farming and would otherwise be discarded. Using them for bundling helps minimize waste.
Cost-Effective: Since banana stems are readily available, this method is very inexpensive, particularly when compared to synthetic alternatives.
Multipurpose: Banana stem bundles can be adapted for a variety of uses, from craft materials to agricultural implements.
Biodegradable: As a natural material, banana stem bundles decompose easily, reducing environmental impact.
Nutritional Value: In some cultures, banana stem juice is extracted from the bundles and consumed for its high fiber content and potential health benefits.
Final Thoughts
Crafting banana stem bundles is a simple, sustainable practice that has been passed down through generations in many parts of South Asia. Whether used for practical purposes like ropes and mats or as part of traditional crafts, banana stem bundles are a great example of how nature offers us incredible resources.
If you have access to banana plants and are interested in eco-friendly crafting or agriculture, making banana stem bundles is an excellent project to try. Not only does it make use of a widely available material, but it also fosters a deeper connection with nature and traditional methods of resource utilization.
Give it a try and experience the satisfaction of crafting something useful from this humble, often-overlooked part of the banana plant.
