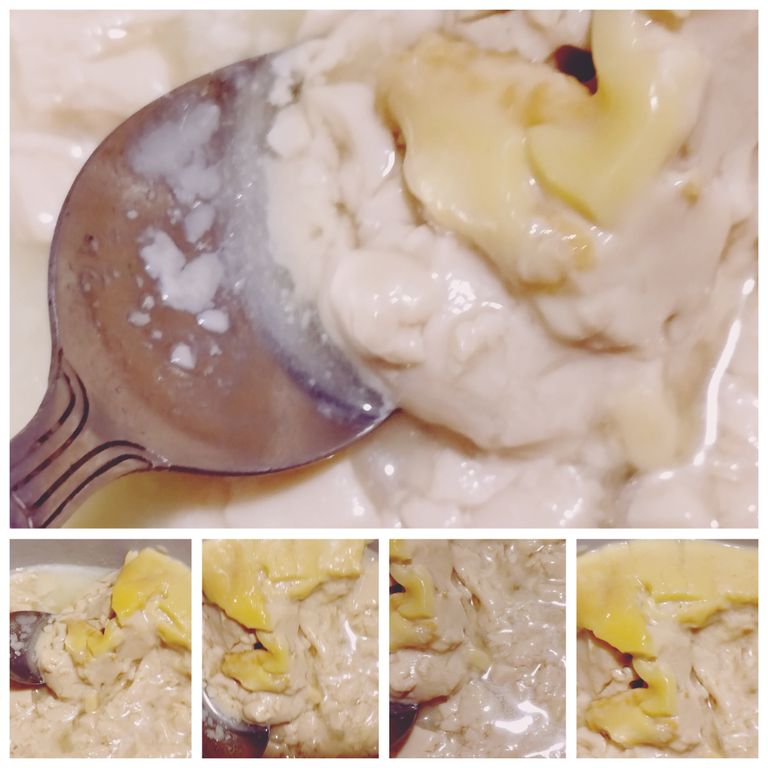
How to Make Yogurt at Home: A Step-by-Step Guide.
Yogurt, known as "doi" in Bengali, is a nutritious and versatile dairy product enjoyed worldwide. Making yogurt at home is easy, cost-effective, and allows you to control its quality. In this blog, we’ll explore the step-by-step process of making yogurt using simple ingredients and tools.
What is Yogurt?
Yogurt is a fermented dairy product made by adding live bacterial cultures to milk. The bacteria convert lactose, the sugar in milk, into lactic acid, giving yogurt its tangy flavor and thick consistency.
Benefits of Homemade Yogurt
- Freshness: Homemade yogurt is free from preservatives and artificial additives.
- Cost-Effective: Making yogurt at home is more affordable than buying store-bought options.
- Customizable: You can control the flavor, texture, and sweetness.
- Health Benefits: Rich in probiotics, it improves digestion and boosts immunity.
Ingredients
- Milk: Use any type of milk (whole, low-fat, or non-dairy). Whole milk results in creamier yogurt.
- Starter Culture: Use store-bought plain yogurt or a small amount of your previous homemade yogurt as the starter.
Tools Needed
Heavy-bottomed saucepan
Thermometer (optional but recommended)
Whisk or spoon
Clean glass or ceramic container with a lid
Warm towel or an insulated container
Step-by-Step Process of Making Yogurt
Step 1: Heat the Milk
- Pour the desired amount of milk into a saucepan.
- Heat it over medium heat, stirring occasionally, until it reaches about 85°C (185°F).
Why? This step kills harmful bacteria and helps the yogurt set properly.
Step 2: Cool the Milk
- Remove the saucepan from the heat and let the milk cool to about 43°C (110°F).
Tip: If you don’t have a thermometer, the milk should feel warm but not hot when you touch it.
Step 3: Add the Starter Culture
- Take 2-3 tablespoons of plain yogurt (starter culture) and whisk it into the warm milk.
- Mix thoroughly to distribute the bacteria evenly.
Step 4: Incubate the Mixture
- Pour the mixture into a clean glass or ceramic container and cover it with a lid.
- Wrap the container in a warm towel or place it in an insulated box.
- Let it sit undisturbed for 6-8 hours or overnight.
Tip: The incubation time affects the yogurt's tanginess. Longer incubation results in a tangier flavor.
Step 5: Check and Refrigerate
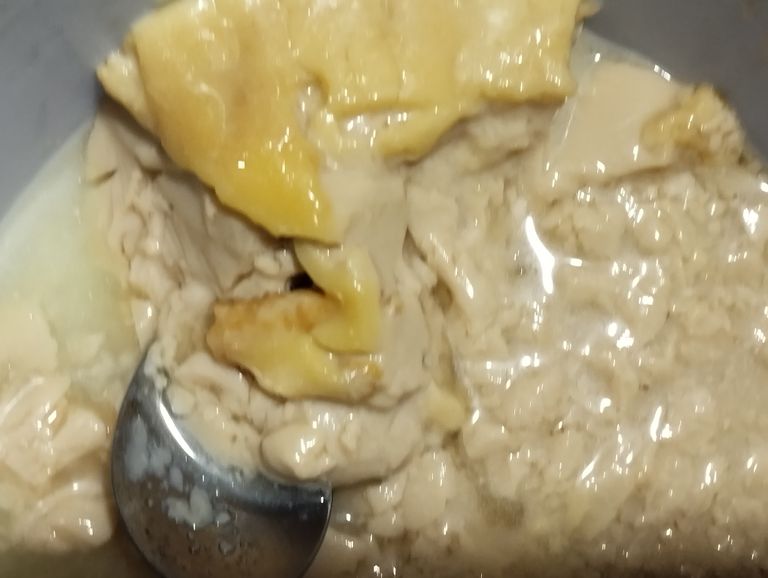
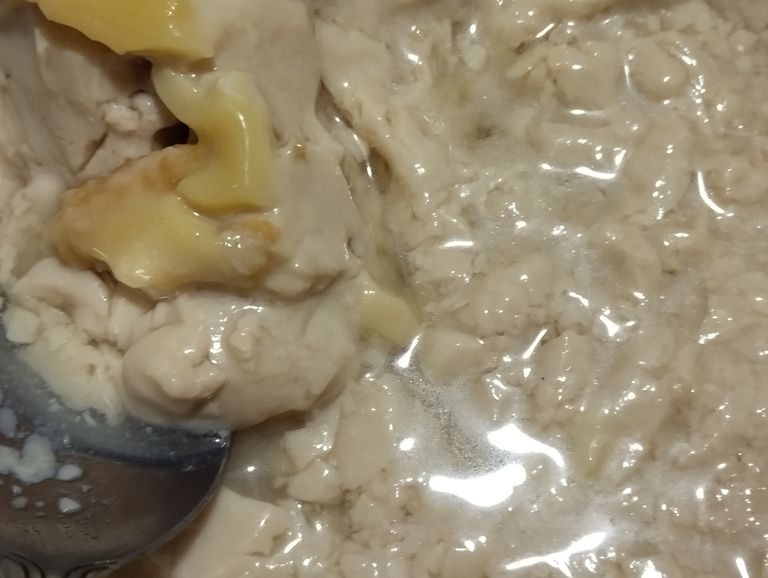
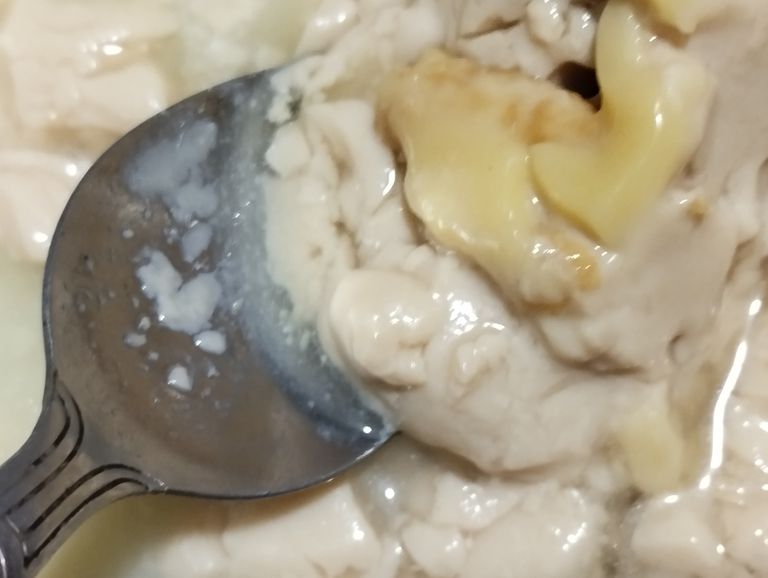
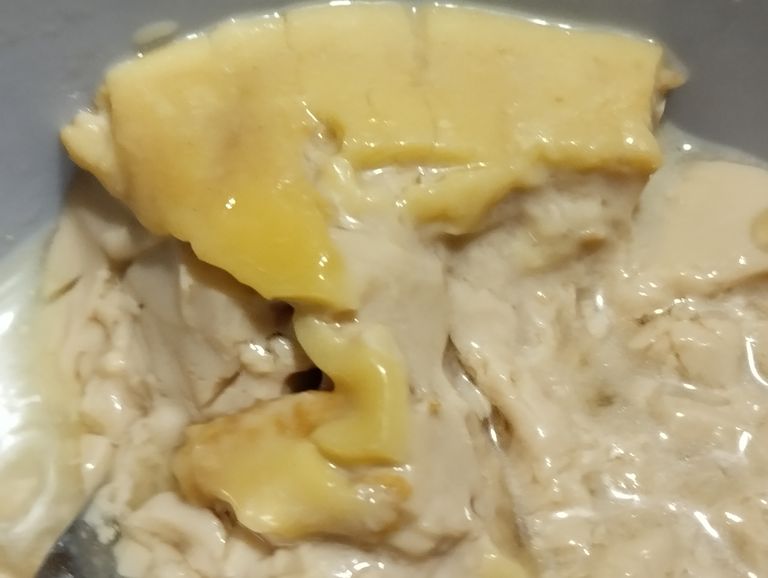
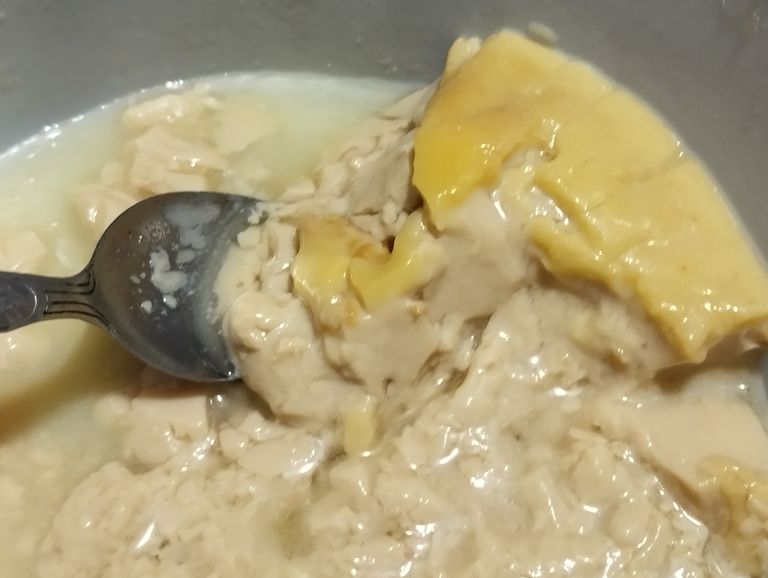
- After the incubation period, check if the yogurt has set. It should have a thick, custard-like texture.
- Refrigerate the yogurt for at least 2 hours before serving.
Tips for Perfect Yogurt
- Cleanliness: Ensure all tools and containers are thoroughly cleaned to prevent contamination.
- Consistent Temperature: Keep the mixture warm during incubation. Use an oven with the light on or a yogurt maker if needed.
- Experiment with Milk: For thicker yogurt, add a small amount of powdered milk to the milk before heating.
- Flavoring Options: Add sugar, honey, fruits, or vanilla extract after the yogurt has set.
Common Troubleshooting
Yogurt Didn’t Set:
The milk was too hot or too cold when the culture was added.
The starter culture wasn’t fresh or active.
Runny Yogurt:
The milk wasn’t heated enough, or the incubation temperature was inconsistent.
Too Tangy:
Reduce the incubation time.
Storing Yogurt
Store the yogurt in the refrigerator in an airtight container.
Homemade yogurt can last up to a week.
Why Make Yogurt at Home?
Making yogurt at home connects you to the traditional art of fermentation. It’s a simple yet rewarding process that guarantees fresh, healthy, and delicious yogurt every time.