Hello everyone, it's my pleasure to have you all once again on my blog.
Today, I will be taking us through the steps required to extract Keratin from chicken feathers.
Keratin is a type of structural protein found on the skin, hair, feathers, claws, horns, nails, scales, etc. It is also known as scleroproteins and can also be found in the lining of internal organs and glands.
Being a structural protein it helps to add rigidity to the various areas it is found. (No wonder people especially women who need hair growth often undergo Keratin treatment.
In other to extract Keratin from chicken feathers, here are the steps to be taken.
- STEP 1
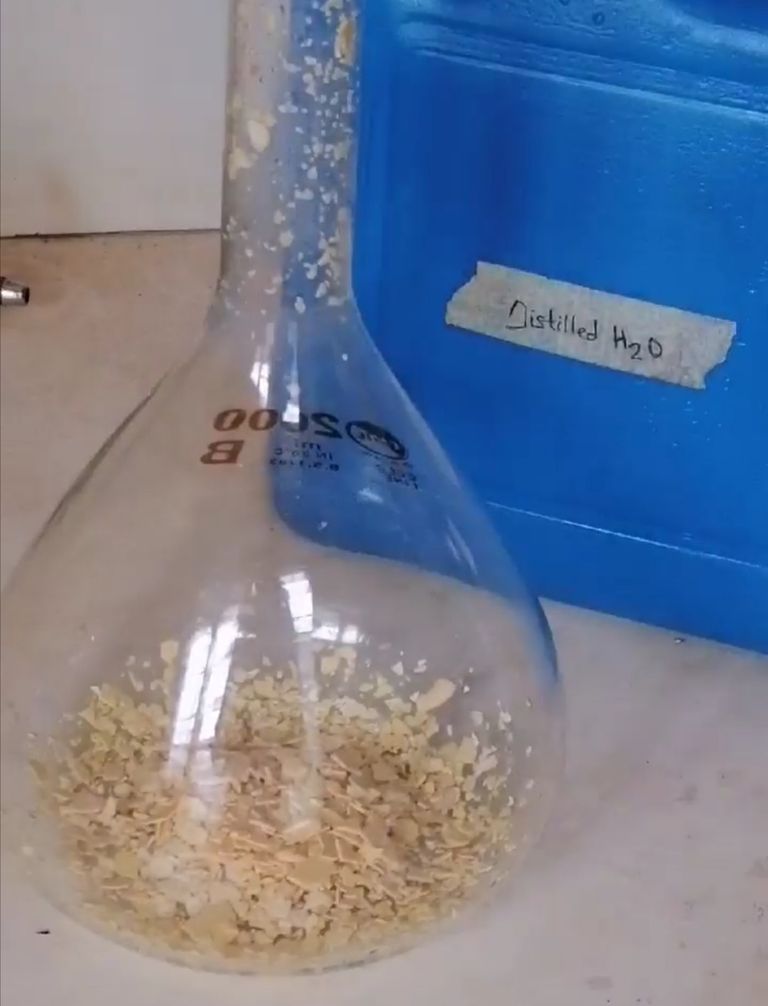
Prepare a 2L solution containing Sodium hydroxide and sodium sulfide.
Sodium hydroxide will aid the solubility of the chicken feathers while Sodium sulfide which is a reducing agent, will aid in the breakdown of the chicken feathers during stirring.
- preparation process
- STEP 2
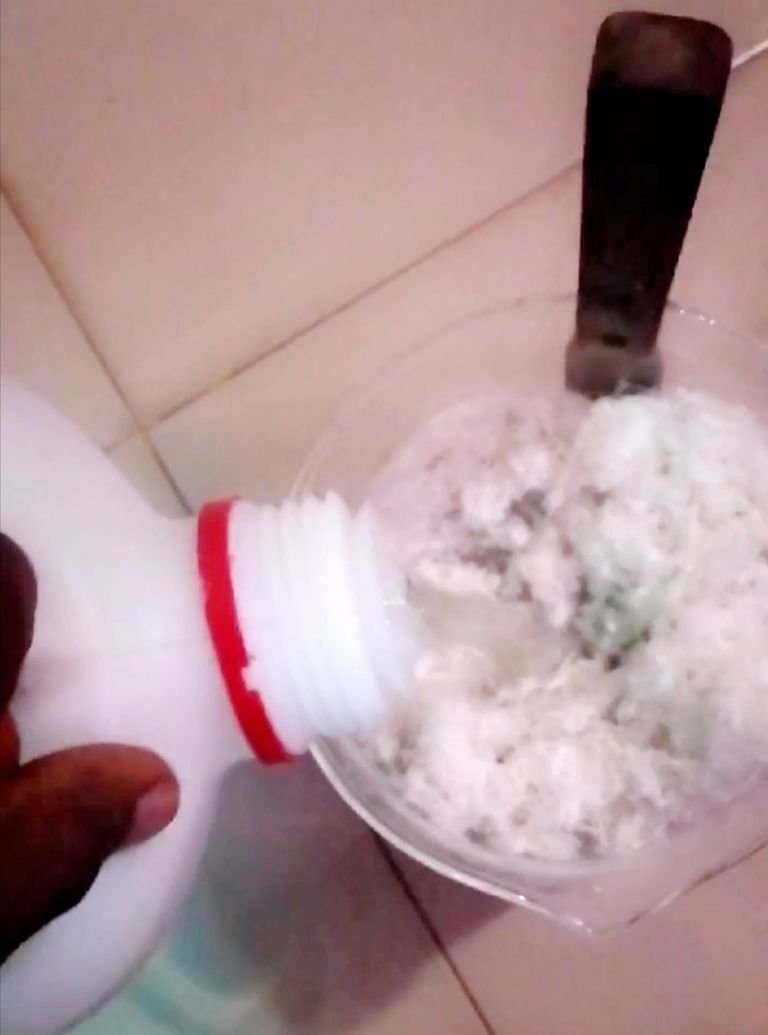
Pour the 2L solution prepared above on the chicken feathers already placed inside a beaker.
- See below
- STEP 3
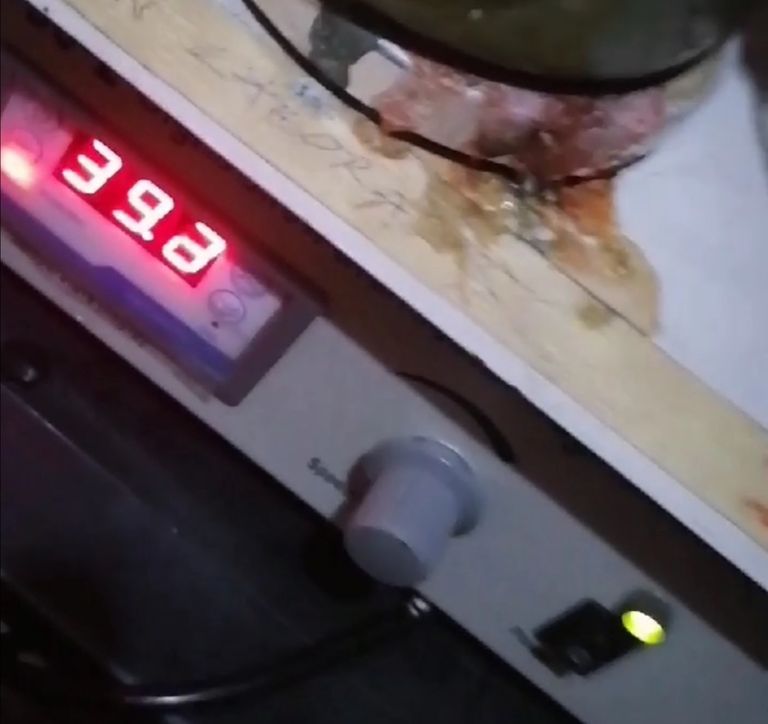
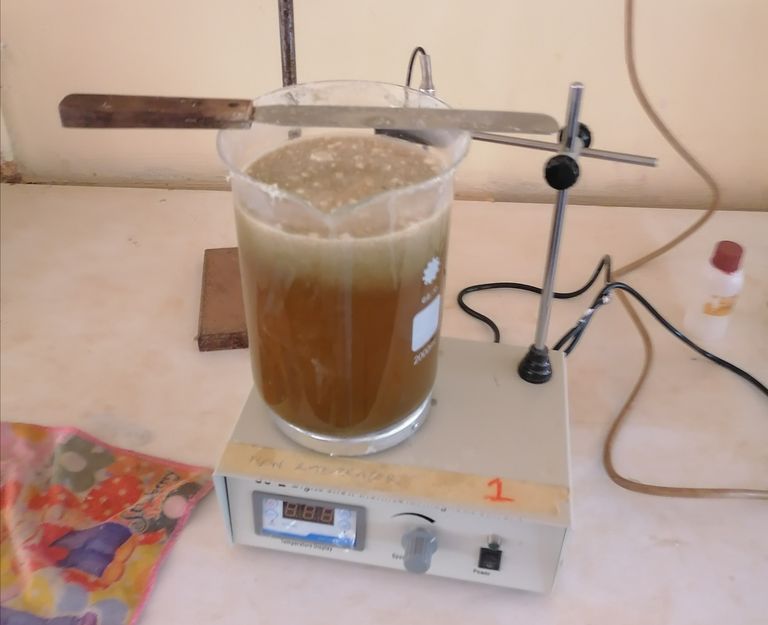
After pouring the solution and making sure the feathers don't stay afloat, I will move to set up the heater which will slightly be heating the solution while I stir in others for the feathers to properly dissolve.
The temperature of the heater should be maintained at 40-49 degrees in other to avoid low heat transfer or overheating.
In other to achieve this, an electrode is placed beside the heater which increases its temperature once it gets below 40° and when the temperature goes above 49°, the electrode is removed thus making the temperature gradually drop.
- See below
- STEP 4
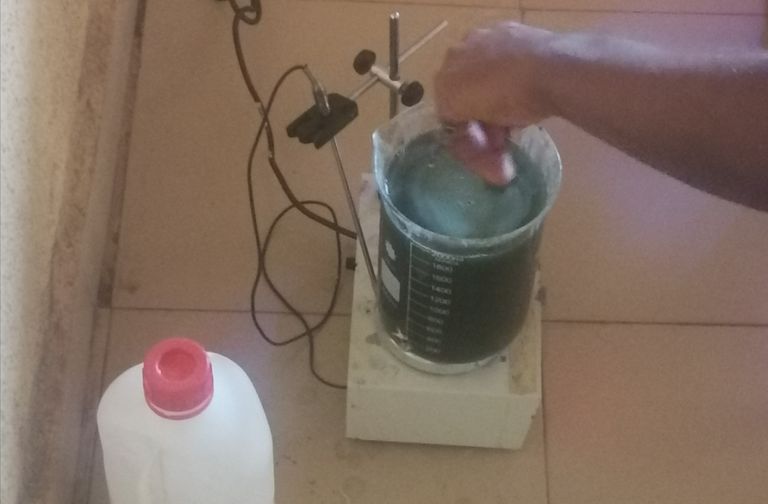
While still on the heater, the stirring should be made continuously for 6 hours in other to guarantee proper breakdown of the feathers.
On reaching the required time (6 hours) you will notice a total change in color from the initial brown to green.
- See below
- STEP 5
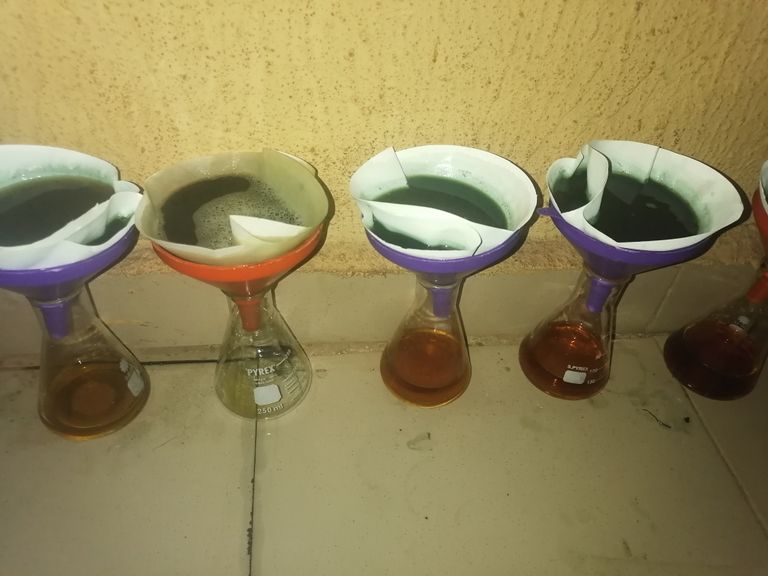
After I am done stirring for 6 hours, I will proceed with the first filtration.
- See below
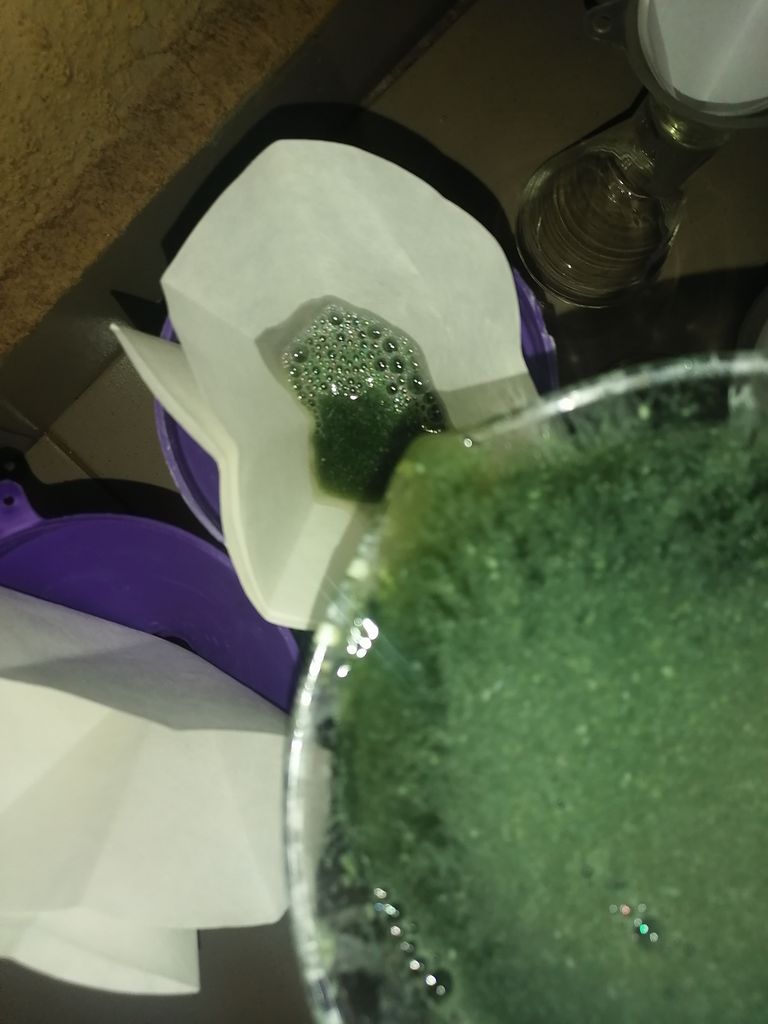
This first filtration takes hours to complete as the pours on the ashless filter paper tend to get blocked by the solution.
- STEP 6
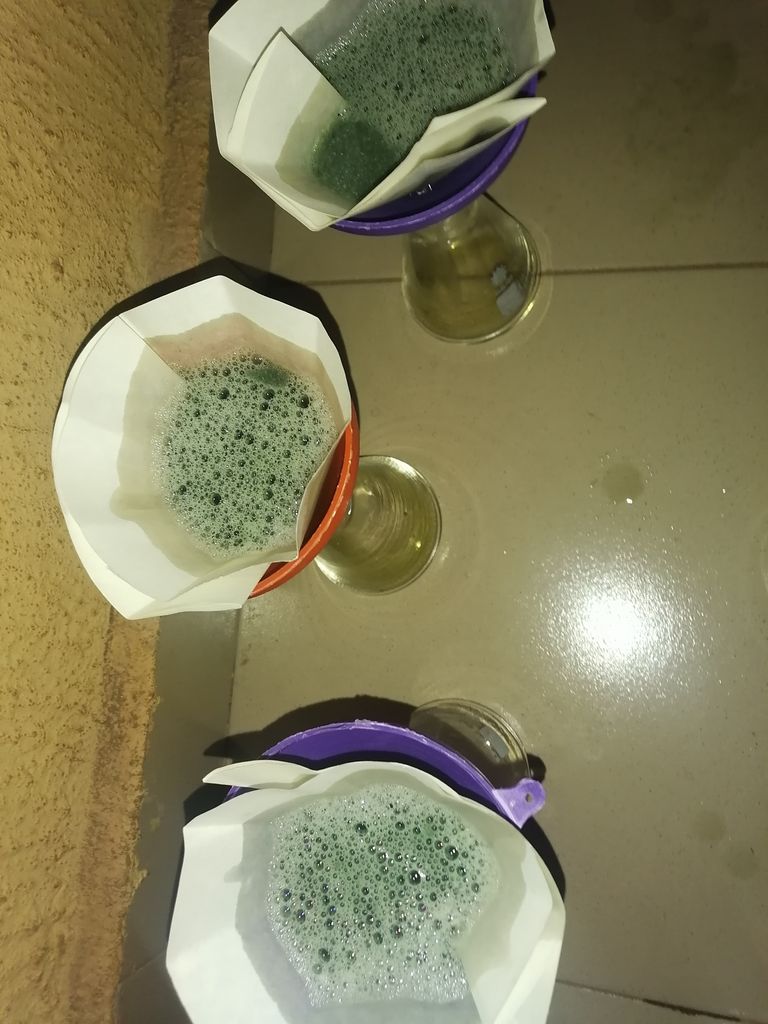
After the first filtration, the filtrate is transferred into a test tube and then placed in a centrifuge for 34 minutes but the fact that I am performing the practical at home, I have no access to a centrifuge therefore I am using an alternative way of separation which is double filtration.
- See below
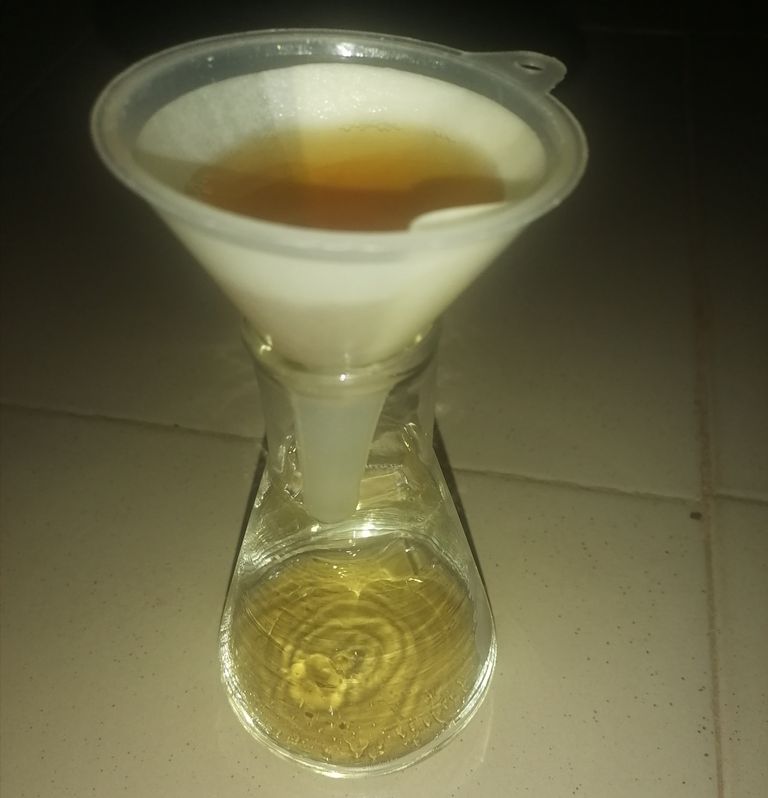
- STEP 7
After the second filtration, the new filtrate is collected and heated using a heater till it gets warm, after which another filtration takes place.
- See below
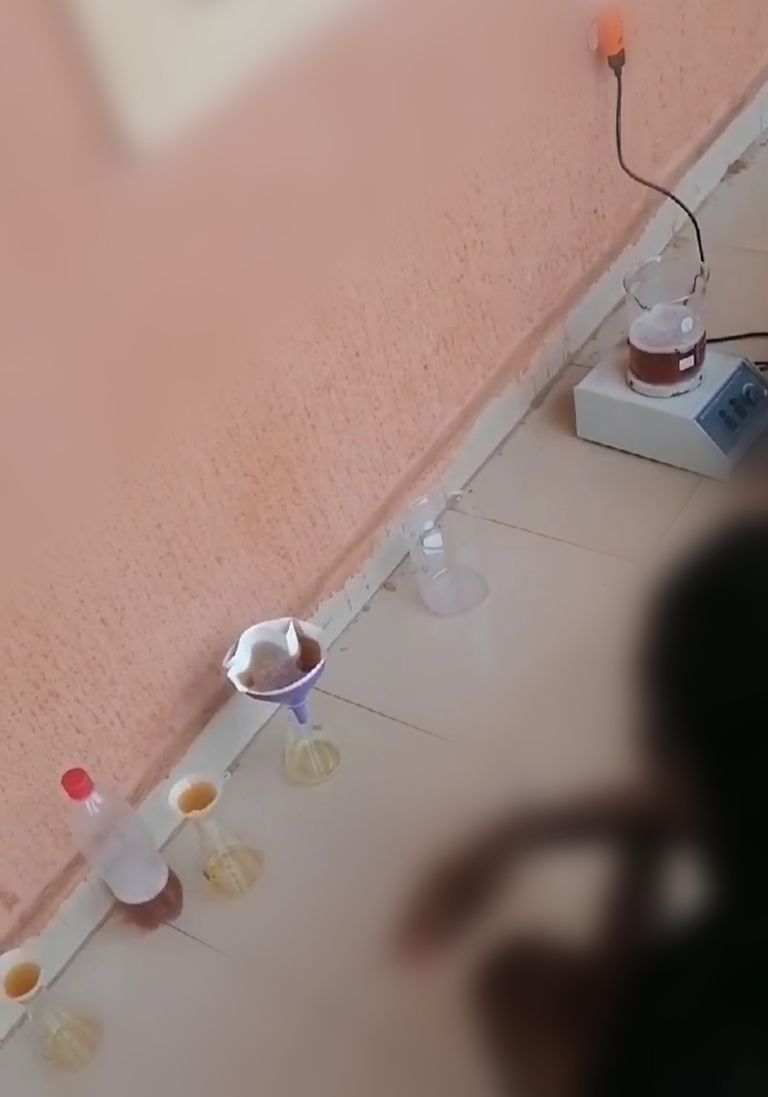
- STEP 8
Looking at all the above filtration processes, we have been needing is the filtrate thus discarding the residue along with the already used filter paper.
But here we will be discarding the filtrate and collecting the residue on the filter paper. This residue is known as Keratin.
- See below
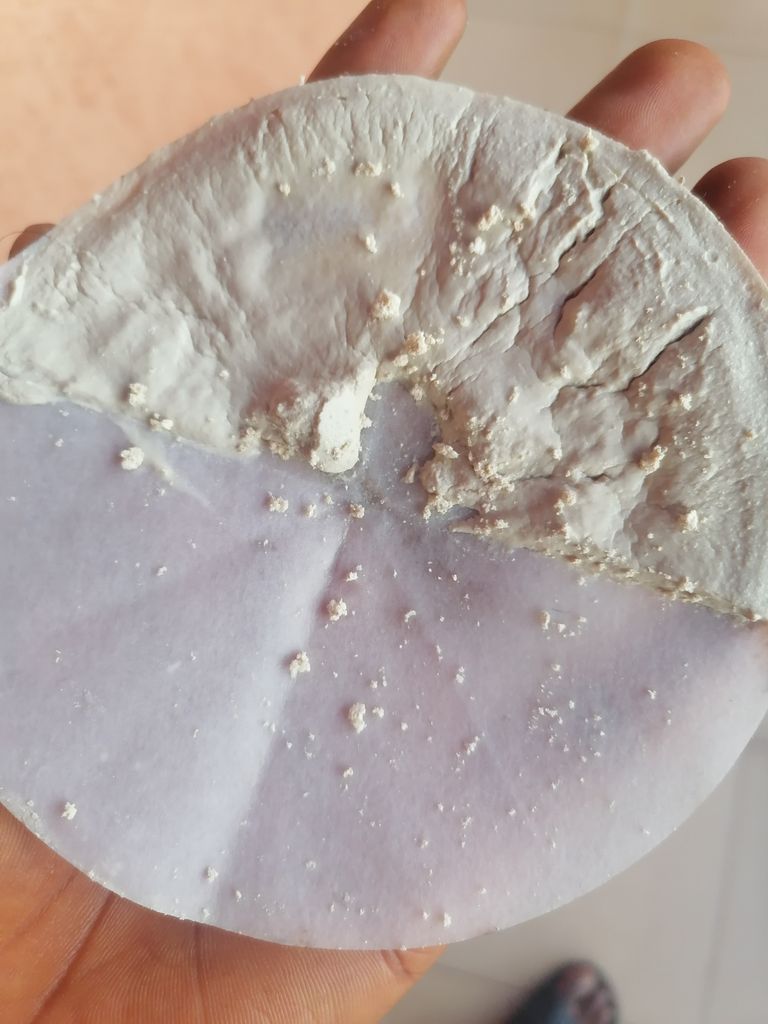
Well, I have not come to the end of my research as this is only the first stage which is regarded as the extraction stage because I have only extracted Keratin which will serve as a bioadhesive substance during the next stage known as formulation stage before we advance to the other stages.
Hope you learned something today?
NOTE: ALL PICTURES/PHOTOS CONTAINED ON THIS POST ARE ORIGINAL AS THEY ARE DIRECTLY TAKEN WITH MY PHONE CAMERA
Nice one bro
Impressive process of extraction. I hope the cost of production is not higher than the price for sale.
Hi, @srrebullient,
Thank you for your contribution to the Blurt ecosystem.
Please consider voting for the witness @symbionts.
Or delegate to @ecosynthesizer to earn a portion of the curation rewards!