The last time I shredded the waves was like a week before lock down in March of 2021. I filled in for a friend to do a few lessons for like 5 early twenties German girls. Yeah I know tough duty brah....
I think I remember letting one of the girls who was more advanced use my board. Not long after I noticed that I had some de-lamination near where the back foot would go on the board. This means that the fiberglass skin had separated from the foam core of the board. This can happen from a knee coming down on it or from excessive heat from the sun. I think mine was from a little of both. And as much as I hat to admit it my board is getting older, it has been in Ghana for 8 years and I bought it on craigslist slightly used a little before that.
I have now been living at the beach for a little over a month and I still have not surfed. Something feels very wrong with this. But I knew I had this fix to take care of before I can surf at all.
My plan of attack was that I was going to drill 2 holes in the board and use a syringe to push epoxy into the void. Then I was going to use some weight to push it down to the board and let it all set up.
It took me a long time to find a syringe and sadly it was only 10cc so it was not that big. I then finally took the time to work on it one day last week when the light was off so there was nothing else to really do.
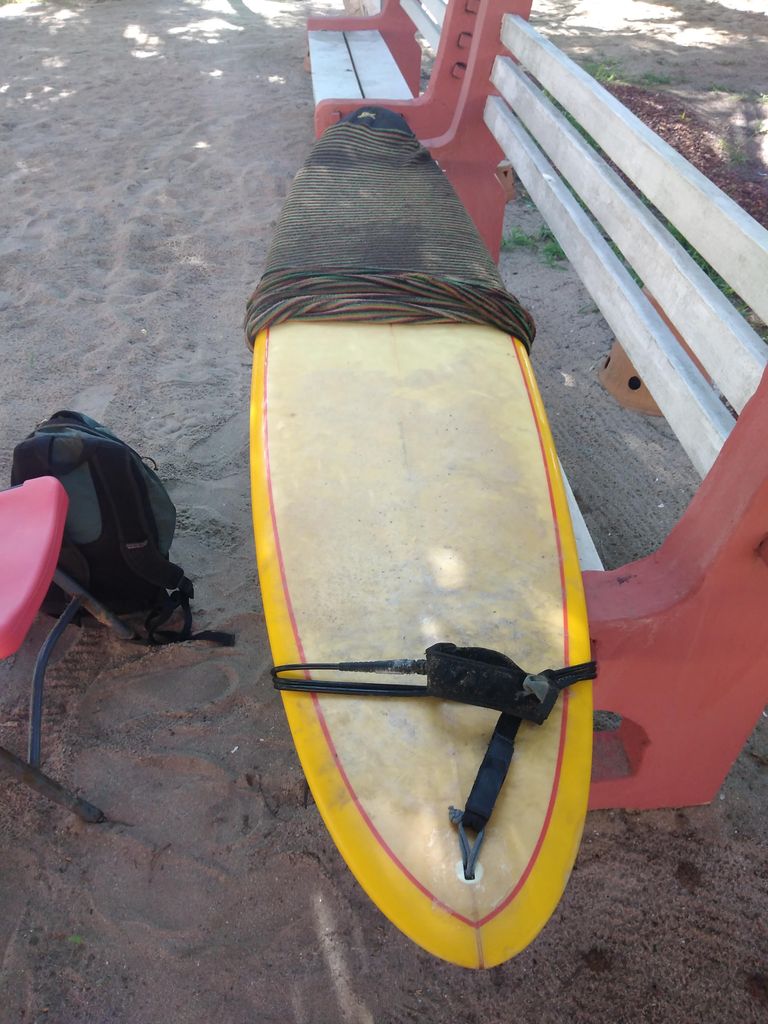
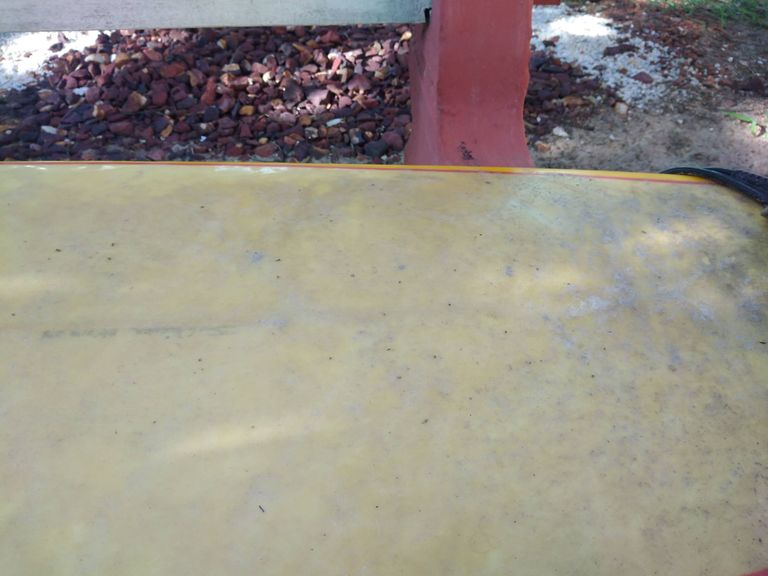
It is quite difficult to see in this picture but there is a large bubble on the right side of the board on the flat part a little above where the leash (leg strap) is wrapped on the board.
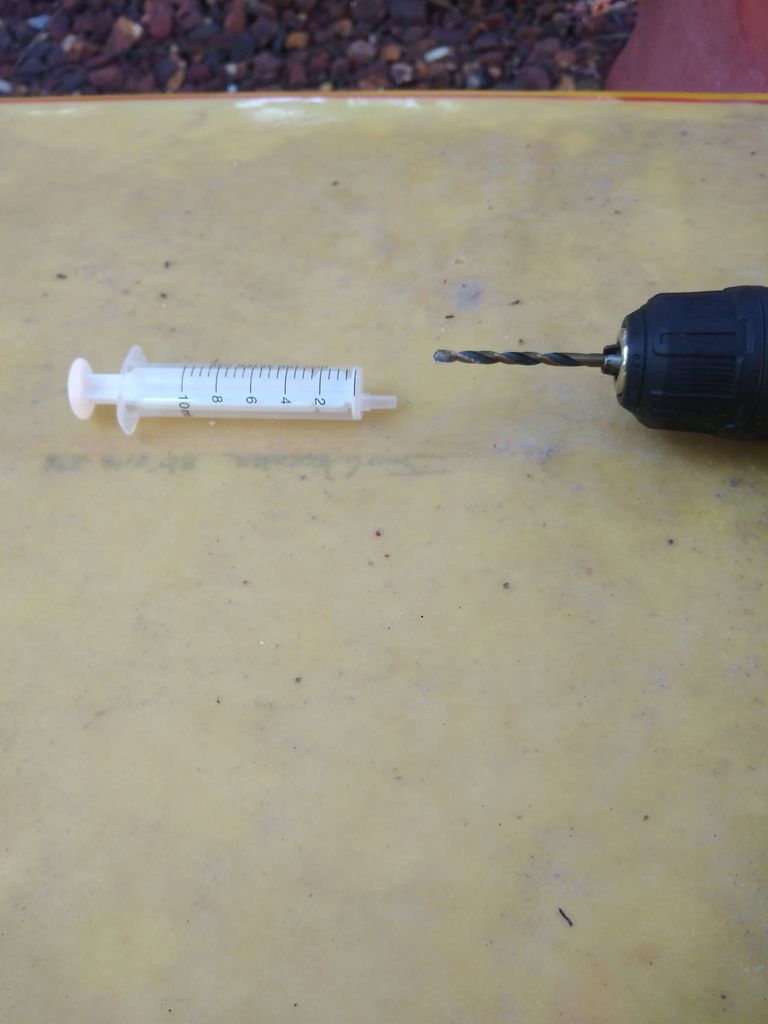
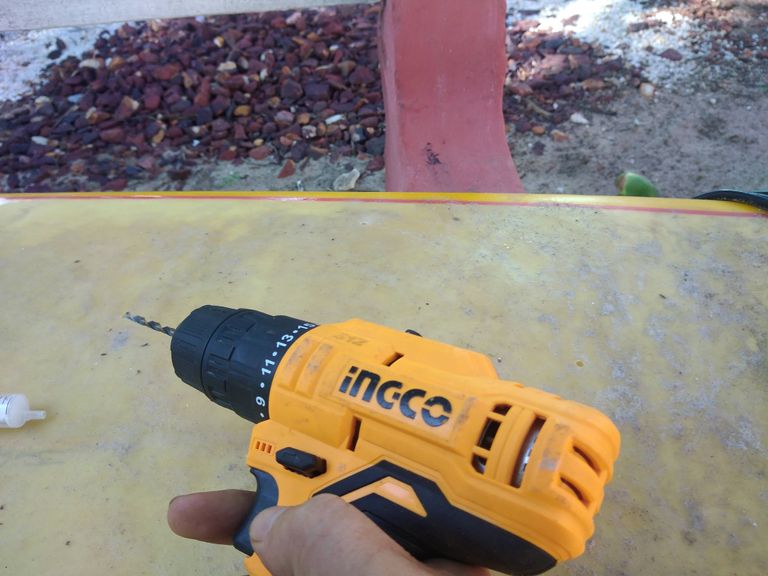
My surgical tools. A syringe and a power drill. I sized the drill bit to about the same size as the end of the syringe so when I stick it in the hole it will make a seal and tight fit.
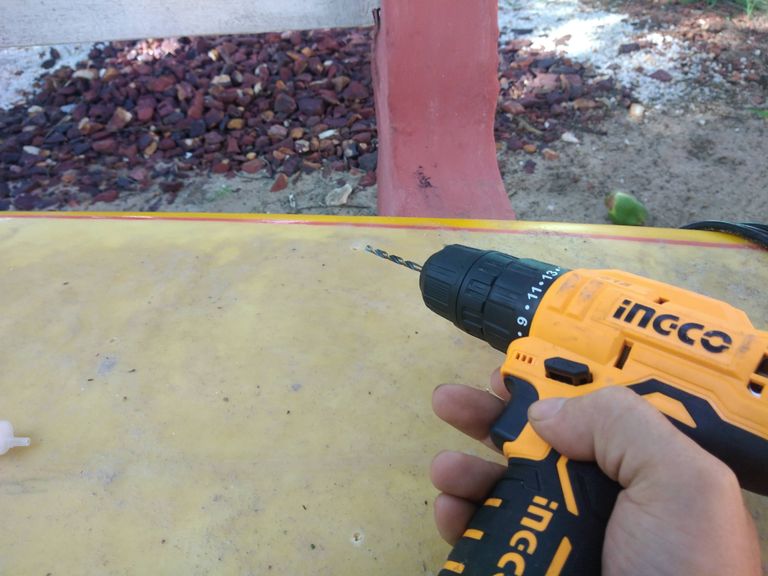
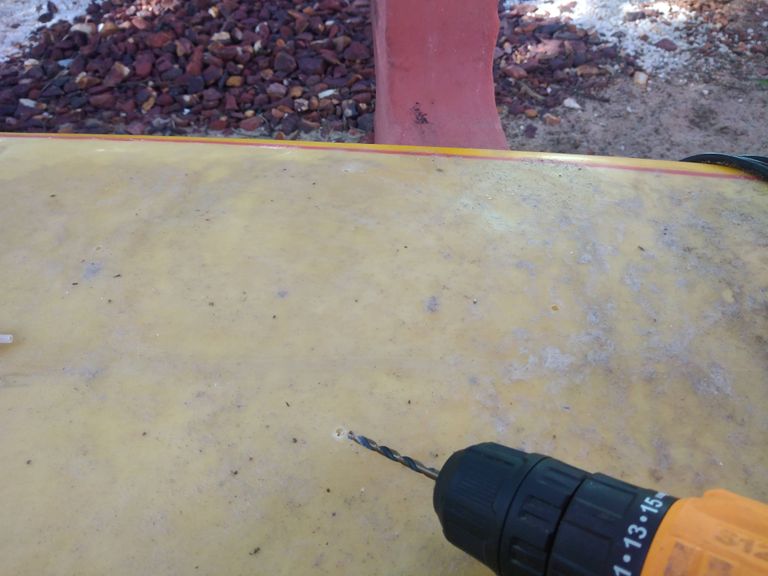
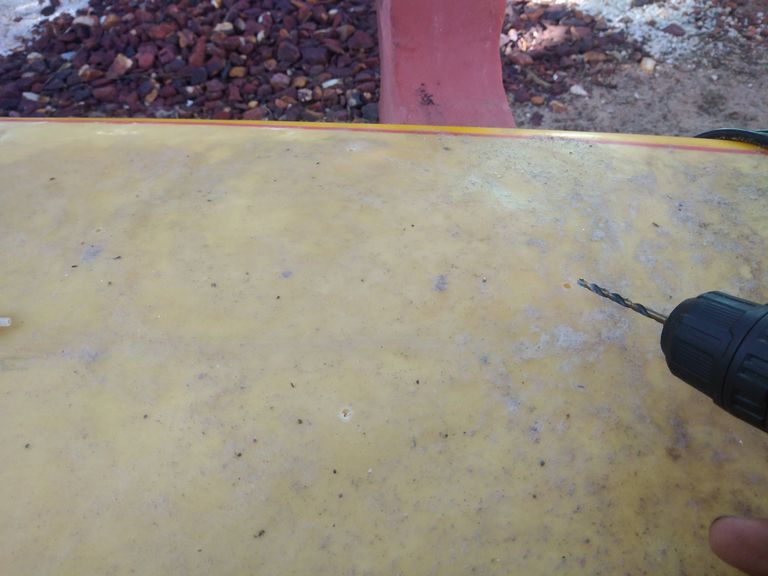
This is where things got a little complicated. Usually I would like to only drill two holes at the furthest ends of the bubble and then send the epoxy one way through the void until it comes out the other hole. But this bubble is quite large and I think I made a mistake by drilling 4 holes at different corners of the bubble to try to get every part of it. But this was not a a good move I don't think. Then again it may not have made much of a difference at all.
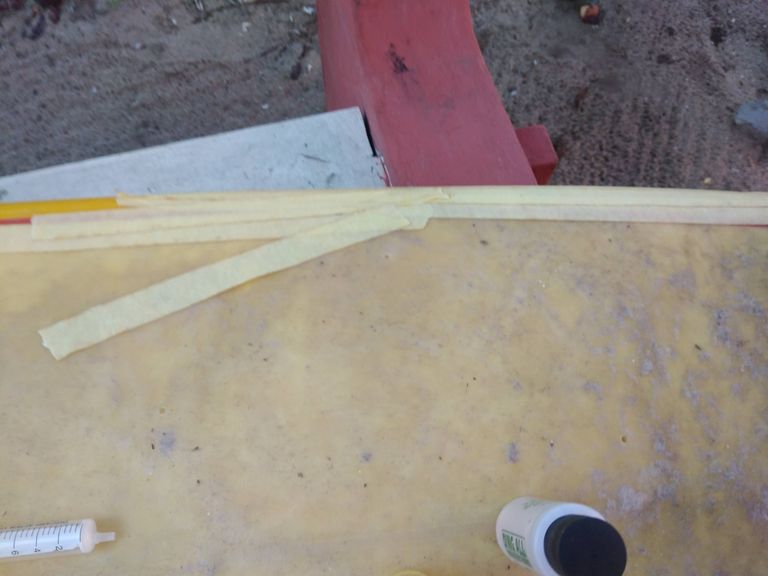
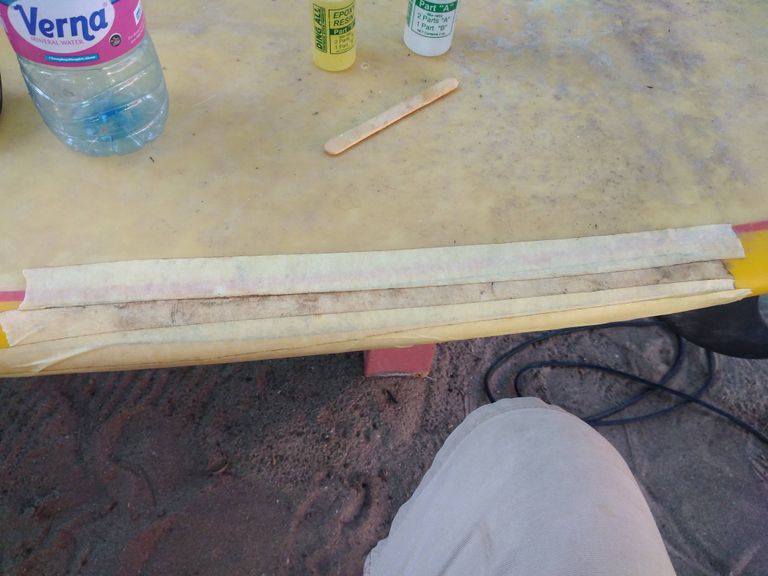
For most surfboard repairs you want to remove the wax from the surfboard deck to have a clean surface to work with and for the epoxy to stick to. The surfboard wax is used so when you stand up on the board you do not slip. Since this was an internal repair and I wanted to have to sand or deal with as little epoxy on the surface of the board as possible I left the wax on because the epoxy will not stick to it. But at the rails there is no wax so I covered them in tape just in case we had some overflow of the epoxy and it runs across the board. It can make hard places that will take a lot of sanding to smooth out.
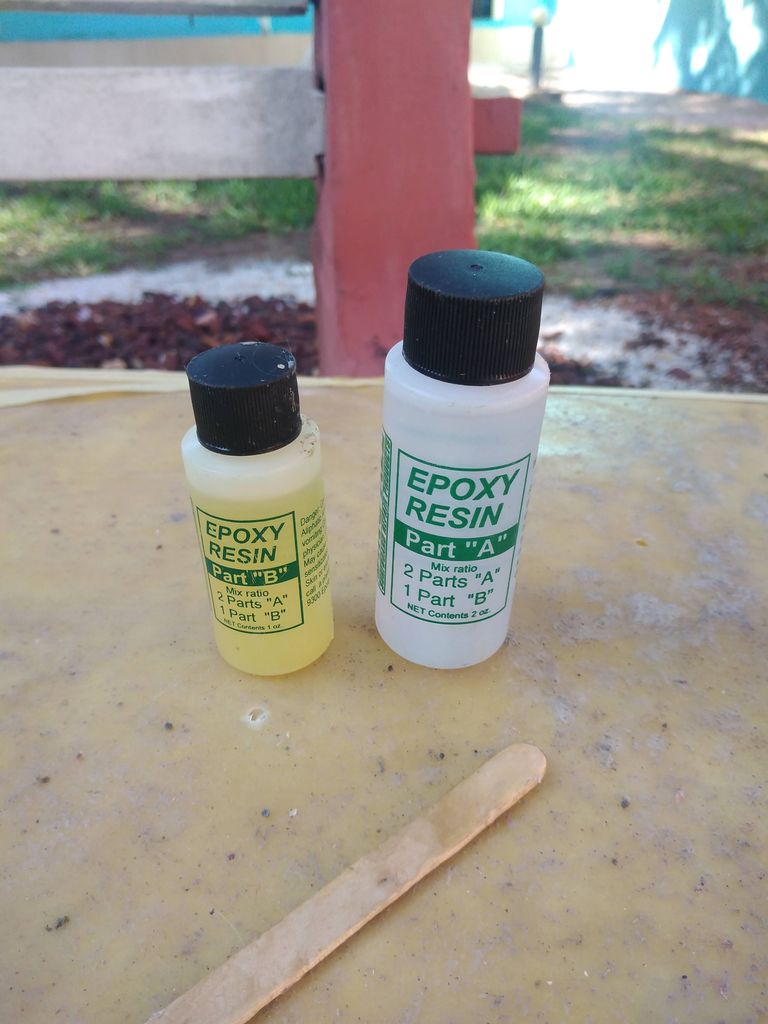
I had these 2 little bottle of epoxy which came with a repair kit. As it says clearly on the bottle you mix 2 parts A to 1 part b. To make this easy I went for 2 syringe fulls of A and one of B. It was a little challenging to get B though as the syringe would not fit down into the bottle as I drew it up.
I started filling the hole closest to me and at the highest part of the board. I think I realized I was in trouble when that first syringe full disappeared and not much of the thing felt like it filled at all. I put another one down that hole and then another one down another hole. I then mixed up another batch and the same thing and then emptied the last of the bottles into a third batch. I tried to cover 2 of the holes with my thumbs and push the epoxy around the bubble, but it would always spring back up in place and hold the two holes while trying to push the epoxy around proved difficult.
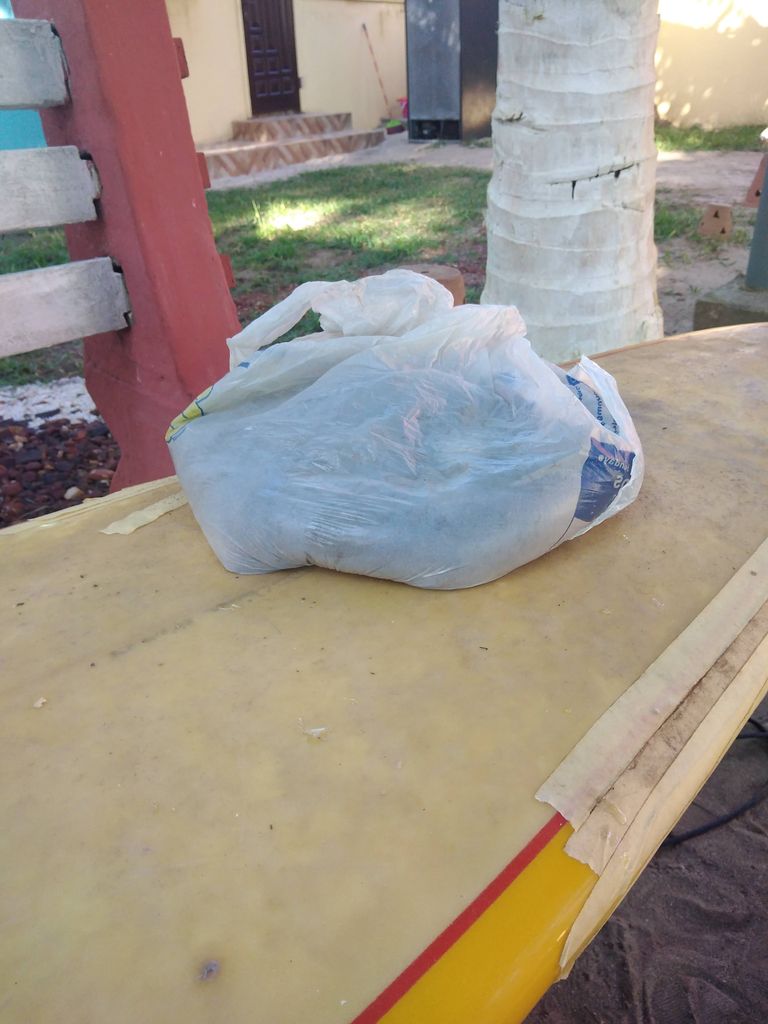
I did my best to spread the epoxy around and get it evenly throughout the void. I then filled a bag with sand and put it on top of the bubble to push it down and keep weight on it. This is where I ended the first day.
The next day I came to check my progress and found that the middle of the bubble had glued down and some of the outside but there were still 2 defined bubbles on either side of the middle. I was out of this type of epoxy and I had another type but it needed to be hit by sun light to cure so it would not be as good as the one that I used before for injecting.
My strategy was that I would cut out the two smaller bubbles and then put new fiberglass over using the sun cure epoxy.
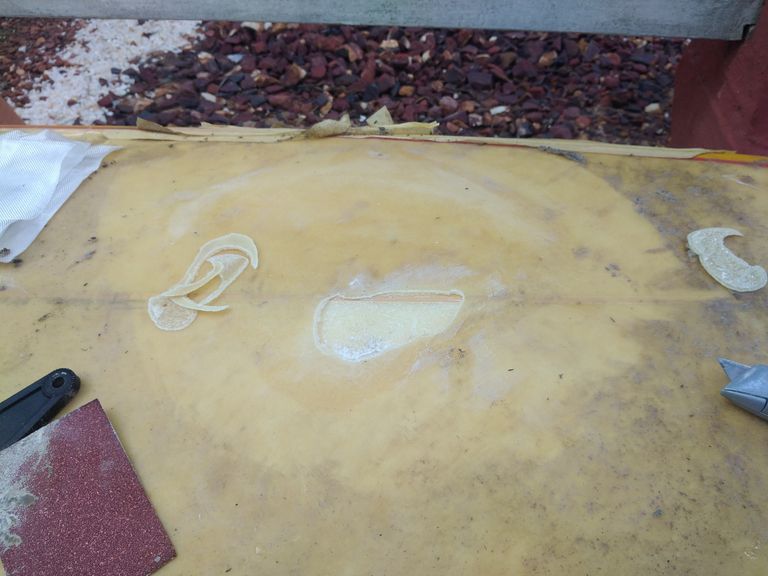
So I started cutting on what I thought was the smaller of the 2 bubbles. I started small and continued cutting away until I reached hard epoxy holding the fiberglass to the core.
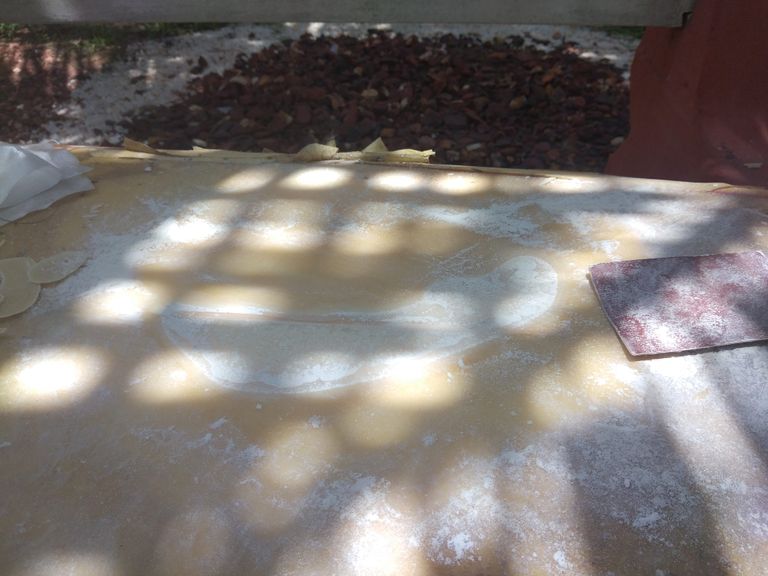
As I cut each layer away and though I had reached the edge I would start sanding to fair it down. The surface of the core was coated in the epoxy and so was the layer I was removing but I had made a few mistakes the day before which was now hurting me. 1 I did not have enough epoxy to fill this void or enough weight to push it flat or a vacuum bag to pull it flat. So lots of epoxy built up around the sides of the void in the gap and then it sealed things in the middle leaving a donut shaped bubble around. 2. My epoxy is old and I don't think it got hot enough and cured well this would have made for less problems but a lot of it was kinda popcorn like so I was not getting a stable footing as I cut things away.
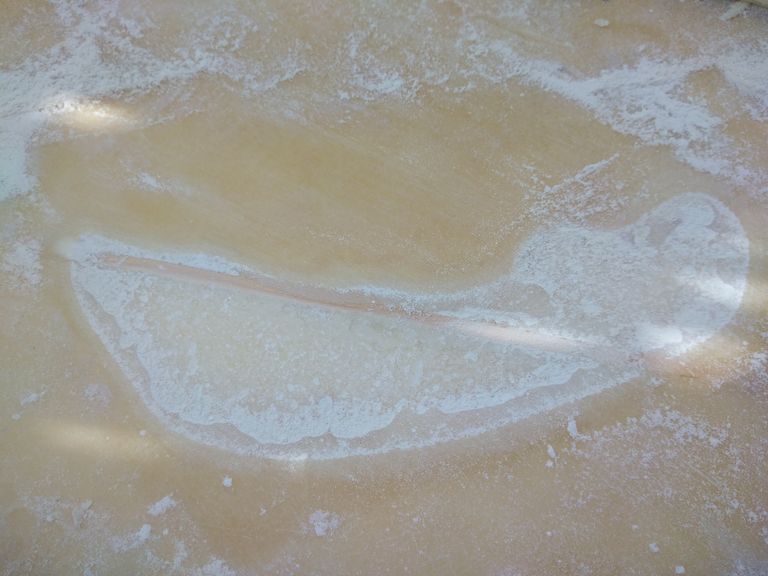
As I cut and sanded the wound just kept getting bigger and bigger.
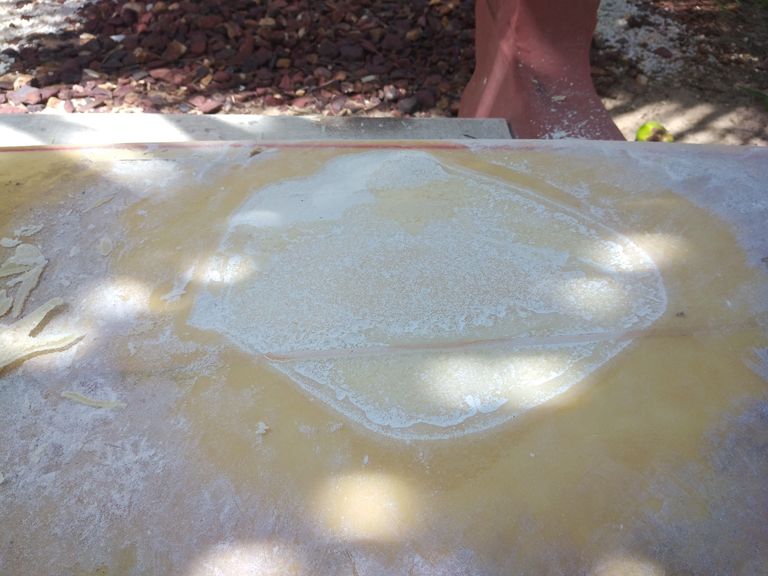
Eventually I just pulled the middle part off too because I did not feel I could trust the epoxy and I was already in this far so I might as well commit myself to fixing it well. So I just kept on cutting and cutting until I finally reached sable ground all the way around the wound. Then I sanded for a long time to get the edges fared as much as possible.
The next step will be to source some more epoxy and get some fiber glass cloth. I have some cloth but it is not enough for this space and I want to do two layers. A friend of mine has some cloth that is double the thickness I need and I will use it to do one layer and then my cloth that is thinner to go around the outside. I will also probably mix to Q-cell with some epoxy to smooth the whole area and let it dry before I do this work. Q-cell is finely ground foam that I can add the the epoxy to make it very thick and have body and bulk without using too much epoxy which adds weight. This will help me fill the crater and then I will lay the glass on top of that then lots of sanding.
IT is going to be an ugly fix but when I am done I can be secured that I have done it correctly.
Shot with a Huawei Y7 Prime.
Hi, @leifasaur,
Thank you for your contribution to the Blurt ecosystem.
Please consider voting for the witness @symbionts.
Or delegate to @ecosynthesizer to earn a portion of the curation rewards!
Thank you for using my upvote tool 🙂

Your post has been upvoted (1.02 %)
Delegate more BP for better support and daily BLURT reward 😉
@tomoyan
https://blurtblock.herokuapp.com/blurt/upvote
Congratulations! This post has been upvoted by the @blurtcurator communal account,
You can request a vote every 12 hours from the #getupvote channel in the official Blurt Discord.Don't wait to join ,lots of good stuff happening there.
Congratulations, your post has been curated by @r2cornell-curate. Also, find us on Discord
Felicitaciones, su publication ha sido votado por @r2cornell-curate. También, encuéntranos en Discord
Wow! You seem to be living the dream by living near the beach and surfing. You have done a good job with the surfboard repair. I guess it will be good for use now.
Sadly that is only part 1, I still have to do part 2 which will involve laying some new glass and a lot of sanding. But I will post an update then. Thanks for reading.