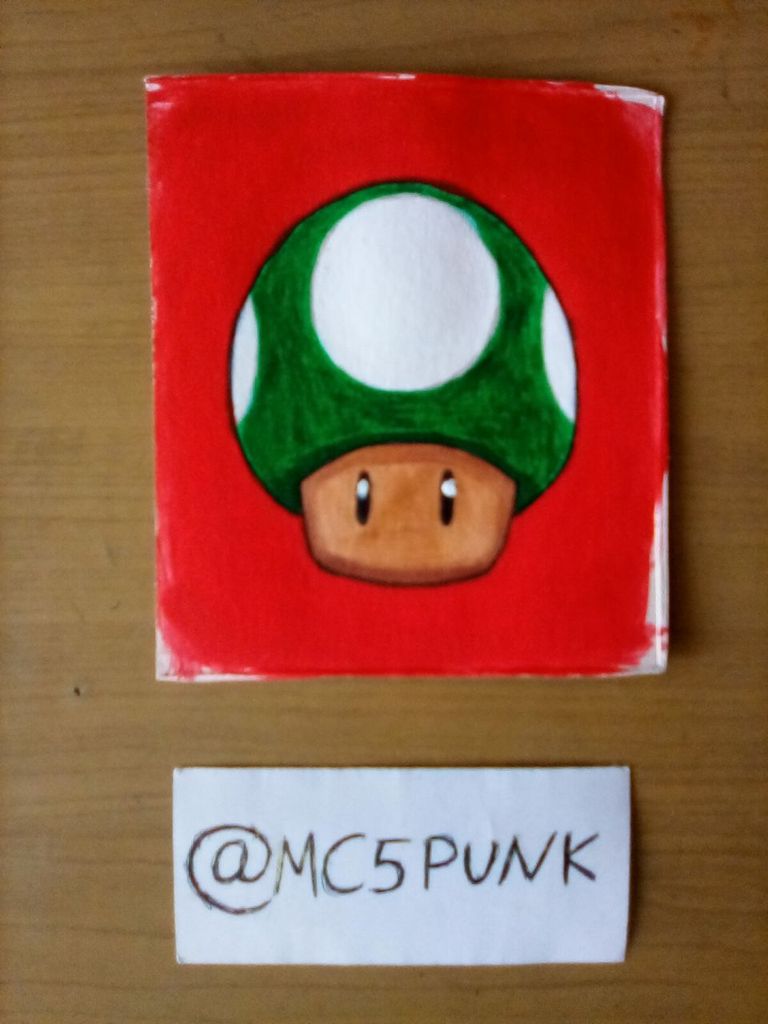
Greetings friends. Again I come to present another drawing, which is one of the most recognized figures of the Super Mario videogame saga, Mushrron; same that allows Mario and Luigi to climb in level of strength and / or lives. Now, to know how this work was done we will see it next.
Saludos amigos. Nuevamente les vengo a presentar otro dibujo, el cual se trata de una de las figuras más reconocidas de la saga de videojuegos de Super Mario, Mushrron; mismo que le permite a Mario y Luigi subir en nivel de fortaleza y/o vidas. Ahora, para saber como se realizó este trabajo lo veremos a continuación.
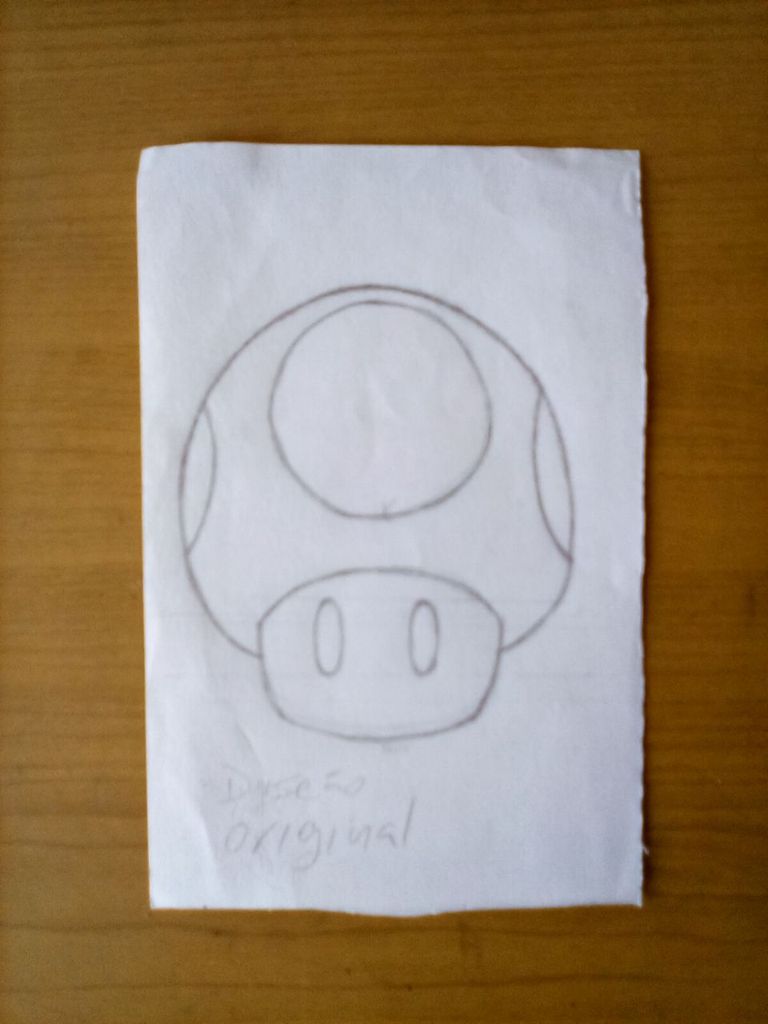
To begin with, we are going to create a sketch on a piece of paper in order to create a copy by placing graphite 6B on the opposite side, and thus be able to redraw over a piece of cardboard -we take advantage of doing it this way to recycle materials and try different materials.
Para empezar, vamos a crear un boceto en un papel con el fin de crear una copia al colocarle grafito 6B en la parte adversa, y así poder volver a dibujar por encima de un trozo de cartón -aprovechamos de hacerlo de este manera para reciclar materiales y probar a su vez distintos materiales.
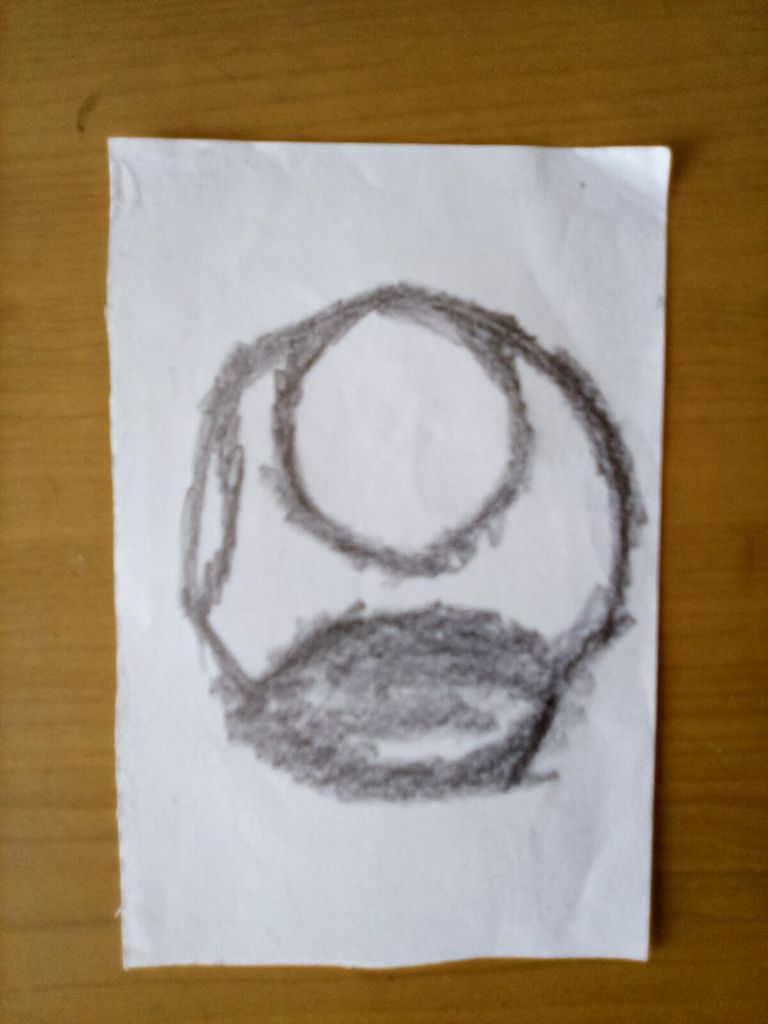
Once the graphite has been faintly marked on the cardboard, we mark it again with the 3H pencil.
Al haberse marcado de forma tenue el grafito en la cartulina lo volvemos a remarcar con el lápiz 3H.
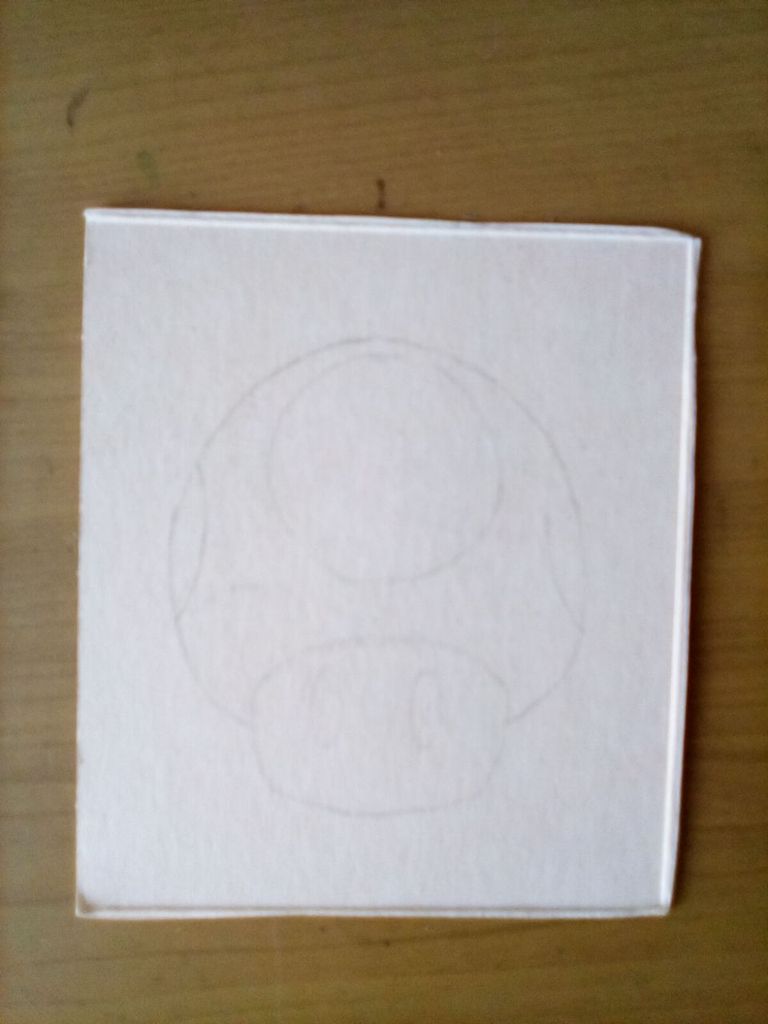
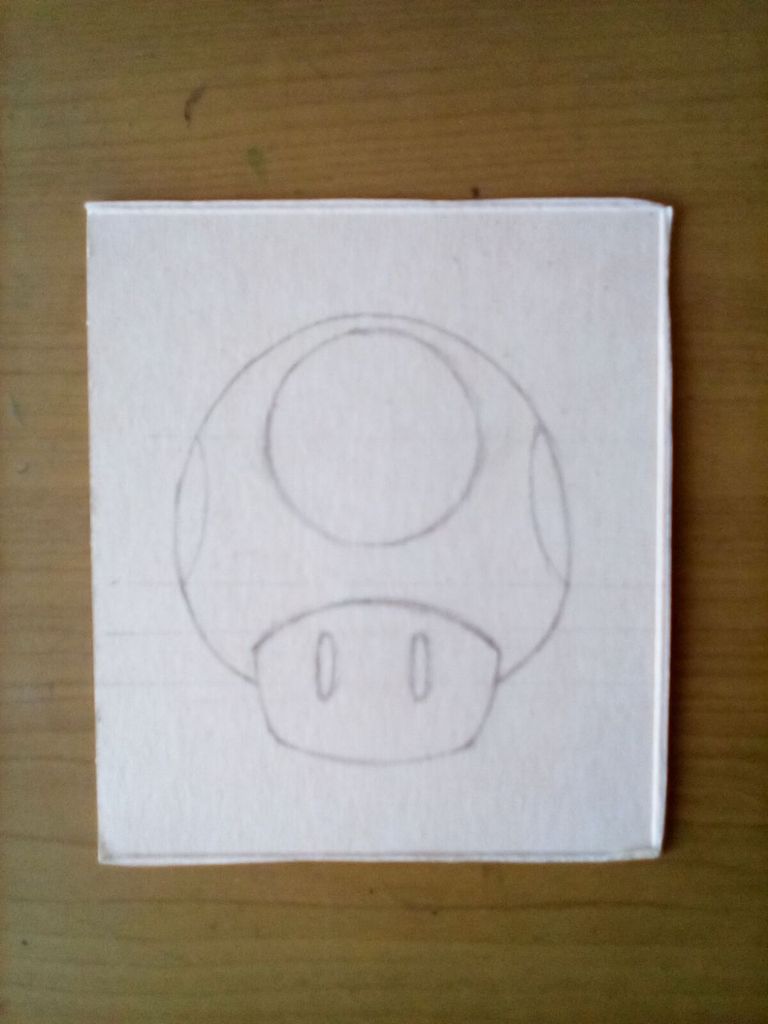
Then we outline it with a fine tip marker.
Acto seguido, hacemos el delineado con un marcador de punta fina.
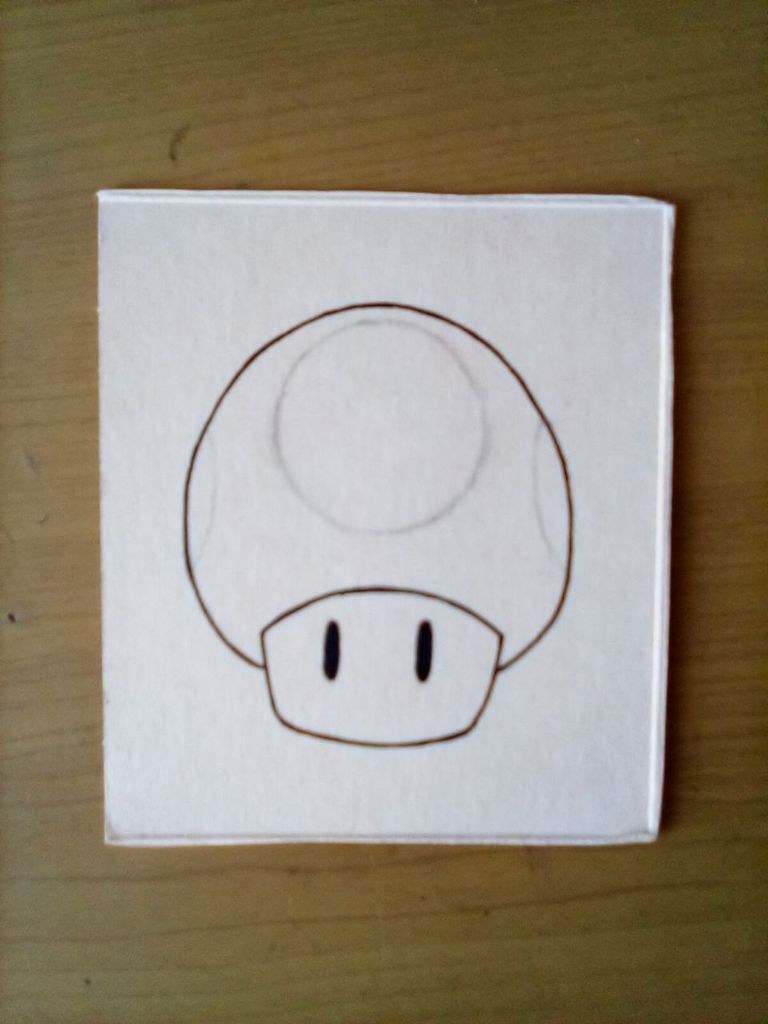
We paint the upper part with a green water-based marker; and the rest with a tan pencil, and for shadow effects, brown.
Pintamos la parte superior con un marcador a base de agua de color verde; y el resto con un lápiz de color tan, y para efectos de sombras, marrón.
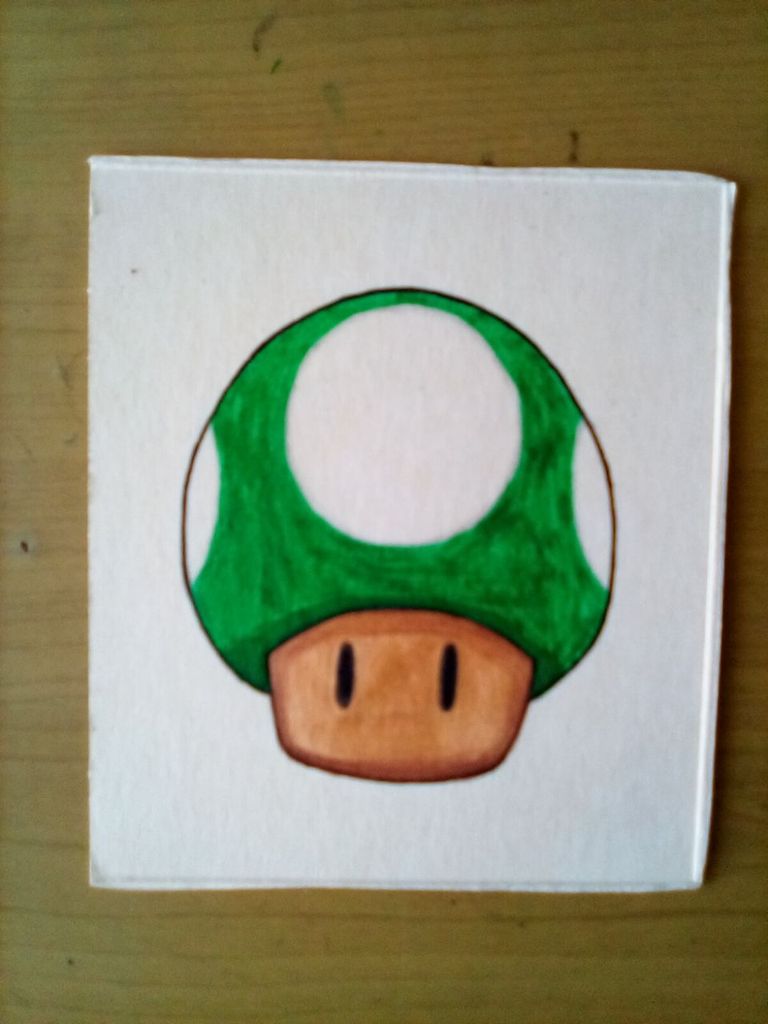
Already in this step we paint with white tempera the corresponding spaces of the same color in the figure, and red in the background. And the white dots in the eyes are obtained by using ink corrector.
Ya en este paso pintamos con Témpera de color blanco los espacios correspondientes del mismo color en la figura, y de color rojo el fondo. Y los puntos blancos en los ojos lo obtenemos al usar corrector de tinta.

And that's it! We are done with our work 😃 What do you think?
Y listo! Hemos concluido con nuestro trabajo 😃 Que les parece? 😁
I hope this will motivate you to do it. And remember you can comment at the end of this post, I'll be reading and giving you feedback. I also appreciate all the support received from all of you.
Espero que esto les sirva de motivación para hacerlo. Y recuerden que pueden comentar al final de esta publicación, los estaré leyendo y dando respuesta. También agradezco todo el apoyo recibido por parte de todos ustedes.
Without more to say I'll see you in a next installment.
Sin más que decir nos vemos en una próxima entrega.
Until then 😎👍.
Hasta entonces 😎👍
Materials used/Materiales usados
Cardboard;
Ruler;
Paintbrush;
Eraser;
Fine tip marker;
Tempera;
Colored pencil;
Corrector for ink;
Water-based marker.
Cartón;
Regla;
Brocha;
Borrador;
Marcador de punta fina;
Témpera;
Lápiz de color;
Corrector para tinta;
Marcador a base de agua.
Source of the images/Fuente de las imágenes
Images captured with my Amazon Fire 8 tablet.
Imágenes capturadas con mi tableta Amazon Fire 8.
Traducido con Deepl.com
Upvoted. Thank You for sending some of your rewards to @null. Get more BLURT:
@ mariuszkarowski/how-to-get-automatic-upvote-from-my-accounts@ blurtbooster/blurt-booster-introduction-rules-and-guidelines-1699999662965@ nalexadre/blurt-nexus-creating-an-affiliate-account-1700008765859@ kryptodenno - win BLURT POWER delegationNote: This bot will not vote on AI-generated content