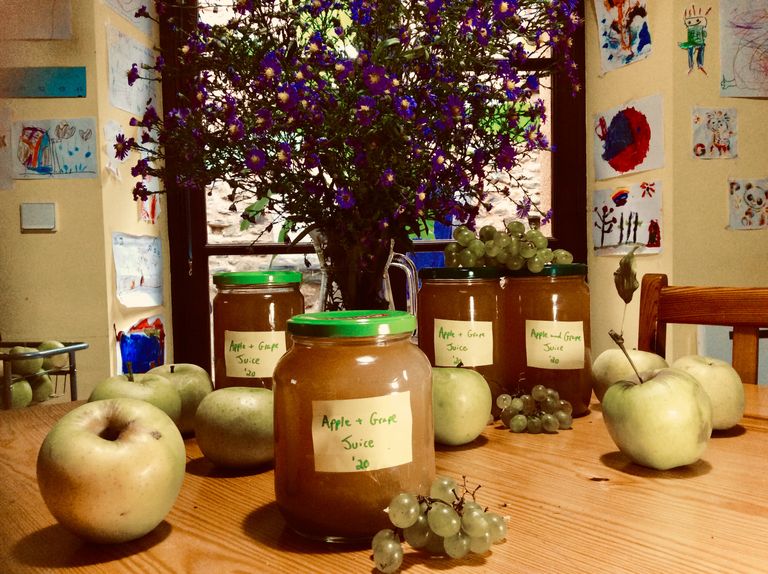
Do you have excess fruit you would like to preserve for the winter? Even if you don't this is useful knowledge, the kind of thing we should be teaching our children, so I will do my best to describe to you here exactly how I do it.
We have stored a great variety of things away for the winter now but not until a few days ago did I consider storing something to drink.

Other than the wine & cider I've been creating these last few months ;)

I can hear the cider gas bubbling out of that pipe right now. A beautiful sound. Hey, I should really make a cider post too as is incredibly simple to do. Nothing except juiced apples, sugar and this home-made set-up, which I created using a kid's bucket, a random bit of pipe and a hot knife. The only real investment in all this booze making adventure has been the big glass container seen above. And now that I know what I am doing you can be sure I will have a bigger container next year ;)
The main lesson I have learned is that it almost always turns out to be simpler than we expect and the key with these things is to just roll up your sleeves and give it a shot.
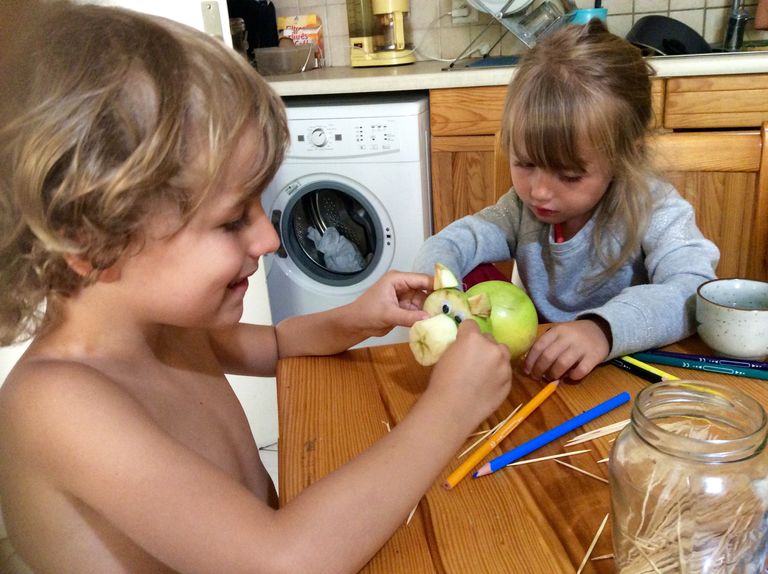
To create the fruit juice
I will run you through the process with apples but it basically the same for any fruit. Bear in mind too that you can mix different fruits to create your own cocktail of flavours. I went with apples & grapes simply because that is what we have an abundance of at the moment, thanks to good old nature.
It is worth mentioning at this point the old ways are always best for flavour, so if you have plenty of time on your hands, avoid using machines altogether. The basic idea is to get the juice out of the fruit and one can easily get creative with a big pot and a mushing stick. Grapes are traditionally crushed with bare feet. So, whatever works for you. Just keep it natural.
I don't have so much time on my hands so I used a small juicer which has been great but being small it is still a bit time consuming because it fills up fast.
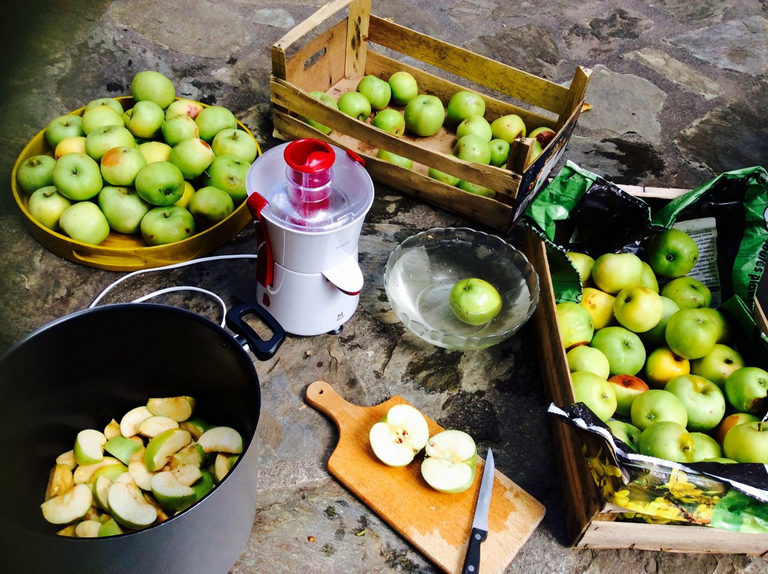
This is what juiced apples look like.

Some people like to scoop off the fluffy stuff, or let it sit for a while and carefully pour from jug to jug, leaving the gunk behind to create a clearer final product. Personally I didn't bother much with this. I just scooped the obvious stuff off the top.
If you don't have a juicer you could also use a blender and then strain the pulp through a cloth into a bowl. When using a juicer you will need to do this anyway, each time you remover the pulp from the machine. You will need some good muscle power to twist and squeeze every last drop of juice from that pulp, which should be clumped & dry when you throw it in your compost bin.
Some people like to add sugar at this point, but on this occasion I didn't feel like it needed it. Those grapes & apples are mega sweet.
To store the juice for winter
You know when you buy a glass pot of anything and it makes a little popping sound when you open it? What this means is that it has been heat sealed and there was a little vacuum present before you opened it. Re-creating this at home using a water bath sounds complicated but I can assure you it is not.
What you will need above anything else is a big pot, capable of submerging by one inch whatever jars you are using.
The jars you choose should ideally have the kind of lids which pop in and out. In this way you will know for sure you have created that vacuum.
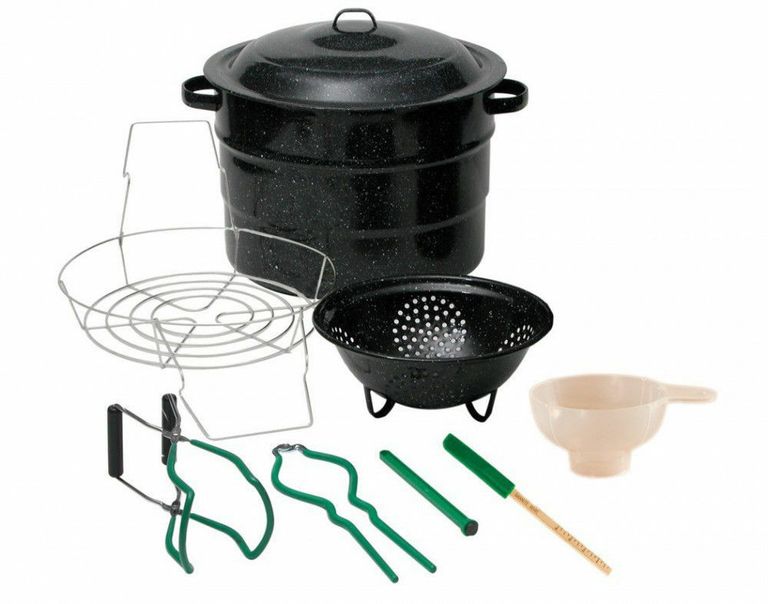
There are plenty of other tools you could buy to make your life easier, but I don't have any of them.
This is what the average kit looks like.
All I have is the big pot and I can assure you it works fine if you are careful & organised.
The method
First sterilise your glass jars & lids. Lots of ways you can do this. I boil a full kettle and pour the boiling water all over the jars and lids I am about to use.
Second you will need to fill your big pot with hot water and start heating it, ready to create the water bath for the jars. This will likely take some time to bring to the boil so good to get this going early.
For this method to work the juice needs to be very hot when it is added to the pots. So, using a second pot, heat the juice as hot as you can without bringing it to the boil.
Remove any water from the glass jars and fill them up with your hot juice, making sure to fill them just shy of the top, leaving a little space. Some people are very particular about the exact amount of air to leave. I aim for around 1cm.
By now your big pot should be almost boiling, so using a cloth to protect your hands, carefully lower and drop the jars into the water. Most people recommend using the special tongs for this, but I've not yet burnt myself doing it without.
Put the lid on the pot and don't start timing till it is boiling. The amount of time you boil them for varies slightly depending on your altitude. I boiled my water for ten mins plus an extra five mins to account for our altitude between 1000 - 3000 ft above sea level.

To remove the jars what I do is pour some of the water out into the sink and then remove them with my hand protected in a wet, folded dish cloth. Yes, they are very hot, so be careful. Place them on a suitable surface upside down. I don't really know if being upside down makes much difference (as it seems to work the other way too) but that's what Sabrina likes to do, so that's what we do ;)
You will know it has worked a few hours later when the liquid has cooled sufficiently to create the vacuum, popping the lid inward.
Now label & date your jars, storing them away in a cool dark place. Pull them out when the days are short & cold and local fruit is in short supply.
You can use this method to seal a vast number of things like peaches in syrup, jams or even ratatouille.
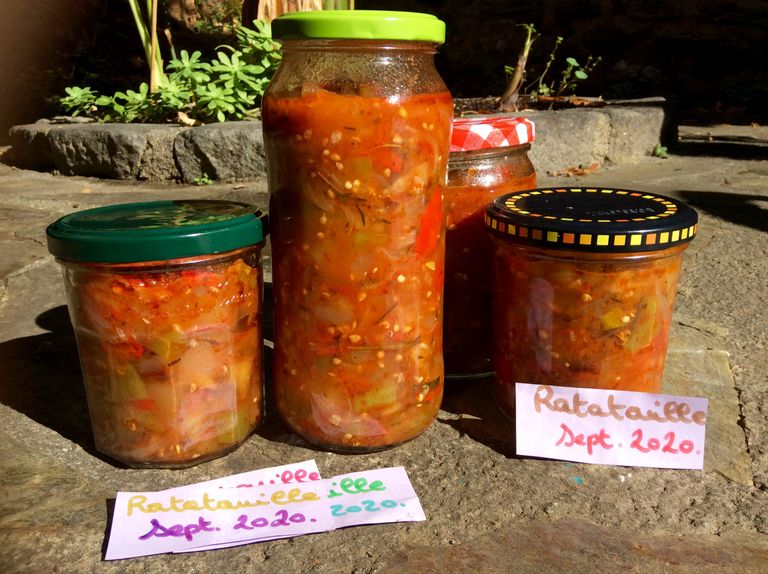
Sabrina put this ratatouille together, all veg from the garden. It tastes fabulous and will do a great job at warming us up with some lovely home made flavours.
So, there it is. Now get out there and try this!

Just follow the above instructions carefully and you will be fine. For your information I failed the first time I tried it for a few possible reasons. Either the juice was not hot enough upon entering the jars. Or perhaps it was that the water level in the big pot was not one inch above the lids? Or perhaps it was both? All I know is that it worked when I adjusted these two things.
Like I said, the best way is to try. Failure is not failure. It is learning.
Love & Light everyone 🌿

Congratulations, your post has been curated by @blurthealth, manually curated by @ninoh22. To get more Upvote support, make more unique health related content and follow @blurthealth.
Awesome! Thanks :)