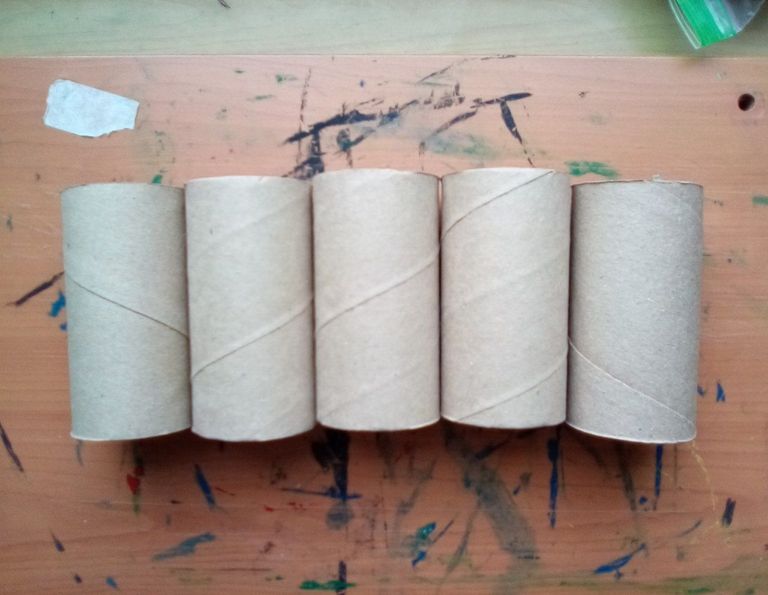
Normally the toilet paper tubes are usually thrown away after the paper is finished, but, it turns out that if we can give it a new use. Next, we will see how to transform these tubes into small boxes that can be ideal for containing personal items or gift wrapping. So without further ado let's get started.
Normalmente los tubos de papel higiénico suelen ser tirados a la basura después de acabarse el papel, pero, resulta que si podemos darle un nuevo uso. A continuación, veremos como transformarnos estos tubos en pequeñas cajas que pueden ser ideales para contener objetos personales o envoltorios para regalos. Así que sin más preámbulos comencemos.
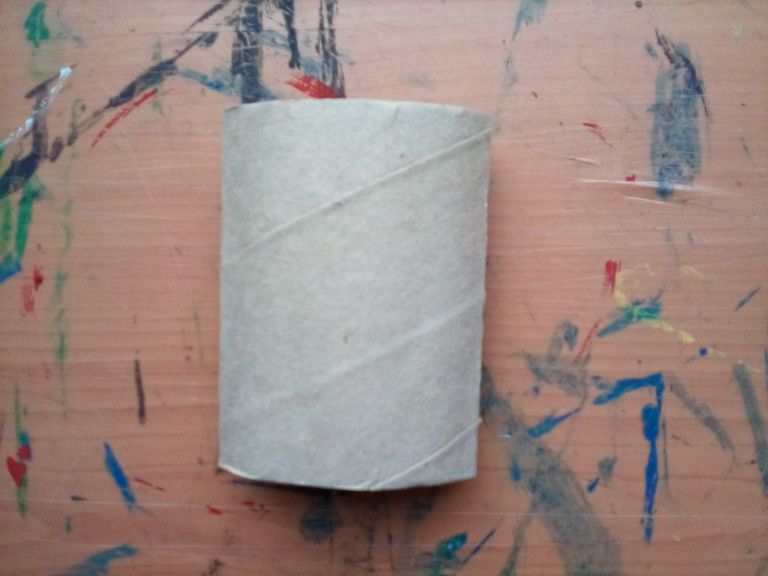
1- what we are going to do once we have obtained the free paper tubes is to crush them with our hands. Then, on the side we mark a distance of 1 cm to be folded, and once that is done we lift from the inside so that it gets a square shape.
1- lo que vamos a hacer una vez obtenido los tubos libres de papel es aplastarlos con nuestras manos. Luego, a un costado marcamos un distancia de un 1 cm para ser doblado, y una vez hecho eso levantamos desde su interior para que obtenga una forma cuadrada.

2- in this step we are going to mark the distance of 3 and 2 cm in one of its extremities, this in order to be trimmed with scissors, and to take out a part that will have the function of being a base at the bottom of the box. And the part that was cut out will become a lid that covers the surface and the front of it.
2- en esta paso vamos a marcar la distancia de 3 y 2 cm en una de sus extremidades, esto con el fin de ser recortado con tijera, y para sacar una parte que tendrá con función ser una base en el inferior de la caja. Y la parte que fue recortada pasará a ser una tapa que cubre la superficie y la parte frontal del mismo.
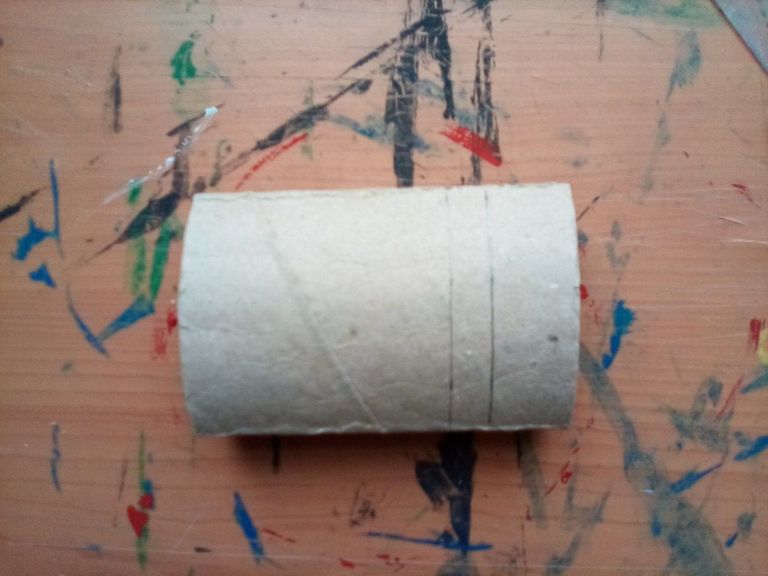
3- adhered the base with liquid glue.
3- adheridos la base con pegamento líquido.
4- with shoelaces we fix the different parts of the box well until the glue dries completely - in addition to maintaining its square shape.
4- con agujetas de zapatos fijamos bien las distintas partes de la caja hasta que se seque por completo el pegamento -además de mantener su forma cuadrada.
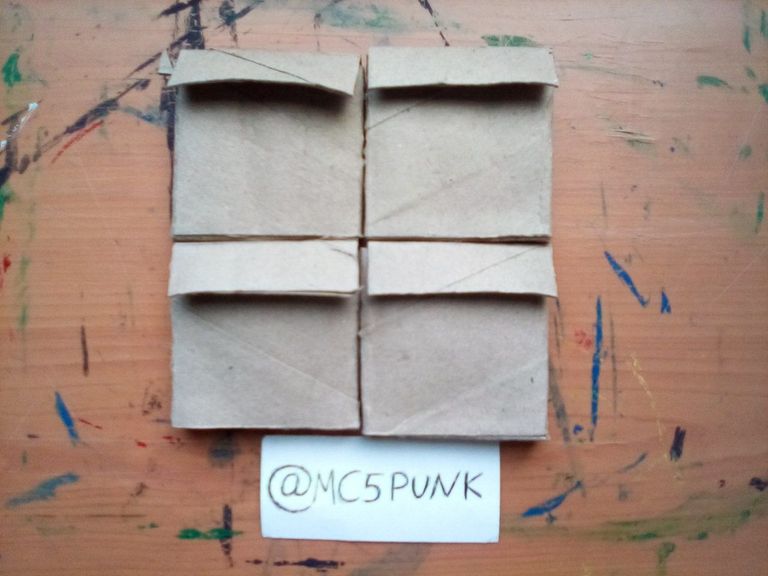
5- once the glue has dried, remove the laces and we get the following result.
5- una vez que se ha secado el pegamento retiramos las agujetas y obtenemos el siguiente resultado.
And that's it! We are done with our work 😃 What do you think?
Y listo! Hemos concluido con nuestro trabajo 😃 Que les parece? 😁
I hope this will motivate you to do it. And remember you can comment at the end of this post, I'll be reading and giving you feedback. I also appreciate all the support received from all of you.
Espero que esto les sirva de motivación para hacerlo. Y recuerden que pueden comentar al final de esta publicación, los estaré leyendo y dando respuesta. También agradezco todo el apoyo recibido por parte de todos ustedes.
Without more to say I'll see you in a next installment.
Sin más que decir nos vemos en una próxima entrega.
Until then 😎👍.
Hasta entonces 😎👍
Materials used/Materiales usados
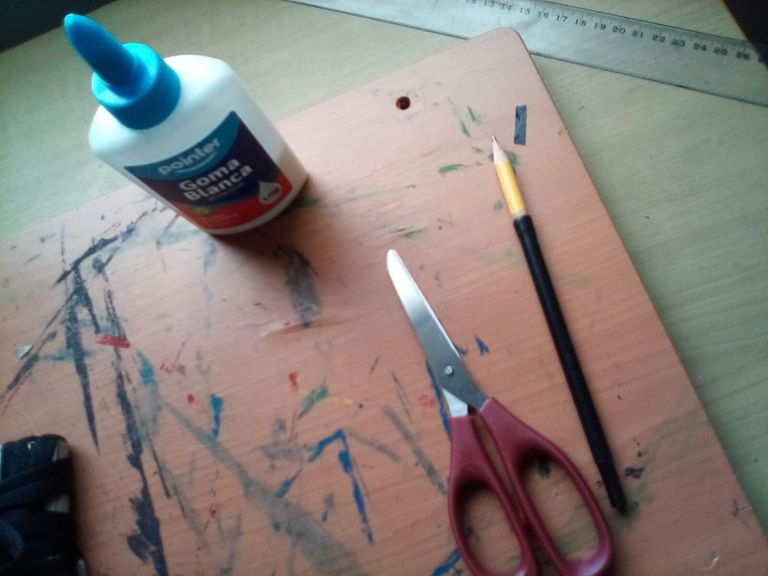
- Liquid glue;
- Scissors;
- Graphite pencil;
- Rule;
- Shoelaces.
- Pegamento líquido;
- Tijera;
- Lápiz de grafito;
- Regla;
- Agujetas de zapatos.
Source of the images/Fuente de las imágenes
Images captured with my Amazon Fire 8 tablet.
Imágenes capturadas con mi tableta Amazon Fire 8.
Traducido con Deepl.com
Congratulations, your post has been upvoted by @dsc-r2cornell, which is the curating account for @R2cornell's Discord Community.
Enhorabuena, su "post" ha sido "up-voted" por @dsc-r2cornell, que es la "cuenta curating" de la Comunidad de la Discordia de @R2cornell.