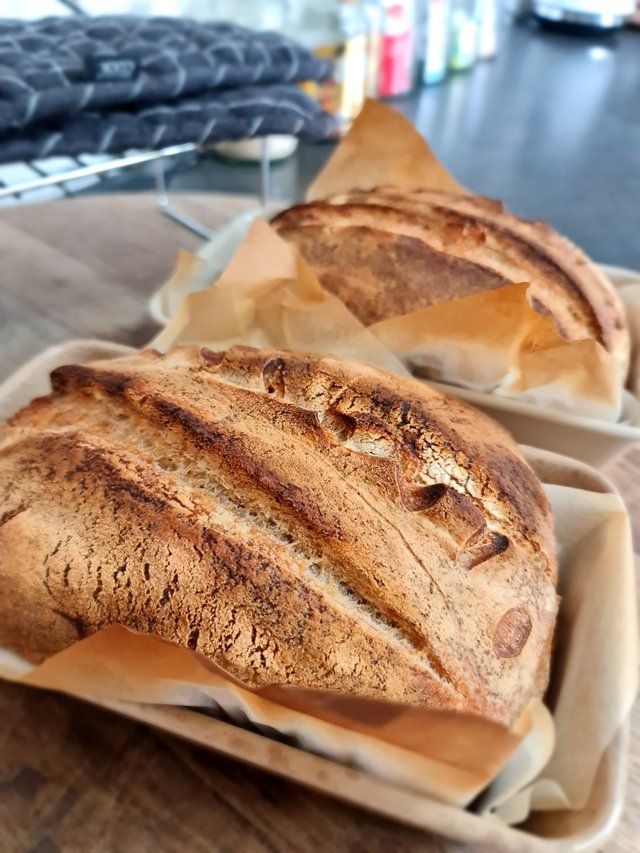
My Sourdough Bread Recipe
I have never considered myself much of a baker - in fact not at all - I suck at baking! I almost never get it right... nope, I am definitely more of a cook! Less rules and all that, lol. However, for whatever reason - the idea of making my own sourdough really appealed to me and I decided to venture down the recipe avenue... only to discover that you needed a starter before you could even bake the bread. I had no idea what that was or how to even begin... and so started the education. I did share a post on Steemit some time back on How to make a Sourdough Starter should anybody be interested in making their own.
It has been some months since I began this journey and now I even bake and sell loaves to the locals in our village as and when I have the time, or the inclination. I will be dough making and baking this week as I took orders for nine loaves this morning... what was I thinking haha!
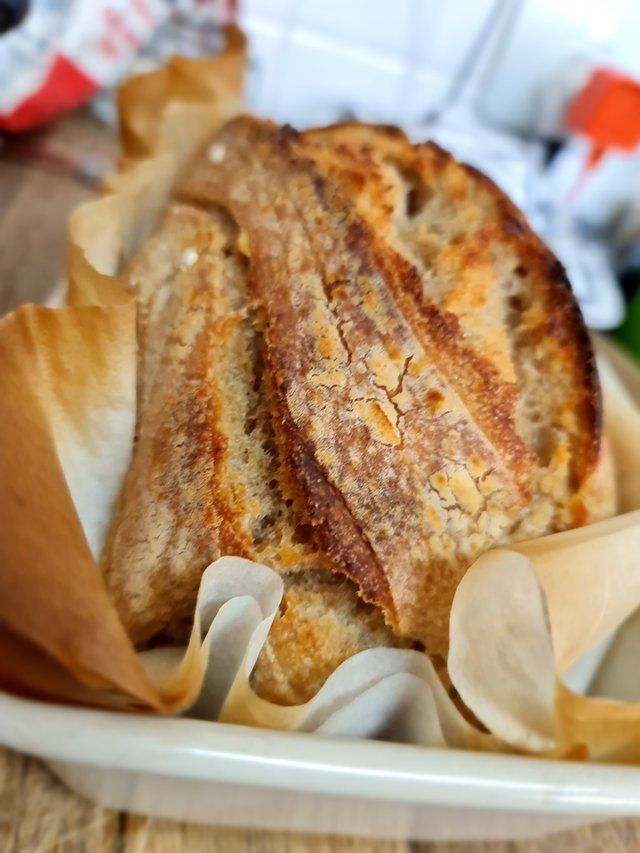
I learned very quickly on this adventure that making sourdough is a substantially more labour intensive process than making traditional bread and really is a labour of love. It is in no way worth my time baking all these loaves for the price I sell them at - despite the profit per loaf being close to 100%, my hours are generally more profitably spent doing other things... but I love doing it and it really has become a bit of a personal therapy for me. Almost an entire day is spent making the dough, so when it is dough day, I know I am not going anywhere, lol.
Now, before I get stuck into the process... let me just say that there are about a gazillion varying recipes online and I went through several before I found one that worked for me and gave me a bread result which I liked. I dont like what I refer to as "airy fairy bread"... no, I like bread to have some substance and generally prefer it when it is moist and dense. So - the recipe I am giving you will likely render similar for you.
Another thing is, I have broken the general rule of baking the loaves in an oval or round shape. Personally, I cant STAND those shapes. I dont care if they carry the name "artisan bread" - they are enormously impractical and they also almost never fit in the toaster, lol! So... I bake mine in a traditional loaf pan shape. That is actually another rule I have broken because not many people bake them in pans... they do it in a dutch oven. Nonetheless and like I said - I don't like rules, lol. Anyhoo, enough waffling about - let's bake some bread, shall we!
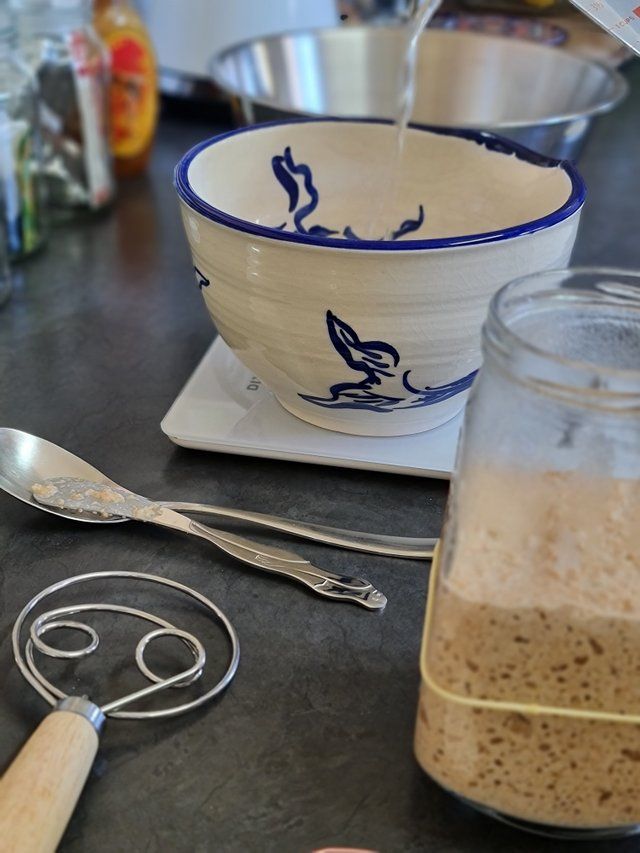

WHAT YOU WILL NEED
400g warm purified/bottled water (boil and allow to cool a little)
Sourdough starter doesn't like the chlorine in tap water
100g active and bubbly starter
1/2 a teaspoon of honey
10g ground salt
450g white/brown/wholewheat bread flour
100g wholewheat flour
1 mixing bowl.
1 kitchen scale.
1 bread lame (or a very sharp blade)
1 dough scraper (or an icing spatula as a substitute)
1 proofing basket and liner (or a round dish and a linen kitchen towel to substitute)
1 Danish whisk (or a spoon - or hands as a substitute)
A few kitchen towels :D
Baking paper.
Aluminum foil
Extra flour for sprinkling.
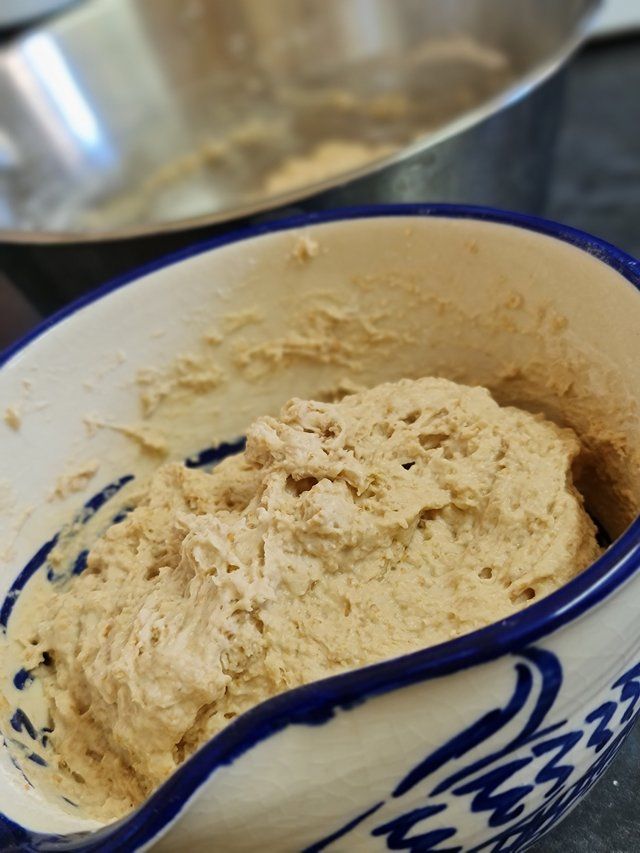
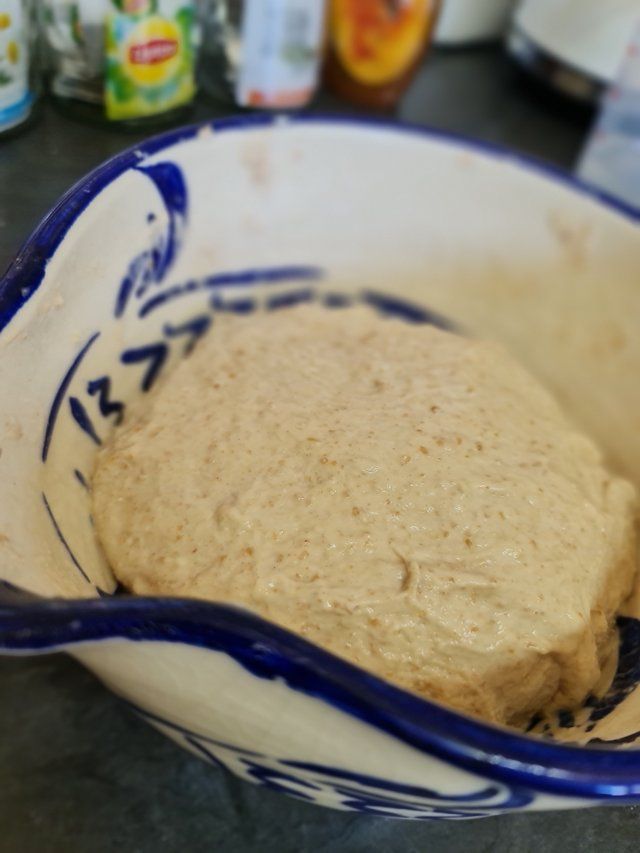
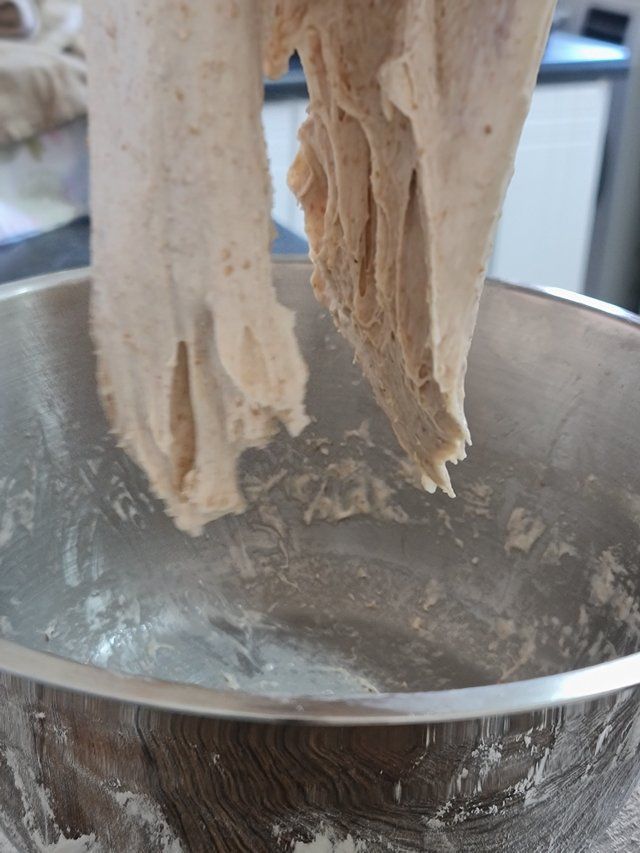
To begin you will pour the 400g warm water into a mixing bowl and then add the 100g of bubbly, active starter. Mix the starter into the water until dissolved nicely. Then add the 400g of your choice of flour and then the 100g of wholewheat flour and the half a teaspoon of honey. Use the danish whisk (spoon or hands) to mix it all together well, ensuring that there are no dry floury pockets or patches left. then scrape the edges of the bowl clean, creating a circular lump in the middle of the bowl.

It should look something like the below...
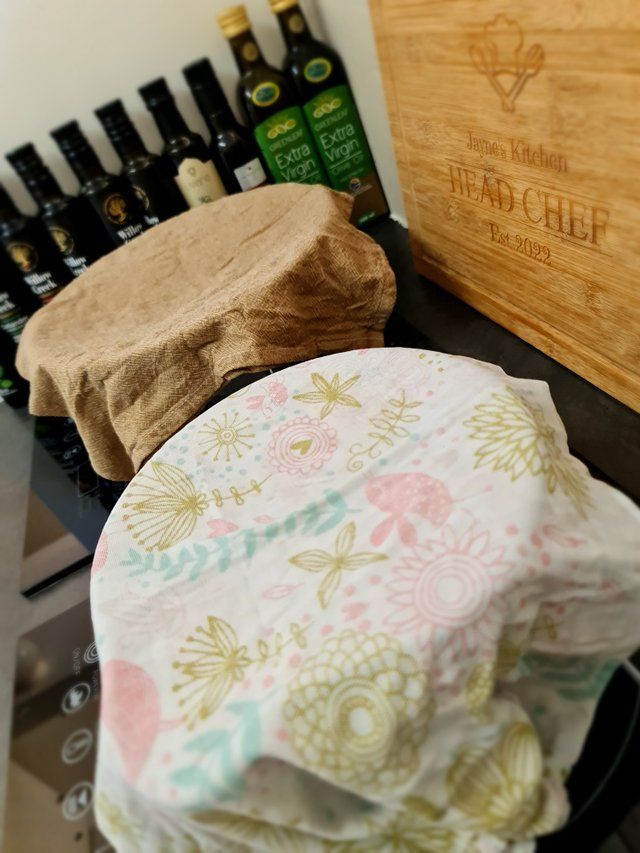
Now cover it with a damp kitchen towel and leave it for one hour.
After one hour you will need to add the 10g of salt and 10g of water. Then you are going to use your hands and squish the salt and water into the dough mixture. You will notice immediately how it begins to get an almost smooth rubbery feel between your fingers. When you can no longer feel the salt grains between your fingers you can begin with stretch and fold number one.
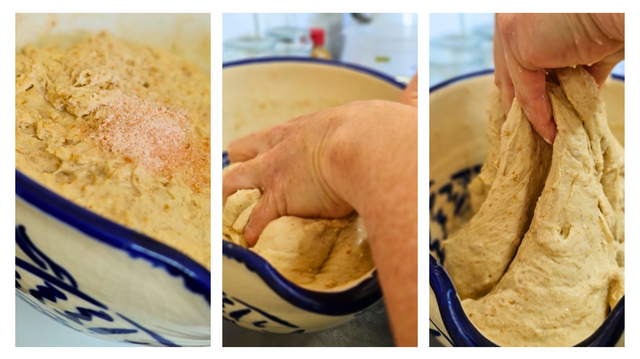
STRETCH & FOLD 1 TO 4
Ok, so this step you are going to repeat four times - identically. The stretching and folding is an important part of the dough making process as it is what ensures a good rise when baking. Essentially what you are going to do is wet your hands (it is useful to just keep a bowl of water next to the mixing bowl to just re-use after each hour.)
Place your wet hands into the bowl and on the edge furthest away from you. Gently lift and pull the dough (without tearing it) towards yourself - ie. you are folding it on to itself. Turn the bowl a little anti clockwise and repeat the stretch and fold action toward yourself. Repeat this about 6 to 8 times. Wet your hands again and then slide them left and right underneath the ball of dough, cup it with your hands as you lift it and flip it over as you drop it back down into the bowl and tuck it all underneath itself into a neat ball. Cover and leave for one hour.
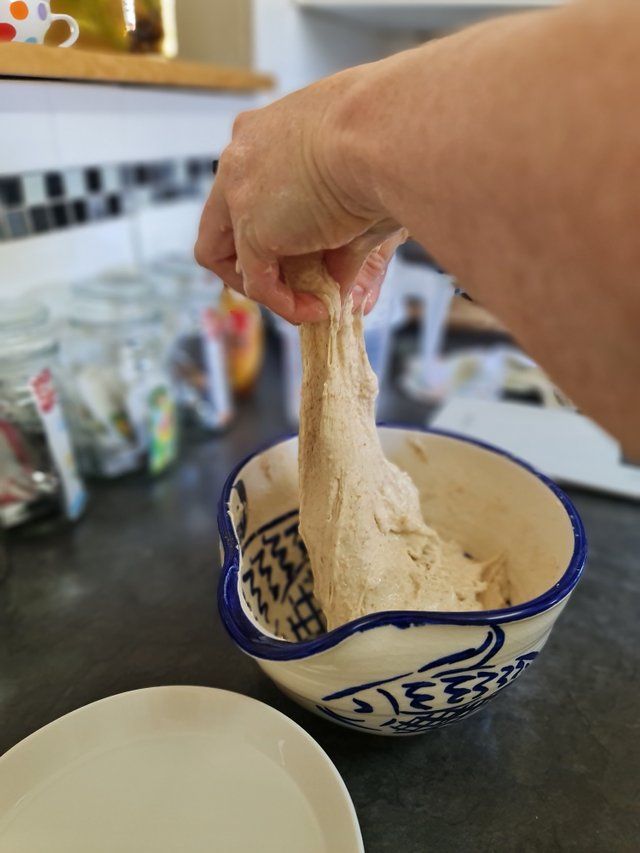
REPEAT THIS PROCESS ANOTHER THREE TIMES - RESTING FOR 60 MINUTES INBETWEEN EACH STRETCH AND FOLD.
Once the four stretch and folds are done, there is one more small step before doing the final "shaping" - but before we get to that... make sure that you have a relatively spacious and clean surface available and then lightly flour it. Ok, now you are ready! Wet your hands again and slide them underneath the dough left and right, lift it up and allow it to stretch as you pull it out of the bowl - essentially allowing gravity to do it's thing. Drop it back down, rotate the bowl a little anti clockwise and repeat about 4 times.
After the last stretch and drop - lift the dough out of the bowl and onto the floured surface. Now you are going to do the final shaping. Grab your dough scraper - or the icing spatula. You can even use your hands if you don't have either of those utensils.
What you want to do now is flour the top of the dough ball a little and gently rub it over the ball evenly. Then you are going to work the dough into a nice tight ball. Be sure not to repeat this process too many times as you will make the ball of dough too tight and it can often split on the top, which you definitely don't want!
Place one hand on one side of the dough ball and keep it in that spot, not allowing it to move. Use your other hand with or without the dough scraper to push and curl around the ball - pushing up toward itself. Repeat this a few times until you feel the ball becoming firmer and tighter.
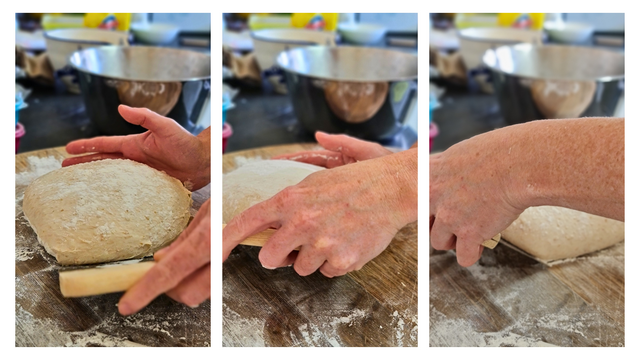
It should look something like this when you are done...
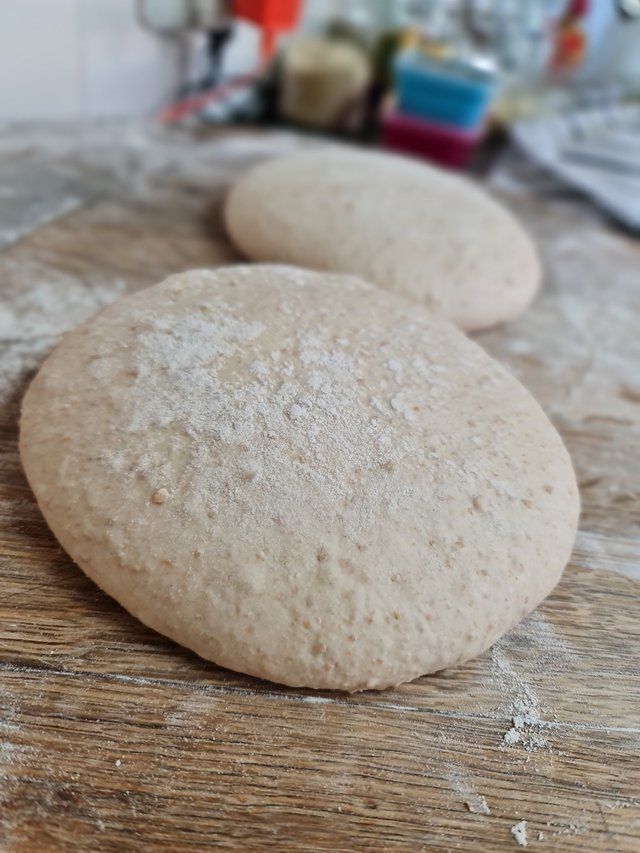
Cover with a dry kitchen towel and leave for 30 minutes.
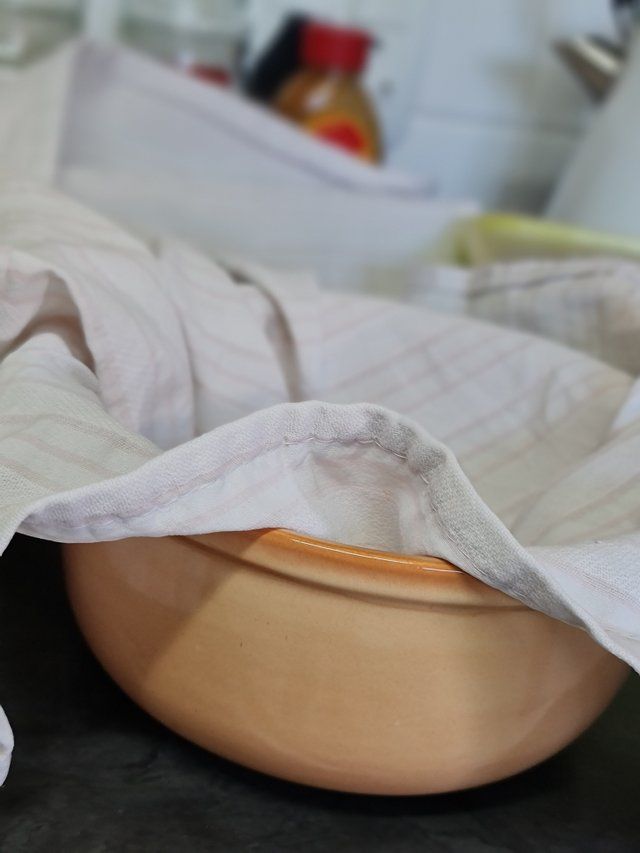
Ok... the final step has arrived - and your entire day is gone, lol!!! Grab your proofing basket with liner, or to substitute... grab a smallish round casserole dish or mixing bowl and place a linen (NOT TERRY CLOTH) kitchen towel or you can even use an old t-shirt. Place it into the base - yes, it will have creases in the fabric - nothing you can do about that - but it is a perfectly suitable substitute. Then lightly flour the base and the sides.
Like this...
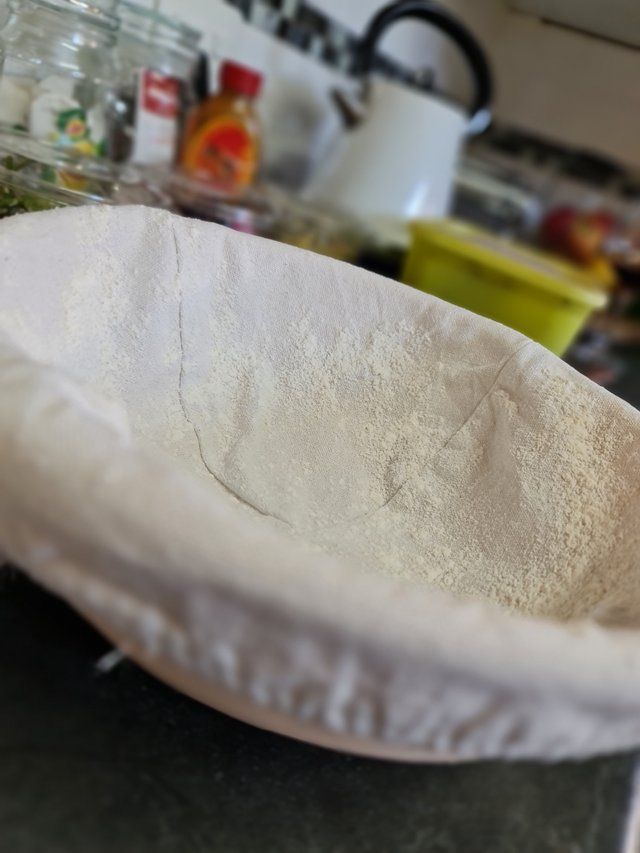
or like this...
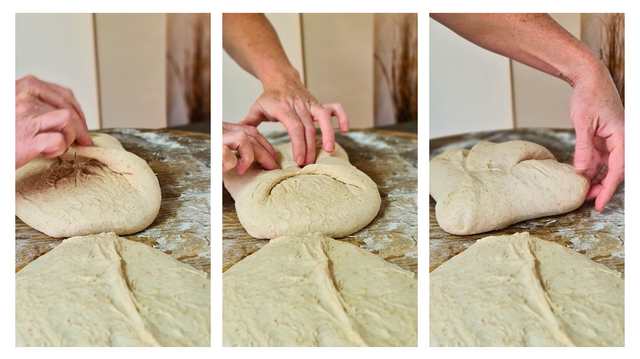
Go to your dough that has been resting, lift it left and right simultaneously with either your dough scraper or floured hands and flip it over 180 degrees. The last step is to fold it... pretty much like you are wrapping a present. You are going to stretch and fold it over onto itself half way. Think of a clock face. Pull from 12 down toward 6, then from 6 up to 12, from 3 to 9 and then from 9 to 3 and then the half way points between those four.
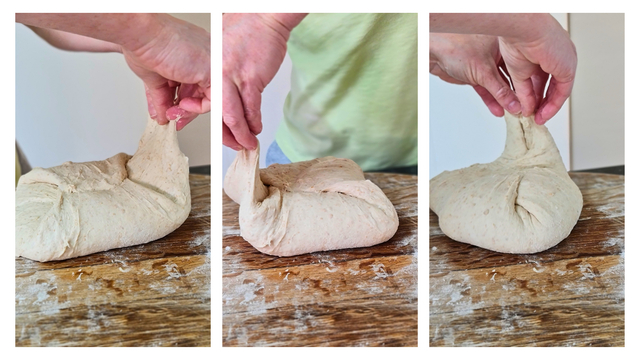
Lift it gently and place it into the basket or round lined dish.
Then, gently pinch all the seams closed.
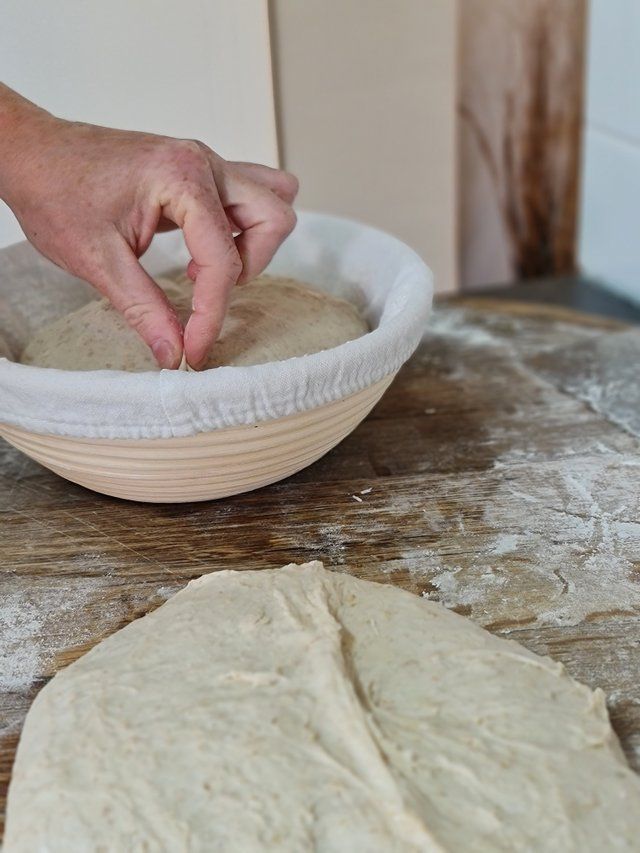
Give it a light flouring.
It should look something like this when you are done...
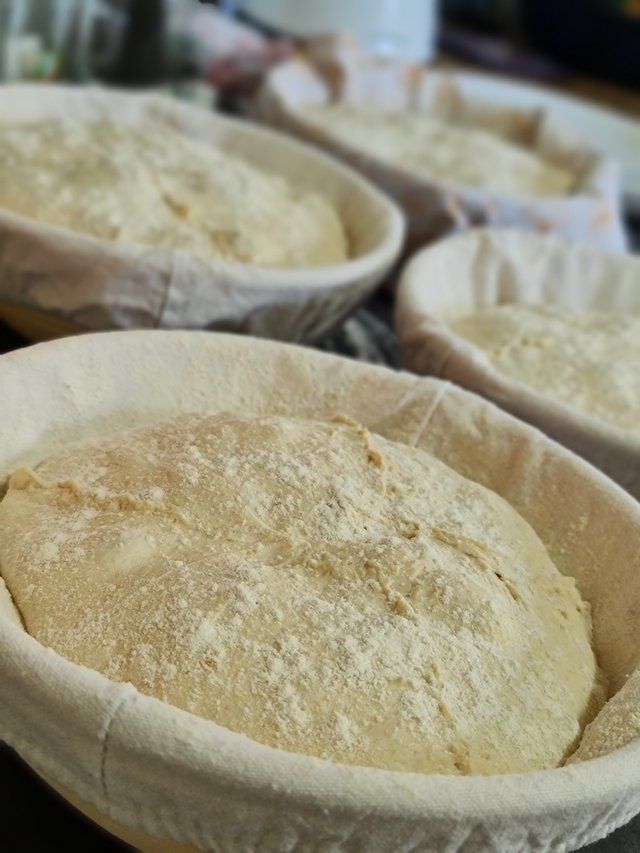
Cover it with a damp kitchen towel and place it in the fridge overnight.
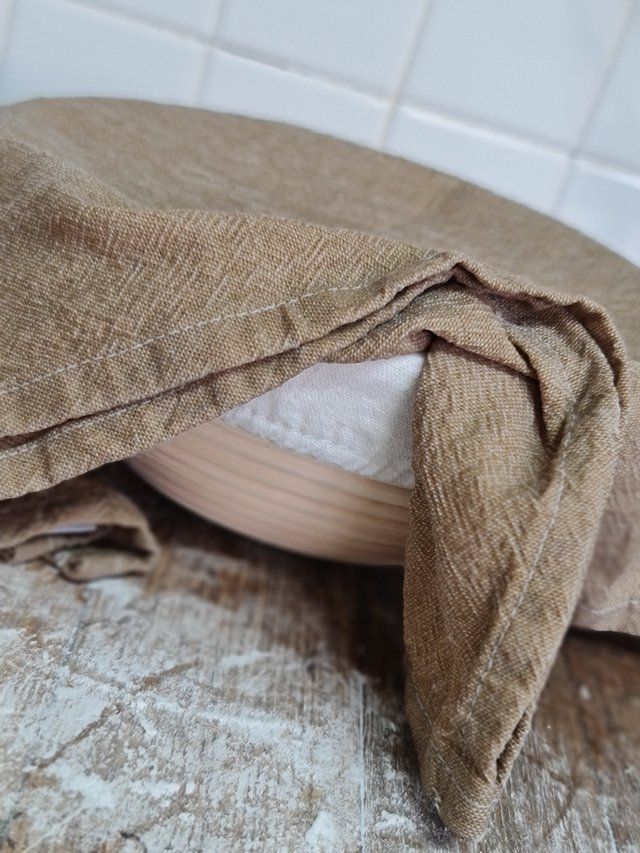
BAKE DAY!
Finally the moment has arrived!!! Place a sheet of aluminum foil at the base of your oven and place your oven tray on the lowest rack. Crank your oven up to 230 degrees Celsius (446 F) and when it is ready to rock n roll, grab your dough out of the fridge and FLIP it onto a square of pre-cut baking paper. The baking paper should be cut to fit the dough and to stick out of the pan a little - it makes it easier to lift it out after baking.
Grab your bread lame or SHARP blade and give it a slice over the top, just off centre. You are just creating a deep score - a few millimeters deep. This allows the bread to rise and creates what is referred to as an "ear" when it cracks open on the top.
Place it into the bread pan, give it a spritz with some water if you have a spray bottle, or just splash water using your finger tips. Pop it into the oven. Grab yourself about 4 ice cubes and throw them onto the foil thats on the bottom tray. This helps with the moisture content in the oven and also assists the rise. The foil will prevent the loaf from burning on the bottom. Let it bake for 30 minutes and then grab another sheet of aluminum foil and place it over the top of the loaf loosely in a sheet - this just prevents any potential burning on the top of the loaf. Set the time for another 30 minutes and then that is it! Remove it from the oven, place it on a cooling tray and thats a wrap!!
Congratulations on your first loaf of Sourdough Bread!
YAY!!!!
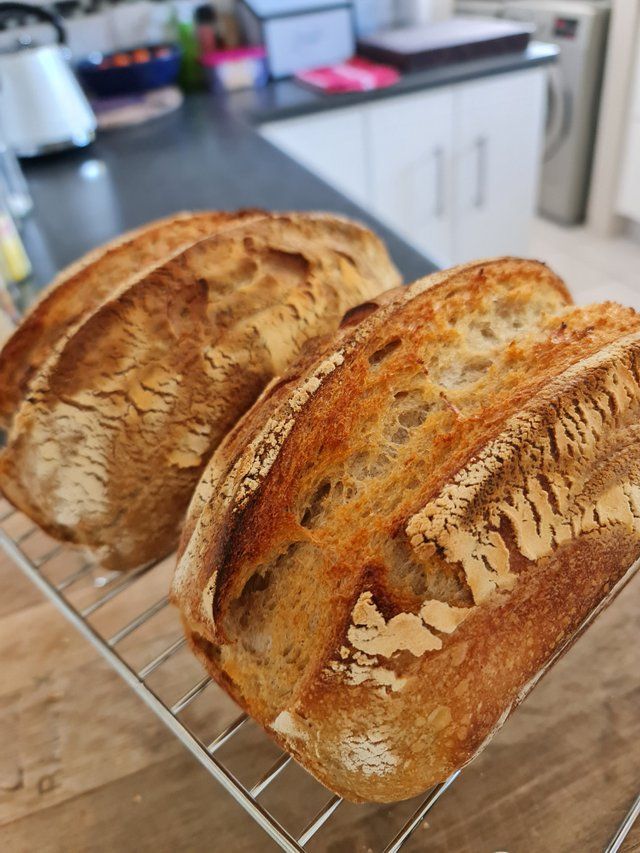
❤❤❤
Until next time...
Much Love from Country Bumpkinland, South Africa xxx
Jaynielea


ALL IMAGES ARE MY PROPERTY UNLESS OTHERWISE CREDITED
Typos make me human. I may or may not get around to correcting them.
All written content shared here is my property, unless otherwise credited
It is a pleasure for us to share our best wishes and congratulations. You have been given a virtual hug by the curation account @newvisionlife and manually curation by @OneRay.
Life never ends and there are new ways to see it. Tell us yours in our community
Es un placer para nosotros compartir nuestros mejores deseos y felicitaciones. Usted ha recibido un abrazo virtual de la cuenta de curación @newvisionlife y curado manualmente por @OneRay
La vida nunca termina y hay nuevas formas de verla. Cuéntanos la tuya en nuestra comunidad
Hi @jaynie, great news! Your content was selected by curators @oneray, @nalexadre to receive a special curation from BeBlurt 🎉 Don't hesitate to upvote this comment as the curators will receive 80% of the rewards for their involvement.
👉 What can you expect for 2024 on Blurt?
Win 85% rewards with myDelegation
This looks amazing. I am going to have to save this recipe and try it this weekend. I am always trying to make my own bread but have yet to find the perfect recipe. This might just be it. Thanks for sharing this and wish me luck this weekend when I try it out.