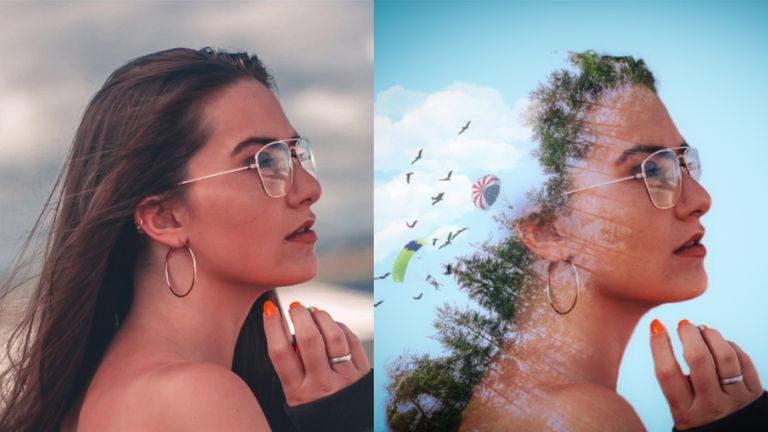

Do you wanna transform your ordinary portraits in some gorgeous effects? Here I am sharing a tutorial for creating this stunning double exposure effect in Adobe Photoshop. We will need a trees background image with clear sky to make this effect.
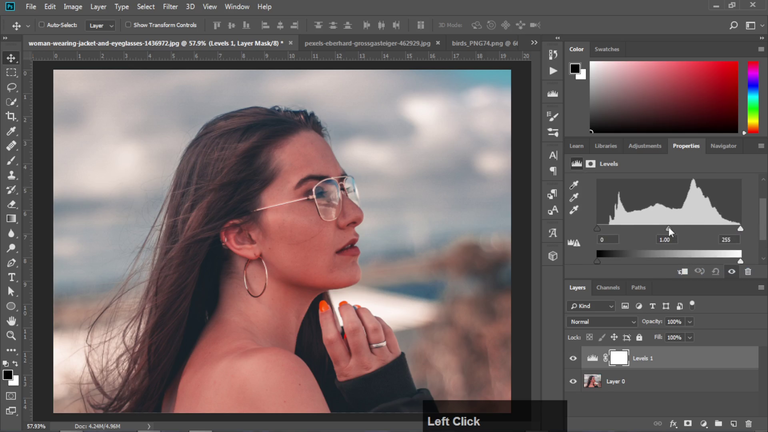
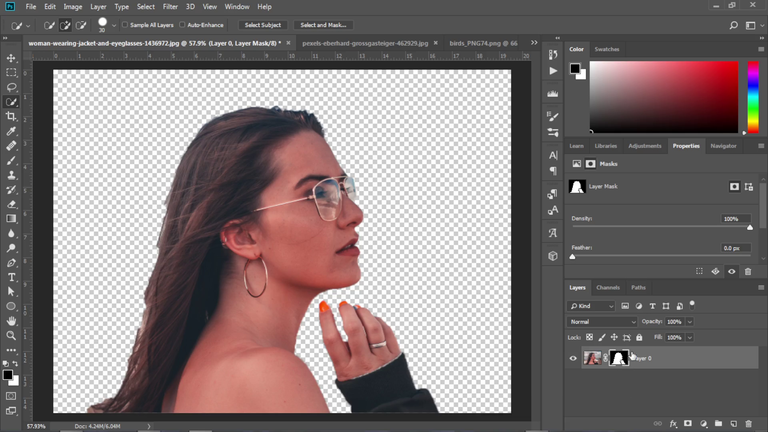
Open your image and with the help of levels adjustment layers make a selection of the model and cut it out from the background. You can also use the pen tool to cut out. Download the model image here.
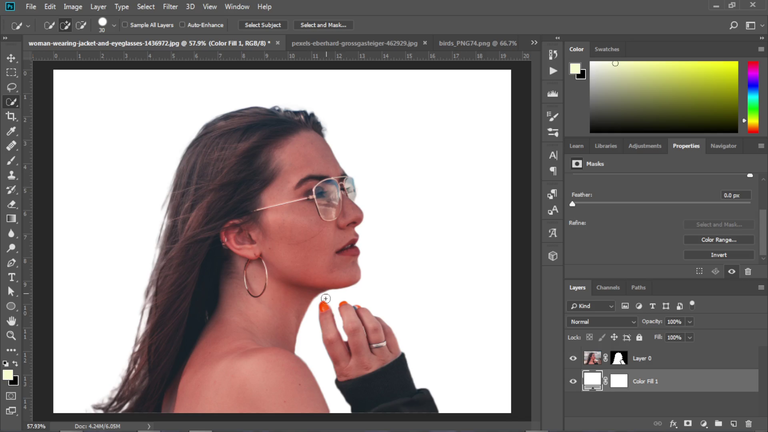
Add a white solid color adjustment layer as a background for this effect. We can change the color later if required.
Now place the trees background image over the model and adjust its size and angle so it can match like in the image. Download the trees background image here.
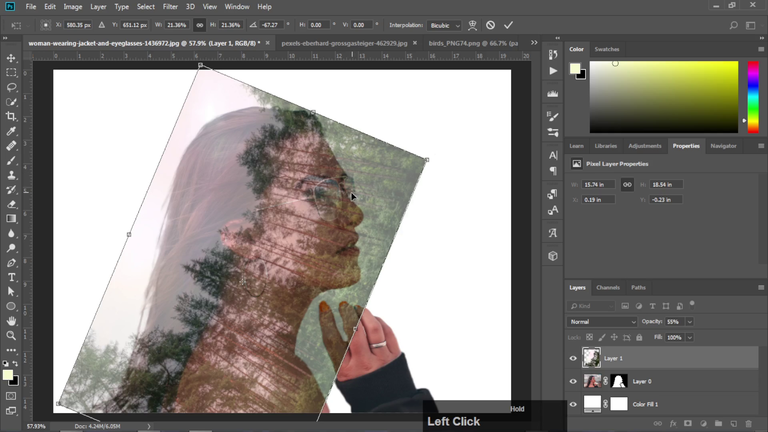
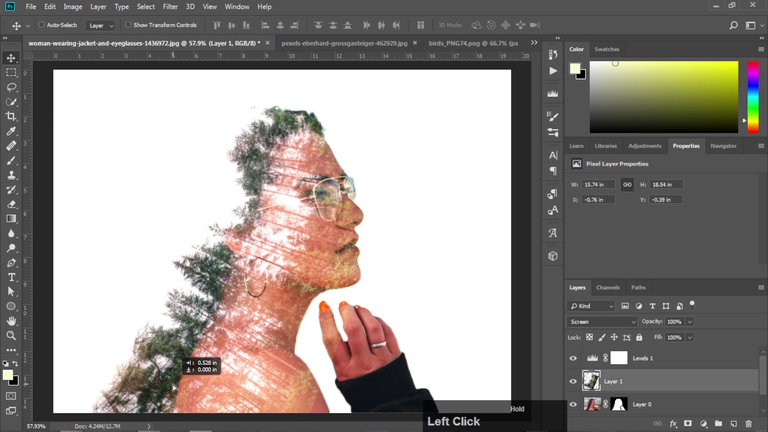
Change the blending mode of this layer to screen and increase the opacity to 100%. Add a levels adjustment layer and adjust the values so that the sky becomes 100% white but keep in mind trees don't lose the details.
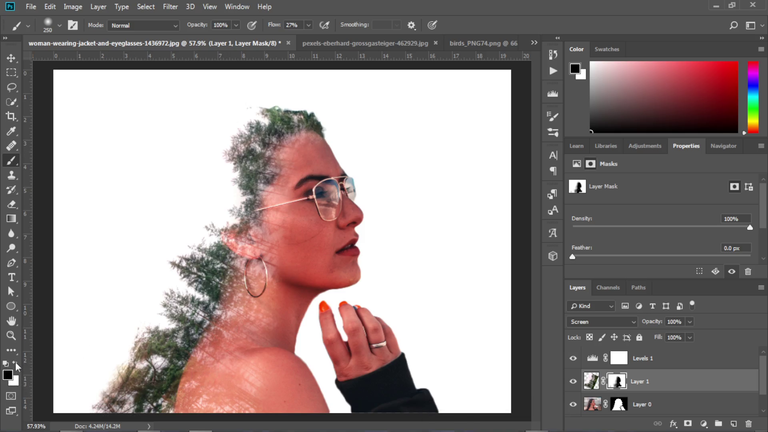
Add a mask to this layer and paint over the areas with black color brush to reveal the model body.
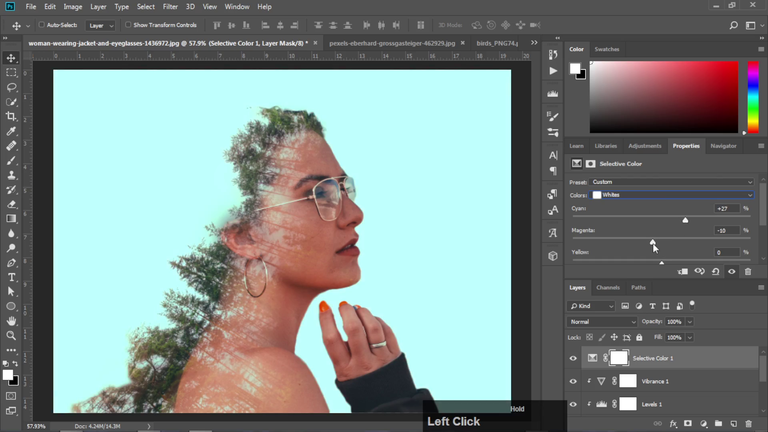
Change the background color to light cyan using the selective colors adjustment layer.
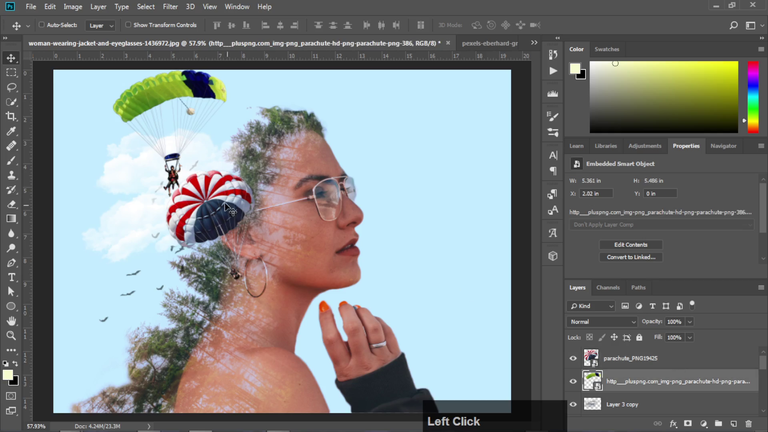
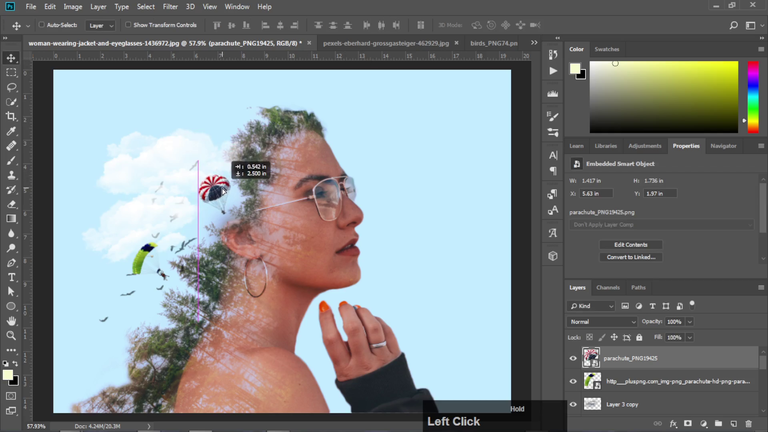
Add the different elements like birds, clouds, air balloons to make this effect more interesting and realistic.
And we are done with this very creative effect in Photoshop. This was a quick tutorial, if you wanna see the detailed process of it, you can watch it here.
Thanks a lot for visiting my profile and reading the entire post. I hope you have found this post to be helpful and learned some cool effect in Photoshop. Stay tuned for such insightful posts from me.
