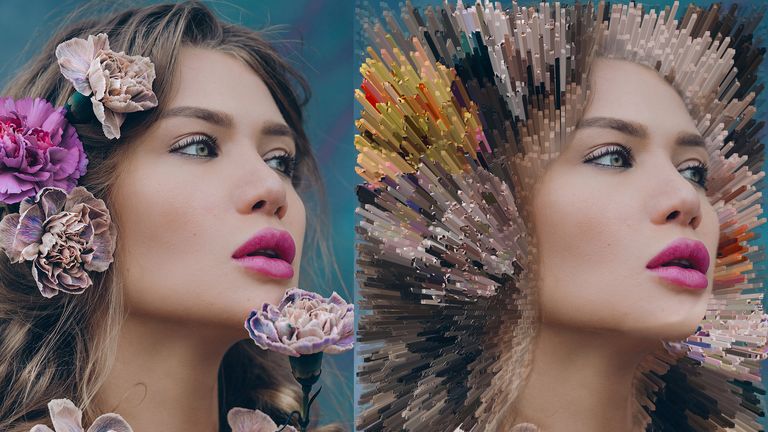
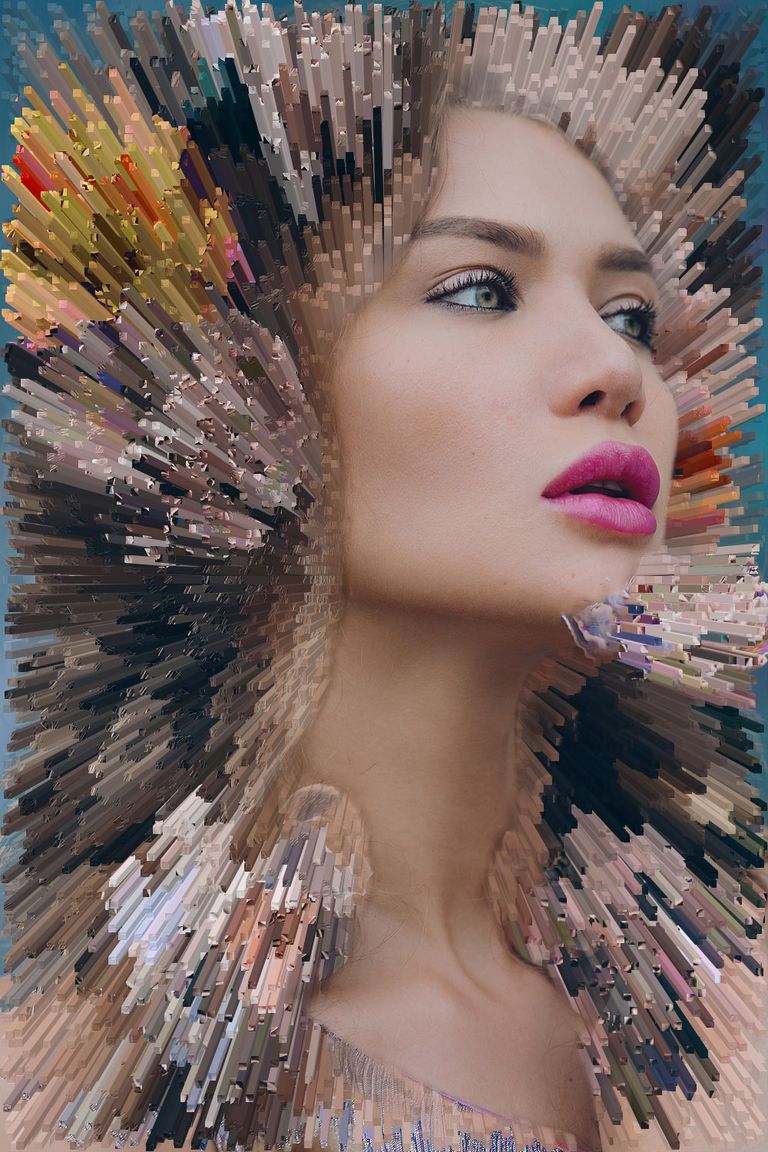
Do you wanna transform your ordinary portraits in some gorgeous effects? Here I am sharing a tutorial for creating this stunning face extrusion effect in Adobe Photoshop.
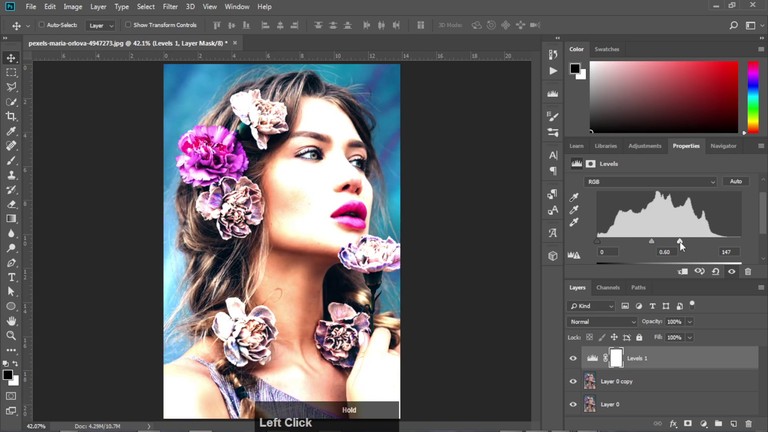
Open your image and with the help of levels adjustment layers cut out the parts which you wanna extrude. You can also use the pen tool to cut out. Here is the link to download the stock image.
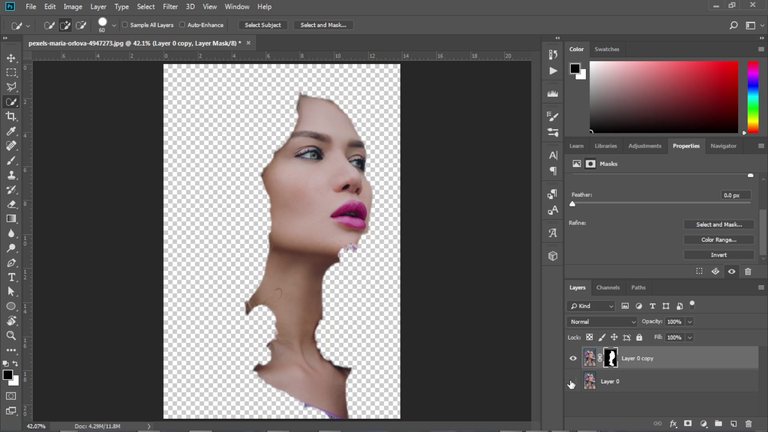
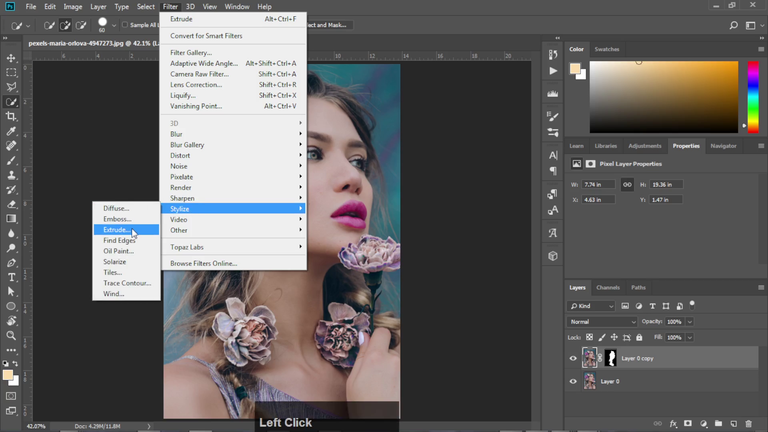
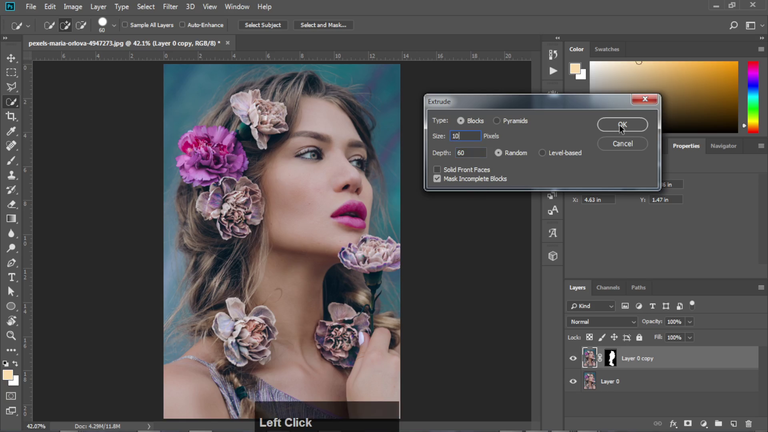
Now go to filters and select the extrude option. Put the values like this.
Now invert your mask by pressing CTRL + I and this will extrude the masked portion.
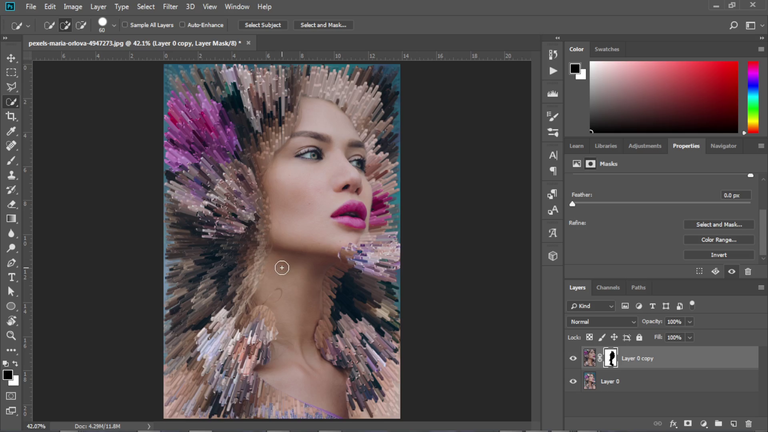
Now take the spot healing brush and paint on the face to remove some unwanted hair and objects.
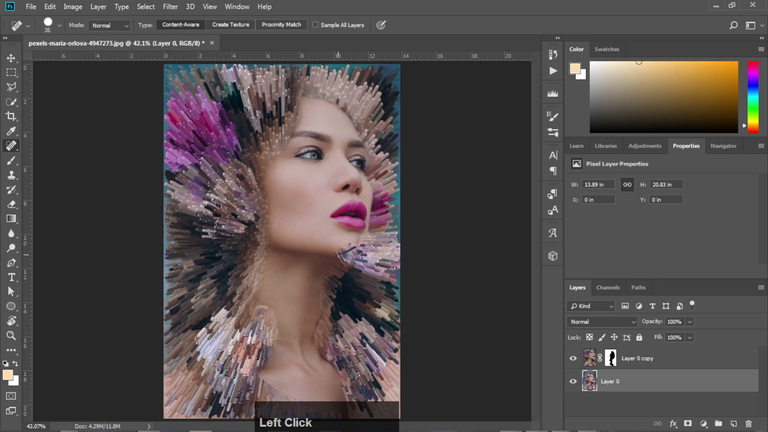
Next using the hue/saturation change the colors of the extruded parts so they look different than the face colors.
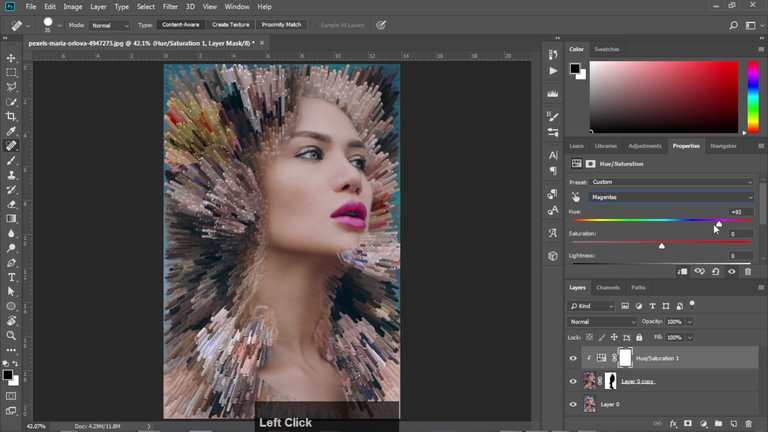
And we are done with this very creative effect in Photoshop. This was a quick tutorial, if you wanna see the detailed process of it, you can watch it here.
Thanks a lot for visiting my profile and reading the entire post. I hope you have found this post to be helpful and learned some cool effect in Photoshop. Stay tuned for such insightful posts from me.
