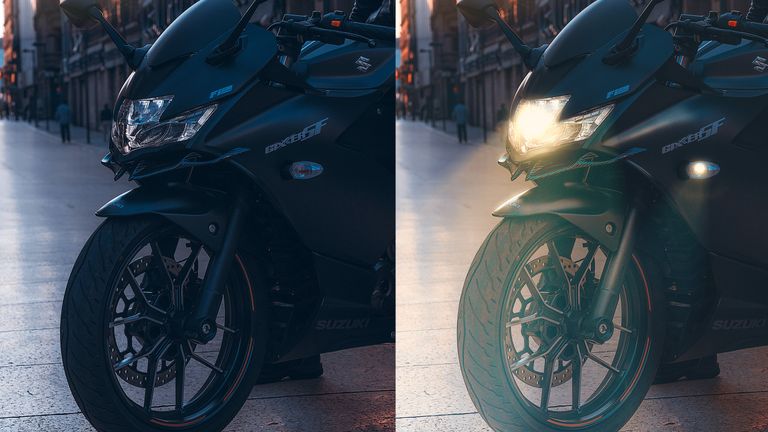
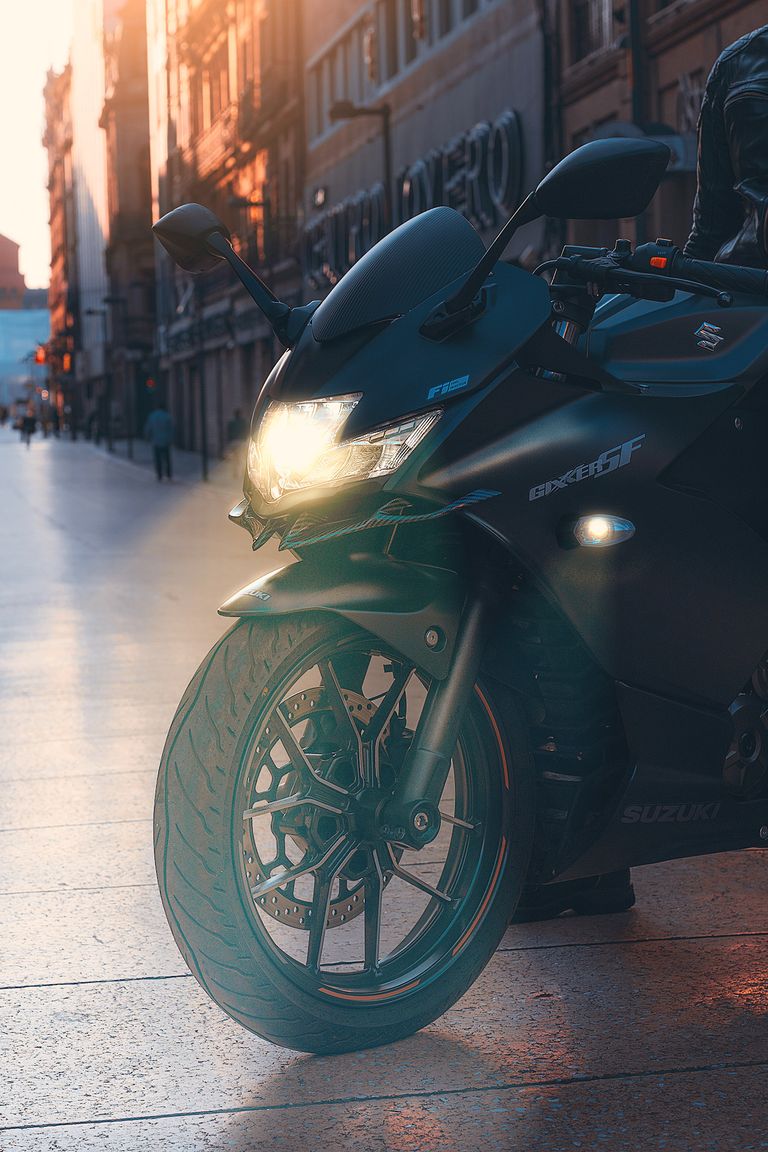
We often wanna add realistic lights and glows to our images and it becomes very easy when we are expert in Adobe Photoshop or any other similar software. In this tutorial we will be learning how we can add lights to any vehicle in Photoshop.
Import your photograph in Photoshop. If you wanna follow along with me you can download the same image here.
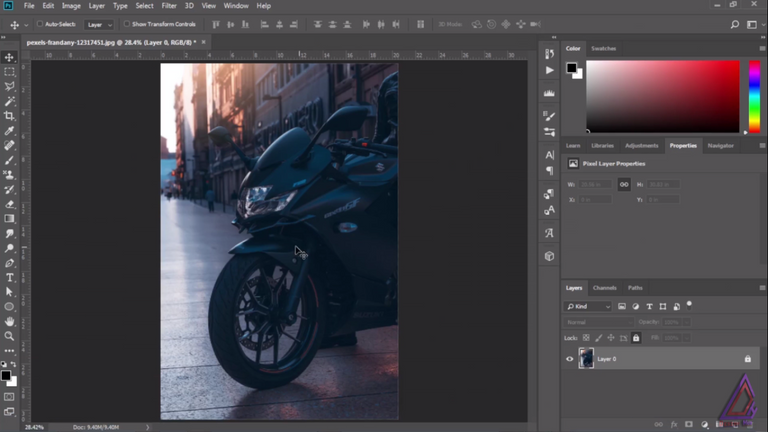
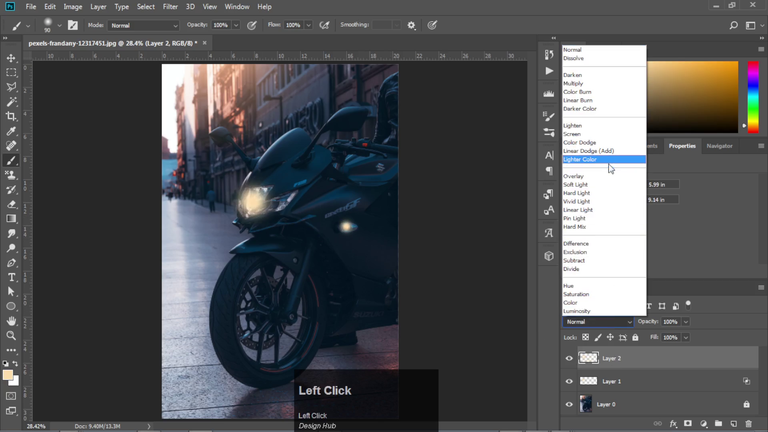
Create a new layer and take the soft round brush. Paint over the head light and indicators of the bike taking the light yellow color. Put this layer in Linear Dodge blending mode.
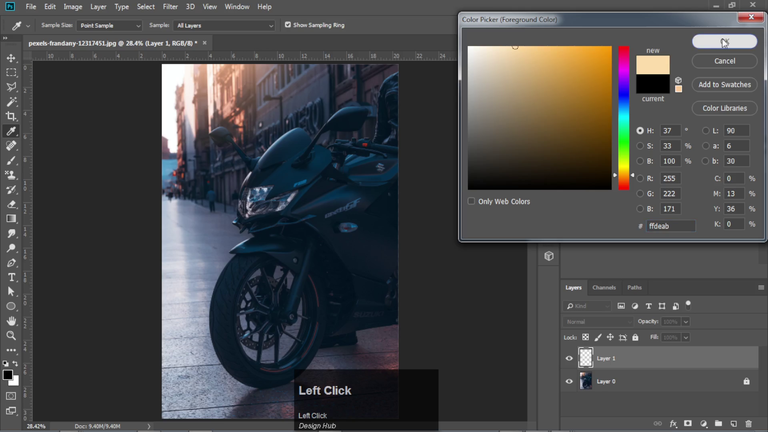

Create a new layer and increase the size of the brush and paint again like before and put the layer in linear dodge blending mode.
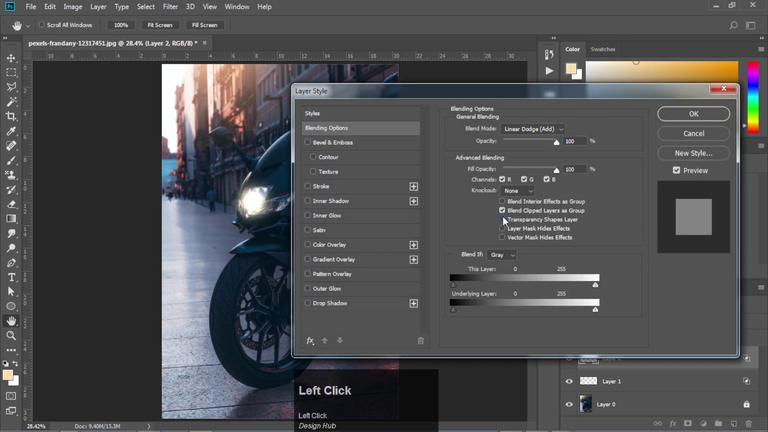
Now double click on the layer and it will open the layer style panel. Here uncheck the transparency shape layers. This will create more powerful light effect. Also do this in the previous layer.
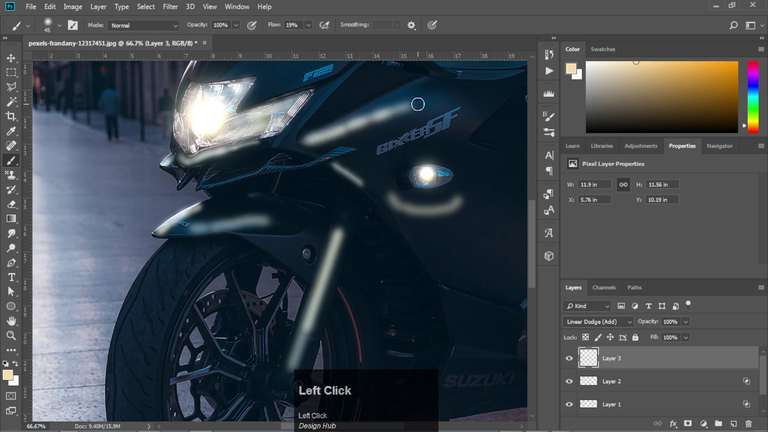
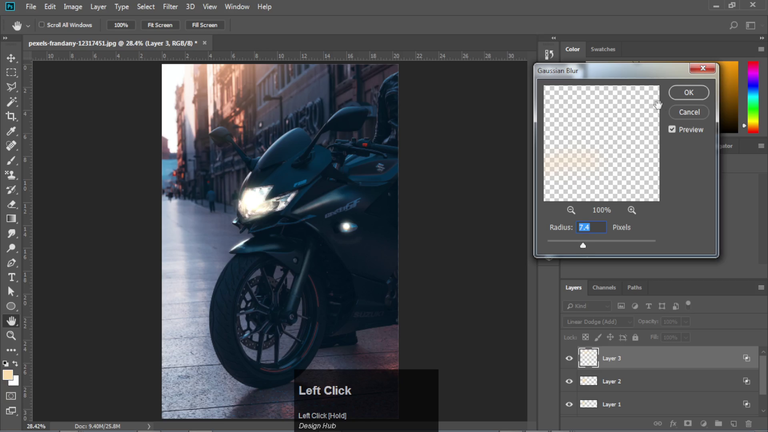
Now on a new layer we will paint the reflection of the light on our bike with the same brush and add some gaussian blur to it.
Now take a new layer. Select the polygon lasso tool and draw the spotlight shape like in the image below and fill it with the same color using the gradient fill tool.
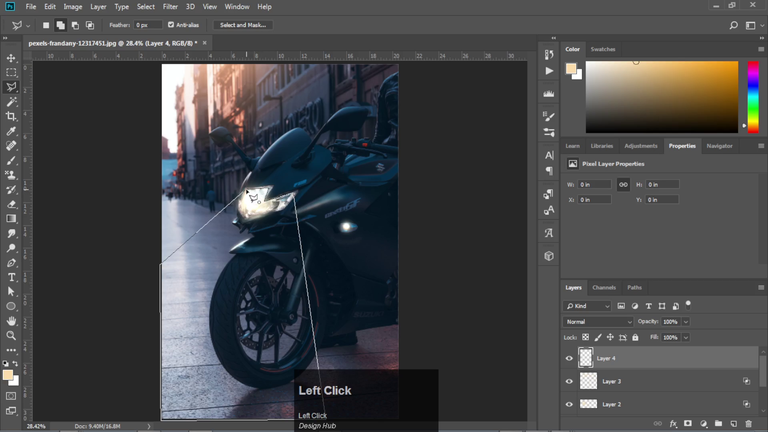
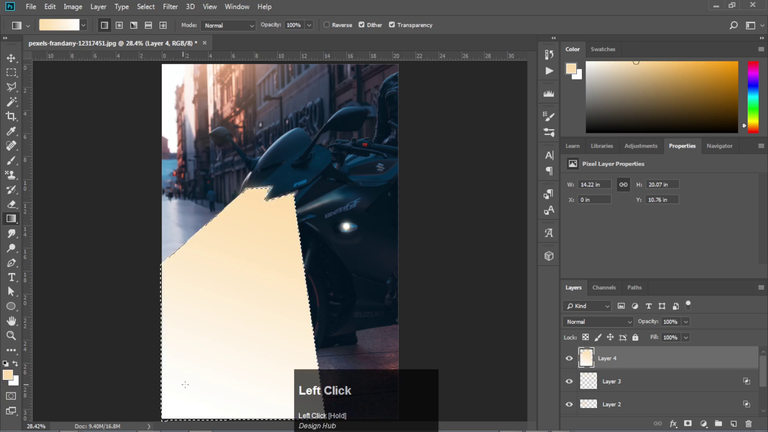
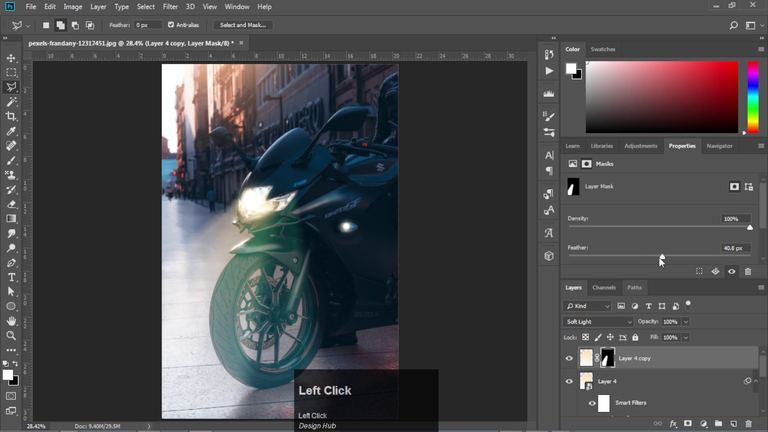
Now change the blending mode of this layer to be soft light and add some path blur to it.
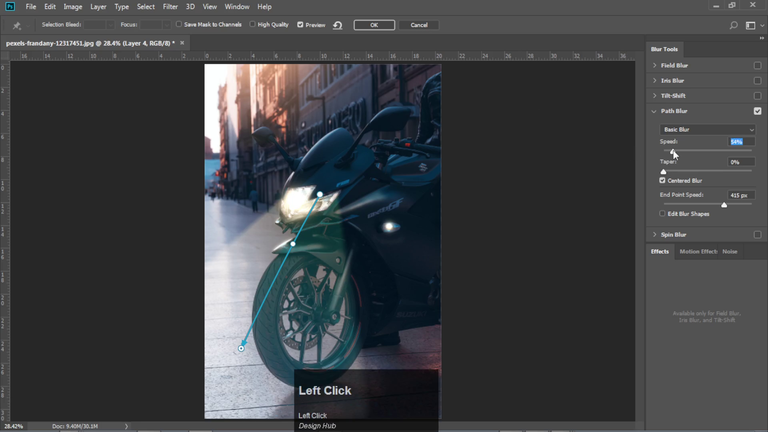
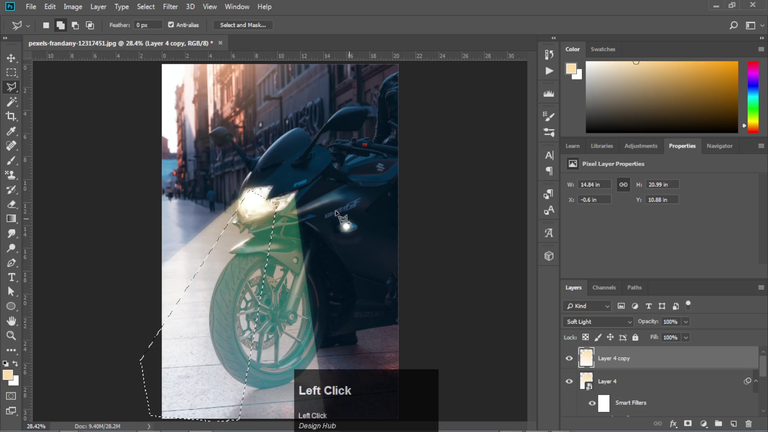
Make a copy of this layer and create a mask over it in the area shown in the image below. Add some blur to it and we are done with this cool light effect on our bike.
Wanna see the entire process in a video tutorial format, here is the link to this tutorial on my YouTube channel.
Thanks a lot for visiting my profile and reading the entire post. I hope you have found this post to be helpful and learned some cool effect in Photoshop. Stay tuned for such insightful posts from me.

Please vote for my witness!!!!!
🗳️ https://blurtwallet.com/~witnesses?highlight=outofthematrix
Hi, @rocksg,
Thank you for your contribution to the Blurt ecosystem.
Your post was picked for curation by @onchain-curator.
Please consider voting for our Upkeep Proposal by Symbionts.