Mastering the Art of Homemade Sushi Rolls 🍣✨
Sushi rolls, or makizushi, are a Japanese culinary treasure that’s easier to make at home than you might think. With fresh ingredients, a bit of practice, and the right tools, you can create restaurant-quality sushi that’s as visually stunning as it is delicious. Let’s dive into the steps to roll your way to sushi perfection!
Why Make Sushi at Home?
- Customizable: Tailor the ingredients to your taste and dietary preferences.
- Cost-Effective: Enjoy premium sushi without the hefty price tag.
- Creative & Fun: A great activity for gatherings or solo culinary experiments.
Essential Tools & Ingredients
Tools
- Bamboo mat (makisu): For rolling sushi.
- Sharp knife: For clean cuts.
- Plastic wrap: To prevent sticking.
Ingredients
- Sushi rice: Short-grain rice seasoned with rice vinegar, sugar, and salt.
- Nori (seaweed sheets): The foundation for your rolls.
- Fillings: Choose your favorites! Popular options include:
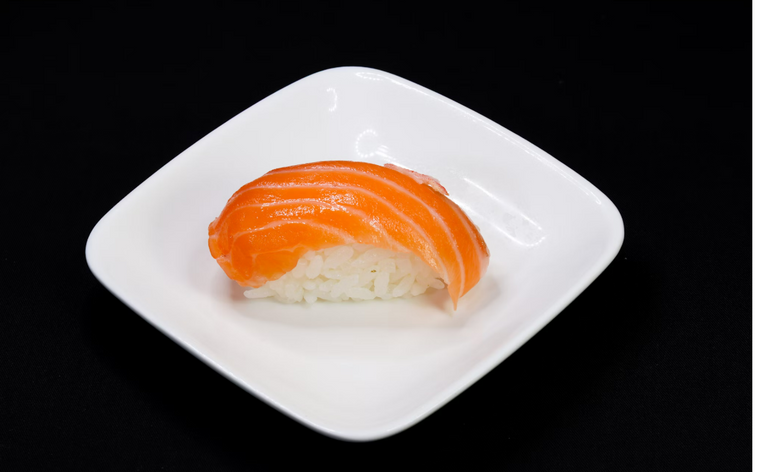
- Fresh fish (salmon, tuna)
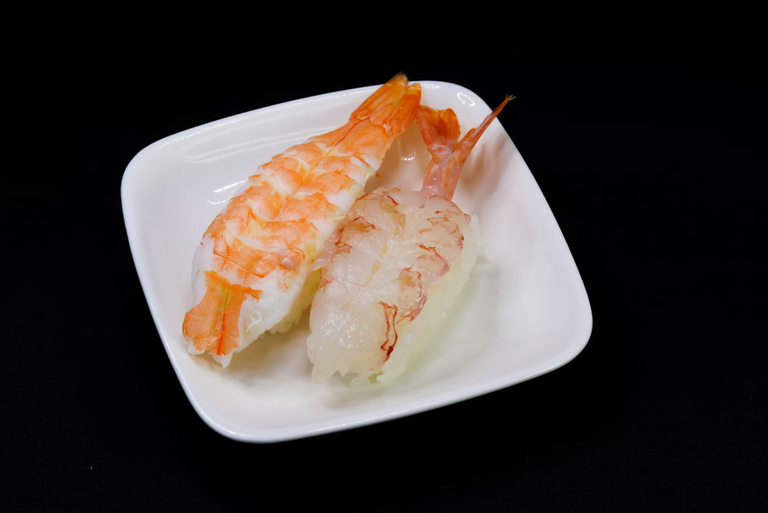
- Cooked shrimp or crab
- Vegetables (cucumber, avocado, carrots)
- Cream cheese or spicy mayo for a fusion twist.
- Soy sauce, pickled ginger, and wasabi: For serving.
Step-by-Step Guide to Making Sushi Rolls 🍣
1. Prepare the Sushi Rice
- Rinse 2 cups of sushi rice until the water runs clear.
- Cook the rice according to package instructions.
- Mix ¼ cup rice vinegar, 2 tablespoons sugar, and 1 teaspoon salt. Heat until dissolved, then gently fold into the cooked rice.
- Let the rice cool to room temperature, covering it with a damp cloth to prevent drying.
2. Set Up Your Rolling Station
- Place the bamboo mat on a flat surface and cover it with plastic wrap.
- Lay a sheet of nori, shiny side down, on the mat.
3. Add the Rice
- Wet your hands to prevent sticking, then spread a thin layer of sushi rice evenly over the nori, leaving a 1-inch border at the top.
4. Layer the Fillings
- Arrange your chosen fillings horizontally across the rice, about 1 inch from the bottom edge.
5. Roll It Up
- Use the bamboo mat to lift the edge closest to you, rolling it tightly over the fillings.
- Continue rolling while pressing gently to form a firm cylinder.
6. Slice with Precision
- Wet a sharp knife and slice the roll into even pieces. Clean the knife between cuts for neat results.
7. Plate and Serve
- Arrange your sushi rolls on a platter, garnish with pickled ginger, wasabi, and serve with soy sauce.
Pro Tips for Sushi Success 🌟
- Use Fresh Ingredients: For safety and flavor, only use sushi-grade fish if incorporating raw seafood.
- Don’t Overfill: Less is more when it comes to fillings—this ensures a tight roll.
- Experiment with Variations: Try inside-out rolls (rice on the outside), tempura shrimp rolls, or vegetarian options.
- Practice Patience: Your first few rolls might not be perfect, but practice makes progress!
Popular Sushi Roll Ideas
- California Roll: Imitation crab, avocado, and cucumber.
- Spicy Tuna Roll: Tuna mixed with spicy mayo.
- Vegetarian Roll: Avocado, cucumber, and carrots.
- Rainbow Roll: A California roll topped with slices of assorted fish.
Why It’s Worth the Effort
Making sushi at home is more than a cooking project; it’s an experience. You’ll appreciate the artistry behind each roll and enjoy the satisfaction of crafting something beautiful and delicious from scratch.


