Making scented candles at home is a fun and rewarding craft. Whether you’re creating them for personal use, as gifts, or even to start a small business, homemade candles allow you to customize scents, colors, and designs to suit your preference. Follow this step-by-step guide to create beautiful, fragrant candles.
Materials You'll Need
Essential Supplies:
- Wax – Soy wax, paraffin wax, or beeswax (Soy wax is ideal for beginners).
- Wick – Cotton or wood wicks. Choose the right size for your container.
- Fragrance Oils or Essential Oils – Choose scents you love (Lavender, Vanilla, Cinnamon, etc.).
- Dye (Optional) – Candle dye blocks or liquid dyes for colored candles.
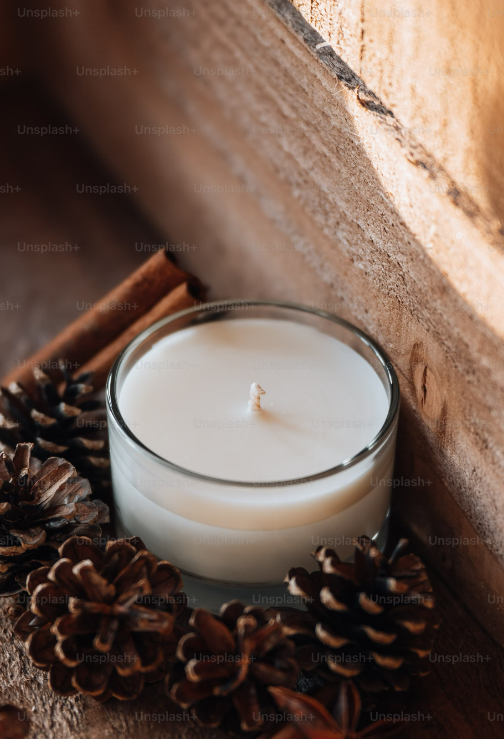
- Container or Mold – Glass jars, tins, or silicone molds.
- Wick Holders or Wick Stickers – To keep the wick centered.
- Double Boiler or Heatproof Container – To melt the wax safely.
- Stirring Stick or Wooden Spoon – To mix wax and fragrance.
- Thermometer – To monitor wax temperature.
- Glue Gun or Adhesive Putty – To secure the wick.
Step-by-Step Guide
Step 1: Prepare Your Workspace
- Lay down newspaper or a silicone mat to avoid wax spills.
- Gather all materials within reach.
- Ensure your jars/molds are clean and dry.
Step 2: Choose and Prepare Your Wick
- Trim the wick to fit your container with about ½ inch extra.
- Use a wick sticker or hot glue to secure the wick at the bottom of the container.
- Use a wick holder (or a chopstick) to keep it upright and centered.
Step 3: Melt the Wax
- Use a double boiler: Fill a pot with water and place a heatproof container inside it.
- Add wax flakes and stir gently as they melt.
- Heat until the wax reaches 170–180°F (77–82°C).
- Remove from heat once fully melted.
Step 4: Add Fragrance and Color
- Let the wax cool slightly to around 130–140°F (54–60°C) before adding fragrance oil (this prevents burning off the scent).
- Add 1 ounce (about 6% of wax weight) of fragrance oil per pound of wax and stir for 2 minutes.
- If using dye, add a few drops or shavings and stir until well mixed.
Step 5: Pour the Wax into the Container
- Carefully pour the wax into your prepared container, leaving about ½ inch at the top.
- Hold the wick steady to keep it centered.
- Allow the wax to cool and harden (takes about 4–6 hours).
Step 6: Trim the Wick
- Once the candle is fully set, trim the wick to ¼ inch to prevent excess soot and high flames.
Step 7: Cure the Candle (Optional, for Stronger Scent Throw)
- Let the candle sit for 24–48 hours before lighting to allow the fragrance to fully bind with the wax.
Tips for Better Candle Making
- Use high-quality fragrance oils designed for candle making to ensure a lasting scent.
- Experiment with wick sizes – If the flame is too small, use a thicker wick. If it flickers a lot, use a thinner one.
- Avoid overheating wax to prevent discoloration and scent loss.
- Test burn your candles before gifting or selling to check for even melting.
Common Candle Making Mistakes & How to Fix Them
| Problem | Cause | Solution |
|---|---|---|
| Uneven burning or tunneling | Wick is too small | Use a larger wick size |
| Weak scent throw | Not enough fragrance oil | Increase fragrance load (max 10% of wax weight) |
| Cracked or lumpy surface | Wax cooled too quickly | Pour at a lower temperature and cool slowly |
| Black soot when burning | Wick is too long | Trim the wick to ¼ inch before each use |
Final Thoughts
Making scented candles at home is an enjoyable and creative process. With the right materials and a little practice, you can craft candles that add warmth and fragrance to any space. Start experimenting with different scents and colors to create your perfect candle!