How to Make Chocolate Candies at Home: A Step-by-Step Guide
Making chocolate candies at home is fun, easy, and allows you to customize flavors, fillings, and decorations. Whether you want to create simple solid chocolates, filled truffles, or molded candies, this guide will help you craft delicious homemade treats.
Ingredients and Tools You’ll Need
Ingredients:
- Chocolate: Choose high-quality chocolate (dark, milk, or white) for the best results. Use couverture chocolate for professional-quality shine or regular baking chocolate.
- Fillings (optional): Caramel, peanut butter, nuts, fruit preserves, marshmallow, or ganache.
- Flavorings (optional): Vanilla extract, peppermint oil, orange zest, or liqueurs.
- Toppings: Sprinkles, crushed nuts, cocoa powder, or edible gold dust.
Tools:
- Double boiler or microwave-safe bowl for melting chocolate.
- Silicone or polycarbonate molds for shaping candies.
- Spatula or spoon for stirring.
- Piping bag or small spoon for adding fillings.
- Candy thermometer (optional but useful for tempering chocolate).
- Refrigerator or freezer to help set chocolates quickly.
Step-by-Step Instructions
Step 1: Choose and Prepare Your Chocolate
- Chop the chocolate into small pieces to ensure even melting.
- Melt the chocolate using one of these methods:
- Double Boiler Method: Heat water in a saucepan, place a heatproof bowl over it, and melt chocolate slowly while stirring.
- Microwave Method: Heat chocolate in 15-20 second intervals, stirring in between, until smooth.
Tip: If you want your chocolate candies to have a glossy, professional look, you’ll need to temper the chocolate by heating and cooling it in a controlled way.
Step 2: Fill the Molds
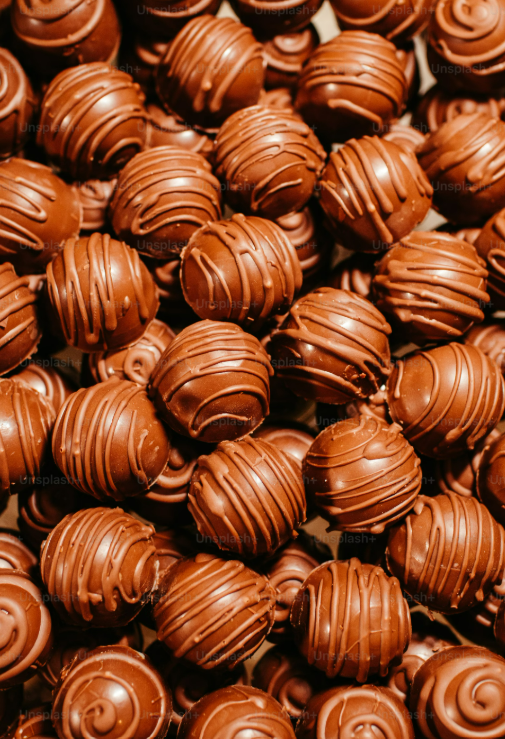
- For solid chocolates: Pour melted chocolate directly into the molds. Tap the mold lightly to remove air bubbles.
- For filled chocolates:
- Pour a thin layer of chocolate into the mold.
- Use a spoon or brush to coat the sides. Chill until firm.
- Add a small amount of your chosen filling (caramel, peanut butter, etc.).
- Cover with more melted chocolate and smooth the top.
Step 3: Set the Chocolates
- Refrigerate for 15-30 minutes until fully hardened.
- Once set, gently pop the chocolates out of the mold.
Step 4: Decorate (Optional)
- Drizzle with melted white or dark chocolate for contrast.
- Dust with cocoa powder or powdered sugar.
- Add sprinkles, sea salt, or edible gold dust for a fancy touch.
Step 5: Store and Enjoy!
- Store chocolates in an airtight container at room temperature or in the fridge.
- Enjoy within 2-3 weeks for the best taste!
Bonus Tips for Perfect Homemade Chocolates
✅ Use high-quality chocolate for the best flavor and texture.
✅ Avoid water contact—even a drop can cause the chocolate to seize.
✅ Experiment with flavors like orange zest, espresso powder, or liqueurs.
✅ Get creative with fun molds and unique fillings!