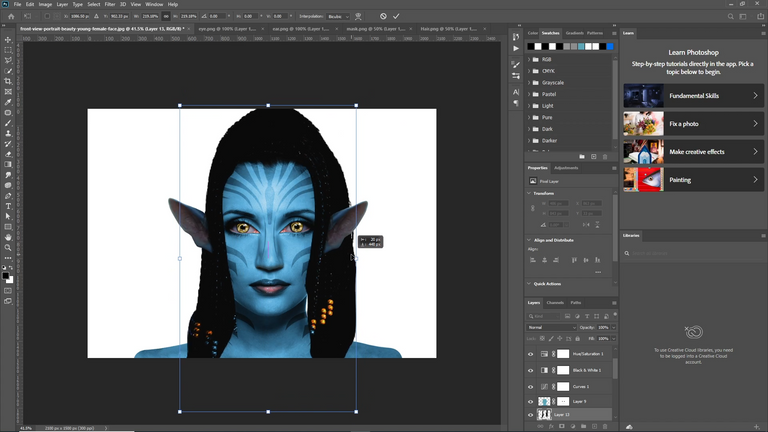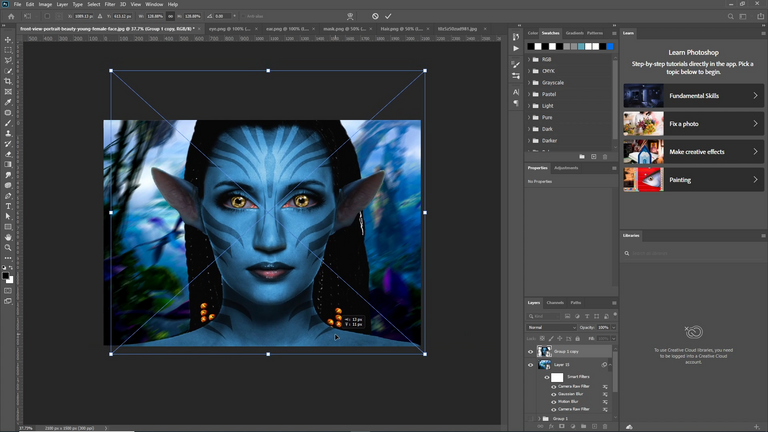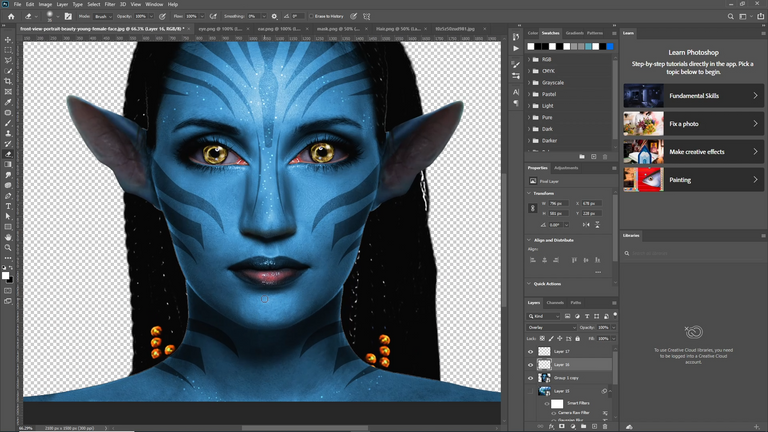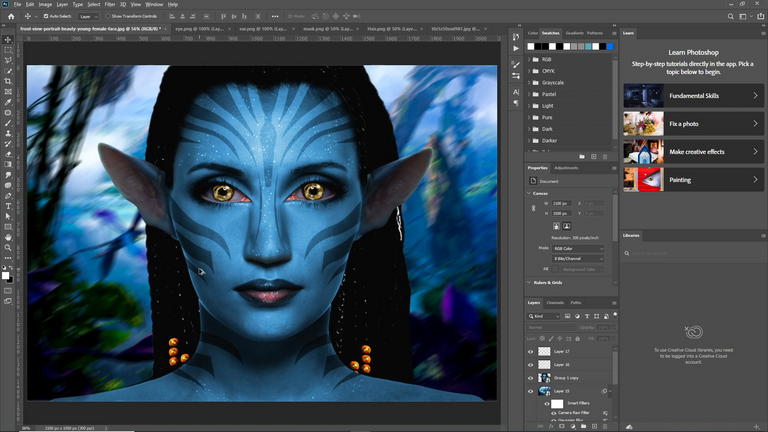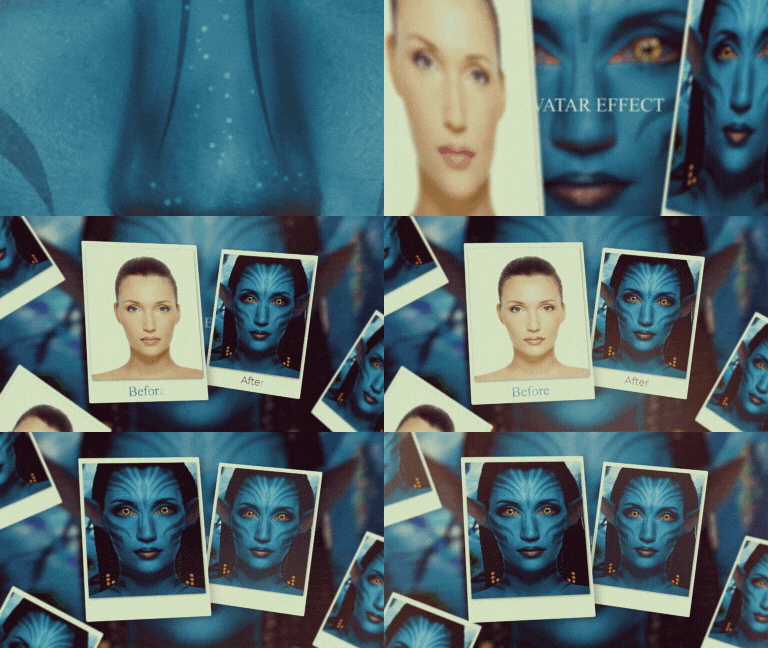
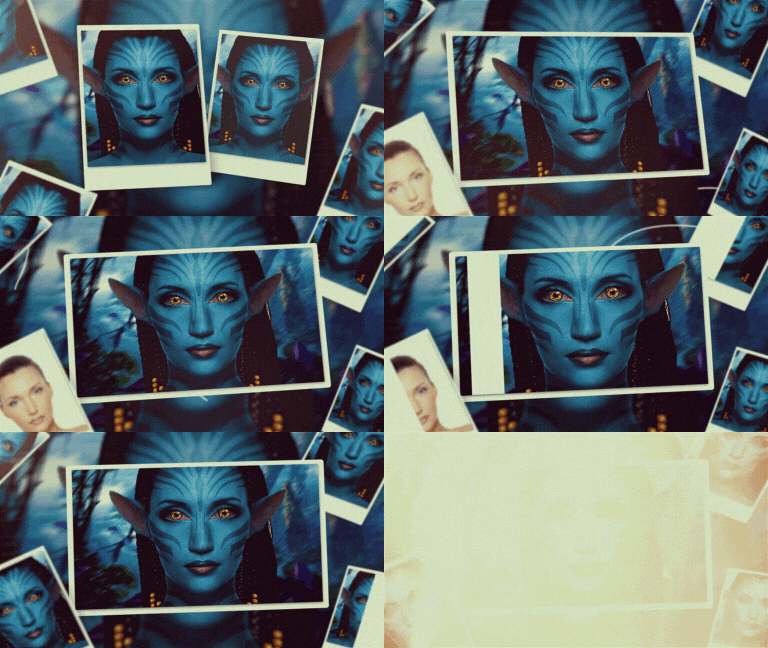
Hello, Dear members of the Blurt Community! how are you all? I have full faith that you guys will be fine and doing something good in your life. My name is Shivam and today I bring you the Avatar Effect on Face in Photoshop, I hope You guys will like it very much.
Tutorial link is below.......👇👇👇👇👇👇
To create an Avatar effect on a face in Photoshop using blending options, a black and white filter, a blur filter, and the Camera Raw filter, you can follow these steps:
Step 1: Open the Image
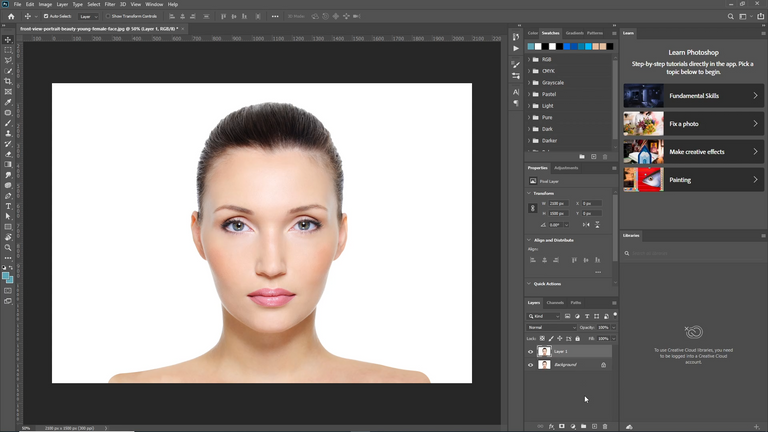
Open your desired image in Photoshop by going to "File" and selecting "Open." Choose the image you want to apply the Avatar effect to.
Step 2: Duplicate the Background Layer
In the Layers panel, right-click on the Background layer and select "Duplicate Layer." This will create a duplicate layer to work on, keeping the original image intact.
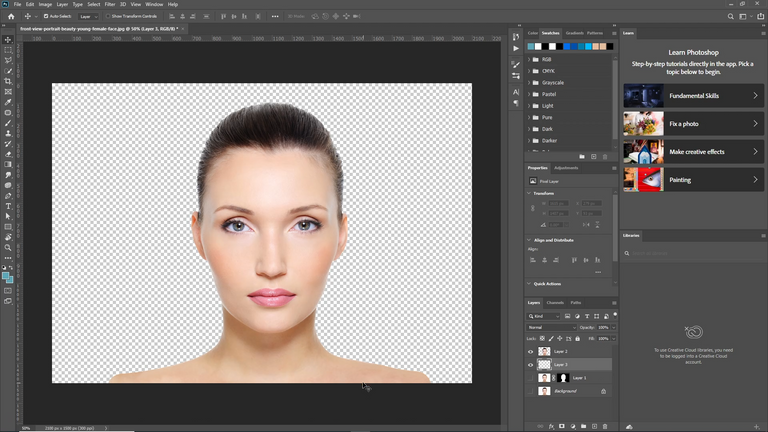
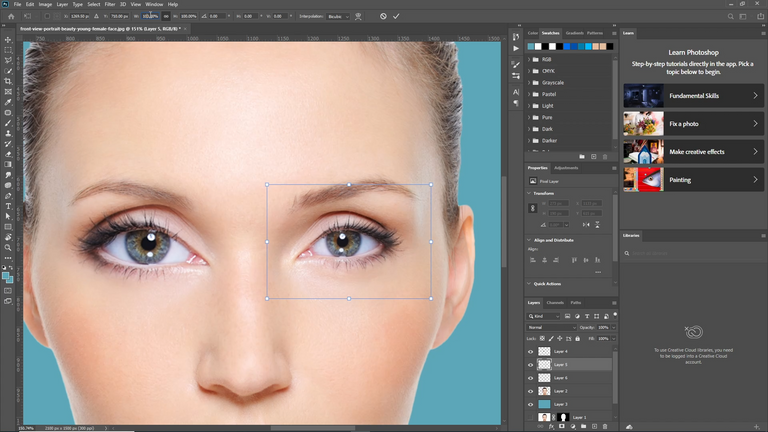
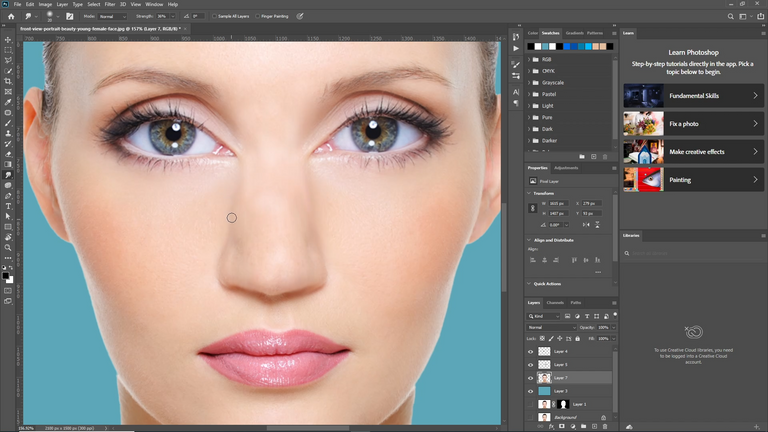
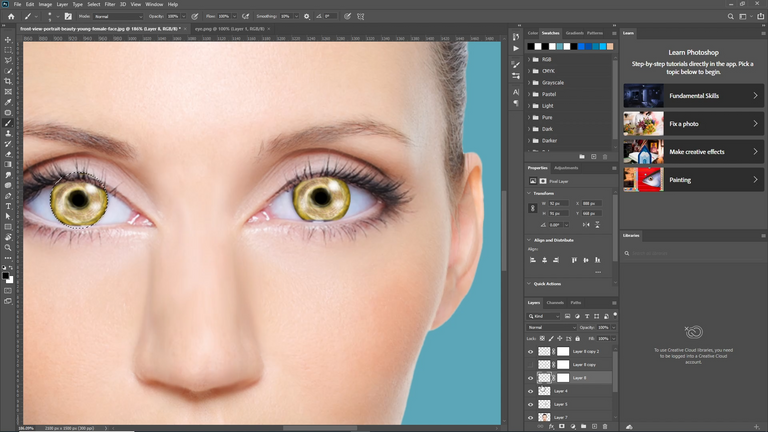
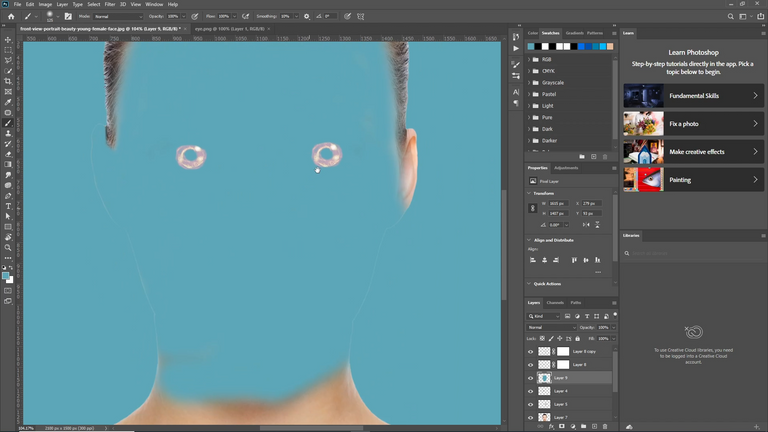
Step 3: Convert the Duplicate Layer to Black and White
With the duplicated layer selected, go to "Image" and choose "Adjustments," then select "Black & White." Adjust the sliders to achieve the desired black and white effect. Click "OK" when you're satisfied.
Step 4: Apply the Blur Filter
Go to "Filter" > "Blur" > "Gaussian Blur." Adjust the radius until you get a smooth, slightly blurred appearance. This will help create the dreamy effect seen in the Avatar movie. Click "OK" to apply the blur.
Step 5: Adjust the Opacity and Blending Mode
In the Layers panel, lower the opacity of the duplicated layer to your liking. You can experiment with different opacity levels to achieve the desired effect. Additionally, try changing the blending mode by clicking on the drop-down menu at the top of the Layers panel and selecting different options like "Overlay" or "Soft Light." Choose the blending mode that enhances the effect.
Step 6: Apply the Camera Raw Filter
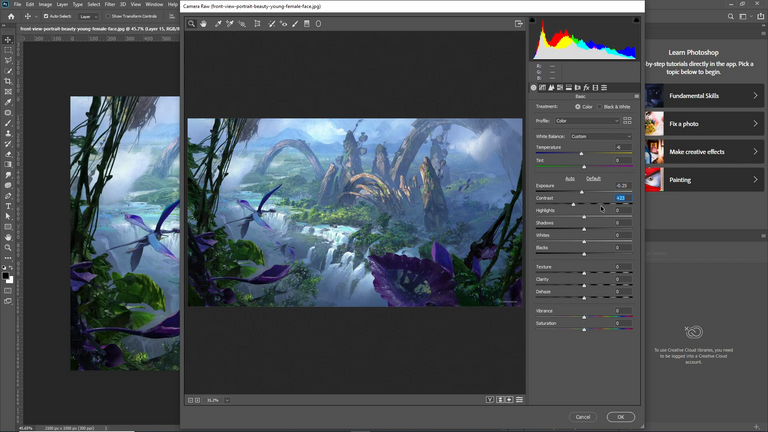
With the duplicated layer still selected, go to "Filter" > "Camera Raw Filter." In the Camera Raw dialog box, you can make adjustments to various settings like exposure, contrast, clarity, and more. These adjustments will further enhance the Avatar effect. Play around with the settings until you achieve the desired result. Click "OK" to apply the changes.
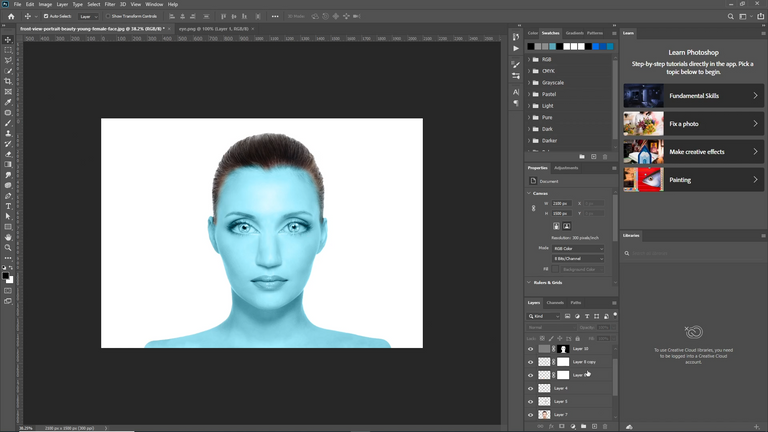
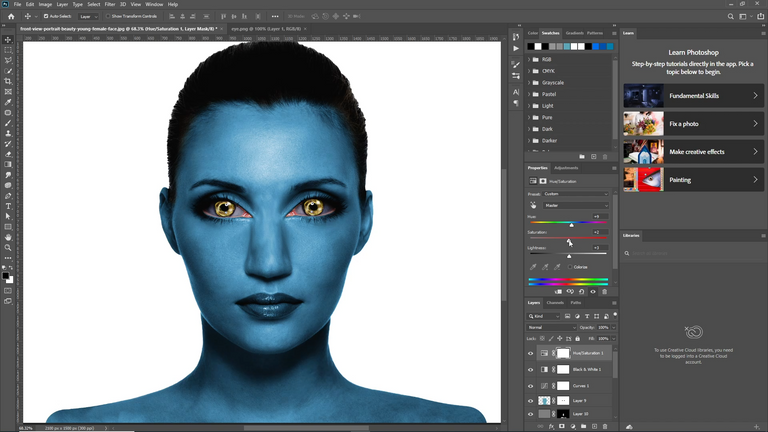
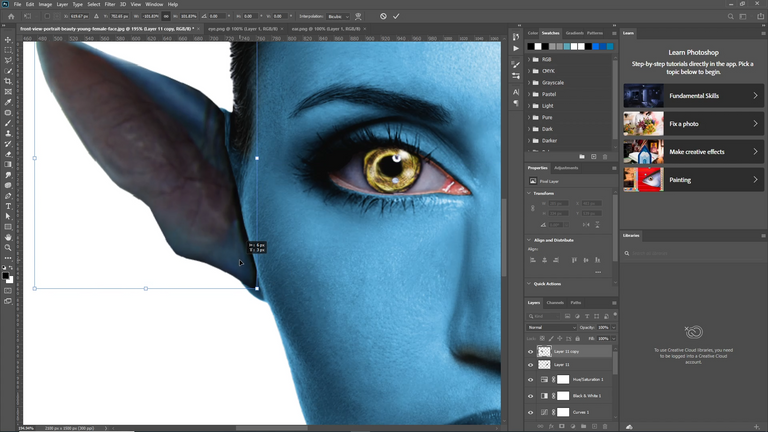
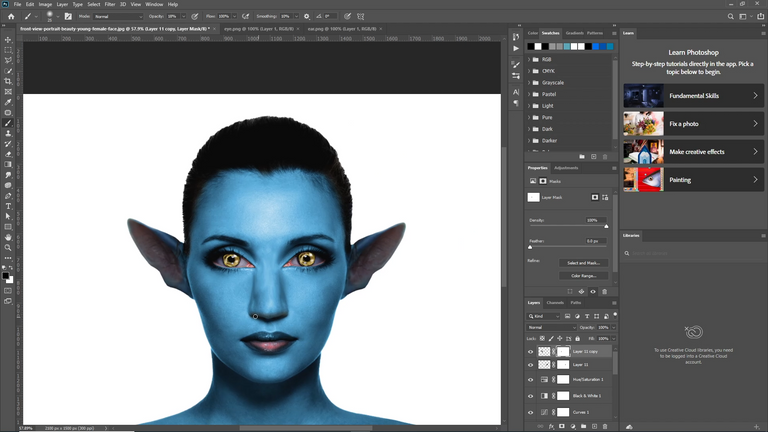
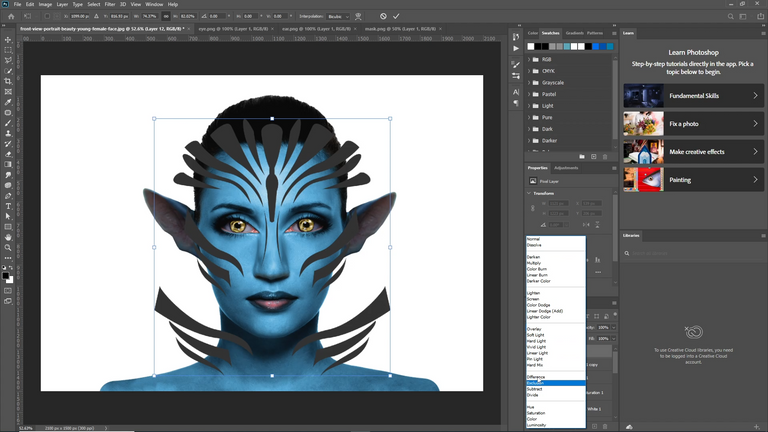
Step 7: Refine the Effect
You can further refine the Avatar effect by experimenting with additional adjustments like levels, curves, or color grading. Use the adjustment layers in the Layers panel to make these changes non-destructively, allowing you to modify or remove them later if needed.
Step 8: Save Your Image
Once you're satisfied with the Avatar effect, go to "File" > "Save As" to save your image in the desired format.
Remember, these steps provide a basic outline, and you can customize and experiment with different settings and filters to create your own unique Avatar effect in Photoshop.
