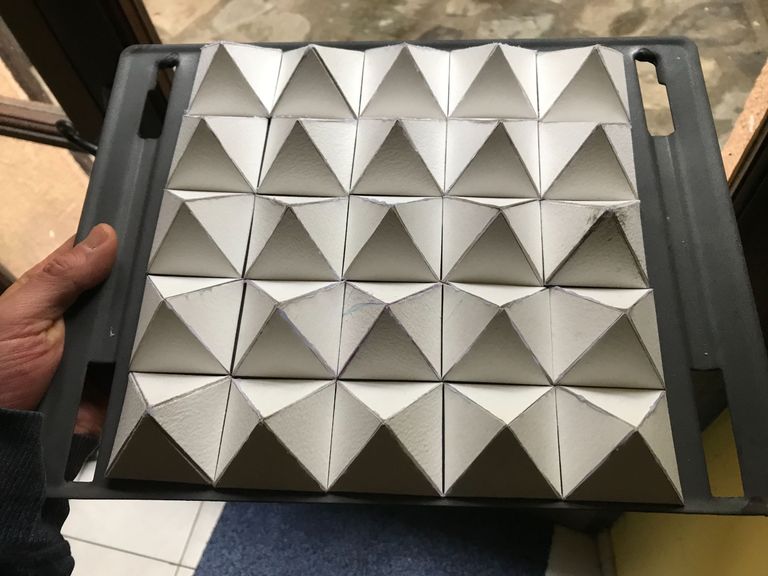
I realise everyone enjoys a cold drink from time to time but the primary function of a fridge is to keep our food from going bad, so what if I told you this job could be achieved way more effectively with a bunch of baby pyramids?
Les Brown tells us in his book The Pyramid how 80% of the energy collected inside the pyramid shape is released at the apex, so if one creates a bunch of them and places on top a metal tray which makes contact with all the tiny pyramids, the tray will 'energise' anything placed on it.
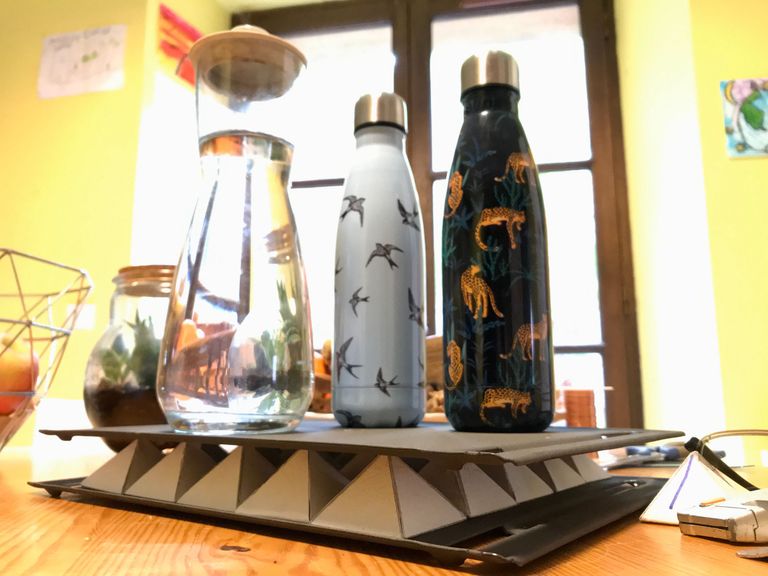
Food storage
Brown tells us how energised water is good for both humans and plants alike but he goes even further by claiming that food will simply not decompose while on an energiser. Rather it just slowly dehydrates. He first began to understand this when he noticed how his compost heap stopped working after he built a large wooden pyramid next to it.
Later he went on to build his first energiser, a matrix of 20 tiny pyramids and tried it out with an egg, cracking one open onto a plate on the energiser. He observed how the flies stayed away from the egg and over a matter of days it became solid. He stored it away for six months at room temperature before re-hydrating it with water. Upon cooking he found the yolk to be runny and the taste even better than normal.
Yet when we ask google we get this: "Eggs can be stored for 30–45 Days when refrigerated, and 7–10 Days at room temperature".
He also tried other kinds of food on his energiser and always found the same effect.
I have tried preserving every food I can think of, and it all keeps indefinitely, with no refrigeration necessary.
--- Les Brown
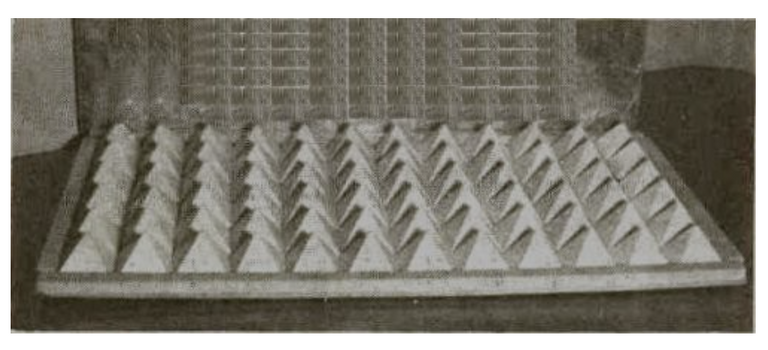
In other words, if your 'fridge' were simply a collection of shelves containing baby pyramids it would preserve all kinds of food indefinitely.
To me this seems like a HUGE advantage for those of us who seek the off-grid lifestyle and therefore worthy of further investigation.
How to make an energiser
At first I tried using Les Brown's given template for this job, tracing it onto a piece of paper from my computer screen.
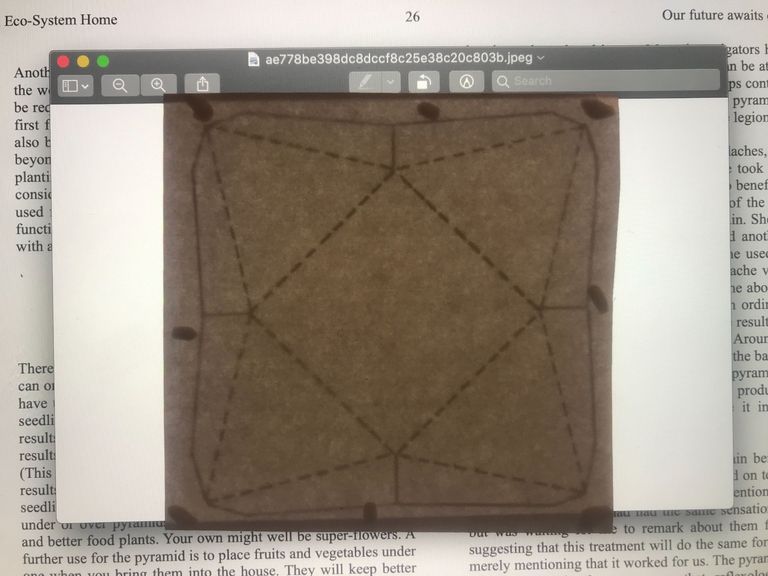
Had to change his design a bit as there was too much overlapping card where the sides folded inward.
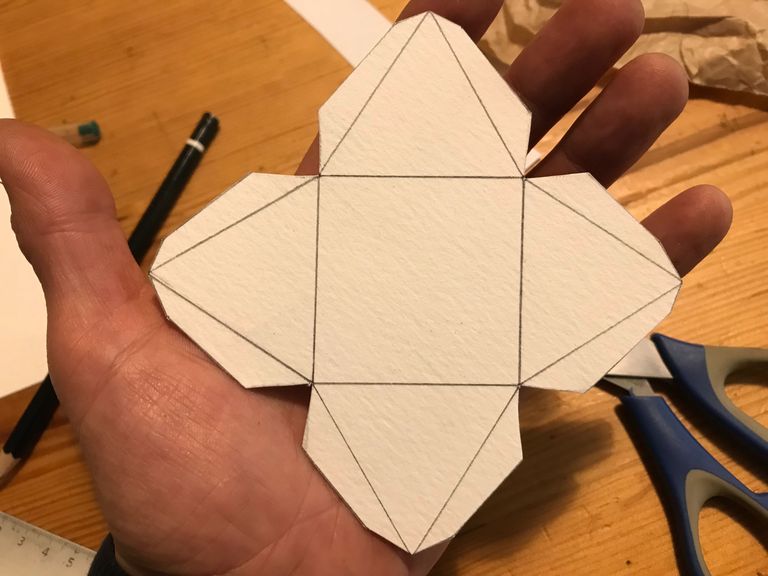
Even the flaps themselves I started to feel like were unnecessary. Especially when one has a glue gun.
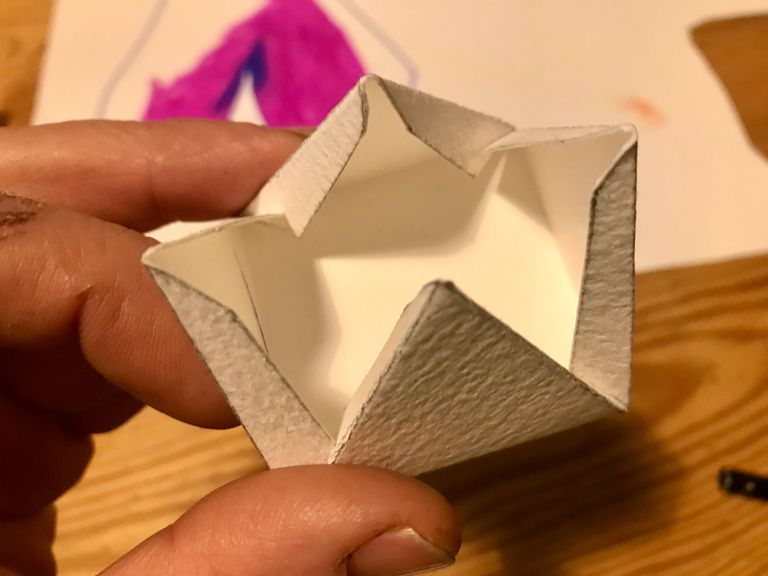
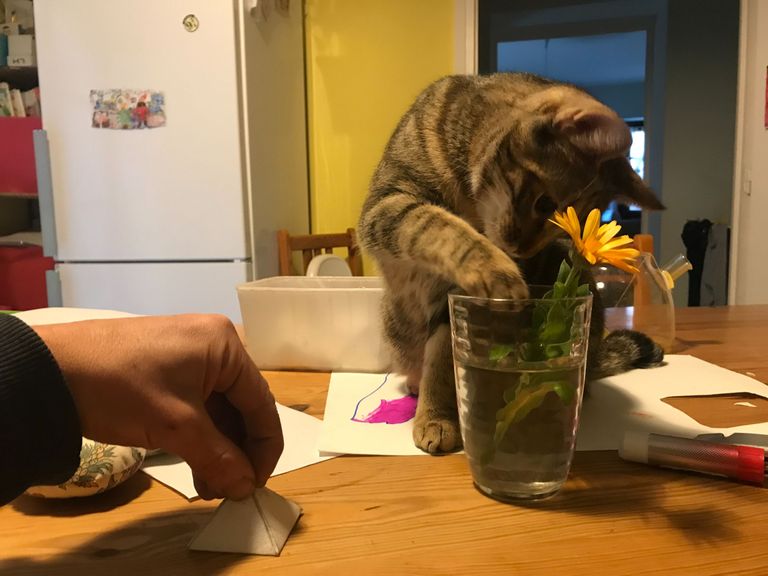
But I made one regardless, sticking the flaps down with prit-stick while the cat tried to pull the flower out of the glass.
It wasn't too bad in the end but there was a little hole at the top I didn't have a good feeling about it.
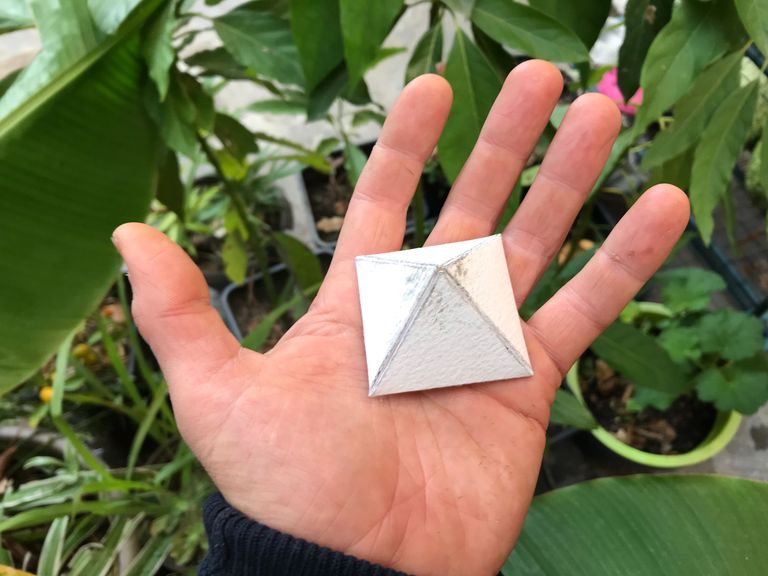
You can go this route if you like but I found another template after this which felt better.
Less drawing, less cutting basically.
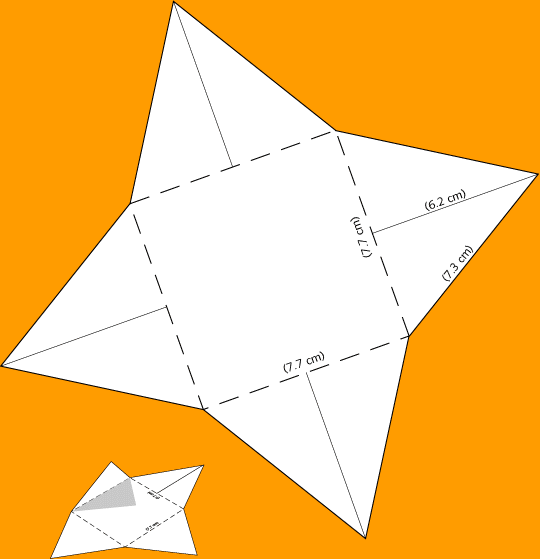
All you need to do is mark out the eight points where the straight lines meet, using the tracing/computer screen method.
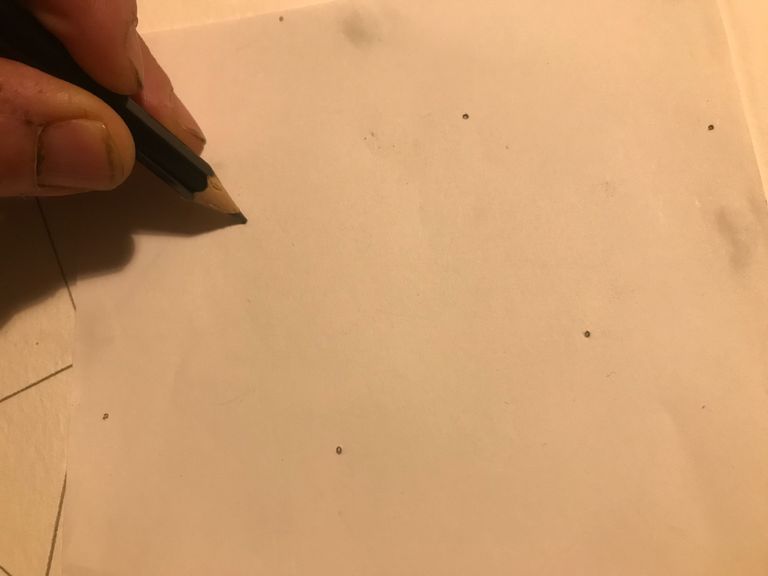
Once you have these points firmly marked into a piece of card or thick paper you can draw through the holes onto your card below to create marker points for the lines.
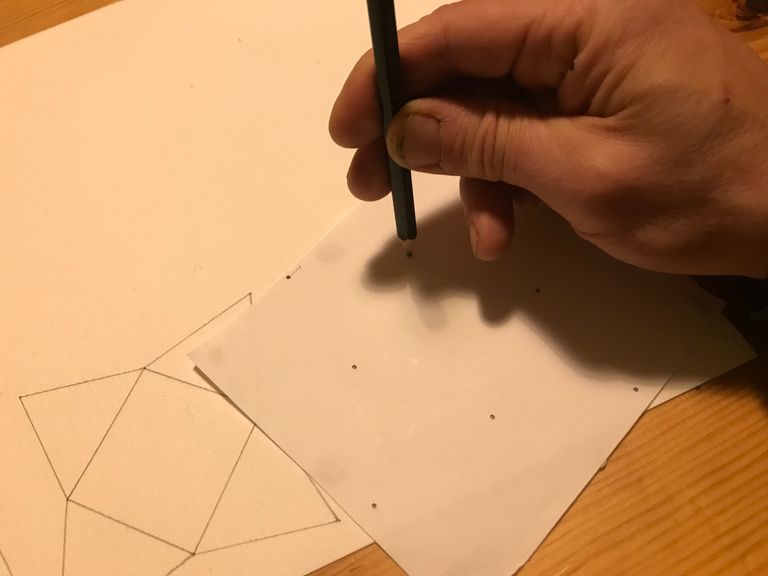
Then remove your template and carefully connect the dots.
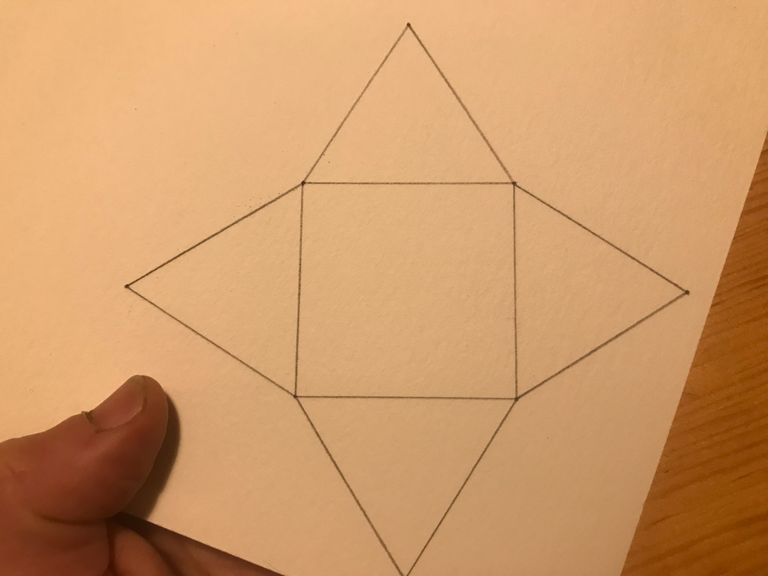
Spend some time on it and you will end up with a piece of card which looks like this.
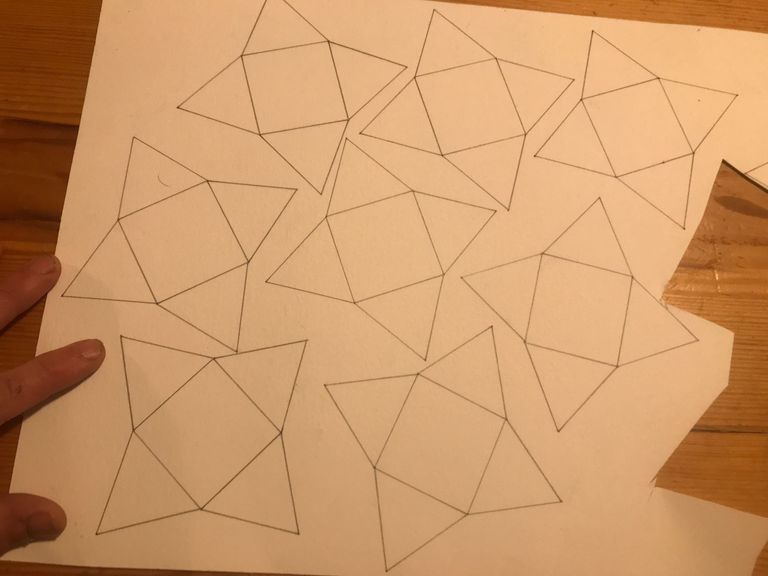
Cut 'em all out, stick 'em all together. I used a stanley knife to lightly score the lines on all folding edges.
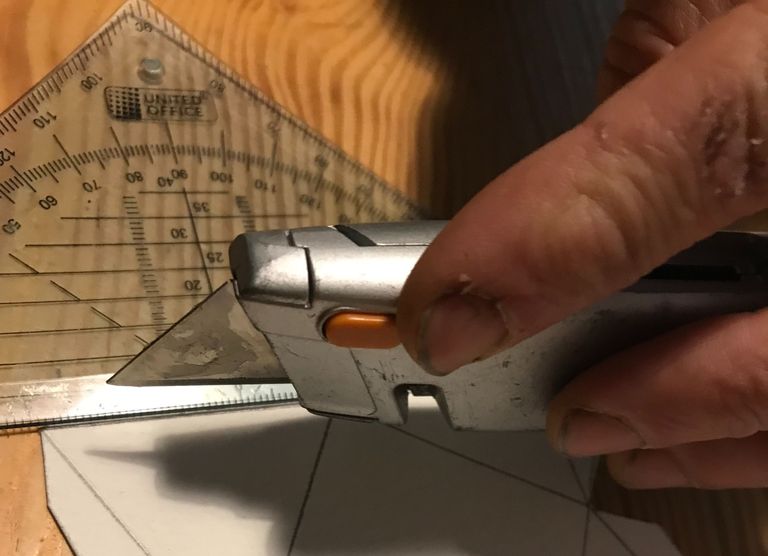
The glue gun is perfect for attaching everything together but you have to work fast.
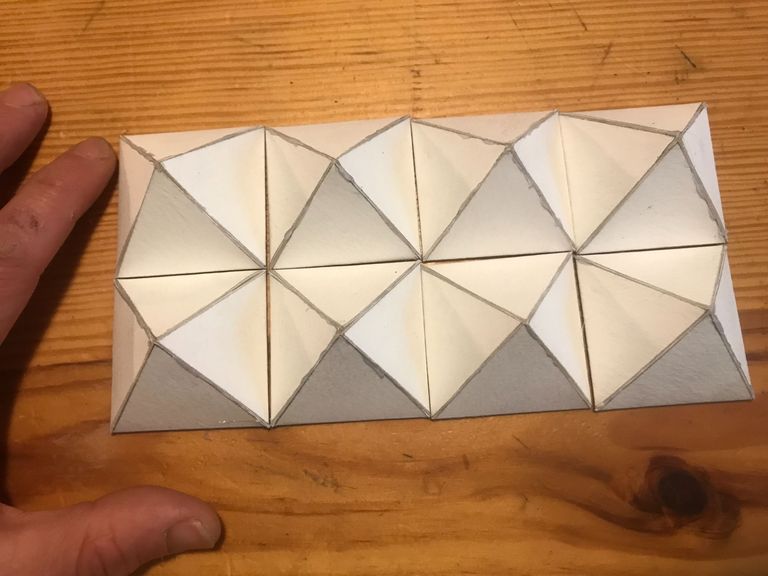
I cannot say for sure until I have run tests but I imagine even a small energiser like this will have the desired effect.
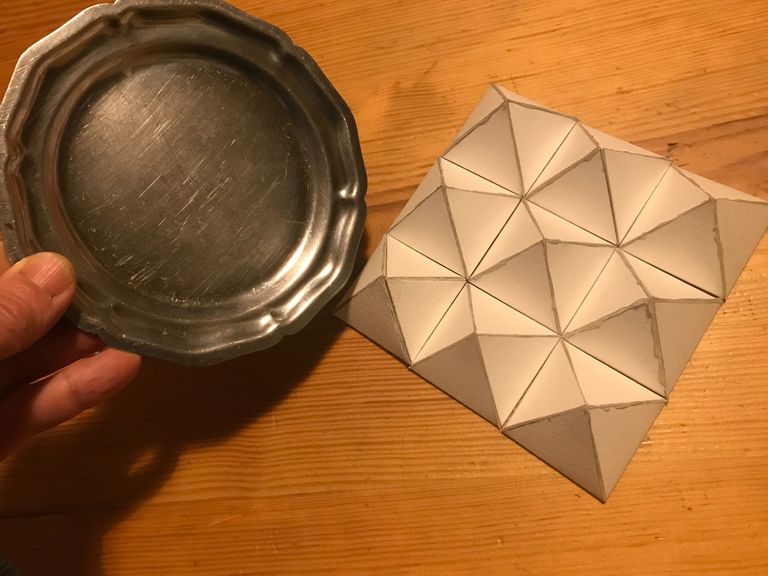
Just make sure all you little pyramids have one side facing north. If you omit this detail the effect won't work.
Put metal plate on top and you're good to go.
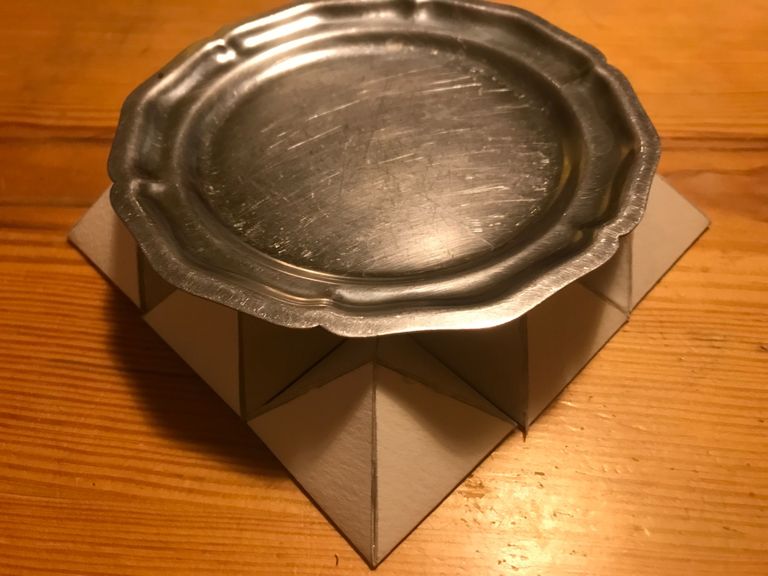
Despite Brown's suggestion that 20 pyramids is a good number for a standard sized energiser, I decided on 25 in the end as you can't make a square with 20! No idea why he wanted a rectangle over a square when the base of a pyramid is square?
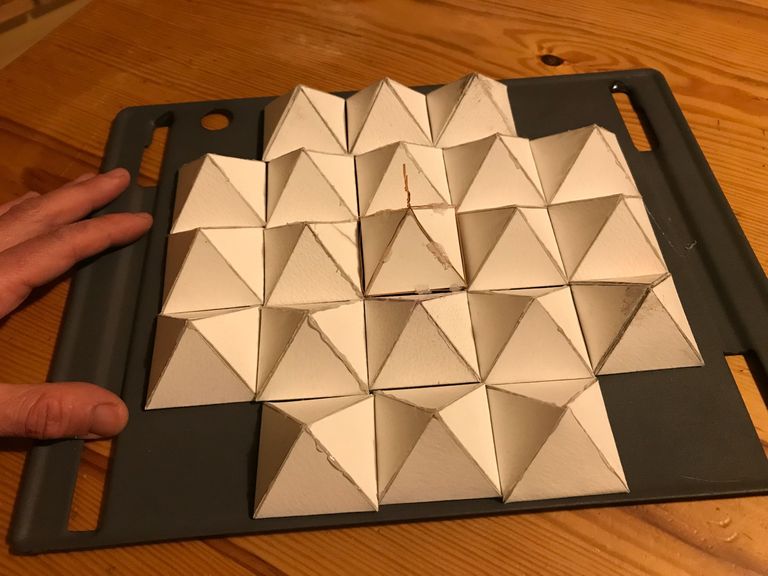
Almost finished now with my desired square and I started to play with the idea of attaching copper wire to all of them. Like this one.
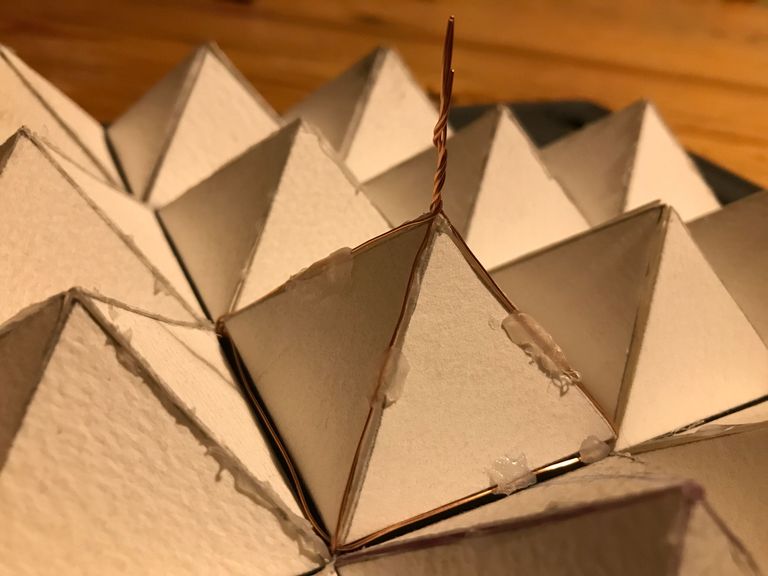
If I did this with all of them it would create a really clear connection between the top plate and the bottom plate (where the remaining 20% of the pyramid energy is released).
It took ages however and I didn't feel like doing that! So, I continued on with the square until it was done. Finally the metal was placed on top along with some water.
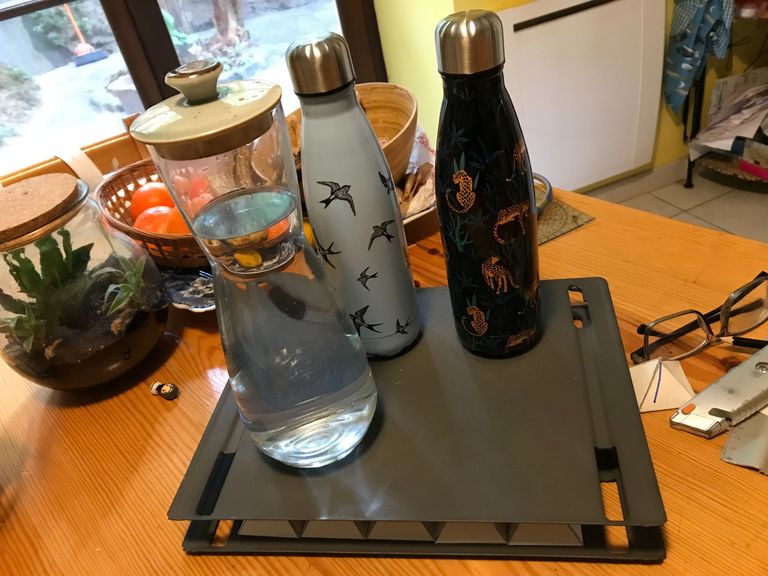
Needless to say the water tasted great after one day sitting there but that doesn't give me anything measurable to show you. My intention is therefore to now try dehydrating various types of food on this device and report the results in a post.
Current pyramid related experiments
In the meantime I have been using the energiser under the beds of my sleeping children, just to see if there was any noticeable effect.

And you know what? There was! Esteban had been feeling sick when he went to bed the previous day, also complaining of tiredness. It was for this reason I put the energiser under his bed (making sure it was aligned with north/south). In the morning he jumped out of bed and got himself changed before 7am. This NEVER happens! He normally has to be gently coaxed out of bed at 8am and likes us to do his clothes with him.
Here he is full of beans, just after joining me in the kitchen where I was busy making pyramids.

He said he woke up early so he could help me. And so it was.
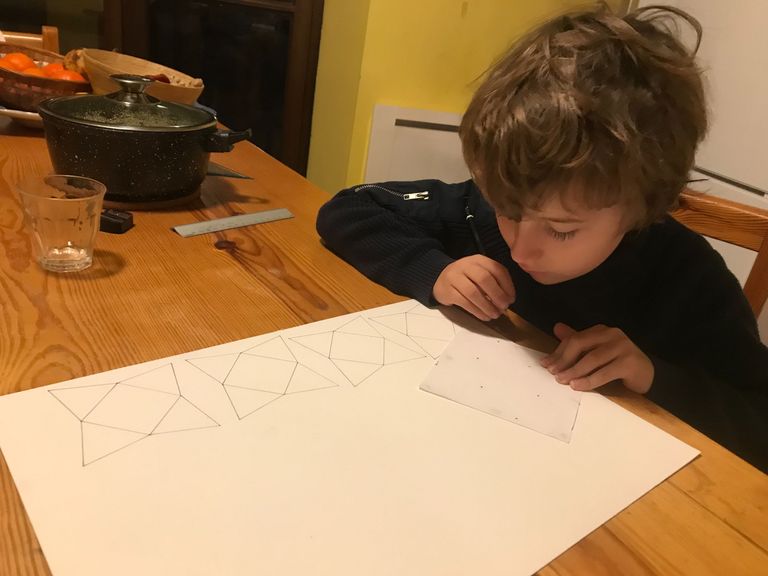
I was incredibly impressed by his attention to detail and his finished pyramids were indistinguishable from mine.
I told him my thoughts and he was pleased.

He suggested in this moment the idea of using my small copper frame pyramid inside the larger copper pyramid. And I liked it!
In the end we figured out this design which charges a single glass of water.
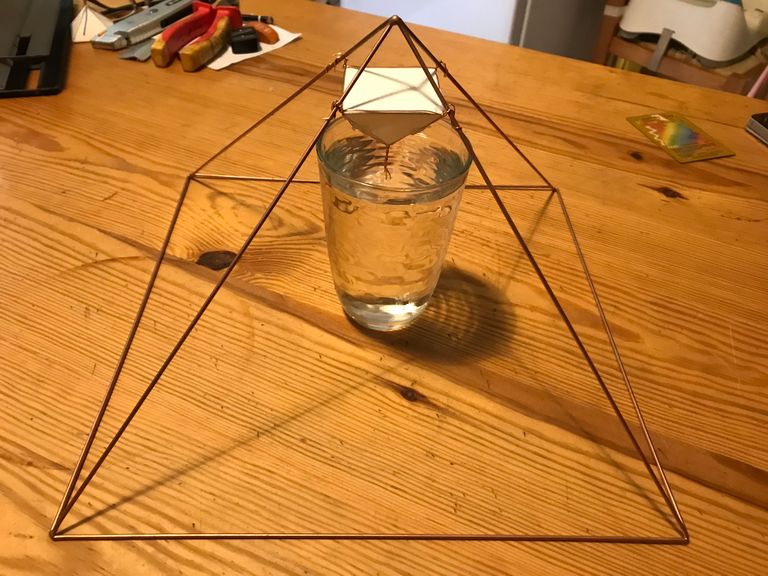
Something tells me it charges faster than it would if there were no inverted pyramid above it. And being able to make a direct connection with the water seems useful.
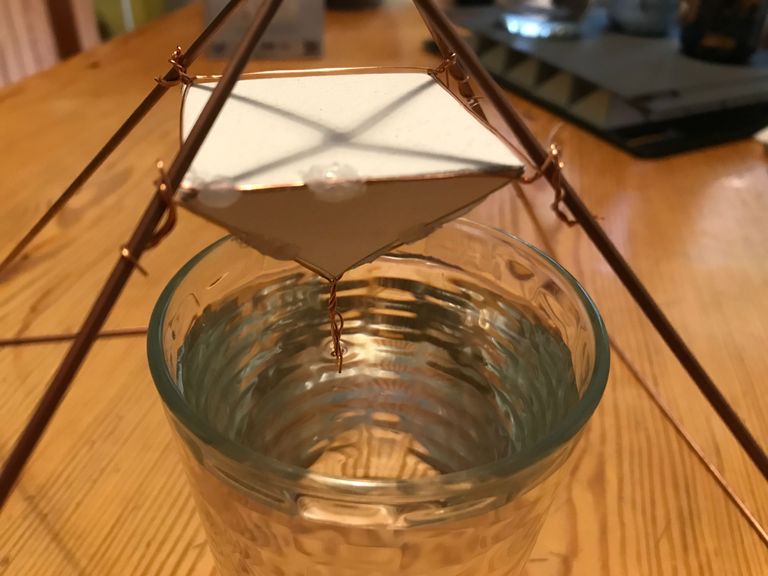
Esteban's design also includes the option to add a second pyramid into the remaining space at the top, opening it up to offer a SUPER CHARGE area for seeds.
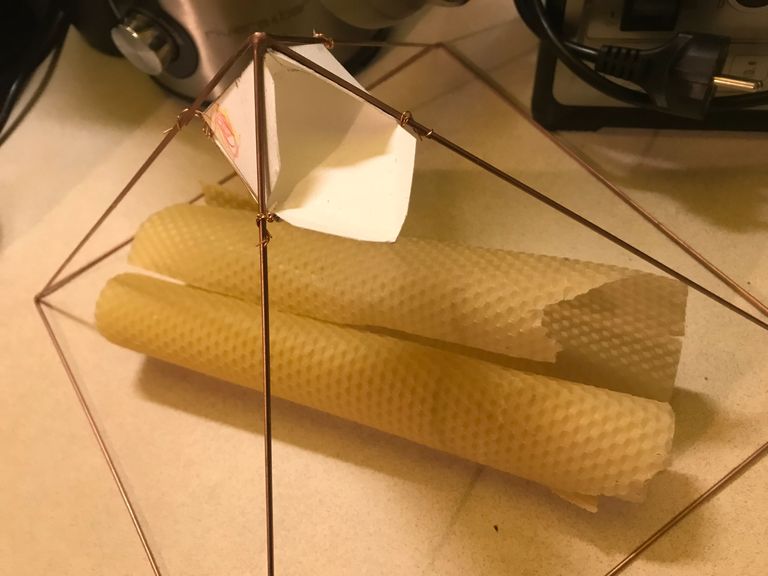
I am still running my experiment with cut flowers to determine the difference between the effectiveness of a wooden & copper pyramid at energising water to keep cut flowers alive. Alongside a control group.
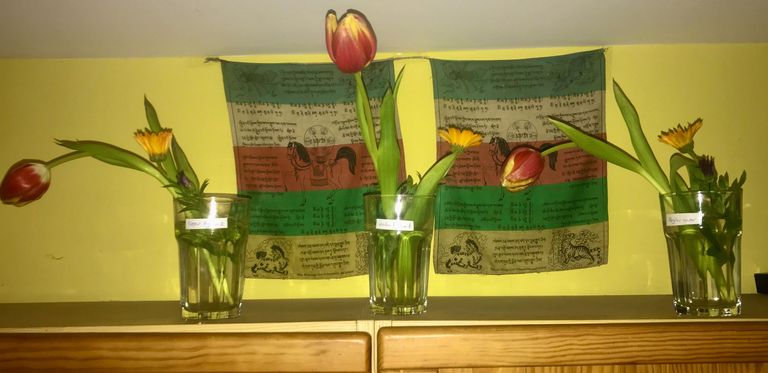
I will report the results when the experiment is done.
Am also now running a second experiment in which these three marigolds (and a few other things) are being charged on the energiser, with copper pyramid over the top for good measure.
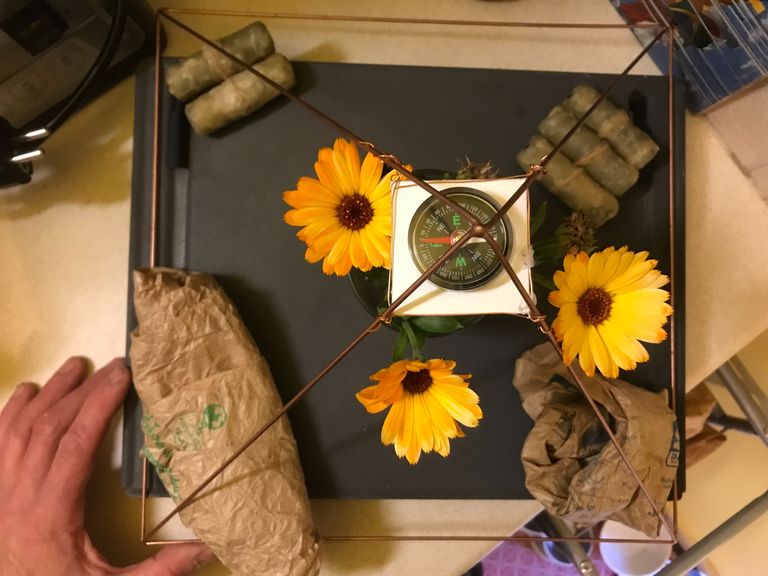
The control group are sitting on the kitchen table, no where near any pyramids.

My first wooden pyramid
Building the wooden pyramid was much more of a challenge than I imagined it would be.
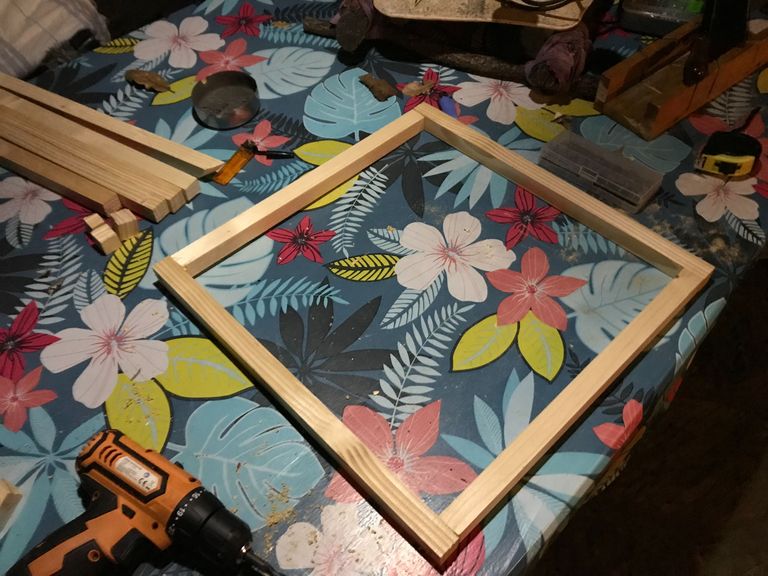
And I realise now it would have been better to use nails over screws, which sometimes started to split the wood.
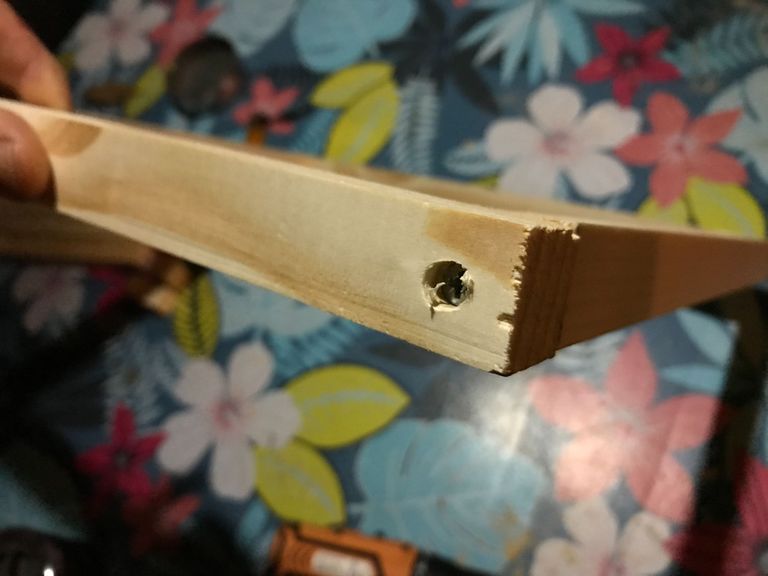
I became a little frustrated towards the end of the day, trying to maintain those perfect angles and lengths (tiredness will do that), resorting in the end to my trusty glue gun again.
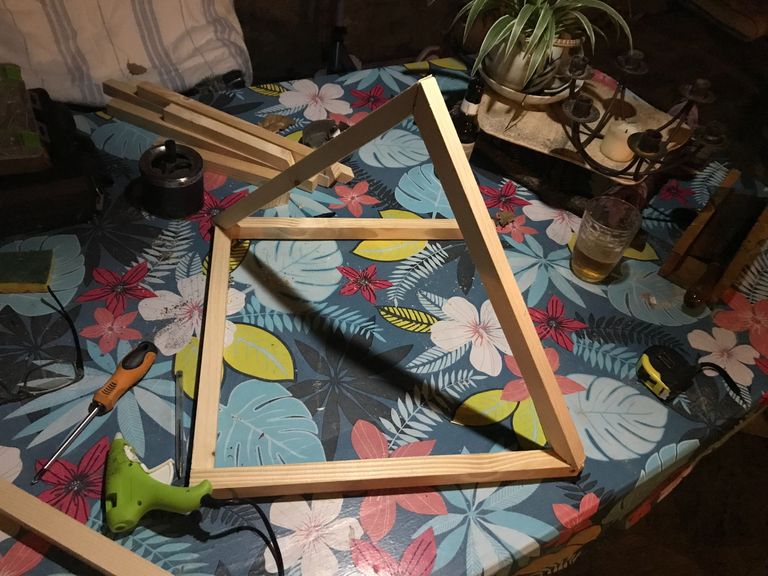
This by the way is not at all Les Brown's recommended method for the construction of wooden pyramids. I just felt like winging it for the first one.
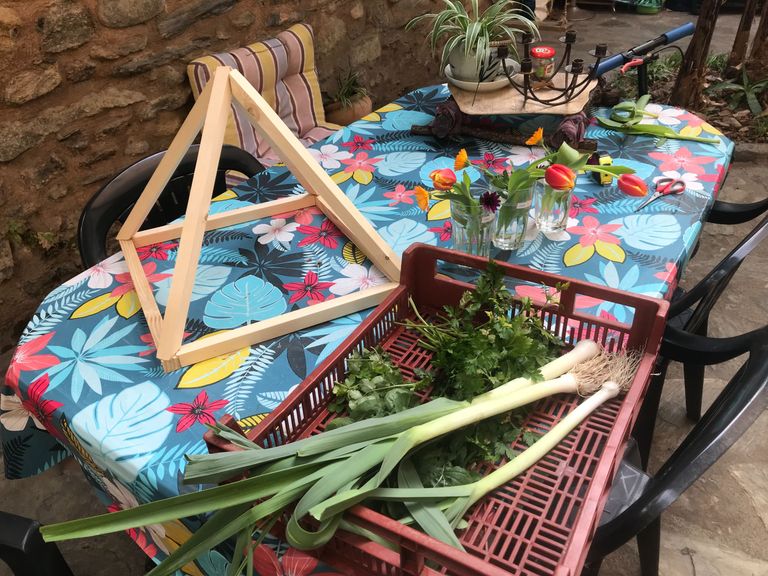
Since then it has mostly been used as a home for cats. Here is Luna preparing the walkway to the health spa ;)

The youngest of our cats seems very interested.
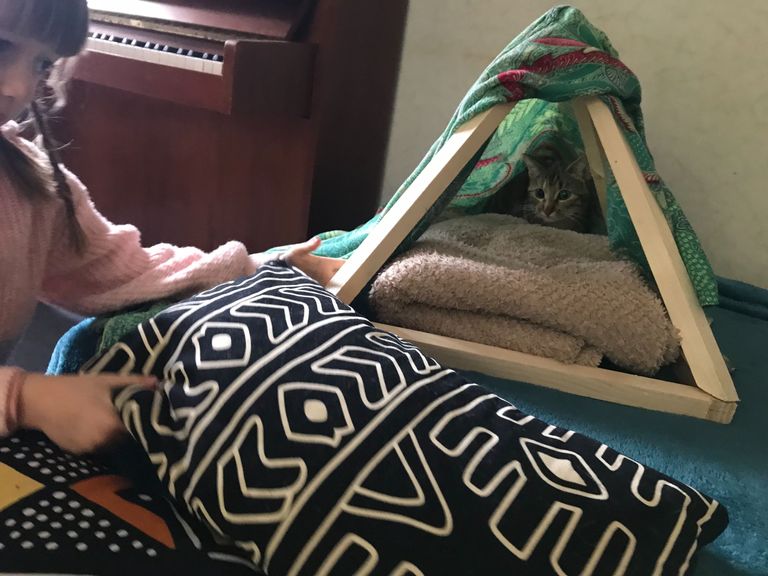
Am impressed to see how she has maintained my recommended alignment.
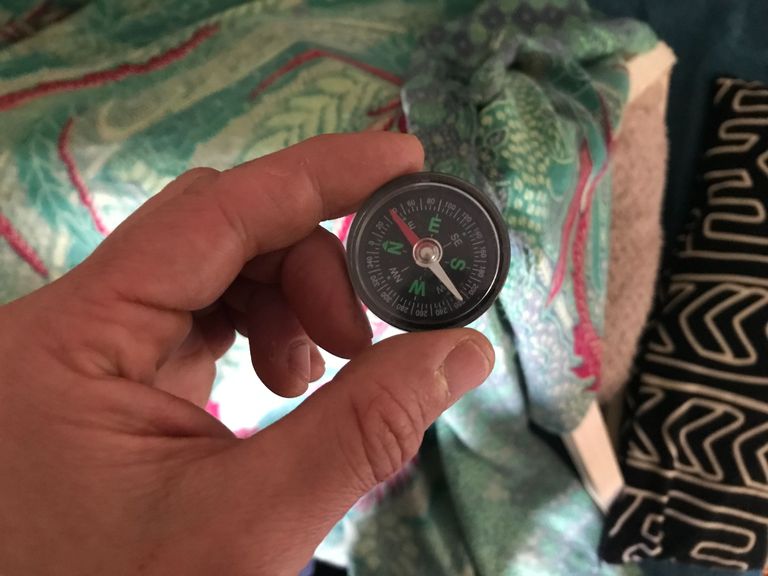
One happy cat.

One happy little girl.

Job done!
So that's it for now I think.
As I write these words the snow has just started to fall outside and feeling a little cold I gave myself a quick blast on my tin can/cake tin ethanol heater ;)
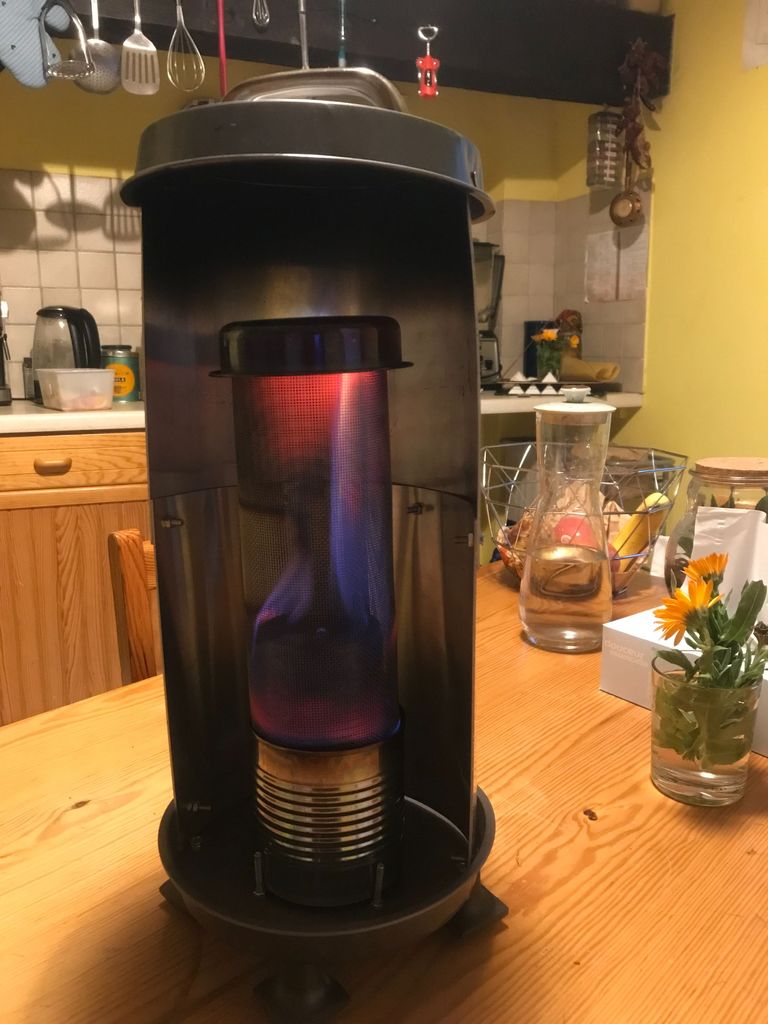
Am excited to wake the children and show them the snow...
Love & Light everyone ❄️