Painting your coffee mugs is a fun and creative way to personalize them, whether as a DIY project, a gift, or just for fun. With the right materials and techniques, you can create long-lasting, dishwasher-safe designs that won’t fade.
Materials You’ll Need:
✔ Plain ceramic or porcelain mugs (White mugs work best for vibrant colors)
✔ Oil-based or acrylic ceramic paint pens (Permanent and food-safe)
✔ Porcelain or ceramic paint (Optional, for brush painting)
✔ Fine-tip paintbrushes (For detailed designs)
✔ Masking tape or stencils (For clean patterns)
✔ Pencil & eraser (For sketching designs)
✔ Cotton balls & rubbing alcohol (For cleaning the mug)
✔ Oven (for baking the design, if needed)
Step-by-Step Instructions:
1. Clean the Mug Thoroughly 🧼
Before you start painting, clean your mug with warm, soapy water and let it dry completely. Then, wipe the surface with rubbing alcohol to remove any oils or fingerprints. This ensures the paint adheres properly.
2. Sketch Your Design (Optional) ✏️
If you’re doing a detailed or intricate design, lightly sketch it on the mug using a pencil. Don’t worry—pencil marks can be easily erased or painted over.
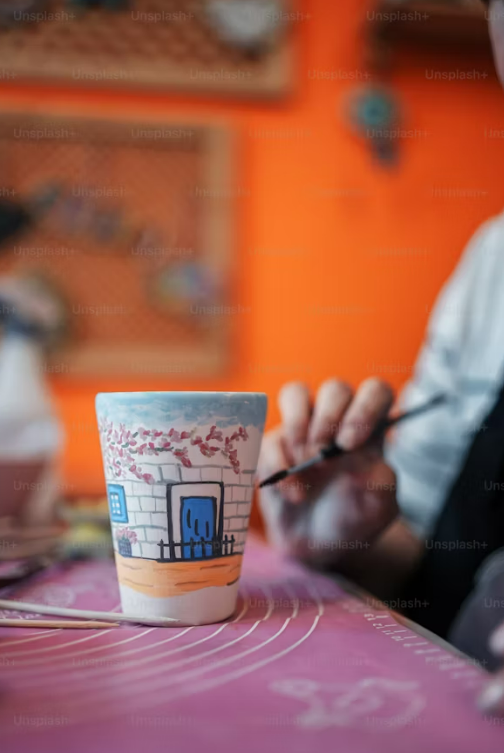
3. Start Painting! 🎨
- Using paint pens: Shake the pens well, test on a piece of paper, and start drawing directly on the mug.
- Using paint & brush: Dip your brush into ceramic paint and carefully apply it to the mug. Avoid thick layers, as they may chip later.
- Using stencils or masking tape: Stick them onto the mug before painting to create neat patterns and shapes.
4. Let It Dry Completely ⏳
Allow the paint to air dry for at least 24 hours before moving to the next step. This helps the design set properly.
5. Bake the Mug (For Permanent Designs) 🔥
To make your design long-lasting and dishwasher-safe, bake the mug in an oven:
- Place the mug in a cold oven (to prevent cracking).
- Set the temperature to 350°F (175°C) and bake for 30 minutes.
- Turn off the oven and let the mug cool inside before removing it.
6. Seal the Design (Optional) 🔒
If you want extra protection, apply a clear, food-safe sealant over the design and let it dry completely.
Tips for Best Results:
✅ Use oil-based markers – They last longer than water-based ones.
✅ Avoid painting the rim – Keep paint away from the drinking edge for safety.
✅ Handwash your mug – Even if it's baked, handwashing keeps the design intact longer.
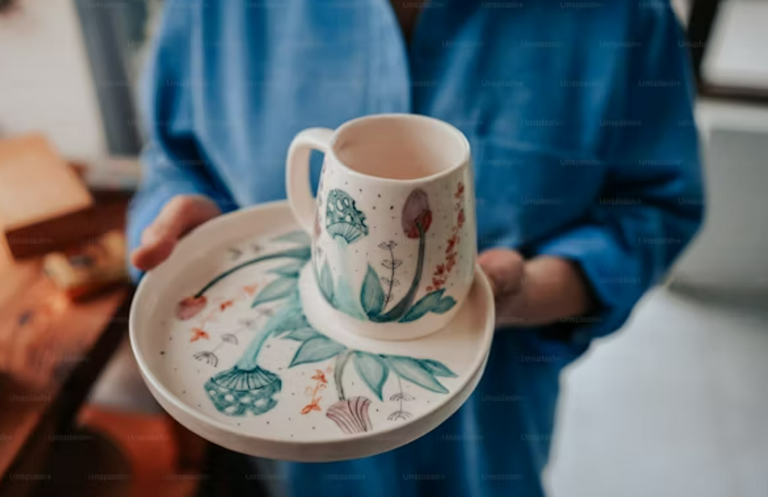
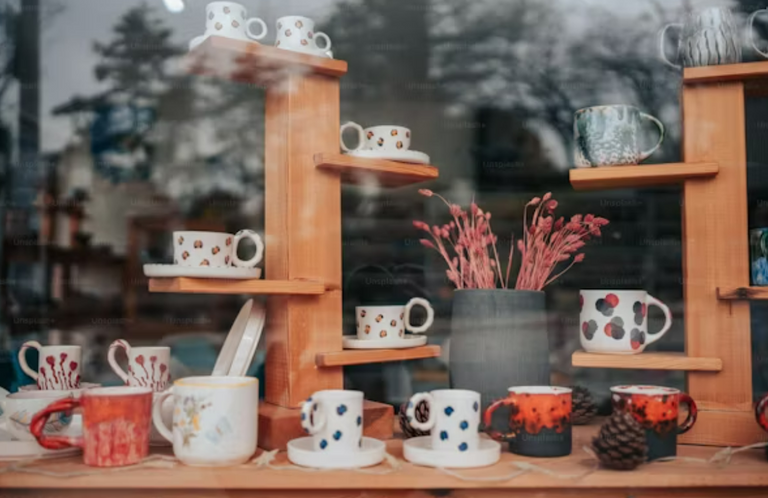
✅ Experiment with styles – Try floral patterns, abstract art, quotes, or even metallic accents.
That seems like so much fun! I have always wanted to try painting mugs, or even making one someday, but never got the chance. Maybe this is the first step to trying it out! Keep up the good work!