In this article we will consider the garden as an integral part of our world. In it the four fundamental elements coexist: water, source of life and essential element for every living being; fire, source of heat and energy; the earth, support and principle of life and the air we all breathe and share.
They all mix, relate, feed each other, form a whole where each one is a fundamental part of the nature and life of man.
For this it is important to consider:
Your garden: how to do it, what plants to choose, how to beautify it, how to guide it.
Your world: how to convert what is no longer used into something productive, how to take care of natural resources, how to take advantage of nature's cycles.
Practical advice, design ideas, the best species and much more you can find in this Garden Guide, because your garden is your world.
And we will start with the water.
Water is a source of life. It is a decorative, recreational and elementary element in our gardens, balconies or open spaces. It is the protagonist in our daily life, essential for plants and for the development of the biodiversity of the pianeta.
Water, one of the four elements that make up nature and symbolize the emotional world and feelings.
A clear contribution of freshness wherever you are. A necessary resource and indivisible part of the garden world. And what better way to incorporate it into our daily routines with awareness and responsibility. Guiding it is taking care of the world and all who inhabit it.
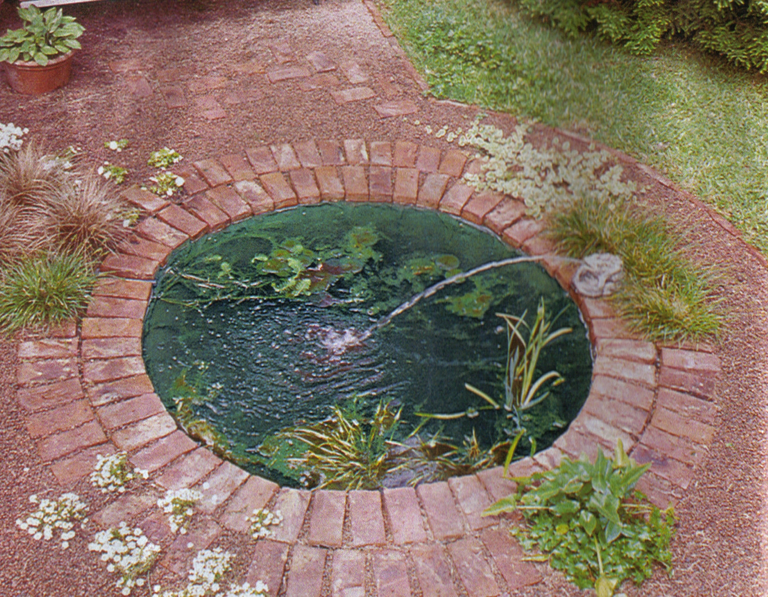
How to make your own pond in 7 steps.
Before starting work, we must choose its location. It is important that you receive at least four hours of direct sun. Find an open place, away from trees that give off leaves. Since when they fall into the pond they decompose due to their contact with water, altering the organic composition of the same.
Materials.
200 micron polyethylene
Leca
Bricks.
Fine sand
Hose.
1.- Mark the structure and dig.
Once the size and shape are defined, mark them on the ground with a hose, stakes and thread. The next step is to lift the grass loaves and dig about 30 cm deep.
2.- Dig deeper.
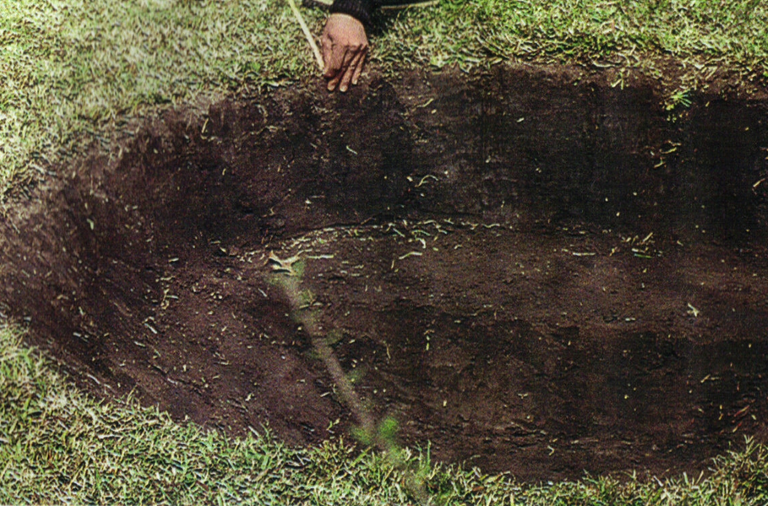
In the center it will be necessary to do it at 50 cm depth for plants that need more space.
3.- Level with sand.
Cover the hole with a thin layer of sand, to fill the imperfections, and try to make it as even as possible.
4.- Place the polyethylene.
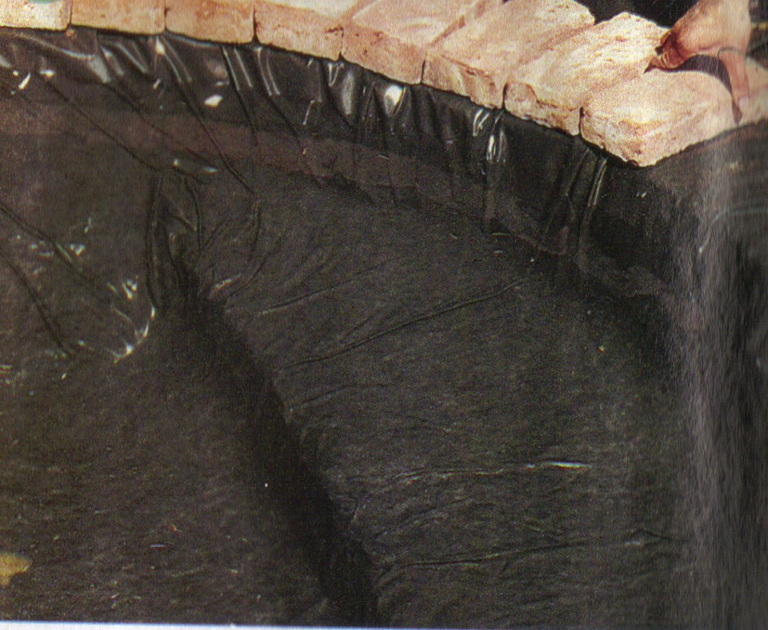
Spread the plastic as accurately as possible, avoiding as far as possible the formation of gaps between it and the wall of the hole. Fill with water and polyethylene will be molded into the hole of the future pond.
5.- Termination.
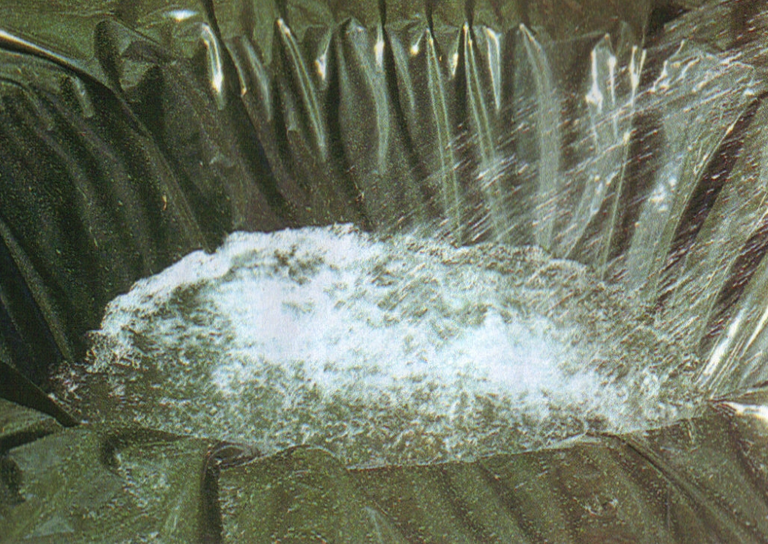
Once filled with water, place the bricks on the perimeter forming an edge and cut the excess polyethylene. Between two of the bricks place a transparent hose (for drainage). Locate the plants in the desired places, taking into account the depth of the pond.
6.- Place the milk.
So that the contour of the pond is neat we will place milk around it.
Raise the grass where the milk will go, demarcating the entire edge of the pond.
Place newspaper paper first, to avoid the growth of weeds, and then place the milk.

En este artículo consideraremos al jardín como parte integrante de nuestro mundo.
En él conviven los cuatro elementos fundamentales: el agua, fuente de vida y elemento esencial para todo ser vivo; el fuego, fuente de calor y de energìa; la tierra, sostén y principio de la vida y el aire que todos respiramos y compartimos.
Todos ellos se mezclan, se relacìonan, se retroalimentan entre sì, forman un todo donde cada uno es parte fundamental de la naturaleza y de la vida del hombre.
Para ello es importante considerar a:
Tu jardin: como hacerlo, qué plantas elegir, como embellecerlo, como cuidarlo.
Tu mundo: como convertir lo que ya no se usa en algo productivo, como cuidar los recursos naturales, como aprovechar los ciclos de la naturaleza.
Consejos pràcticos, ideas de diseño, las mejores especies y mucho más podrás encontrar en esta serie de artículos dedicados al jardín, porque tu jardìn es tu mundo.
Y comenzaremos con el agua.
El agua es fuente de vida. Es elemento decorativo, recreativo y elemental en nuestros jardines, balcones o espacios abiertos. Es protagonista en nuestra vida de todos los dìas, esencial para las plantas y para el desarrollo de la biodiversidad del pianeta.
Agua, uno de los cuatro elementos que conforman la naturaleza y que simboliza el mundo emocional y los sentimientos.
Un claro aporte de frescura esté donde esté. Un recurso necesario y parte indivisible del mundo del jardìn. Y que mejor que incorporarla en nuestras rutinas cotidianas con concienciay responsabilidad. Guidarla es cuidar el mundo y a todos quienes lo habitamos.
Como hacer tu propio estanque en 6 pasos.
Antes de comenzar a trabajar, debemos elegir su ubicación. Es importante que reciba, al menos, cuatro horas de sol directo. Buscar un lugar abierto, lejos de árboles que desprendan hojas.
Ya que cuando éstas caen dentro del estanque entran en descomposición a causa de su contacto con el agua alterando la composición orgánica de la misma.
Materiales.
Polietileno de 200 micrones.
Leca.
Ladrillos.
Arena fina.
Manguera.
1.- Marcar la estructura y cavar.
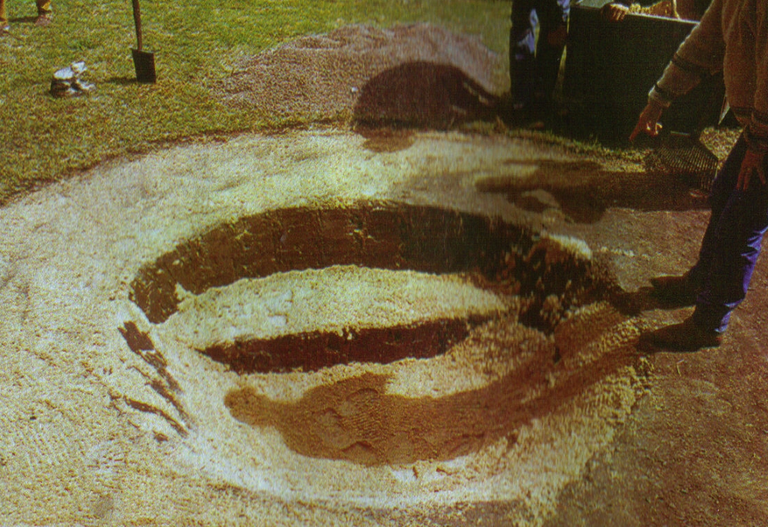
Una vez definidos el tamaño y la forma, marcarlos sobre el terreno con una manguera, estacas e hilo.
El siguiente paso es levantar los panes de césped y cavar a unos 30 cm de profundidad.
2.- Cavar más profundo.
En el centro será necesario hacerlo a 50 cms de profundidad para las plantas que necesiten más espacio.
3.- Nivelar con arena.
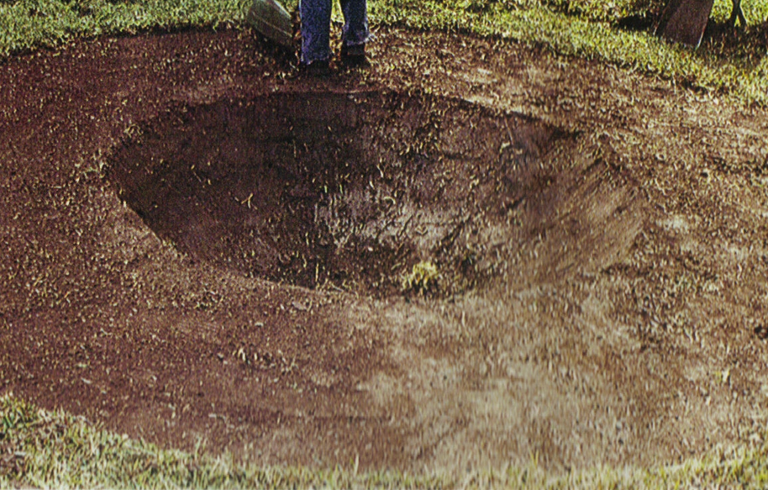
Cubrir el hoyo con una capa fina de arena, para rellenar las imperfecciones, y tratar de que quede lo más parejo posible.
4.- Colocar el polietileno.
Extender el plástico con la mayor precisión posible evitando en lo posible la formación de huecos entre éste y la pared del hoyo. Llenar de agua y el polietileno se irá amoldando al hueco del futuro estanque.
5.- Terminación.
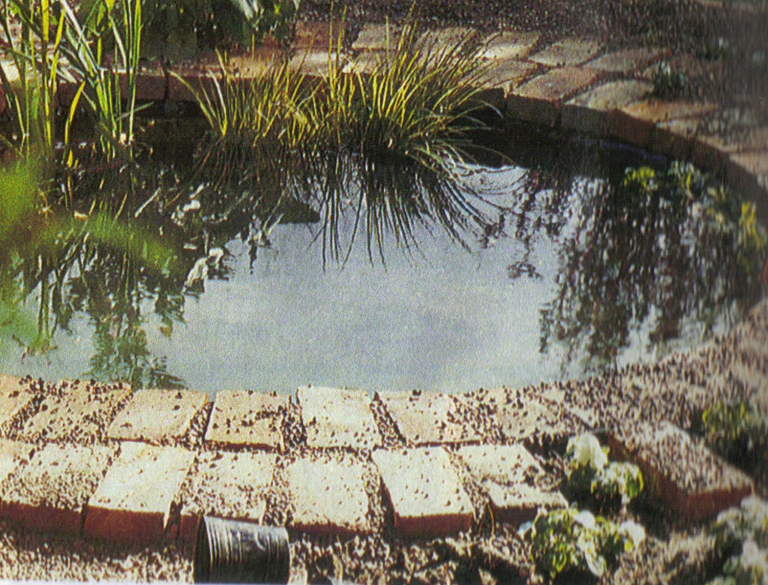
Una vez lleno de agua colocar los ladrillos en el perímetro formando un borde y cortar el polietileno excedente. Entre dos de los ladrillos se debe colocar una manguera transparente (que servirá para efectuar el desagote).
Ubicar las plantas en los lugares deseados, teniendo en cuenta la profundidad del estanque.
6.- Colocar la leca.
Para que el contorno del estanque quede prolijo colocaremos leca a su alrededor.
Levantar el césped donde irá la leca, demarcando todo el borde del estanque.
Colocar primero papel de diario, para evitar el crecimiento de yuyos, y luego colocar la leca.


Y como siempre me despido de todos con un:
And as always I bid you all farewell with a:

Your post after many days is appreciated by blurt users.
Post has received 1 additional votes in the last 7 days. Reward from this comment will be credited to your account to support your work!(Don't worry if you didn't get your vote right away after 5 minutes. The app regenerates it's VP.)
You can check ranking on https://blurt.pl/en/promo.php
To support others, just vote on any article you like at any time no matter when it was publish. Help dig up good content from the depths of the Blurt network and reward good authors! :)
Upvoted. Thank You for sending some of your rewards to @null. Get more BLURT:
@ mariuszkarowski/how-to-get-automatic-upvote-from-my-accounts@ blurtbooster/blurt-booster-introduction-rules-and-guidelines-1699999662965@ nalexadre/blurt-nexus-creating-an-affiliate-account-1700008765859@ kryptodenno - win BLURT POWER delegationNote: This bot will not vote on AI-generated content
Thanks @ctime.