How to Make Homemade Strawberry Jam – Sweet, Fresh, and Delicious! 🍓✨
There’s nothing better than homemade strawberry jam—it’s fresh, flavorful, and free from preservatives! Whether you spread it on toast, pancakes, or desserts, this simple and natural jam recipe will add a burst of fruity goodness to any meal.
Let’s dive into this easy, foolproof method for making perfect strawberry jam at home! 🍽️💖
🍓 Why You’ll Love This Recipe
✔ Made with fresh, natural ingredients – No artificial preservatives.
✔ Super easy & beginner-friendly – No fancy equipment needed.
✔ Versatile & customizable – Adjust sweetness and flavors to your liking.
✔ Great for storing & gifting – Homemade jam makes a perfect gift!
🛒 Ingredients You'll Need
🍓 2 lbs (900g) fresh strawberries – Hulled and chopped
🍚 2 cups granulated sugar – Adjust based on sweetness preference
🍋 2 tbsp fresh lemon juice – Enhances flavor & preserves color
🍯 1 tbsp honey (optional) – Adds a natural touch of sweetness
🌱 ½ tsp vanilla extract (optional) – For a deeper, richer taste
🌟 Optional Add-Ins:
🥂 1 tbsp balsamic vinegar – For a gourmet twist.
🌿 A pinch of cinnamon – Adds warmth and depth.
🍊 Zest of 1 orange – For a citrusy kick.
👩🍳 Step-by-Step Instructions
🔸 Step 1: Prepare the Strawberries
1️⃣ Rinse the strawberries thoroughly under running water.
2️⃣ Remove the green tops and chop them into small pieces.
3️⃣ Place the chopped strawberries in a large pot.
🌟 Tip: Use ripe strawberries for the best natural sweetness!
🔸 Step 2: Cook the Jam
1️⃣ Add sugar and lemon juice to the strawberries and let sit for 10 minutes to release juices.
2️⃣ Heat the mixture over medium heat, stirring occasionally.
3️⃣ Once it starts to bubble, reduce to low heat and let it simmer for 25-30 minutes, stirring frequently.
🌟 Tip: As the jam thickens, use a wooden spoon to mash the strawberries for a smoother consistency.
🔸 Step 3: Test for Doneness
1️⃣ To check if your jam is ready, place a small spoonful on a chilled plate and run your finger through it.
2️⃣ If it wrinkles slightly and holds its shape, it’s done. If not, cook for a few more minutes.
🌟 Tip: The jam will continue to thicken as it cools, so don’t overcook it!
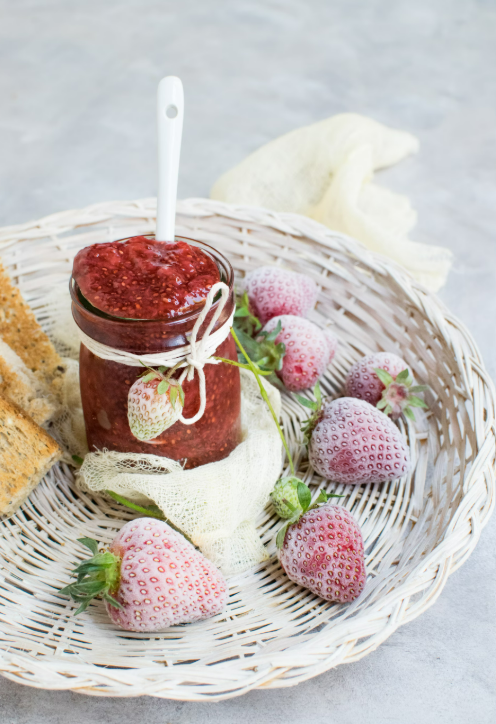
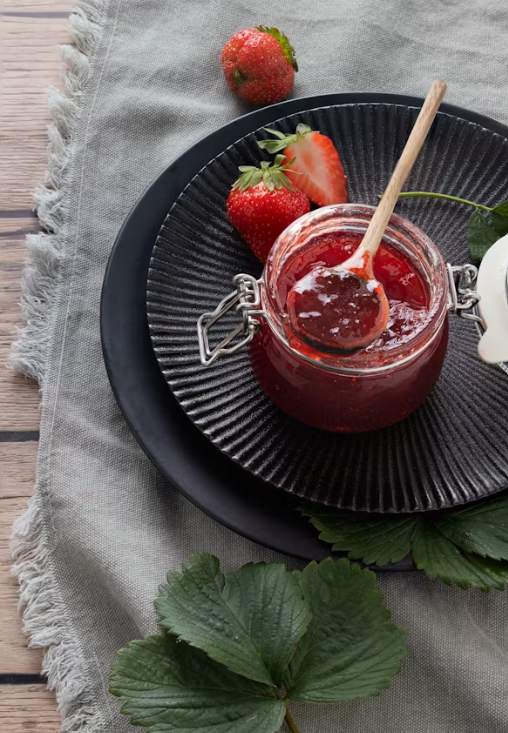
🔸 Step 4: Store the Jam
1️⃣ Let the jam cool for 10 minutes before transferring to sterilized glass jars.
2️⃣ Seal tightly and let it cool completely before refrigerating.
3️⃣ Enjoy fresh, or store in the fridge for up to 3 weeks!
🌟 Tip: For longer storage, process the jars in a boiling water bath for 10 minutes.

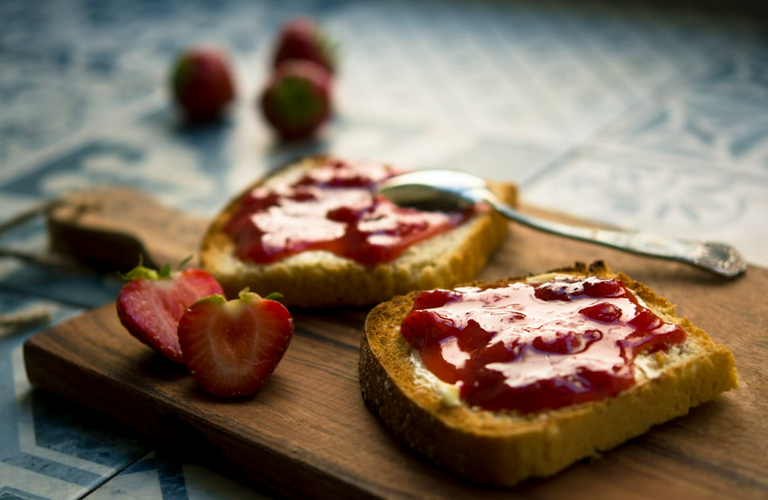
💡 How to Use Your Homemade Strawberry Jam
🍞 Spread it on toast, bagels, or croissants – A classic favorite!
🥞 Drizzle over pancakes & waffles – Instant fruity goodness.
🍨 Mix into yogurt or ice cream – For a creamy, sweet twist.
🍰 Use as a cake filling or topping – Elevates any dessert.
🧀 Pair with cheese & crackers – A gourmet-style snack!
💡 Pro Tips for the Best Strawberry Jam
✅ Use fresh, ripe strawberries – Sweeter berries mean better jam!
✅ Don’t skip the lemon juice – It balances the sweetness and preserves color.
✅ Stir frequently – Prevents burning and ensures even cooking.
✅ Adjust sugar levels – If strawberries are extra sweet, reduce the sugar slightly.
✅ For smoother jam, blend lightly – Use an immersion blender before storing.
💡 Final Thoughts
Making homemade strawberry jam is so easy, fun, and rewarding! Whether you enjoy it on toast, in desserts, or as a gift for loved ones, this fresh and natural jam will add deliciousness to every bite.
Telegram and Whatsapp