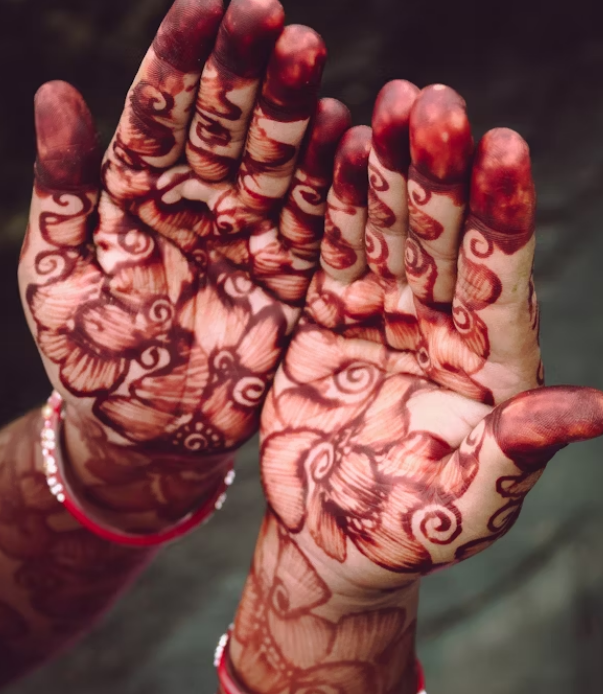
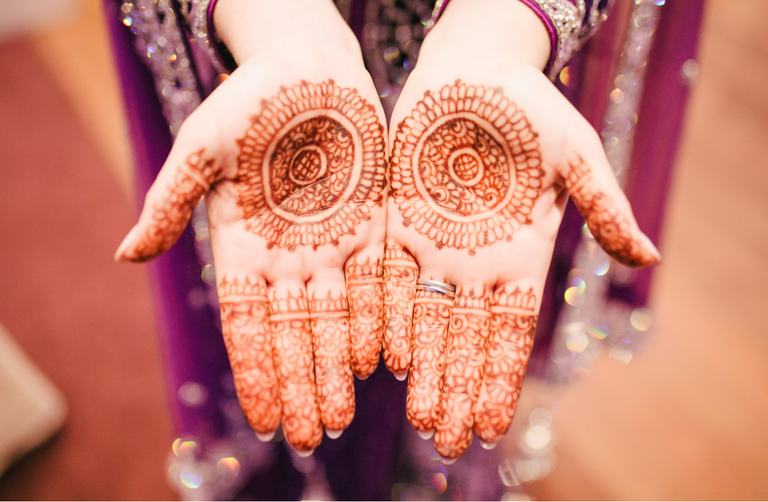
Henna, also known as mehndi, is an ancient art form used to create intricate designs on the skin, particularly on the hands. Whether for a special occasion or just for fun, applying henna can be a relaxing and rewarding activity. Here’s a detailed guide to help you achieve beautiful, professional-looking henna designs.
What You'll Need
Henna Cone or Paste
- Pre-made cones are convenient, but you can make your own henna paste using natural henna powder, lemon juice, sugar, and essential oils.
Tools for Application
- A henna cone (store-bought or homemade)
- Toothpicks (for fixing small mistakes)
- Tissue or cotton swabs (to clean errors)
Optional Accessories
- Stencils (for beginners or practice)
- Glitter or adhesive gems (for a modern touch)
Preparation
1. Prepare Your Henna Paste (if making at home):
- Mix Ingredients: Combine henna powder with lemon juice, sugar, and a few drops of essential oil (e.g., eucalyptus or lavender). Mix until you achieve a thick, smooth paste.
- Let it Rest: Cover the mixture and let it sit for 6–12 hours at room temperature to release the dye.
- Fill the Cone: Scoop the paste into a plastic cone or piping bag, then seal the top tightly.
2. Prepare Your Hands:
- Cleanse: Wash your hands thoroughly to remove oils or dirt. Avoid applying lotion as it can create a barrier.
- Exfoliate (Optional): Lightly exfoliate your hands to ensure the henna adheres better.
How to Apply Henna
1. Plan Your Design:
- Decide on the type of design: floral, geometric, traditional, or modern.
- Beginners can use stencils or lightly sketch the design on their skin with a washable marker.
2. Practice Control:
- Practice squeezing the cone on a piece of paper to get comfortable with the pressure and flow.
3. Start the Design:
- Begin at the palm's center or wrist, working outward for symmetry.
- Use small dots, lines, and curves to create patterns. Common elements include:
- Dots and Circles: Simple but elegant fillers.
- Paisleys and Flowers: Traditional and versatile.
- Leaves and Vines: Add elegance to any design.
4. Fix Mistakes:
- Use a toothpick or damp cotton swab to clean smudges before the henna dries.
5. Allow It to Dry:
- Let the henna dry naturally for 30–45 minutes.
Aftercare for Deeper Stains
- Seal the Henna: Mix sugar and lemon juice, and dab it gently on the dry henna using cotton. This keeps it moist and helps darken the stain.
- Keep It On: Leave the dried henna on for at least 4–6 hours (overnight is ideal). Avoid washing it off with water; instead, scrape it off gently.
- Apply Heat: Warm your hands over a stove or use a blow dryer to activate the dye.
- Moisturize: Apply coconut or olive oil to protect the stain from fading.
Tips for Beginners
- Start Simple: Begin with easy designs like dots, lines, and small flowers.
- Steady Your Hand: Rest your elbow on a stable surface to prevent shaking.
- Experiment with Pressure: Control the thickness of your lines by adjusting the pressure on the cone.
- Use Quality Henna: Natural henna gives a rich, dark brown stain and is safer for the skin than chemical-based products.

When to Apply Henna
Henna looks best when it has had time to mature. Apply it 1–2 days before your event for the stain to reach its peak color.

Conclusion
Applying henna is a blend of artistry and patience. Whether you’re creating traditional motifs or modern patterns, the key is practice. Over time, you’ll develop the skills and confidence to create stunning henna designs that express your unique style.
