All Rights Reserved.
All the uses of the contents herein - and their derivatives - are strictly prohibited without the explicit consent of the author, except for dissemination without modification through media and social media channels.
The technical information you find in this article is the result of personal experiences or research. Always delve further with other sources and experiences to have a more complete view of possible techniques or scenarios.
Some of the information/images you find in this article may have a joking nature: don't consider them an instrument of offence because they weren't conceived or distributed with that purpose, but only to lighten a post that could prove too technical.
Hello!
Today I'm back with the third real episode of my space dedicated to building graphic design using Inkscape. Some weeks ago I launched the topic with an introductory post that you can find CLICKING HERE. Inside, you can get information about the two fundamental elements of this kind of initiative:
1. Creation of hypothetical logos as an example
2. Using the vector graphics program Inkscape
I won't repeat everything you can find there, but - basically - my article will try to show some of the basic actions of Inkscape during the creation of an imaginary logo; a logo that will often have playful features, and therefore I invite you not to take this characteristic as a desire to offend someone.
Let's start with the first part, the tutorial-shaped one.
SHAPES Tools in Inkscape: Rectangles and ovoids
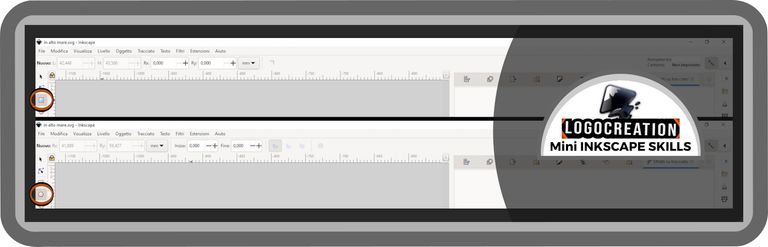
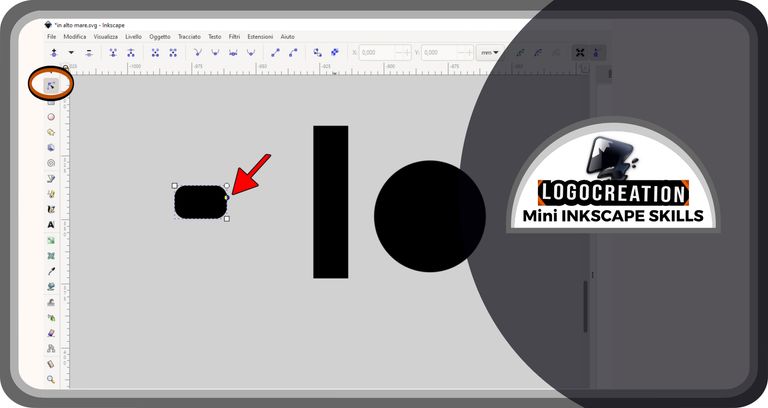
In this new appointment, I thought I would show two tools that allow you to create shapes, specifically circles and regular quadrilaterals like rectangles. The first step is - certainly - opening the Inkscape program, followed by a search for the appropriate boxes: we find them on the screen, in the column to our left, among the topmost boxes. The first allows you to create squares and rectangles, the second simple circles and other ovoid figures. Like all the other important elements, you can find them in the image, highlighted by double red-black circles. The boxes are marked with the image of a rectangle or a circle.
So, let's create:
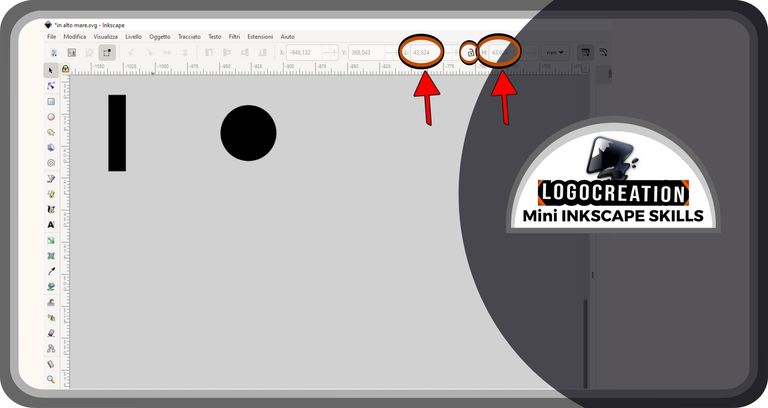
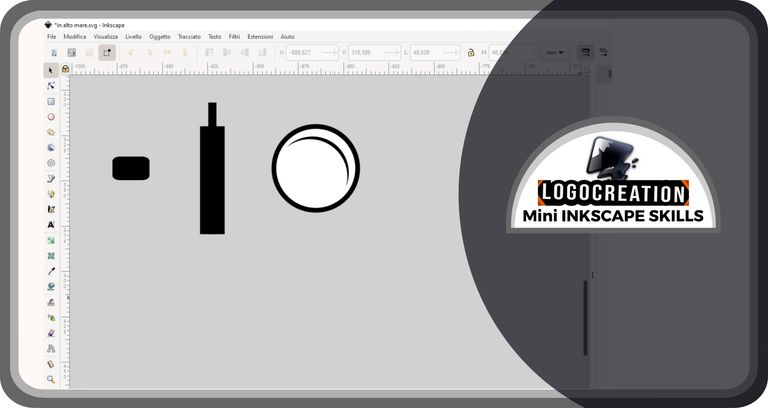
- RECTANGLE: we click (left mouse button) on the box representing a square, then we click (left button again) with the cursor arrow on the white page that the application shows; we keep it clicked and start moving the cursor; a rectangle of variable dimensions will appear, which will grow or shrink depending on our movements. Once we reach the correct size for our purposes, we release the left mouse button;
- SQUARE: we can transform the previously created rectangle into a square. How? We need to refer to the boxes you find in one of the top rows in the Inkscape application. The boxes have been highlighted with arrows in the image below. First, you will need to make sure that the icon with the image of a "padlock" placed between the boxes shows an open padlock (this activated tool allows you to maintain the proportions of the starting dimensions, but we need it inactive); if it isn't, click on it. At this point, type in numbers the dimensions you want to give to your shape, identical both in the box on the right and in the box on the left, then finish by pressing the "ENTER" button on the keyboard. The rectangle on the screen will magically take the shape of a square.
- OVOID: same procedure as the rectangle, but starting by pressing the left mouse button once you have moved the cursor over the icon showing the image of a circle (which you will find in the column on your left, immediately below the tool for creating rectangles);
- CIRCLE: same procedure for transforming a rectangle into a square, but carried out on an ovoid shape instead of rectangular shapes.
You can also directly create circles or squares while creating shapes by holding down the "Shift" key while creating. Rather than explain it to you, try it yourself. You will notice that - in this way - shapes of fixed proportions will be created, whether rectangles, circles, squares or ovoids.
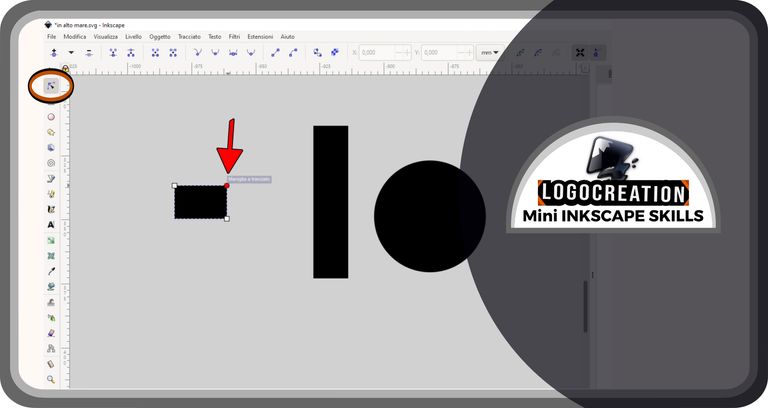
Once this is done, we move on to the next decisive moment: the outlines of the shapes. As we created them, the rectangular shapes have "alive" EDGES (the connection points between one side and the other), very sharp. These edges are called NODES within Inkscape, and - in this case - they are the connection points between the sides of the rectangle. We can act both on their position and on their way of connecting. In particular? We can transform these edges into smooth, curvilinear structures.
To do this, we must click (left mouse button) first on our rectangle, then on the "EDIT FROM NODES" tool that you find in the column on your left; it's usually located at the top of this column, represented by an arrow and some dots joined together. Once selected, the rectangular figure will be surrounded by two white-colored smaller rectangles and circles. The white rectangles represent the nodes: if we click on the rectangular nodes and hold down, moving the cursor, we will vary the dimensions of the sides of the rectangle; if instead we do it with the white circles (defined as HANDLES) what will change will be the shape of those edges seen just now. Furthermore, if we move the handles, they will take on a different color (yellow, blue, red).
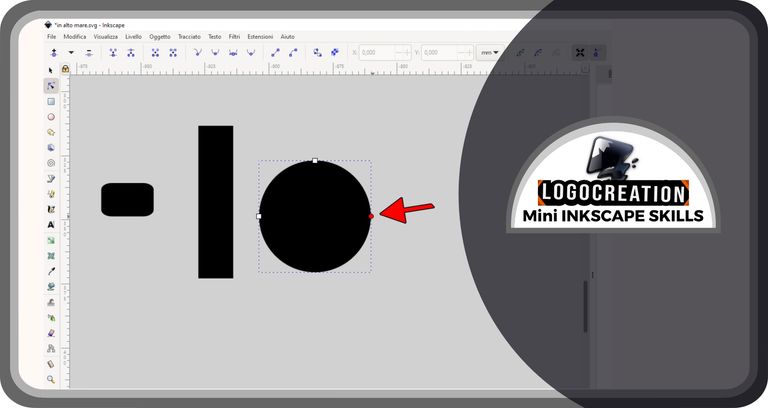
The same procedure can be done with ovoid figures. Once you select them and the node editing tool, the shapes will appear as in the image below. The rectangular nodes allow you to alter the size and shape of the ovoid, while the handles allows you to do something else.
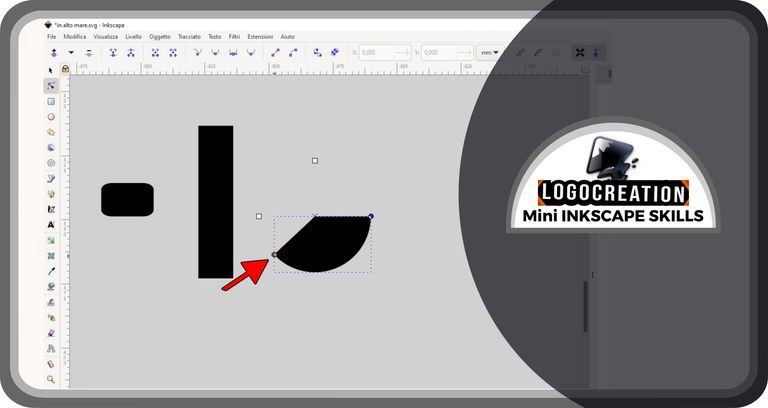
What can we do? Simple! By moving the handle as done with the rectangles, we can alter our ovoid in two ways. In this case, it will not be used to round off the corners, but to create sectioned ovoids.
By clicking on the handle (holding down the left mouse button), and moving the cursor on an area outside of the ovoid, an ovoid figure will appear with some segments missing (a bit like in "pie charts").
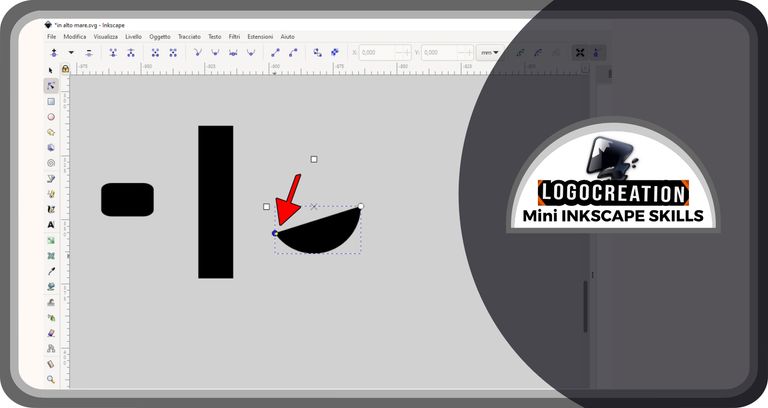
Instead, if we act on the handle moving the cursor in an area included inside that of the circle, a sectioned ovoid will appear, as if it had been cut into two pieces with a single clean and linear cut.
"IN ALTO MARE" logo
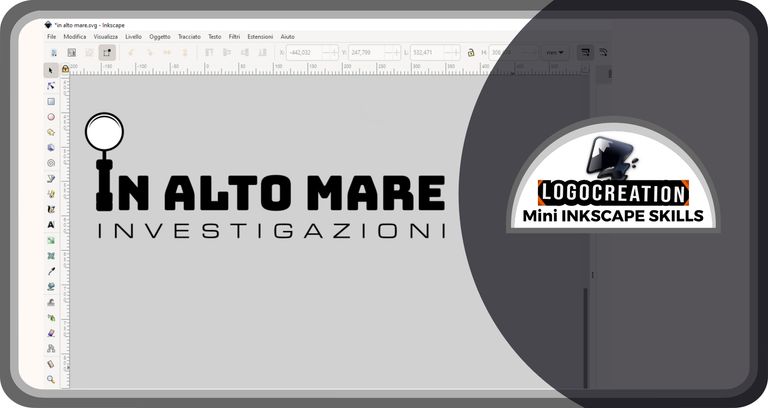
And the tutorial section is over. Let's move on to the second part of this article, where we deal with the creation of a hypothetical logo; a logo in which I have largely used the processes mentioned so far. In this case, my imagination went to an investigative activity called IN ALTO MARE (something we can translate with "ON THE HIGH SEA").
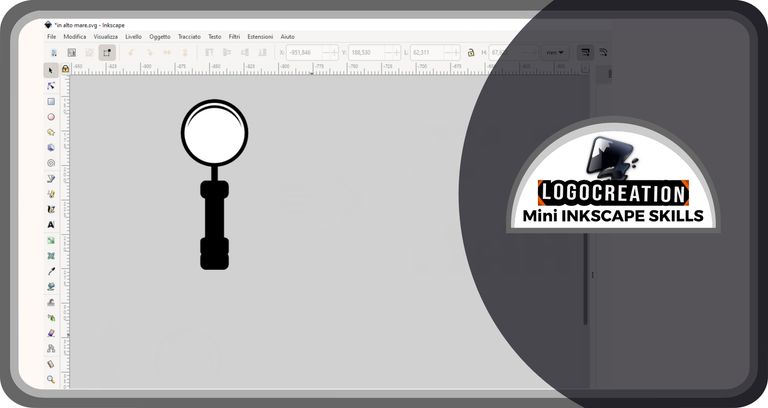
For this logo, I used a very simple combination of fonts with a particular shape that could replace one of the letters, in particular the "I". The idea was to recreate a kind of lens, which is often associated with the most famous investigators, in literature and otherwise. To do this, I created some very simple shapes: rectangles and circles.
Once finished, I remodelled the shapes and assembled them, trying to achieve my goal in the best way.
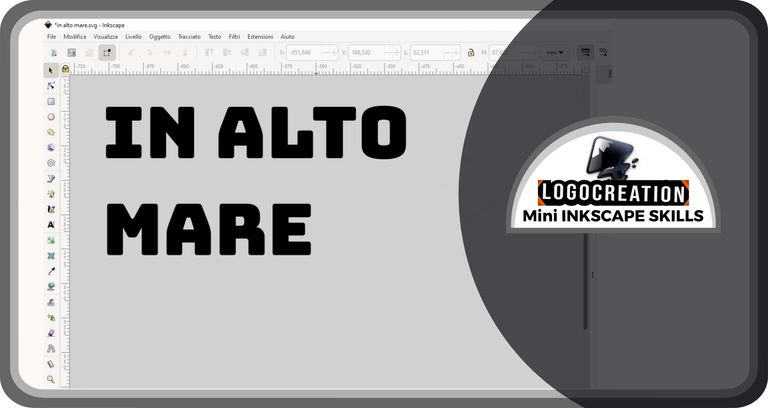
I finished by looking for suitable fonts for the textual part in which I would have to replace an "I" with the lens I just created.
Finally, I made the replacement and finished with another thinner font, useful for creating a descriptive part of the logo. Like it or not, this is the result.
And this time too, we're finished. I hope everything is clear. If you have any questions, feel free to use the comments section. I greet you and leave you the links to my previous posts:
Bye!
Great post. It’s a real Art form creating Logos. Will share on Twitter also ….