All Rights Reserved.
All the uses of the contents herein - and their derivatives - are strictly prohibited without the explicit consent of the author, except for dissemination without modification through media and social media channels.

Hello!
Today I decided to launch a small space where I will periodically publish mini skills, useful for those who want to learn how to use a vector graphics program distributed free of charge on the Web: Inkscape. To start from the beginning, it's good to clarify the main points.
Digital drawing
Graphic design is a field that has moved towards digital spaces almost inevitably for some of its phases, and perhaps will do so even more if we consider the direction the world is taking. But not everyone needs to be a successful graphic designer: sometimes, you only need the basics to create a small result; I can think of a logo for a personal project to use as an identifying element. So, to make this practical, I'll ask you two questions.
Do you want to learn how to design simple logos or a few simple digital images? And do you want to enlarge the result dramatically without losing the quality of the details?
If your answer is "yes", design in vector format is right for you. This type of design involves the creation of graphic elements according to complex and editable mathematical formulas. I say editable because here lies the fundamental difference between a vector element and a non-vector element (of which an example could be the classic photo you take with a camera or an image found on the web).
In the case of a common, non-vector image (which you find in .jpg, .png, .tiff, etc. format) what you see keeps the same quality only by maintaining the dimensions at which you are viewing it. If you decide to make it bigger or smaller, you will lose detail and introduce defects.
Vector elements are different: if you make the elements bigger or smaller, the quality remains the same. This feature is often necessary in the world of entrepreneurship or projects that start from scratch and gain importance over time: this is because - for example - elements such as logos, brands and templates, can be adapted to billboard-style advertising material or giant screens without having to compromise their qualities.
NOTE: don't think of creating the detail of a photo with a vector format, as it would be an almost unthinkable result. Technologies perhaps allow us to achieve this now or in the future, but it is an objective far beyond those who try their hand at vectors for the described-above purposes.

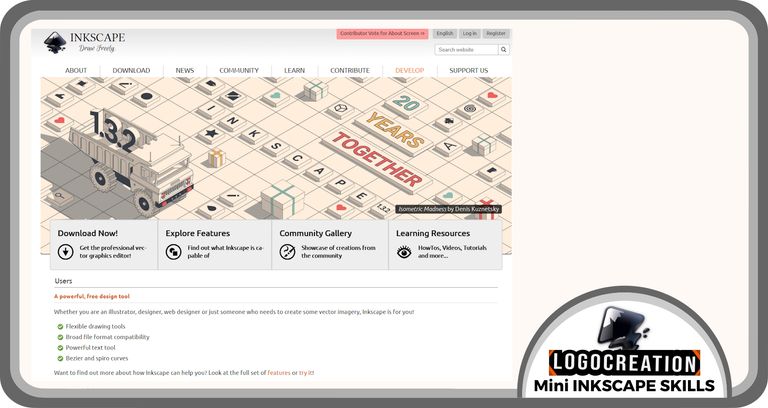
And here we come to Inkscape: an application that allows you to create elements in vector format and which is distributed free-of-charge on the Web. You can find it on the official website https://inkscape.org with many resources to learn basics and in-depth information. What I will show you in my space will be a series of small focuses on the functionalities of the application. However, these features may change over time, as new versions are sometimes released with fixes to previously existing bugs. The details I will talk to you about could become obsolete as the months pass. In this eventuality, I invite you to rely on the official Inkscape channels for more information.

After saying this, I come to the last part of this introduction: within each post, I will use an imaginary logo I created. These logos are only illustrative but often have a playful character. To create them, I play on double meanings, contradictions, clichés or abstract concepts that are at odds with each other. Not always, but quite frequently. If you notice this, don't be scandalized and don't be spiteful: it is a characteristic without any discriminatory or offensive purpose.
Last clarifications
This post isn't intended to promote the Inkscape project, although it may indirectly contribute to it. This space was born solely from my personal experience in the use of some tools that this application offers. I hope I can help some "castaways" who are looking for answers.
And nothing... if this initiative might interest you, occasionally consult my blog. I don't think I can create posts each week, but I hope to publish a couple of articles every month. I will then decide whether to continue depending on the time and the themes I will have the opportunity to share, as well as the support I will get. If there is something you want to ask - perhaps a curiosity about how to obtain a certain result - I urge you to ask me in the comment section or by writing to the Digitall Project channels that you find on my Linktree profile (in the description of the personal page of my blog). It could be a good starting point for a subsequent episode and a valid help for those who have the same curiosity.
That's it: the introduction is over. I greet you and hope to reach you with the first real episode of my initiative.
Hi @davidesimoncini, great news! Your content was selected by curators @nalexadre, @ten-years-before to receive a special curation from BeBlurt 🎉 Don't hesitate to upvote this comment as the curators will receive 80% of the rewards for their involvement.
👉 What can you expect for 2024 on Blurt?
Win 85% rewards with myDelegation
Upvoted. Thank You for sending some of your rewards to @null. Read my last posts to make sure that BLURT burning is profitable for you. Before using this bot please make sure your account has at least 100 BP. Get more BLURT:
@ mariuszkarowski/how-to-get-automatic-upvote-from-my-accounts@ blurtbooster/blurt-booster-introduction-rules-and-guidelines-1699999662965@ nalexadre/blurt-nexus-creating-an-affiliate-account-1700008765859@ kryptodenno - win BLURT POWER delegationNote: This bot will not vote on AI-generated content