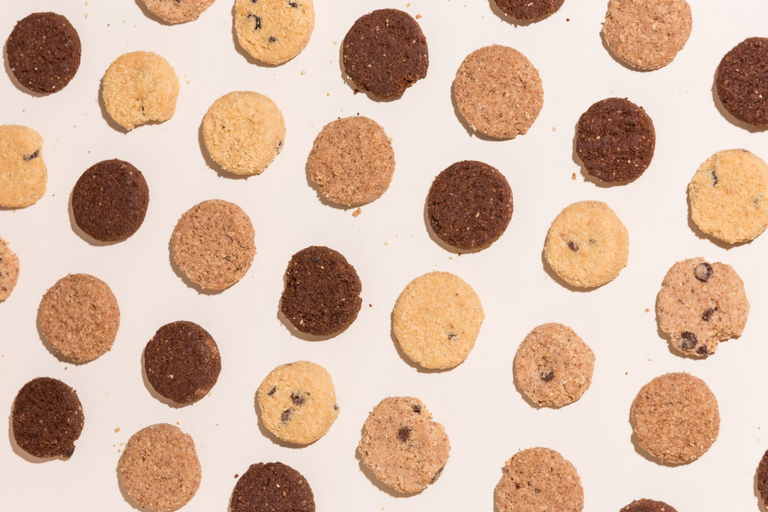
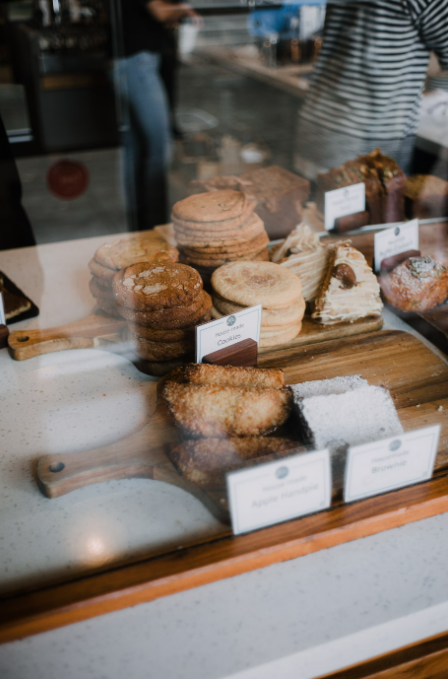
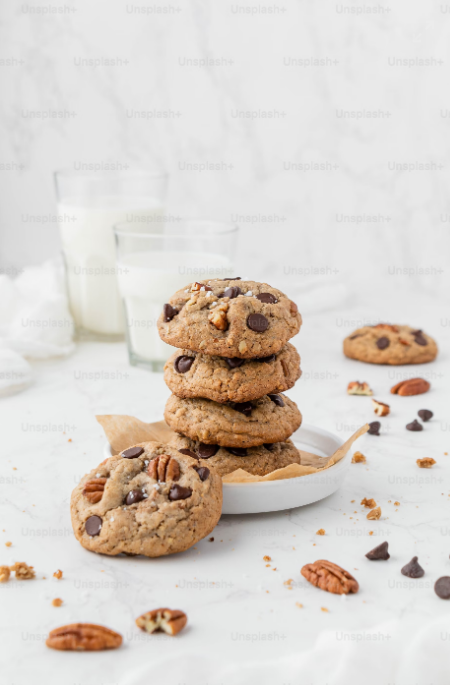
There’s something magical about the aroma of freshly baked cookies filling the house. Whether you're baking for yourself or sharing them with friends and family, classic chocolate chip cookies are always a crowd-pleaser. They are crispy on the edges, soft in the center, and packed with gooey, melty chocolate chips. Let’s dive into this recipe and break down every step to ensure your cookies turn out perfectly.
Ingredients You’ll Need:
To make the most mouth-watering chocolate chip cookies, you will need the following ingredients. Each one plays a key role in achieving the right texture, flavor, and consistency.
For the Cookie Dough:
- 2 1/4 cups all-purpose flour – Flour gives structure to the cookies. The all-purpose variety is perfect because it has a balanced protein content, making the cookies soft but sturdy.
- 1/2 teaspoon baking soda – This acts as the leavening agent that helps the cookies spread and rise during baking.
- 1 cup (2 sticks) unsalted butter, softened – Butter provides richness, flavor, and contributes to the soft texture of the cookies. Using unsalted butter lets you control the amount of salt in the recipe.
- 1/2 cup granulated sugar – This type of sugar helps create a slight crispness on the outside of the cookies.
- 1 cup packed light-brown sugar – Brown sugar adds moisture, giving the cookies their chewy texture. The molasses in brown sugar also imparts a subtle caramel flavor.
- 1 teaspoon salt – The salt balances out the sweetness and enhances the flavors of the cookie. It’s an essential ingredient for a well-rounded taste.
- 2 teaspoons pure vanilla extract – Vanilla adds warmth and depth to the flavor of the cookies. It’s best to use pure vanilla extract for the most authentic taste.
- 2 large eggs – Eggs provide structure and moisture. They help bind the ingredients together, creating a cohesive dough.
For the Add-ins:
- 2 cups semisweet chocolate chips – These are the stars of the recipe, giving the cookies their chocolatey goodness. You can use semisweet, milk, or dark chocolate chips based on your preference.
- Optional: 1 cup chopped nuts – Walnuts or pecans are commonly added for a bit of crunch and flavor. If you don’t like nuts or prefer a nut-free version, simply leave them out.
Step-by-Step Instructions:
Now, let’s walk through each step of the process to ensure your cookies are absolutely perfect. Be sure to follow the instructions carefully for the best results.
1. Preheat the Oven:
Start by preheating your oven to 350°F (175°C). This ensures that your cookies bake evenly. It's always a good idea to allow the oven to fully reach temperature before you start baking the cookies. You can also line your baking sheets with parchment paper or silicone baking mats to prevent the cookies from sticking.
2. Mix the Dry Ingredients:
In a medium-sized bowl, whisk together the all-purpose flour and baking soda. Whisking the dry ingredients together ensures that the baking soda is evenly distributed throughout the flour, preventing any clumps and ensuring even leavening. Once mixed, set the bowl aside. This simple step is crucial for uniform texture in the dough.
3. Cream the Butter and Sugars:
In a large mixing bowl, beat the softened butter, granulated sugar, and brown sugar with an electric mixer (or stand mixer) until the mixture becomes light and fluffy. This process, called creaming, incorporates air into the butter, which helps create a tender cookie texture. It should take about 2 minutes, and the mixture should appear pale and smooth.
Creaming the butter and sugars is the key to achieving the perfect texture. If you rush this step or use cold butter, the dough will be too dense, and the cookies might turn out flat.
4. Add the Wet Ingredients:
Once the butter and sugars are well mixed, add in the salt, vanilla extract, and eggs—one at a time. Beat until fully combined. The eggs provide structure and moisture to the dough, and the vanilla enhances the overall flavor. Scrape down the sides of the bowl to ensure everything is well incorporated.
5. Combine the Dry and Wet Ingredients:
Gradually add the flour mixture to the wet ingredients, mixing just until everything is combined. Be careful not to overmix, as this can result in tough cookies. You should stop mixing as soon as you no longer see any flour streaks in the dough. The dough should be thick and slightly sticky.
Overmixing develops the gluten in the flour, making the cookies less tender. So, just mix until everything is combined, and don’t worry if the dough isn’t perfectly smooth.
6. Add the Chocolate Chips and Optional Nuts:
Using a spatula or wooden spoon, fold in the chocolate chips and nuts (if using). Be gentle when mixing, so you don’t break the chocolate chips. This is the fun part—add as much chocolate as you like! You can use a mix of semisweet, dark, or milk chocolate chips for different flavor profiles.
If you’re using nuts, make sure to chop them into smaller pieces so they’re evenly distributed throughout the dough.
7. Scoop the Dough:
Use a cookie scoop or a tablespoon to portion out the dough onto the prepared baking sheets. Space the dough balls about 2 inches apart to give them room to spread as they bake. If you prefer large, bakery-style cookies, use a 2-tablespoon scoop. For smaller, bite-sized cookies, use a teaspoon.
To ensure uniform baking, it’s a good idea to rotate the baking sheets halfway through the baking process.
8. Bake the Cookies:
Bake the cookies in the preheated oven for about 10-12 minutes, or until the edges are golden brown, but the centers are still soft. The baking time may vary slightly depending on your oven, so keep an eye on them. The cookies will continue to bake on the hot baking sheet after you remove them from the oven, so don’t wait until they’re fully set in the center.
For slightly chewy cookies, take them out when they’re just starting to brown. For crunchier cookies, leave them in a little longer.
9. Cool the Cookies:
Once you’ve removed the cookies from the oven, let them cool on the baking sheets for 2 minutes. This allows the cookies to firm up before transferring them to a wire rack to cool completely. If you try to move them too soon, they might fall apart while they’re still too soft.
Allow the cookies to cool completely on the wire rack, and enjoy the delicious aroma while you wait!
Tips for Perfect Cookies:
- Butter Temperature: Make sure the butter is softened to room temperature before you start. Cold butter will not cream properly with the sugars, and melted butter can make the dough greasy.
- Chill the Dough (Optional): For thicker cookies, consider chilling the dough in the fridge for 30 minutes before baking. This helps the cookies maintain their shape and prevents excessive spreading.
- Use High-Quality Chocolate: The chocolate chips you use make a big difference in the flavor of your cookies. If you’re a chocolate lover, try using a mix of semisweet and dark chocolate for a rich and decadent taste.
- Don’t Over-Mix: After adding the dry ingredients, mix only until combined. Overworking the dough will result in tough cookies.
- Rotate Baking Sheets: If you’re baking more than one batch, rotate the baking sheets halfway through to ensure even baking.
Storing and Freezing:
- Room Temperature: Once the cookies have cooled, store them in an airtight container at room temperature for up to one week. They should remain soft and fresh.
- Freezing the Dough: You can freeze the dough before baking to enjoy fresh cookies later. Portion the dough into balls and place them on a baking sheet. Freeze the dough balls until firm, then transfer them to a freezer-safe bag or container. When you’re ready to bake, simply place the frozen dough balls on a baking sheet and bake for 12-15 minutes (no need to thaw them first).
Conclusion:
Baking cookies at home is a fun and rewarding experience that yields delicious, comforting treats. By following this detailed recipe and paying attention to each step, you'll be able to bake perfect chocolate chip cookies every time. Whether you're baking for a special occasion, sharing with friends, or indulging in a midnight snack, these cookies are sure to be a hit. So, grab your apron, preheat the oven, and let the baking begin!
Enjoy your homemade chocolate chip cookies with a cold glass of milk or a hot cup of coffee. Happy baking!


