Chocolate syrup is a versatile, delicious, and easy-to-make ingredient that can be used in a variety of desserts and drinks. Whether you want to drizzle it over ice cream, mix it into a milkshake, or add it to your morning coffee, making chocolate syrup at home ensures you get a rich, flavorful syrup without preservatives or artificial additives.
In this detailed guide, you’ll learn:
✔ Why homemade chocolate syrup is better than store-bought
✔ Step-by-step recipe with exact measurements
✔ Pro tips for achieving the perfect texture and flavor
✔ Storage tips and shelf life
✔ Creative ways to use homemade chocolate syrup
Let’s dive in! 🍫✨
Why Make Chocolate Syrup at Home?
Many store-bought chocolate syrups contain high fructose corn syrup, artificial flavors, and preservatives. By making it at home, you control the ingredients, sweetness, and thickness, ensuring a pure, rich, and high-quality syrup.
Benefits of Homemade Chocolate Syrup:
✔ No artificial preservatives – Fresh and natural ingredients
✔ Customizable – Adjust sweetness and thickness to your liking
✔ Cost-effective – Cheaper than buying pre-made syrups
✔ Quick & Easy – Takes only 5-10 minutes to make
Ingredients for Homemade Chocolate Syrup
To make rich and smooth chocolate syrup, you’ll need the following simple ingredients:
Basic Ingredients:
🟤 ½ cup unsweetened cocoa powder – The base for deep chocolate flavor
🟤 1 cup granulated sugar – Sweetens and thickens the syrup
🟤 ¾ cup water – Helps dissolve the ingredients
🟤 ¼ teaspoon salt – Enhances flavor balance
🟤 1 teaspoon vanilla extract – Adds depth and aroma
💡 Optional Add-Ins:
✔ 1 tablespoon butter – For extra richness and silky texture
✔ ½ teaspoon espresso powder – Enhances the chocolate flavor
✔ Pinch of cinnamon – Adds a subtle warmth
Step-by-Step Instructions to Make Chocolate Syrup
Step 1: Mix the Dry Ingredients
In a medium saucepan, whisk together:
✅ ½ cup cocoa powder
✅ 1 cup sugar
✅ ¼ teaspoon salt
Make sure the mixture is evenly combined and free of lumps.
Step 2: Add Water and Stir
Slowly pour in ¾ cup of water, whisking continuously to form a smooth paste.
💡 Tip: Stirring slowly prevents lumps and ensures a creamy texture.
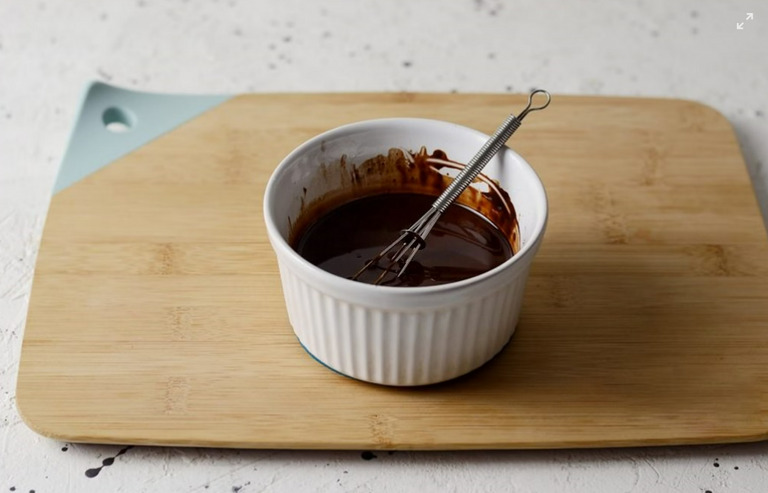
Step 3: Heat the Mixture
Place the saucepan on medium heat and bring the mixture to a gentle simmer. Stir occasionally to prevent burning.
Let it simmer for 3-5 minutes, until the syrup thickens slightly.
🚨 Important: The syrup will thicken more as it cools, so don’t overcook it!
Step 4: Add Vanilla and Cool
Remove the saucepan from heat and stir in:
✅ 1 teaspoon vanilla extract
Let the syrup cool for 10-15 minutes before transferring it to a container.
Step 5: Store and Use
Pour the syrup into a clean glass jar or squeeze bottle. Store in the refrigerator for up to 2 weeks.
💡 Pro Tip: If the syrup thickens too much in the fridge, add a teaspoon of warm water and stir before using.
How to Use Homemade Chocolate Syrup
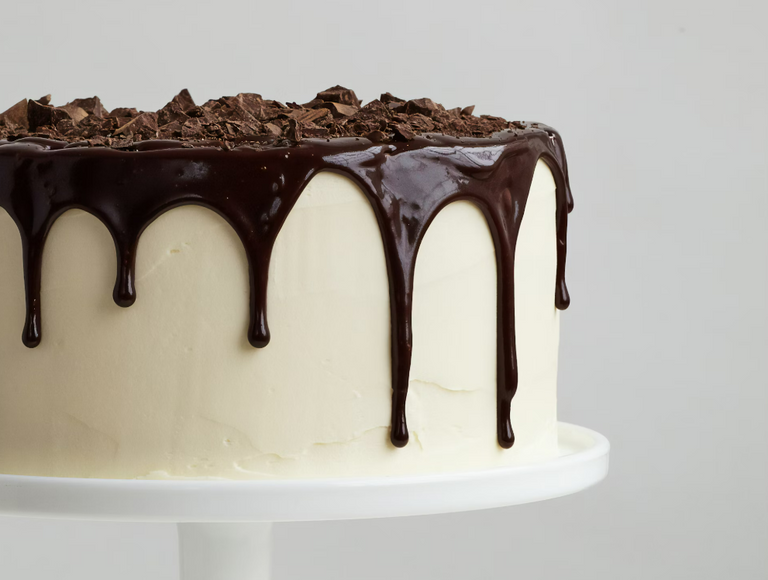
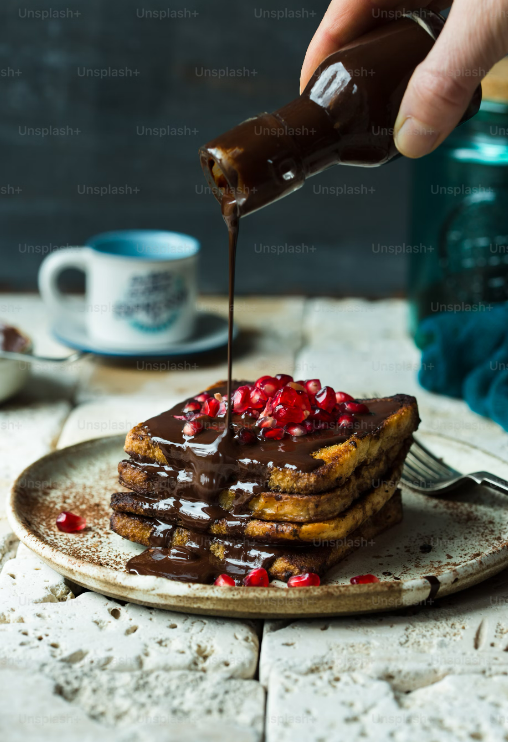
🍦 Desserts: Drizzle over ice cream, brownies, cakes, or waffles
☕ Drinks: Stir into coffee, lattes, or hot chocolate
🥛 Chocolate Milk: Mix with cold milk for a homemade treat
🍓 Fruit Dip: Pair with strawberries, bananas, or apples
🥤 Milkshakes: Blend with ice cream and milk for a thick shake
🍪 Baking: Add to cookies, muffins, or homemade frosting
Common Mistakes & How to Fix Them
🚫 Syrup is too thin: Simmer for another 2-3 minutes until it thickens.
🚫 Syrup is too thick: Add 1 tablespoon warm water and stir.
🚫 Lumps in the syrup: Sift cocoa powder before mixing, and whisk continuously.
🚫 Syrup tastes bitter: Use high-quality cocoa powder and add an extra teaspoon of sugar if needed.
FAQs About Homemade Chocolate Syrup
❓ How long does homemade chocolate syrup last?
👉 It stays fresh in the refrigerator for up to 2 weeks.
❓ Can I make this sugar-free?
👉 Yes! Substitute granulated sugar with stevia, erythritol, or honey.
❓ Can I make dairy-free chocolate syrup?
👉 Absolutely! This recipe is already dairy-free and vegan-friendly.
❓ How can I make a thicker syrup for sundaes?
👉 Simmer for an extra 2-3 minutes until it reaches a thicker consistency.
Final Thoughts: Why You Should Try This Recipe
Making chocolate syrup at home is quick, easy, and healthier than store-bought versions. With just 5 ingredients and 10 minutes, you get a rich, smooth, and versatile syrup perfect for all your favorite treats.
✅ Customizable – Adjust sweetness and thickness
✅ Healthier – No preservatives or artificial ingredients
✅ Easy to Make – Simple recipe, ready in minutes