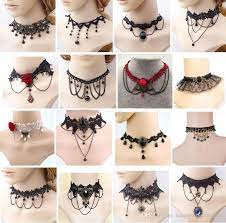
How to Make Choker Bracelets
Making chokers is quite interesting and yet creative at the very same time.
I personally enjoy making such creativity things.SO let us dive into some ideas on how you cna make the perfect trendy necklaces and how to design it .
Lets dive into it .
1. Gather Your Materials
Like you are cooking something so you start by having all the ingredient so start by gathering the materials you'll need to make your choker bracelets. You have stretchy elastic cord, beads, charms, scissors, and any additional embellishments you'd like to add to your design.
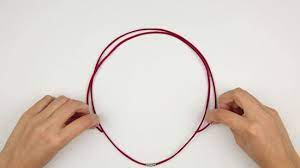
2. Measure and Cut the Cord
Measure the elastic cord around your wrist or of the measure of your client to determine the desired length of your bracelet. Add a few extra inches to accommodate for knotting which is more considerable. Use scissors and glue to carefully cut the cord to the appropriate length and glue it up if necessary.
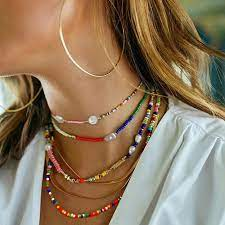
3. String the Beads
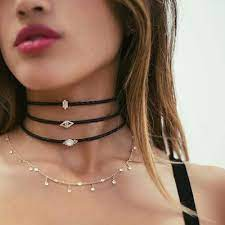
. Mix and match different colors, sizes, and textures to create a unique and stylish look for your choker bracelet. Experiment with spacing and arrangement until you're satisfied with the design.
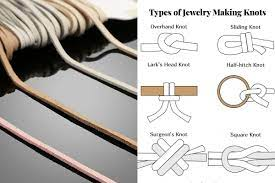
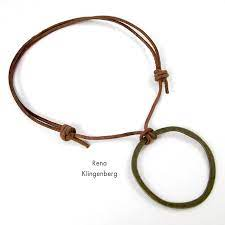
4. Tie Off the Ends
Once you've finished stringing the beads, tie off the ends of the elastic cord securely to create a closed loop. Use a double knot or a secure knotting technique to ensure that your choker bracelet is secure and will not come apart easily.
5. Add Embellishments (Optional)
If desired, add additional embellishments to your choker bracelet to personalize it further. Add beads or glitter to your string of the chocker for great and trendy designs.