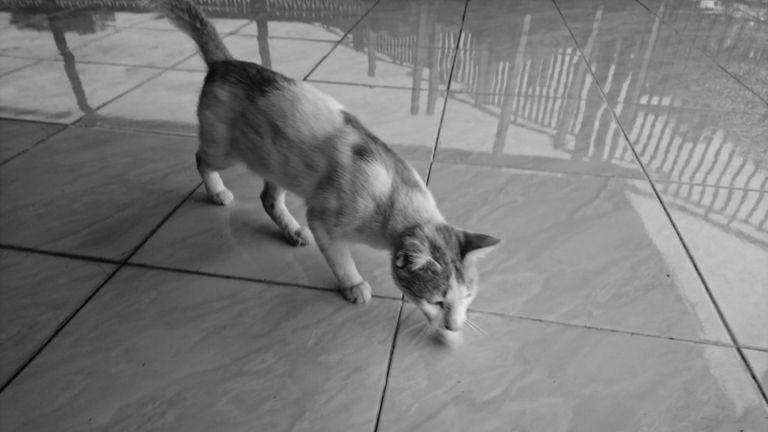
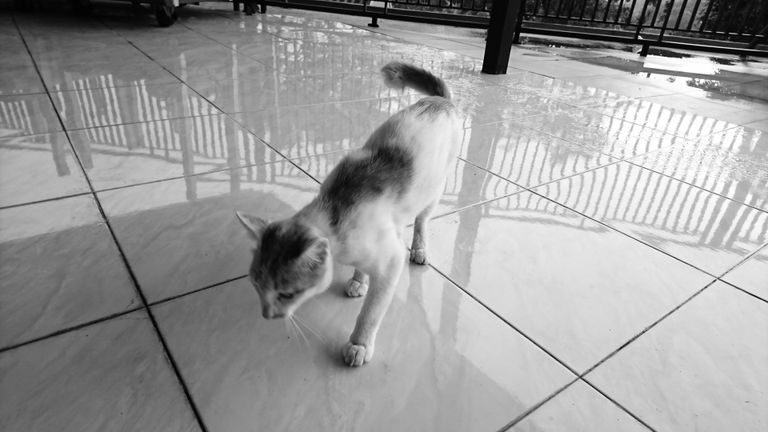
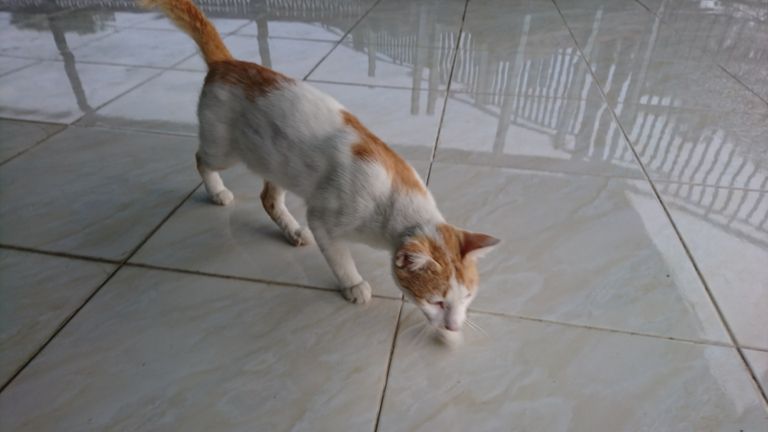
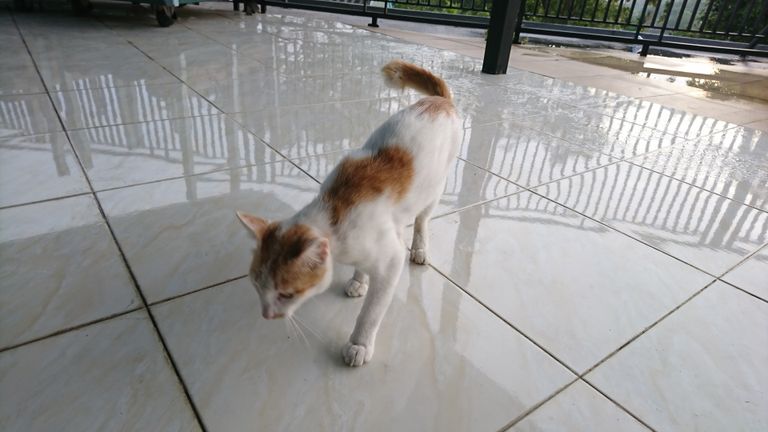
Some Simple Rules to follow in this Black & White photography challenge:
• Your own photo a must
• Black and white images that represent any positive meaning in life
• Present one or two image every day
• You may add people, if you want
• No explanation
• Use tag #bnwphotography
Cheers,
sweetpie

Dibawah ini aturan sederhana untuk diikuti dalam tantangan fotografi Hitam Putih ini:
- Foto milik Anda sendiri / diambil oleh Anda
- Gambar hitam putih yang mewakili makna positif dalam hidup
- Tampilkan satu atau dua gambar setiap hari
- Anda dapat menambahkan orang, jika Anda suka
- Tidak diperlukan penjelasan dari foto yang anda posting
- Gunakan tagar #hitamputih
Salam
Sweetpie

We live in a world full of color. Unfortunately, color can take you away from the essence of a great photo - texture, tone contrast, shape, form, and lighting. To master the art of black and white photography, you need to learn to balance all of the above elements to create memorable images. Here are some tips to help you get started.
Visualize in black and white
Before taking a black and white picture, look out for strong lines, shadows and shapes. While taking the picture, imagine what the final image will look like. Forget the colors; imagine how you will take the shapes, textures, and tones of the image. You need to practice a lot to hone your vision by going outside and taking pictures.
Think composition
Next time you are looking for a subject to photograph in black and white, pay close attention to elements such as texture, line, shape, and tone contrast. Textures look perfect in black and white, but the ideal time to take a picture is just after sunrise or before sunset to enrich them. Tonal contrast is achieved by finding the right balance between lighter shades and darker tones of gray. Once all these elements have come together in your photo, you are ready for the perfect shot.
Select RAW
Take pictures in RAW mode if your camera is equipped with this function. RAW files contain all the color information from a shot, thereby increasing your control over how the image looks. You can also change your mind if the photos you take don't look as good in black and white as expected. You might also be a little surprised by what you can do during the post-production stage.
Choose Low ISO
Use the lowest ISO possible. In black and white photography, the noise in the image will be more obvious. Noise makes your image look grainy and not as smooth as you would like. It is difficult to edit out noise, but if you want this effect, you can add it in post-production.
Utilize Ambience
Dark, gray days, a color photographer's nightmare, can be the perfect time for black and white photographers. You just need to make sure the light is right for the subject. Daylight, for example, is great for architecture but bad for portraits. Daylight with heavy clouds can be perfect for portraits, but not for landscapes.
About the Subject
Versatility is one of the reasons photographers love black and white photos. Black and white gives photographers the freedom to shoot a variety of subjects. You can start black and white photography with some good subjects such as portraits, landscapes, architecture, travel, and street.
Kita hidup di dunia yang penuh warna. Sayangnya, warna dapat menjauhkan Anda dari esensi sebuah foto yang hebat - tekstur, kontras nada, bentuk, ujud, dan pencahayaan. Untuk menguasi seni fotografi hitam putih, Anda perlu belajar menyeimbangkan semua elemen di atas guna menciptakan gambar yang layak dikenang. Berikut beberapa kiat untuk membantu anda memulainya.
Visualisasikan dalam warna hitam dan putih
Sebelum mengambil gambar hitam putih, perhatikan garis, bayangan, dan bentuk-bentuk kuat. Saat mengambil gambar, bayangkan gambar akhirnya akan seperti apa. Lupakan warna; bayangkan bagaimana Anda akan mengambil bentuk, tekstur, dan nada gambar. Anda perlu banyak berlatih untuk mengasah visi dengan pergi ke luar dan mengambil gambar.
Pikirkan komposisi
Lain kali anda mencari subjek yang akan difoto hitam putih, perhatikan dengan cermat elemen-elemen seperti tekstur, garis, bentuk, dan kontras nada (tone). Tekstur terlihat sempurna dalam warna hitam putih, tetapi waktu yang ideal untuk mengambil gambar adalah sesaat setelah matahari terbit atau sebelum matahari terbenam untuk memperkayanya. Kontras nada diperoleh dengan mencari keseimbangan yang tepat antara nuansa yang lebih terang dan nada yang lebih gelap warna abu-abu. Setelah semua elemen ini menyatu dalam foto, Anda siap memperoleh bidikan yang sempurna.
Pilih RAW
Ambil gambar dalam mode RAW jika kamera anda dilengkapi fungsi ini. File RAW mengandung semua informasi warna dari sebuah bidikan, dengan begitu memperbesar kendali Anda atas penampilan gambar. Anda juga dapat berubah pikiran jika foto yang Anda ambil ternyata tidak terlihat bagus dalam warna hitam dan putih seperti yang diharapkan. Anda juga mungkin akan sedikit terkejut dengan apa yang dapat Anda lakukan selama tahap pasca produksi.
Pilih ISO Rendah
Gunakan ISO serendah mungkin. Dalam fotografi hitam putih, noise pada gambar akan terlihat semakin jelas. Noise membuat gambar Anda terlihat berbintik dan tidak semulus yang Anda inginkan. Sulit mengedit noise, tetapi jika Anda menginginkan efek ini, Anda dapat menambahkannya dalam pasca produksi.
Manfaatkan Suasana
Siang yang gelap dan kelabu, mimpi buruk fotografer warna, malah dapat menjadi waktu yang sempurna bagi fotografer hitam putih. Anda hanya perlu memastikan cahaya pas dengan subjek. Cahaya pada siang hari, misalnya, sangat bagus untuk arsitektur tetapi buruk untuk potret. Siang hari dengan mendung tebal dapat sangat sempurna untuk potret, tapi tidak cocok untuk pemandangan.
Tentang Subjek
Versatilitas adalah salah satu alasan fotografer menyukai foto hitam putih. Hitam putih memberi fotografer kebebasan untuk mengambil gambar aneka subjek. Anda dapat memulai fotografi hitam putih dengan beberapa subjek bagus seperti potret, pemandangan, arsitektur, perjalanan, dan jalan.


