
Hi, today I bring you a post of a craft I made at home.. Sometimes we want things that are custom made, to our liking and it can be expensive to buy them or we just don't get something we like.
After 6 months of quarantine a subject that can be difficult is the organization, since the responsibilities of the house, work, family are mixed.
That's why today I bring you a craft that is very easy and anyone can make it, also very few materials are used that anyone can have at home. I am going to be making a handmade notebook, which can be used as a planner or a notebook.
Hola, hoy les traigo un post de una manualidad que hice en casa. Algunas veces queremos cosas que estén hechas a la medida, a nuestro gusto y puede ser costoso comprarlas o simplemente no conseguimos algo que nos guste.
Después de 6 meses de cuarentena un tema que puede resultar difícil es el de la organización, ya que se mezclan las responsabilidades de la casa, trabajo, familia.
Por eso hoy les traigo una manualidad que es muy fácil y cualquiera la puede hacer, además se utilizan muy pocos materiales que cualquiera puede tener en casa. voy a estar realizando una libreta o cuadernillo artesanal, que te puede servir para planner o libreta de notas.
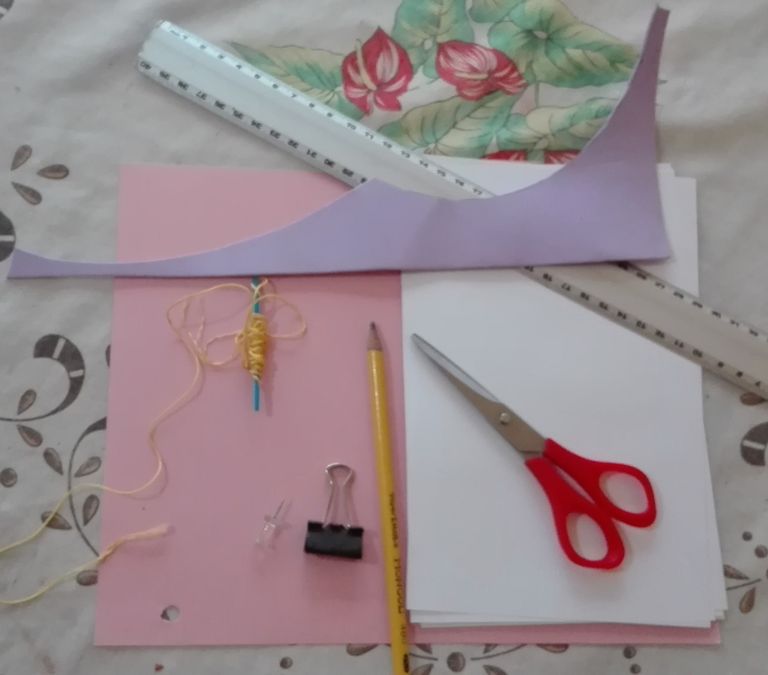
To make it we will need the following materials:
- Sheets
- Pencil
- Thread
- Needle
- Rule
- Scissors or cutter
- Cardboard or cardboard for the cover
- Nail or punch
- Tweezers or hooks (to hold the leaves)
- Foami or base for drilling
- Decorations
Para realizarlo vamos a necesitar los siguientes materiales:
- Hojas
- Lápiz
- Hilo
- Aguja
- Regla
- Tijeras o cuter
- Cartón o cartulina para la cubierta
- Clavo o punzón
- Pinzas o ganchos (para sujetar las hojas)
- Foami o base para perforar
- Decoraciones
The sheets can be of any type, white, dotted, lined or even you can use recycled sheets from any old notebook or book you have in half use. Just keep in mind that we will fold the sheets in half and this will be the actual size of our booklet.
For this notebook I used white 21 x 14 cm sheets that I had stored over there and for the cover I used a cardboard separator and cut it to 22 x 14 cm.
Las hojas pueden ser de cualquier tipo, blancas, punteadas, rayadas o incluso puedes usar hojas recicladas de cualquier cuaderno o libreta vieja que tengas a medio uso. Solo debes tener en cuenta que las hojas las vamos a doblar a la mitad y este será el tamaño real de nuestro cuadernillo.
Para esta libreta usé hojas blancas de 21 x 14 cm que tenía guardadas por allí y para la cubierta usé un separador de cartulina y lo corté de 22 x 14 cm.
Procedure
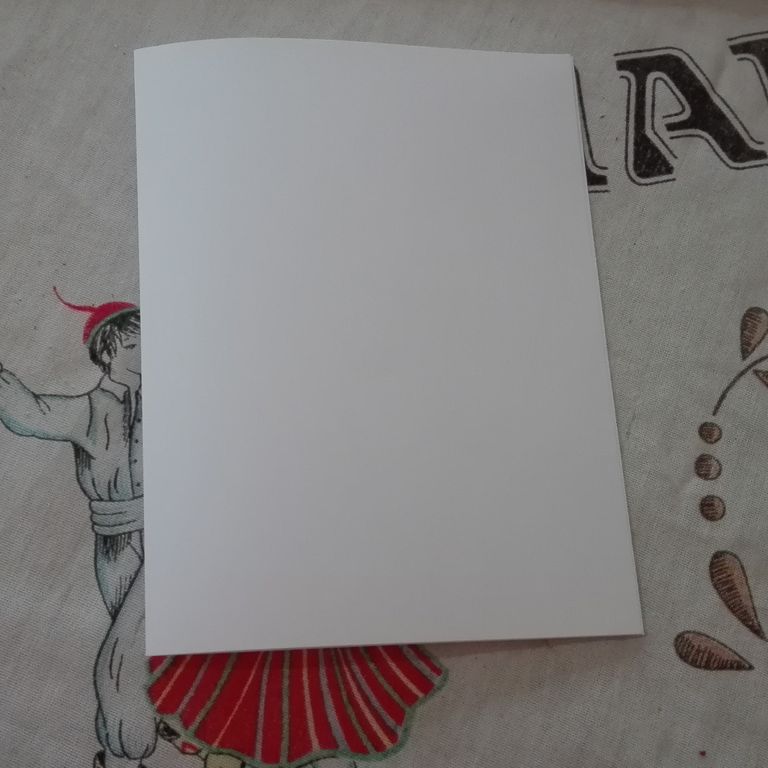
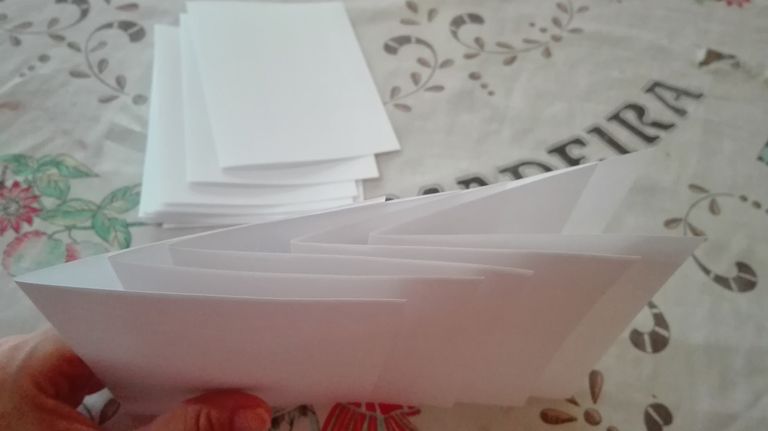
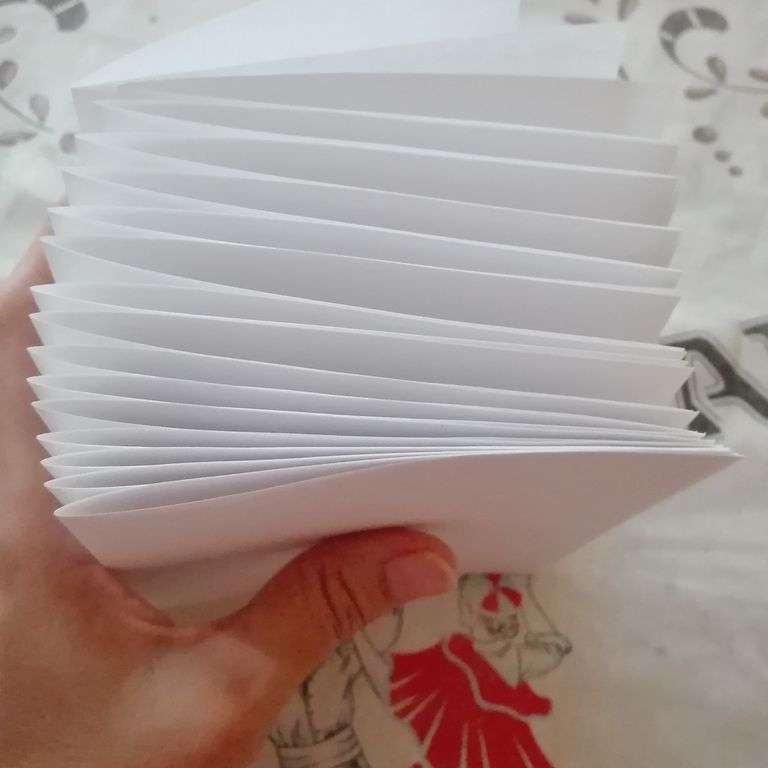
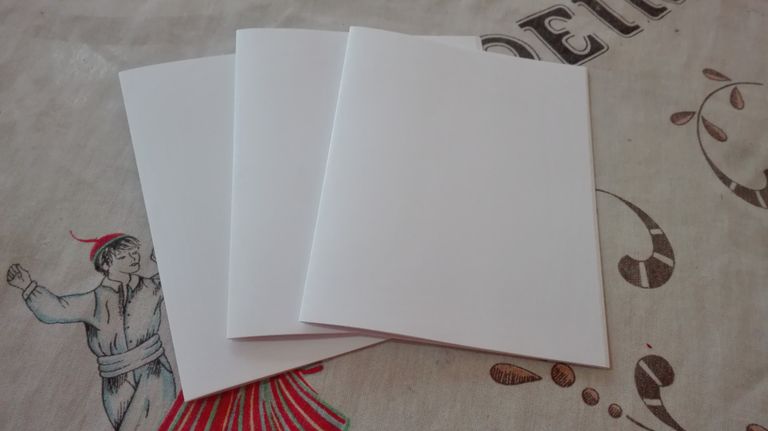
- First we fold all the sheets in half one by one and put one inside the other, forming groups of 5.
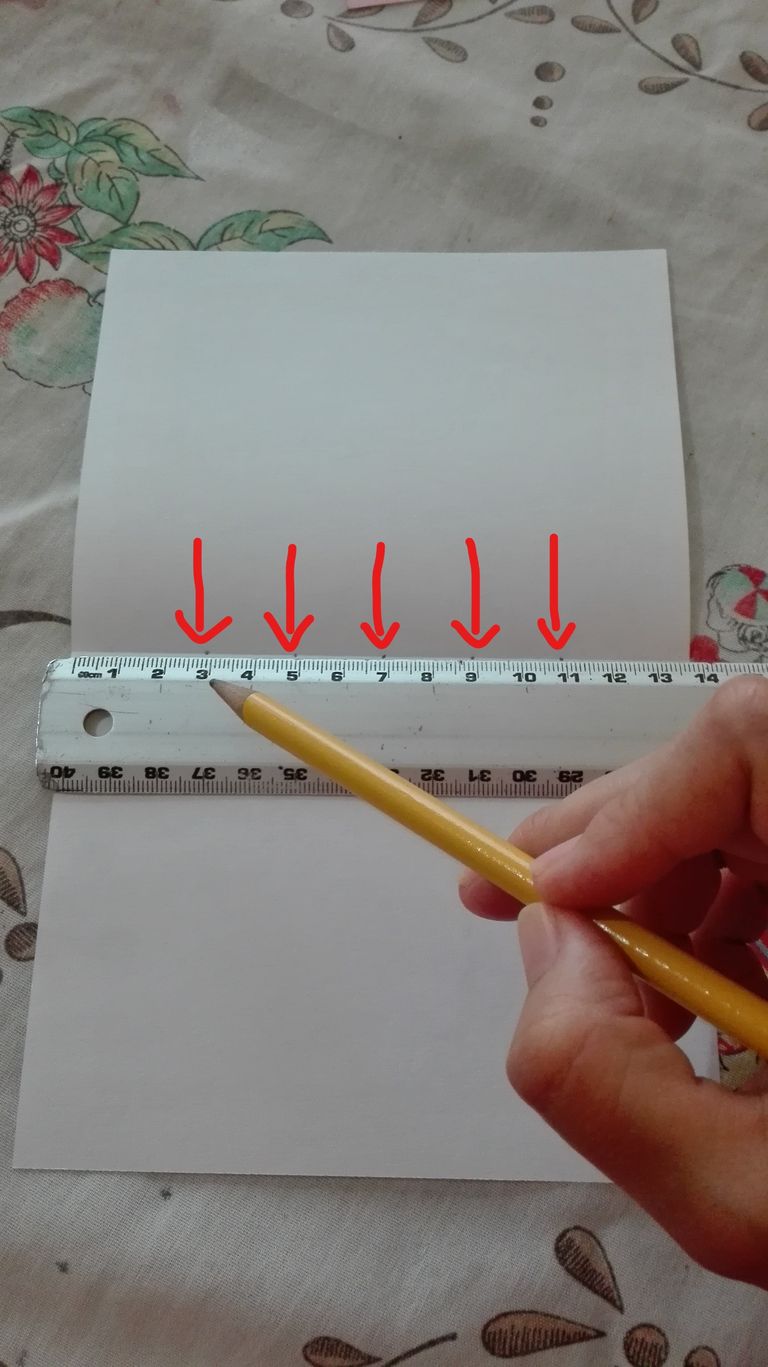
- Then we take a sheet and in the center (where the fold is) we make a mark at 3 cm and then every 5 cm, until we have 5 marks.
- Using the foami as a base we punch the leaves in each of the marks, this we do in groups of 5 to make it easier.
- Then we use a sheet from the previous group as a template to punch the rest
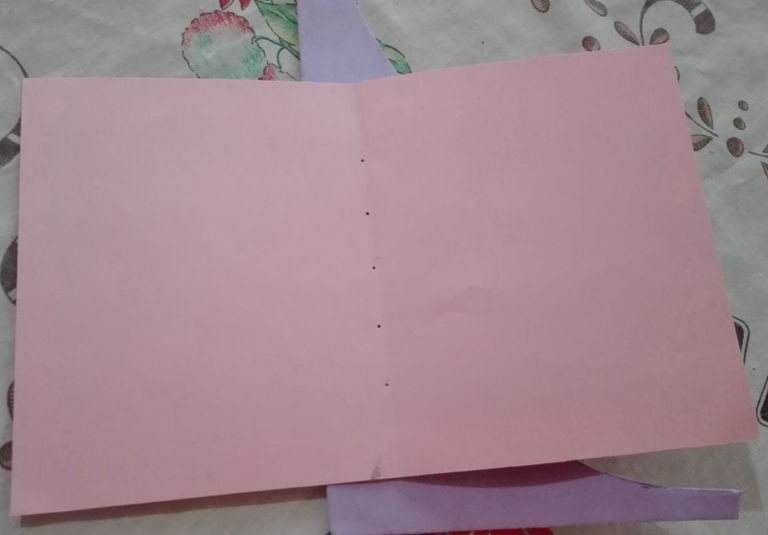
- We cut the cardboard 22 x 14 cm and taking one of the sheets as a guide, we punched.
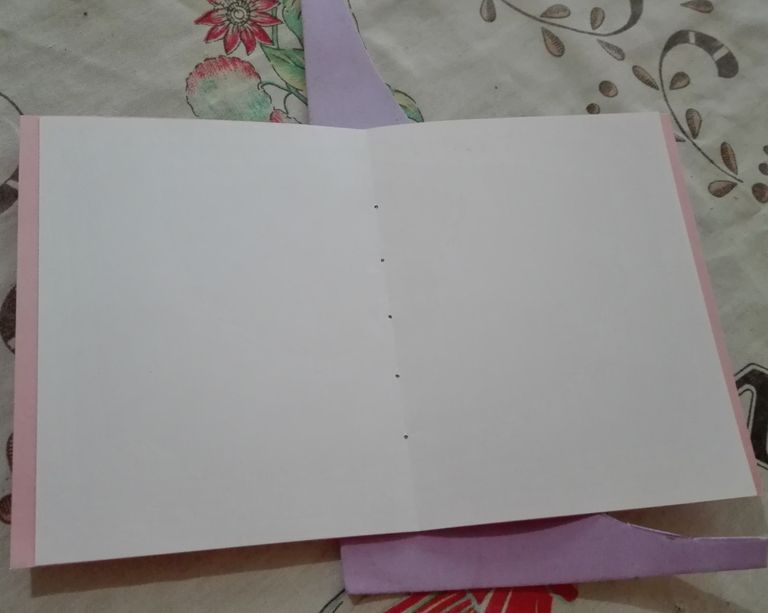
Then we place the sheets on the cover and start sewing, holding them with hooks. For this we measure the thread, 3 times the size of our notebook. At this point I preferred to use sewing thread and a normal needle, instead of the one I had.
We inserted the needle through the first hole from the outside to the inside of the notebook, then through the second hole from the inside to the outside. We carefully pull the thread so that it is tight. We insert the thread through the next hole and so on.
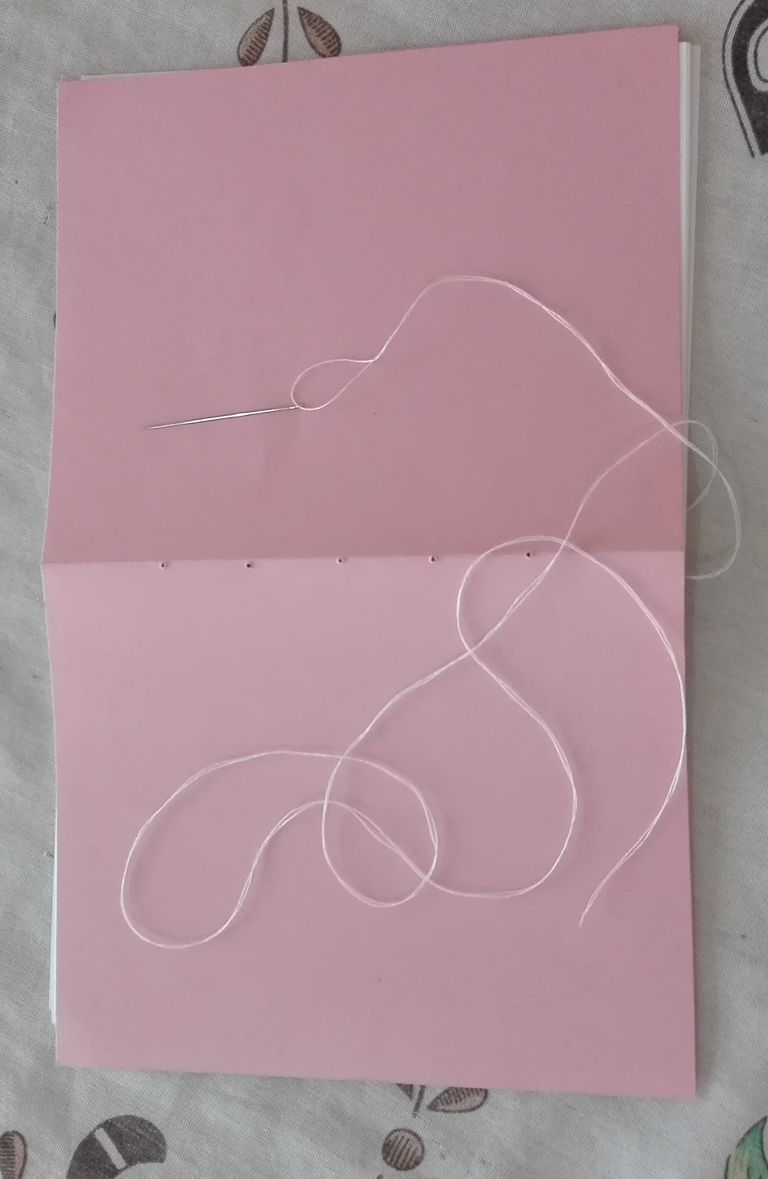
- Then we do the same procedure again, until we reach the first hole.
- At this point we make a knot with the two ends and cut.
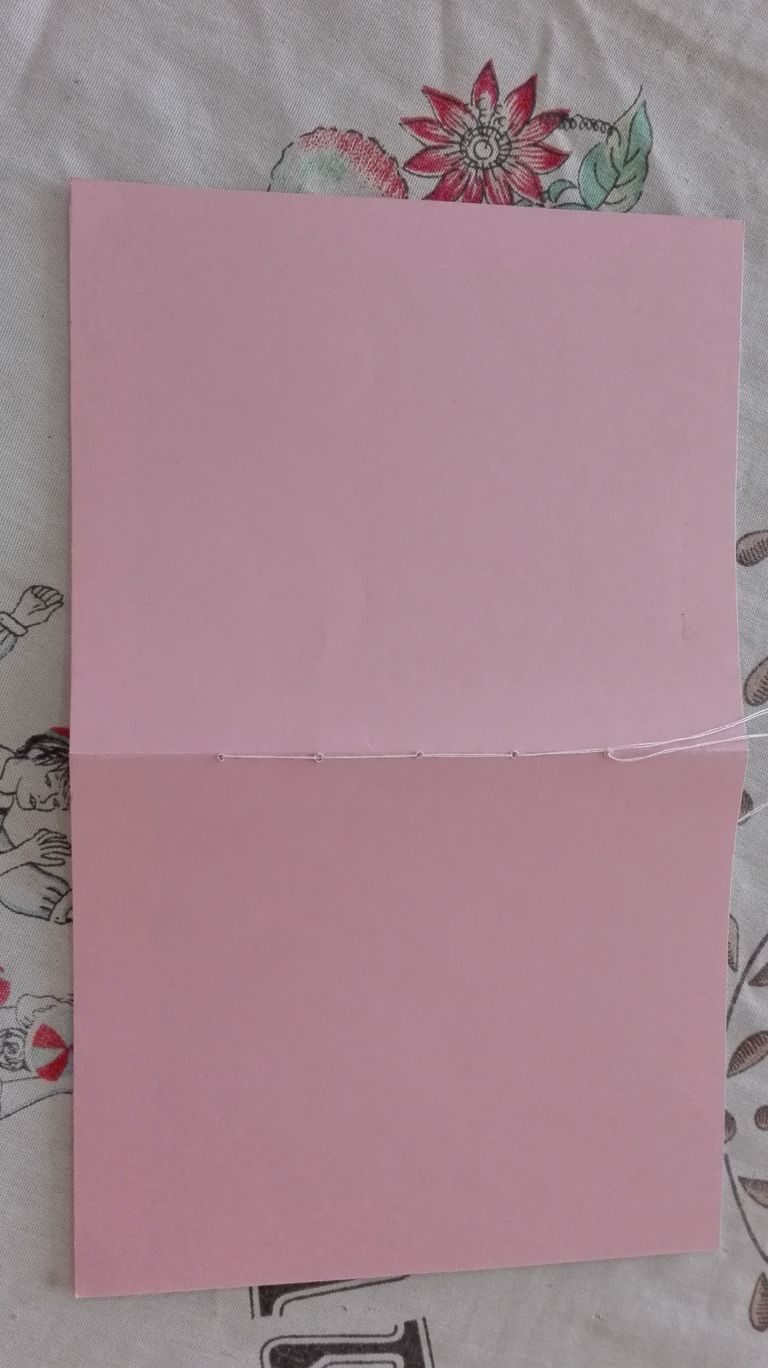
- Now we proceed to fold our notebook and make a little pressure so that it is closed
- In this part if you want to put some kind of decoration to the cover you can do it.
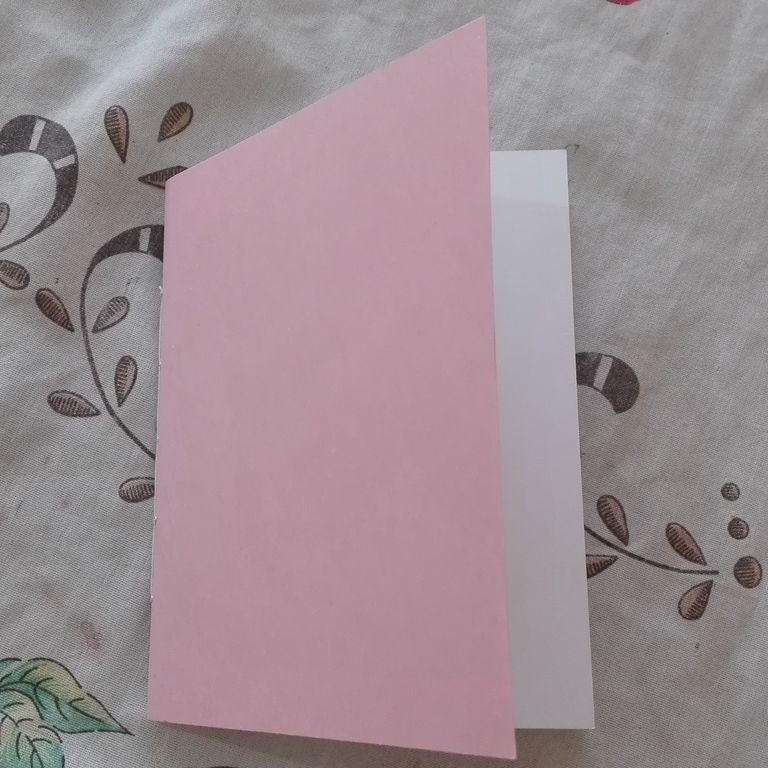
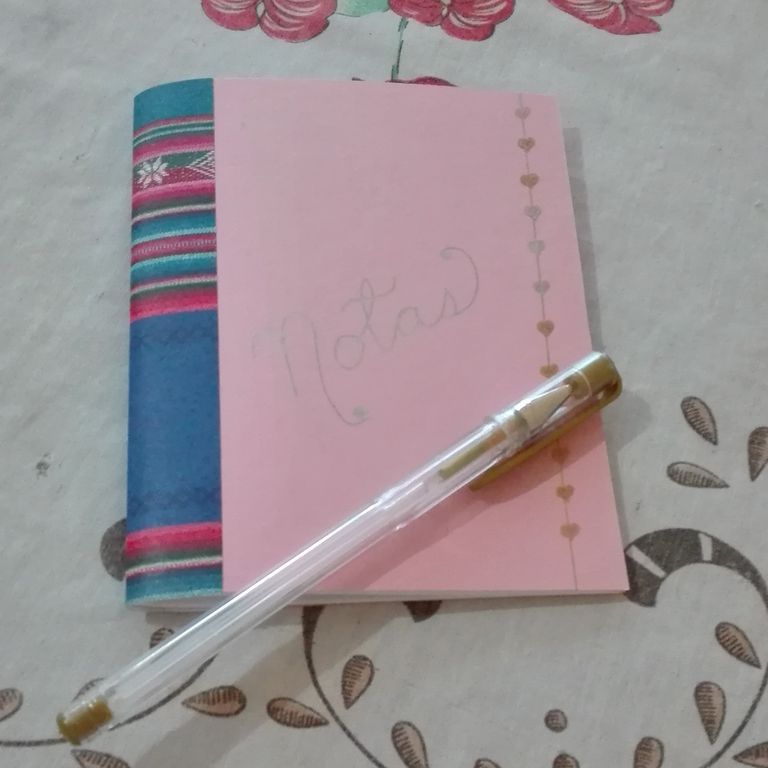
- I used a sheet of an old diary and cut it to cover the spine of the notebook. I also used a golden gel pen to make some details.
Procedimiento
- Primero doblamos todas las hojas por la mitad una a una y vamos metiendo una dentro de otra, formando grupos de 5.
- Luego tomamos una hoja y en el centro (donde esta el doblez) hacemos una marca a los 3 cm y luego cada 2 cm, hasta tener 5 marcas.
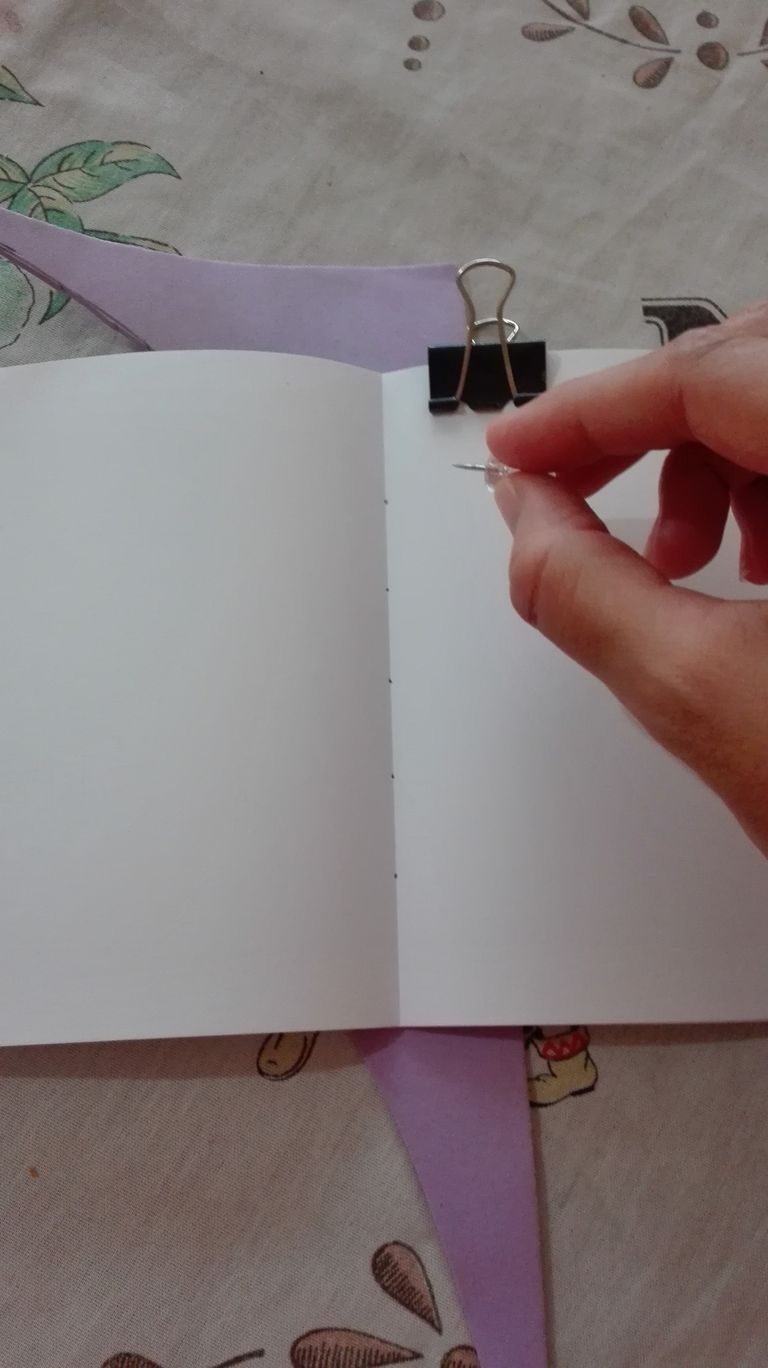
- Usando el foami como base perforamos las hojas en cada una de las marcas, esto lo hacemos en grupos de 5 para que sea más fácil.
- Luego usamos una hoja del grupo anterior como plantilla para perforar el resto
- Cortamos la cartulina 22 x 14 cm y tomando una de las hojas como guía, perforamos.
Luego colocamos las hojas sobre la cubierta y comenzamos a coser, sujetándolas con ganchos. Para esto medimos el hilo, 3 veces el tamaño de nuestra libreta. En este punto preferí usar hilo de coser y una aguja normal, en vez de la que tenía.
Insertamos la aguja el primer agujero desde afuera hacia adentro de la libreta, luego por el segundo agujero desde adentro hacia afuera. Vamos halando cuidadosamente el hilo para que quede tenso. Insertamos el hilo por el siguiente agujero y así sucesivamente.
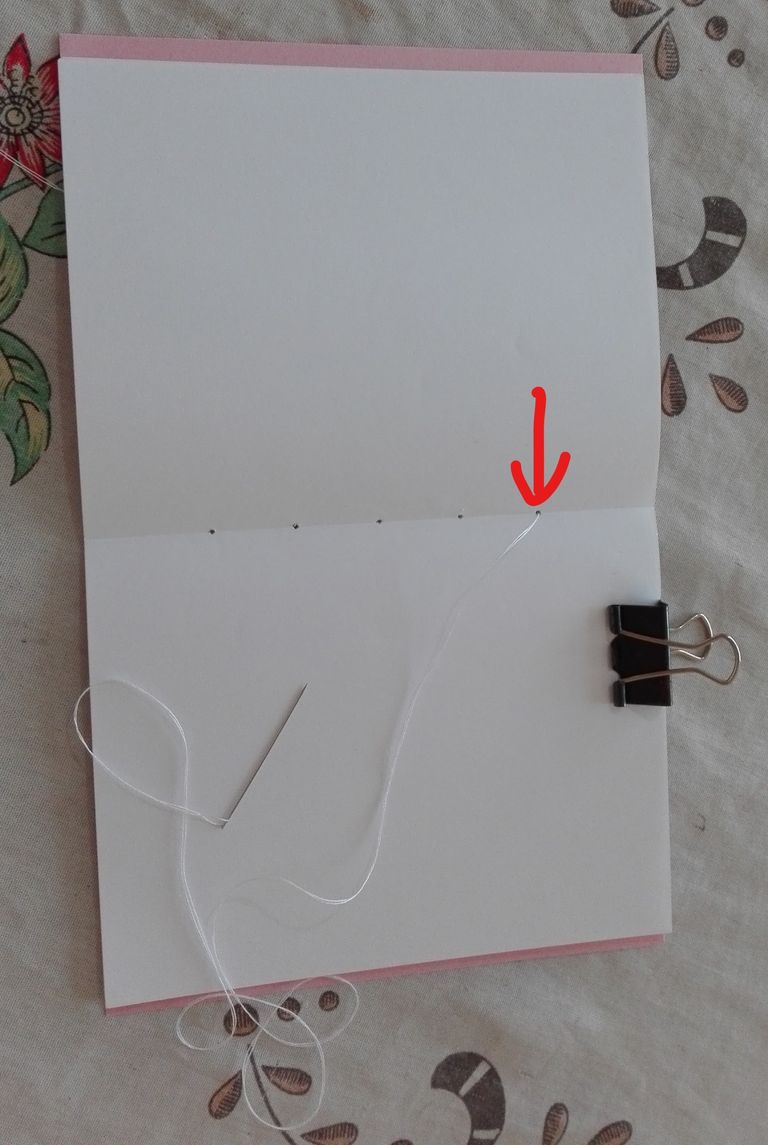
- Luego hacemos el mismo procedimiento de regreso, hasta llegar al primero agujero.
- En este punto hacemos un nudo con las dos puntas y cortamos.
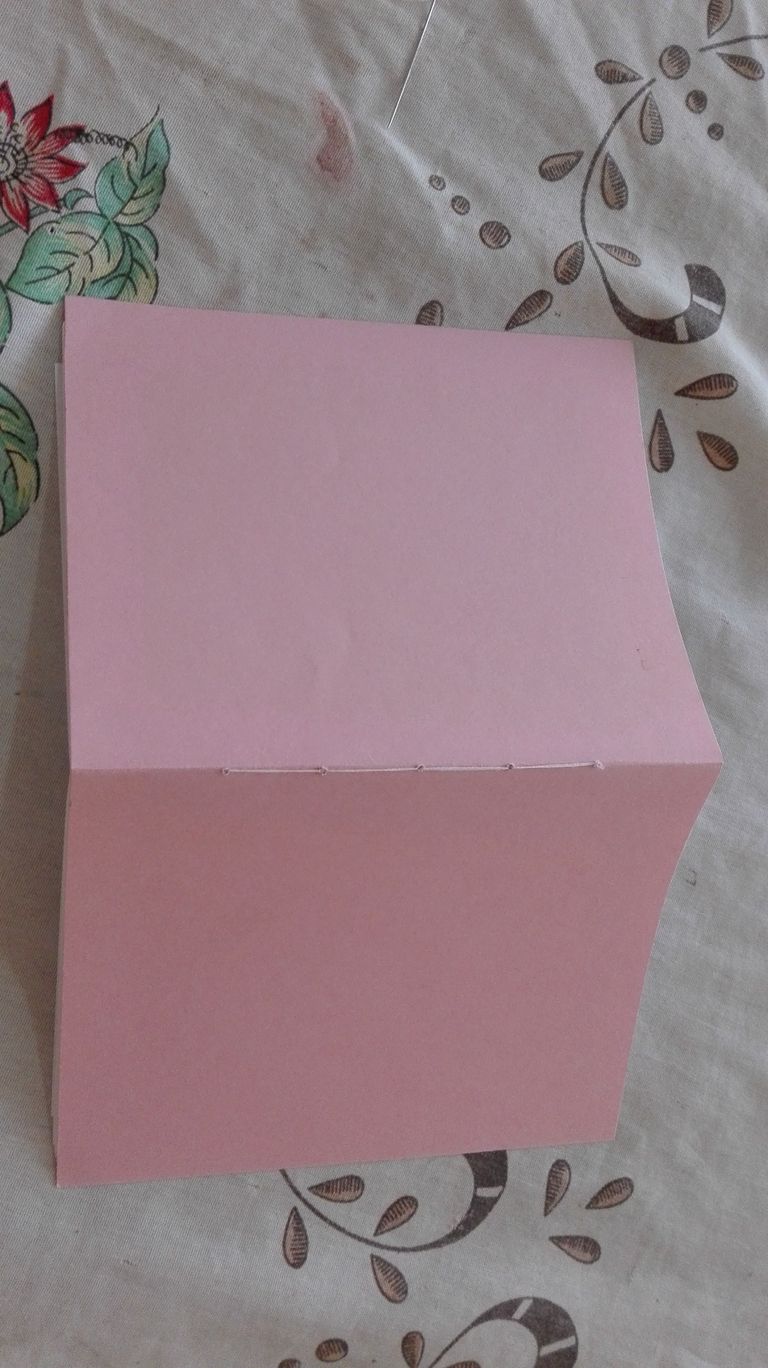
- Ahora procedemos a doblar nuestra libreta y hacer un poco de presión para que quede cerrada
- En esta parte si quieres ponerle algún tipo de decoración a la cubierta lo puedes hacer.
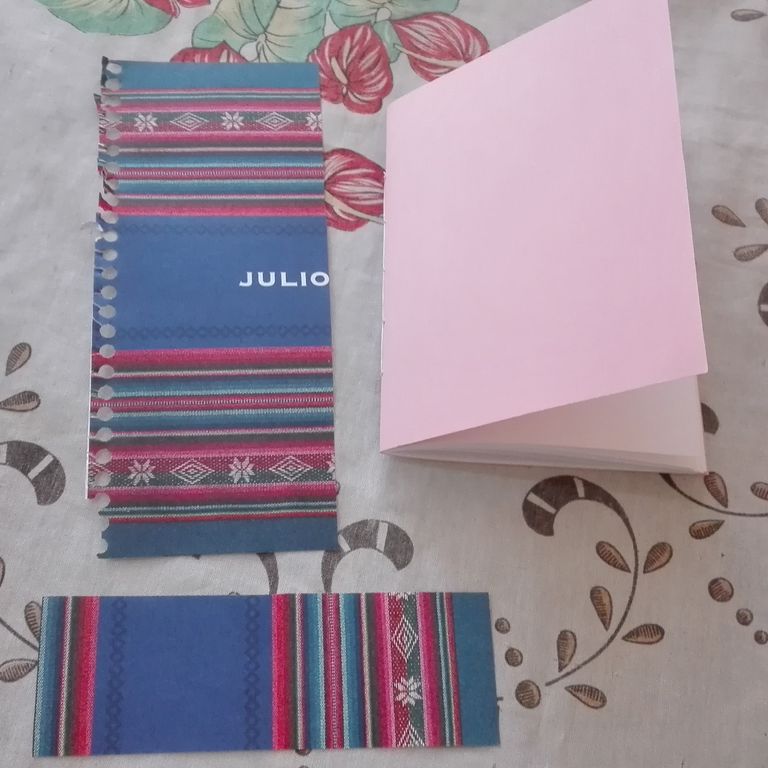
- Yo utilicé una hoja de una agenda vieja y la corté para tapar el lomo de la libreta. También usé un bolígrafo de gel dorado para hacer unos detalles.
We have our notebook ready, you saw how simple it was, just using materials we have at home. This notebook can be used to keep in our purse or next to our computer to have our notes handy.
I hope it was useful, if you have any questions or suggestions do not hesitate to leave it in the comments.
Ya tenemos lista nuestra libreta, vieron que sencillo fue, solo utilizando materiales que tenemos en casa. Esta libreta nos puede servir para tener en el bolso o al lado de nuestra computadora para tener a mano nuestras notas.
Espero que te haya sido de utilidad, si tienes alguna duda o sugerencia no dudes en dejarla en los comentarios.
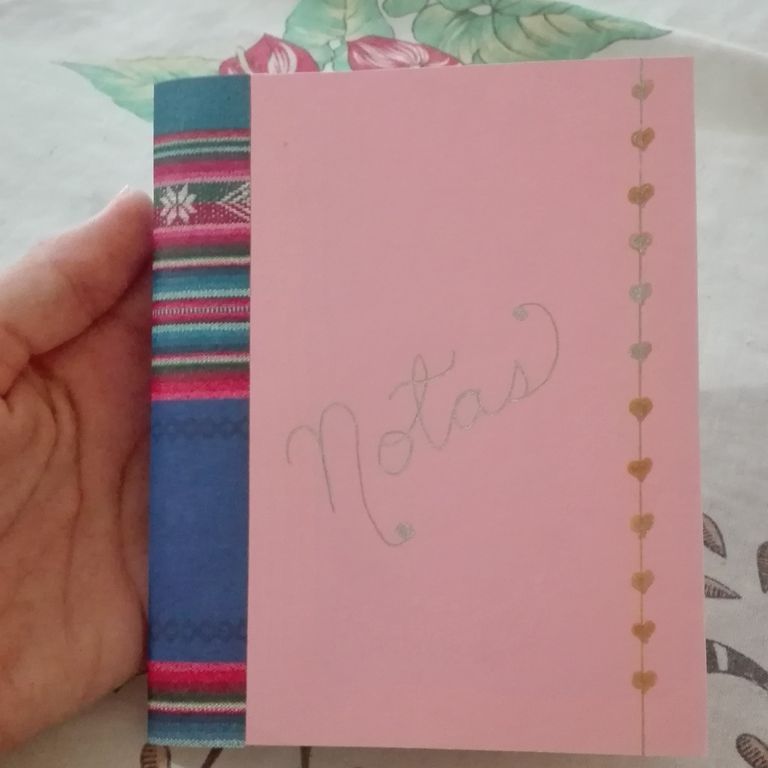

Todas la imágenes son propias / All images are of my property
Es una linda publicación y muy practica, me encanta leerla.
Te sugiero utilizar solo dos etiquetas que son las que más se acercan a tu contenido.
Como bien lo hiciste blurtutorials y blurtdiy son las que más se justan spanish bien y blog también.
Felicitaciones por tan lindo trabajo artesanal.
Buena vibra.
Me alegra que te guste. Gracias por los consejos y la buena vibra. Saludos.
good work
Thanks!