English
Hello! Friends of Blurt.
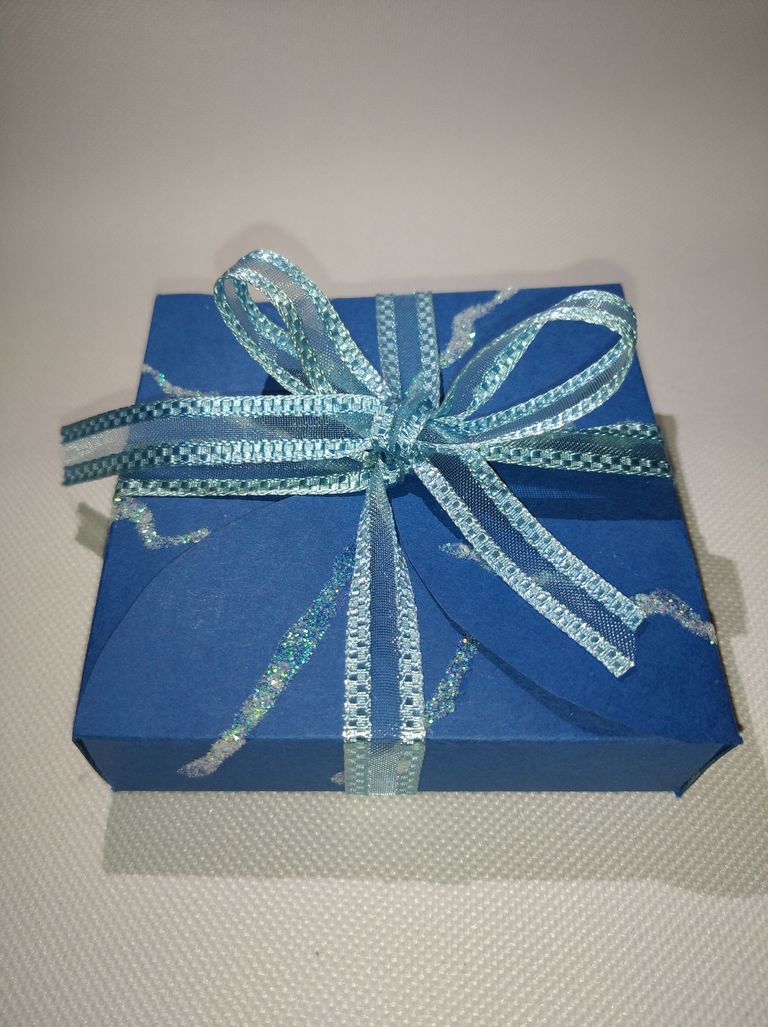
Today I bring you the first tutorial on how to make easy and inexpensive personalized gift boxes.
I have always been curious and it is that curiosity that has led me to see how most of the things that we buy are made and that we do not believe we are capable of, among them, these beautiful boxes that we always buy when we want to give away some jewelry.
Well, we can save that money because I'm going to explain how to do them.
Without further ado, let's get started.
Spanish
¡Hola! Amigos de Blurt.
Hoy les traigo el primer tutorial de cómo elaborar cajitas de regalo personalizadas fáciles y económicas.
Siempre he tenido curiosidad y es esa curiosidad la que me ha llevado a ver cómo se realizan la mayoría de las cosas que compramos y que no nos creemos capaces de hacerlas, entre ellas, estas bellas cajitas que siempre compramos cuando queremos regalar alguna bisutería.
Pues, ya nos podremos ahorrar ese dinero porque ya les voy a explicar como hacerlas.
Sin más, comencemos.
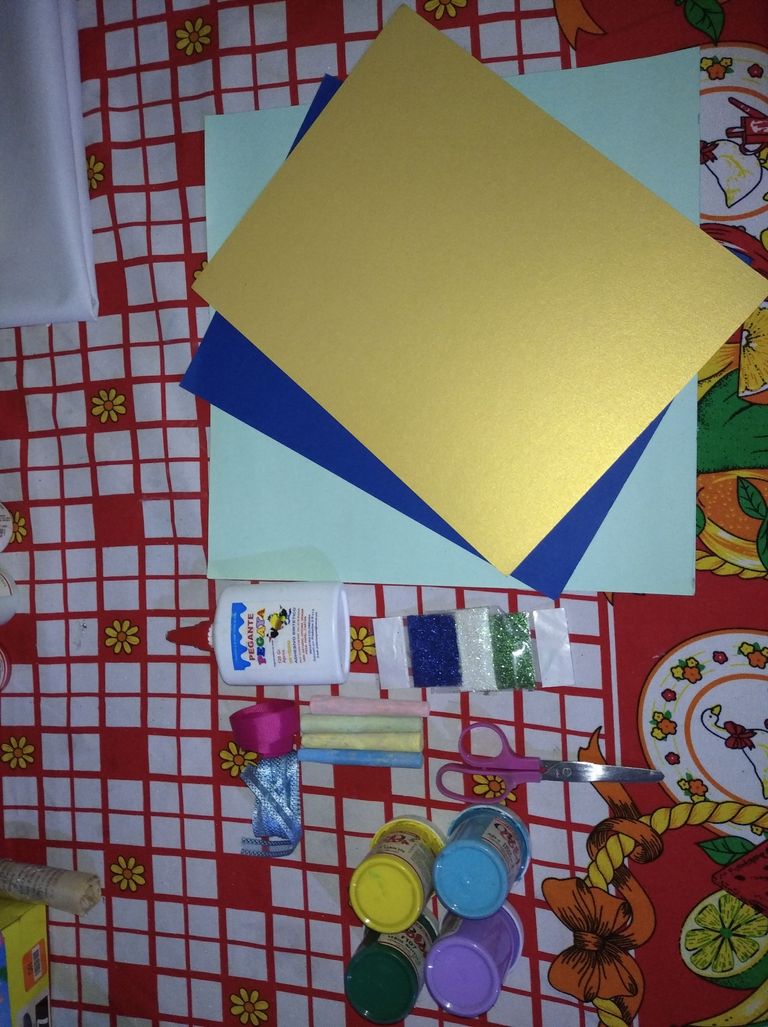
MATERIALS / MATERIALES
English
- Opal cardboard
- Glue gun and glue stick
- Ruler and pencil
- Scissor
- Whiteboard
- Fabric ribbon
- Job
- Frost
- Compass
Spanish
- Catulina opalina
- Pistola de silicón y barra de silicón
- Regla y làpiz
- Tijera
- Tiza
- Cinta de tela
- Pega
- Escarcha
- Compás
PROCESS / PROCEDIMIENTO
English
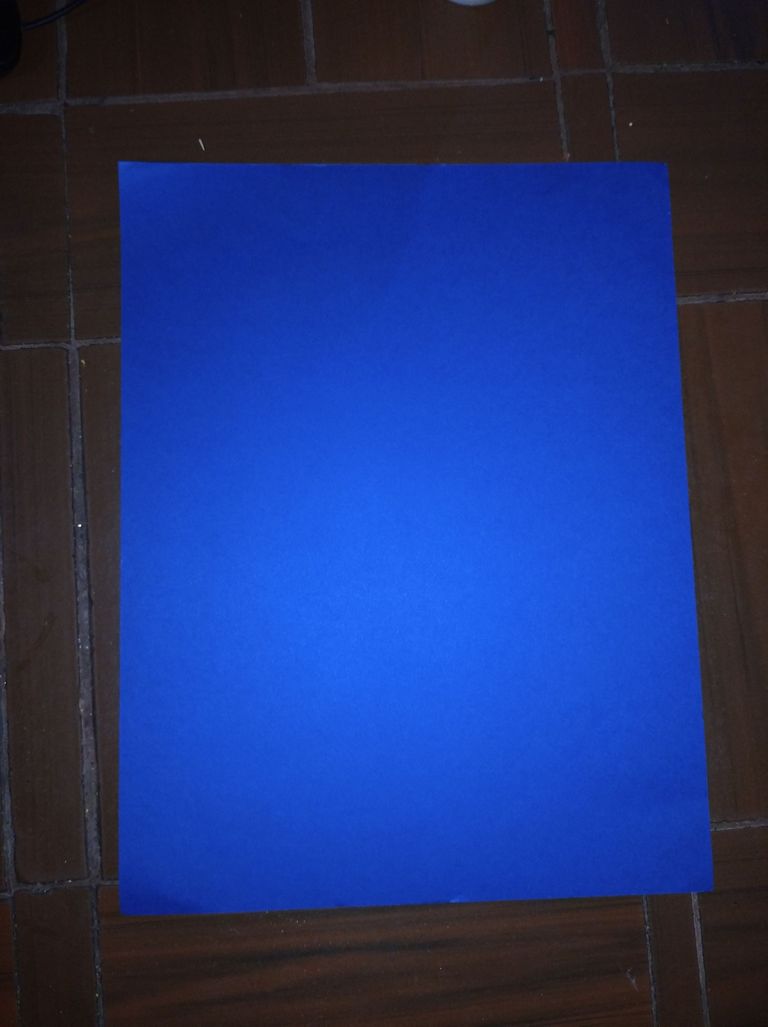
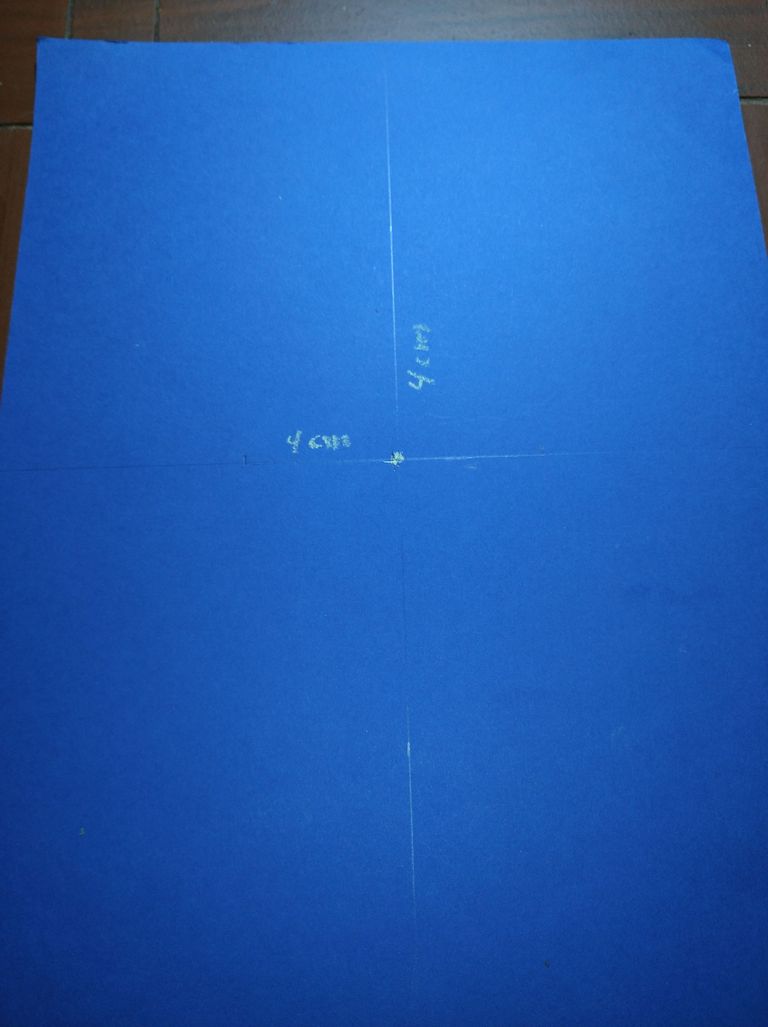
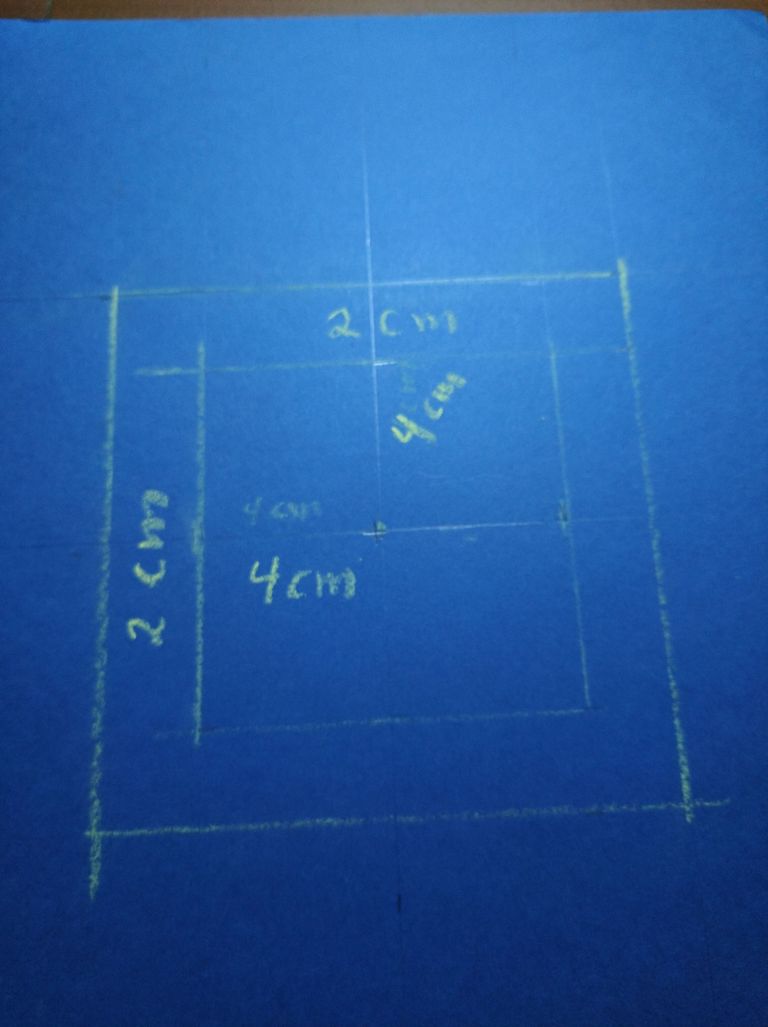
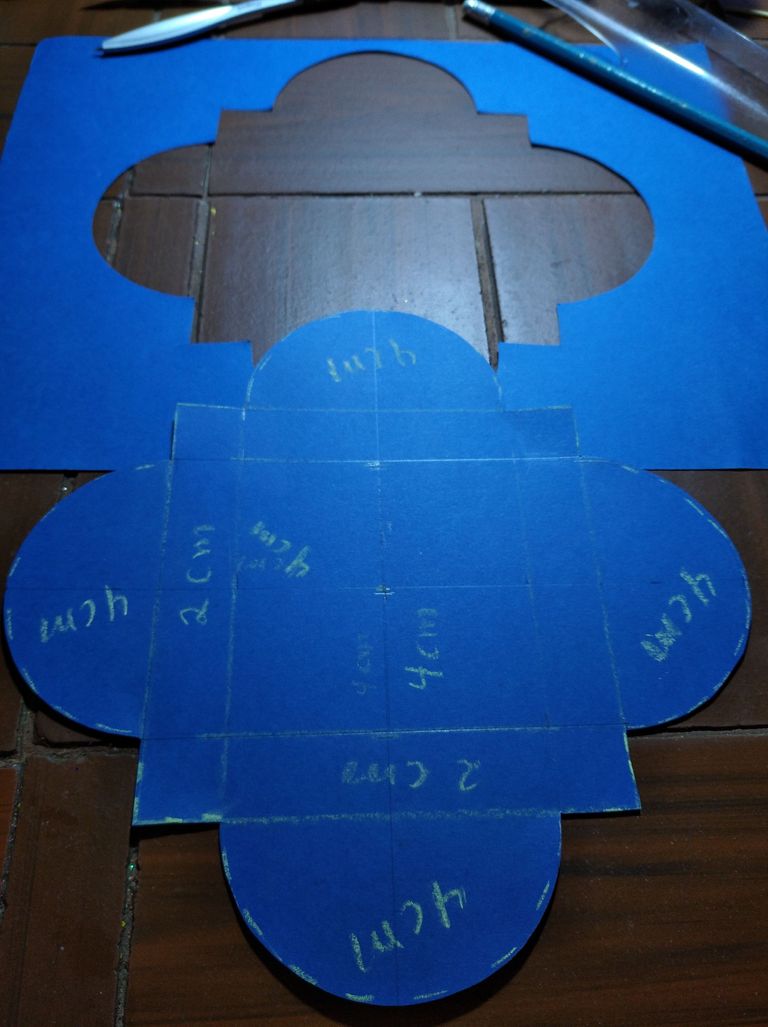
- With the help of the ruler and the pencil, we mark the center of the sheet and make a cross.
- In each line we mark 4 cm and join until we form a square.
Spanish
- Con la ayuda de la regla y el lápiz, marcamos el centro de la hoja y realizamos una cruz.
- En cada línea marcamos 4 cm y unimos hasta formar un cuadrado.
English
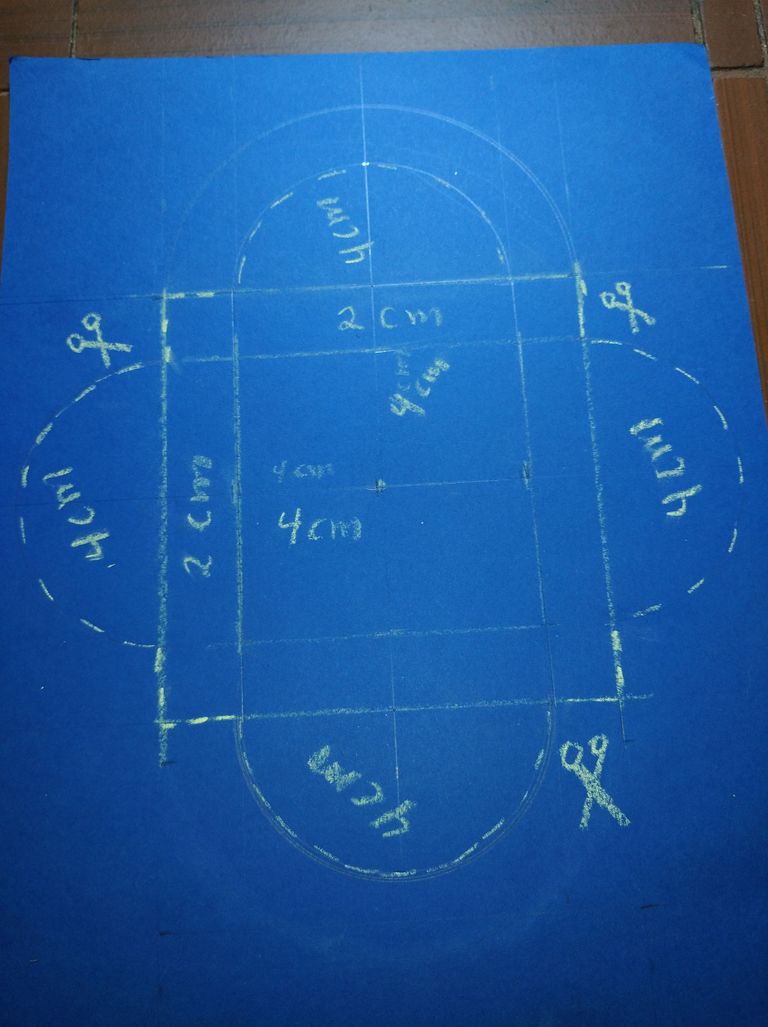
- From the square made, we mark 2cm on it and make another square.
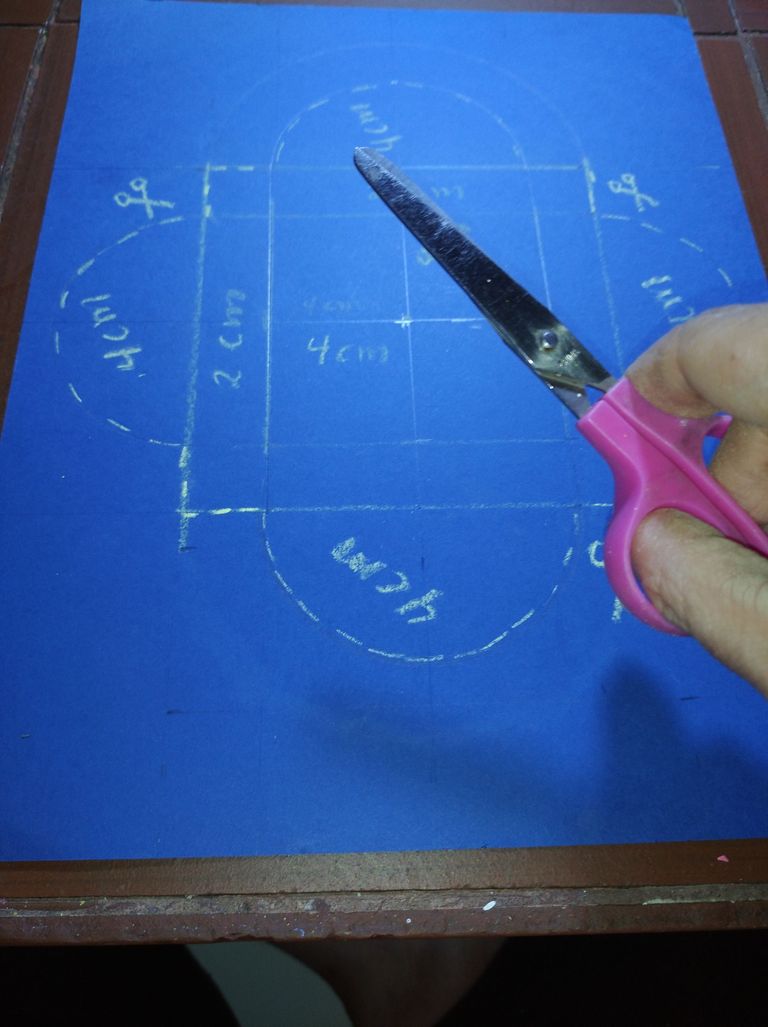
- Then with the compass we draw a semi-circle, from the center of the box with a length of 4cm.
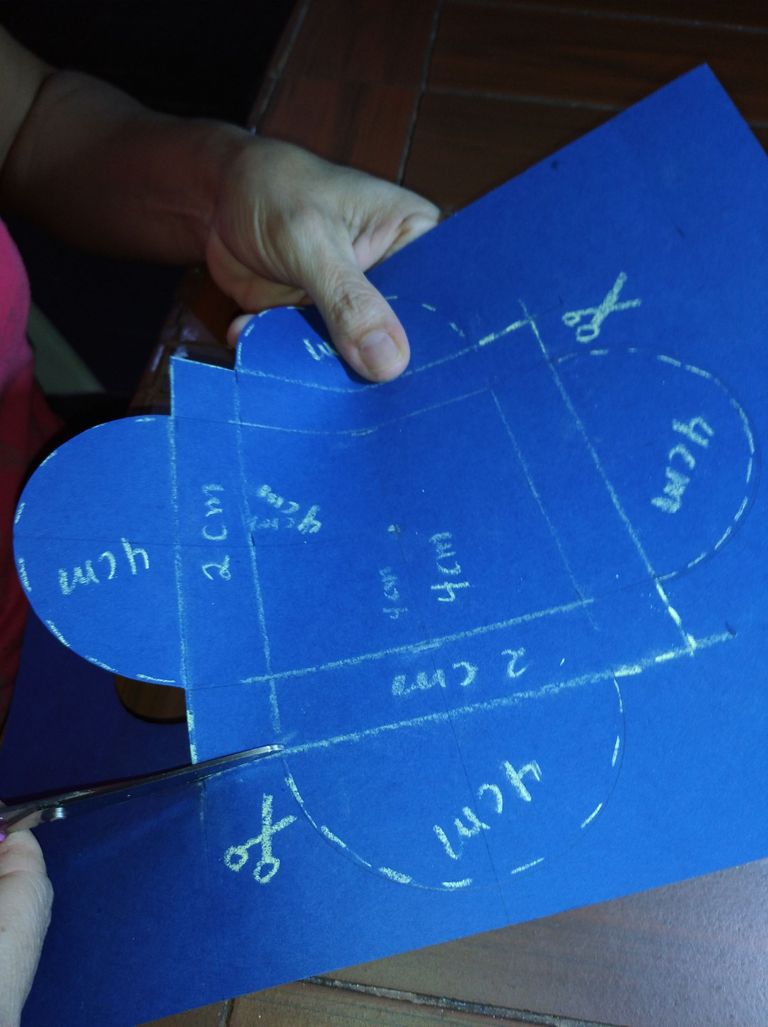
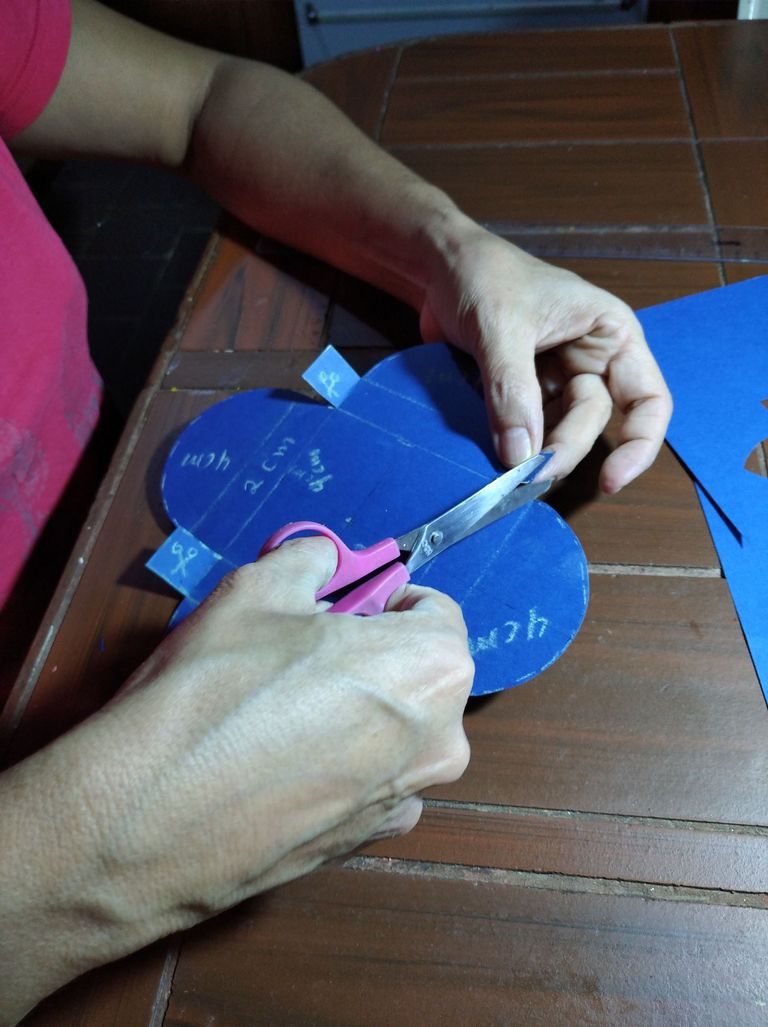
- We mark the cutout area with the chalk and cut with the scissors.
Spanish
- A partir del cuadrado realizado, marcamos 2cm sobre éste y realizamos otro cuadrado.
- Luego con el compás trazamos un semircirculo, desde el centro del recuadro con una longitud de 4cm.
- Marcamos con la tiza la zona de recorte y cortamos con la tijera.
English
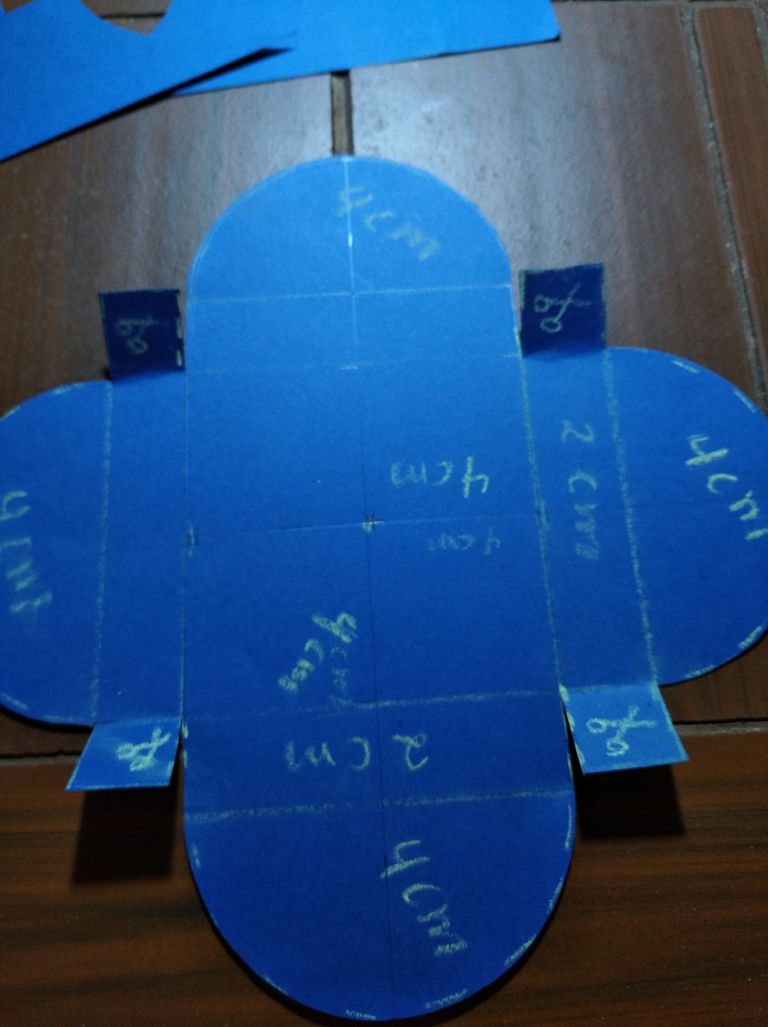
- We cut the flaps to shape our box.
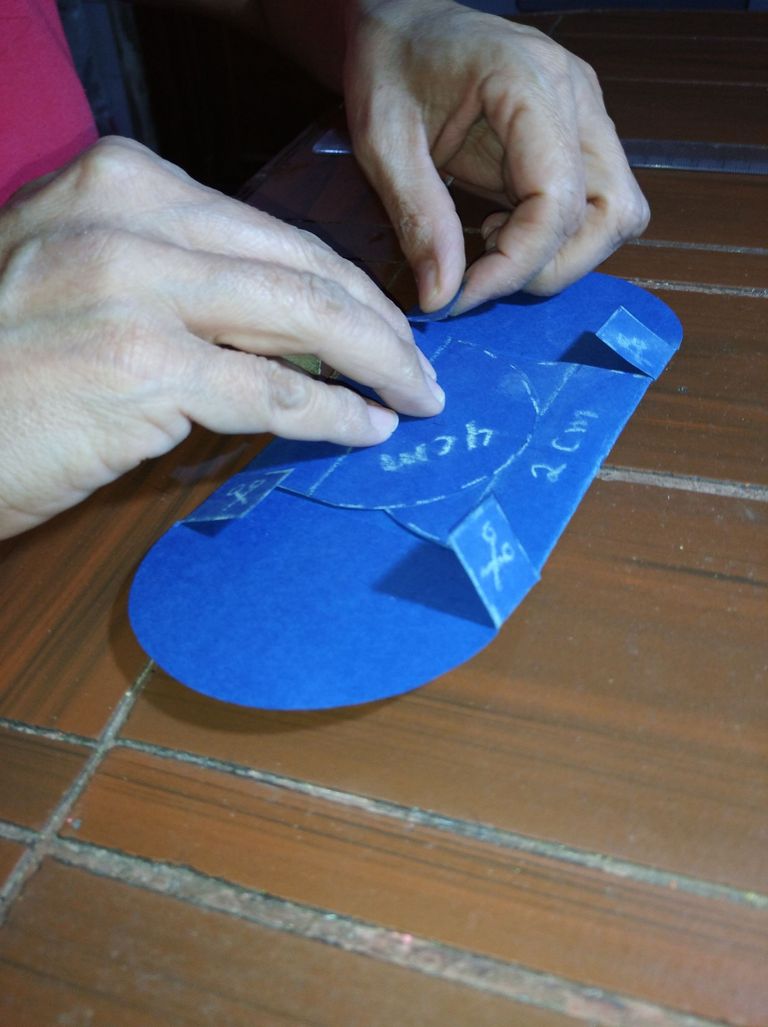
- We make the fold and proceed to customize as we want.
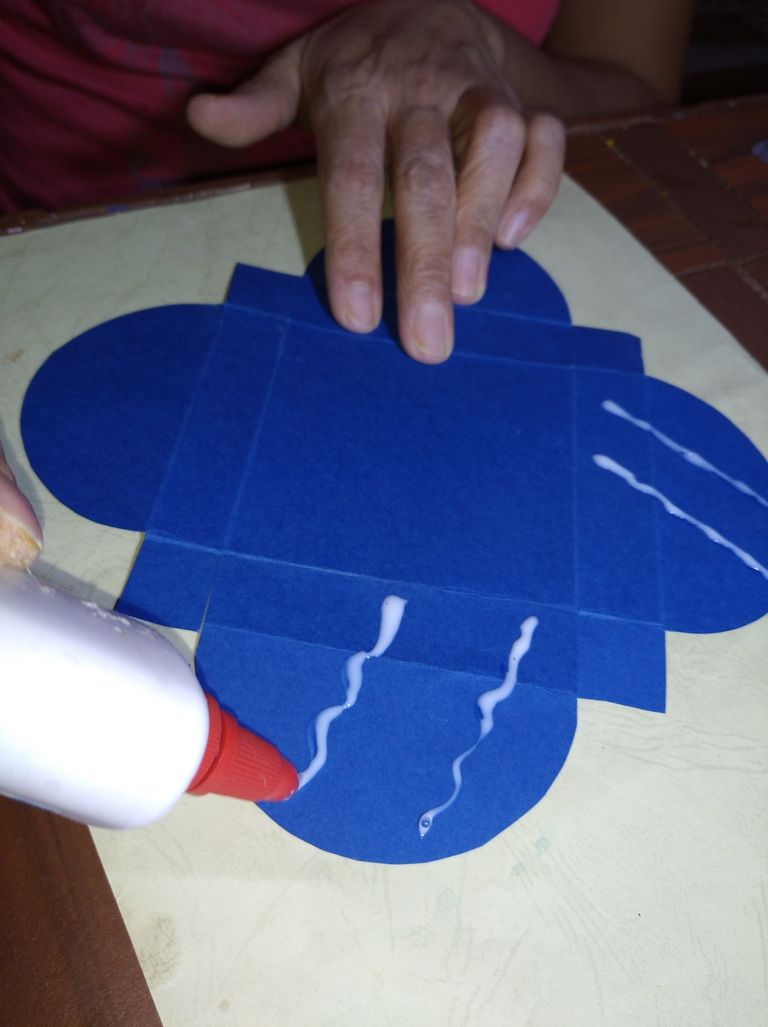
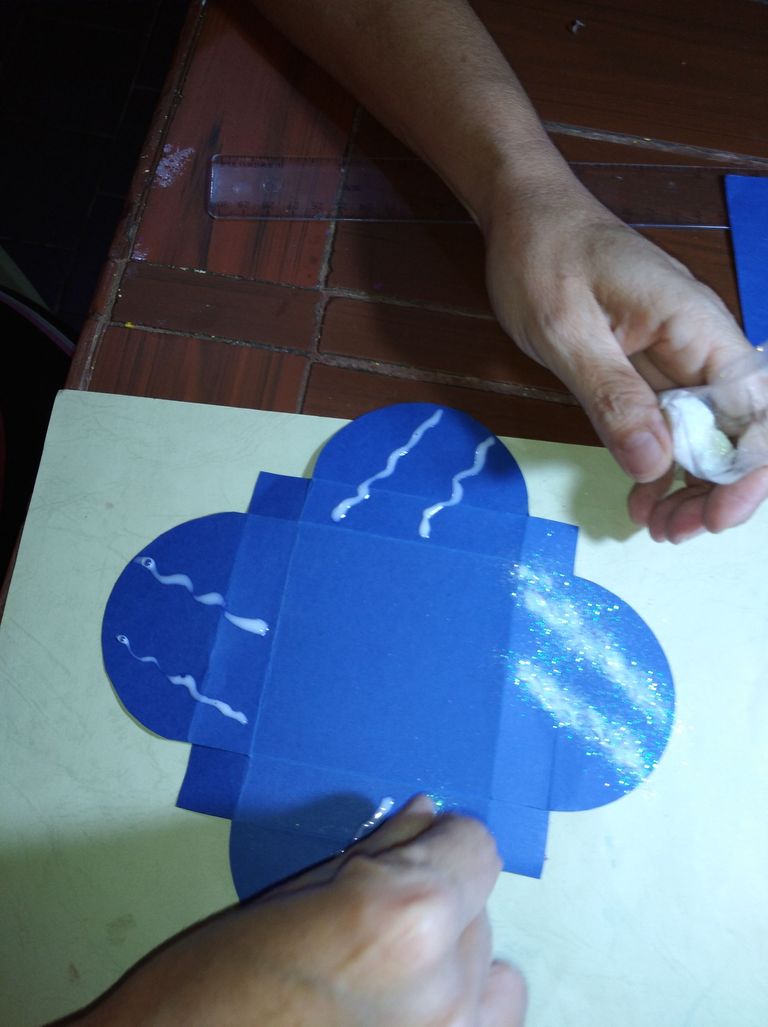
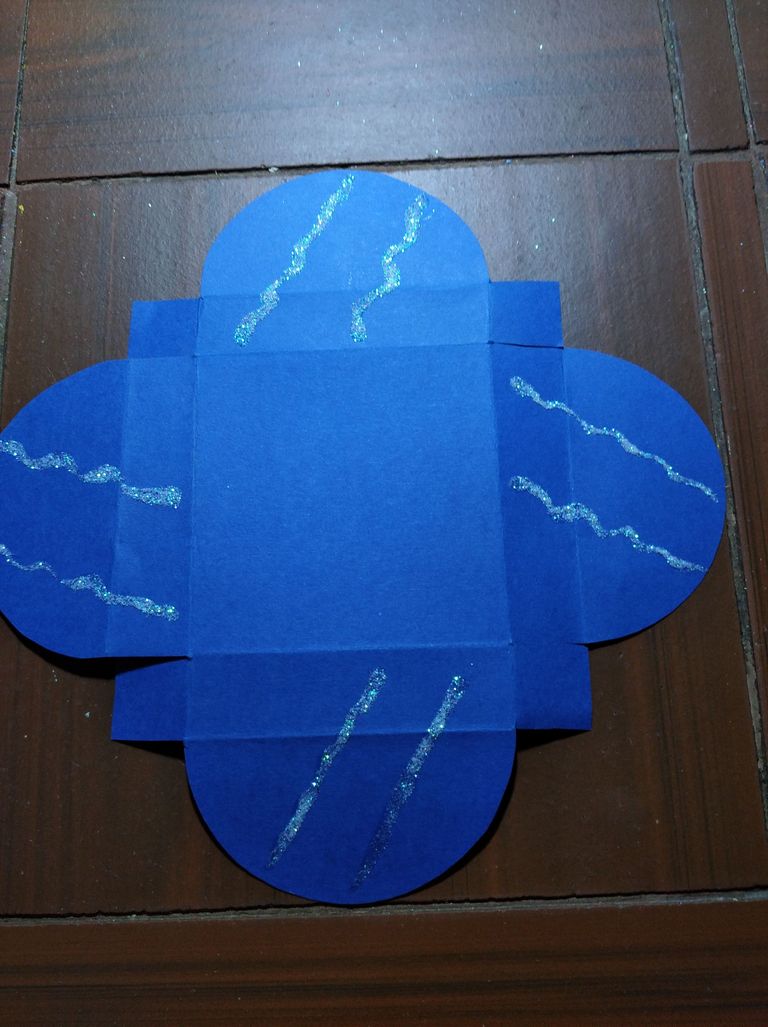
- In my case I will form curved lines with the glue and sprinkle with glitter to give it shine.
Spanish
- Realizamos el corte de las solapas para darle forma a nuestra cajita.
- Hacemos el dobles y procedemos a personalizar como queramos.
- En mi caso formaré lineas curvas con la pega y rociaré con escarcha para dale brillo.
English
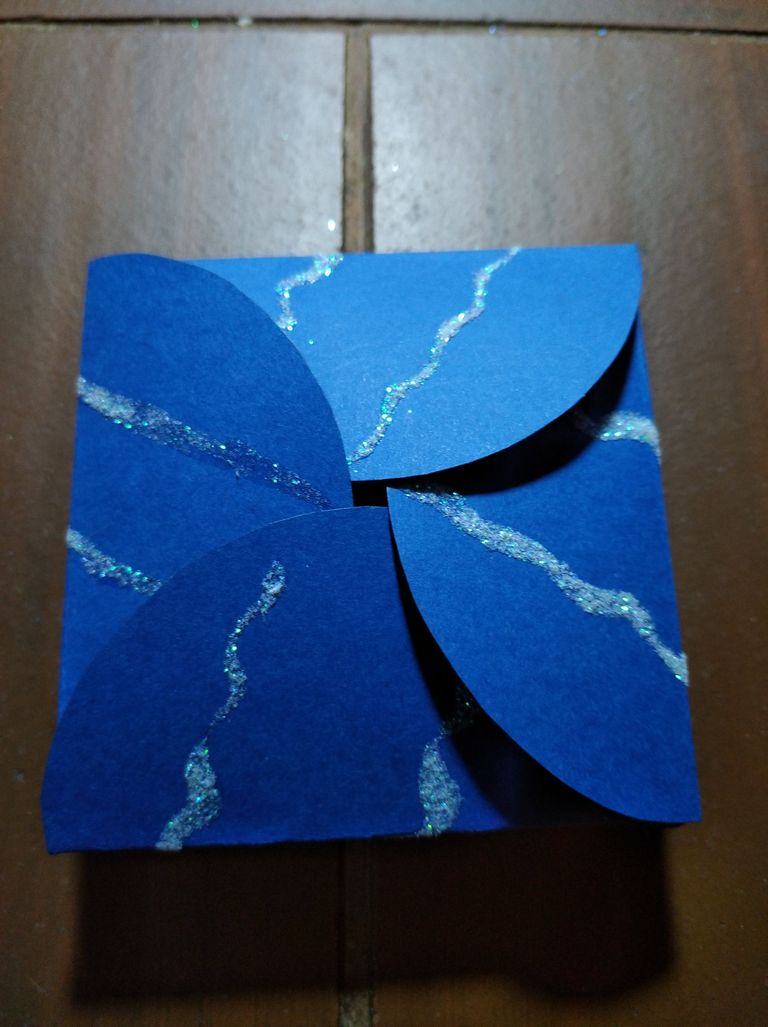
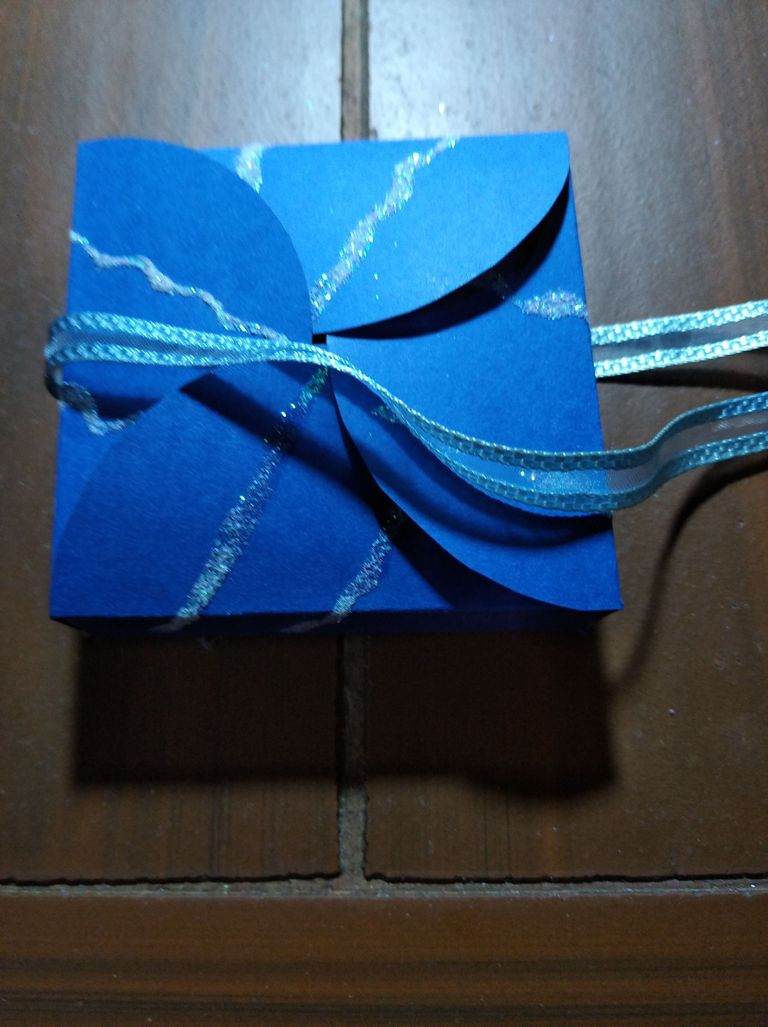
- Once the paste is dry, we remove the excess frost and proceed to form the box.
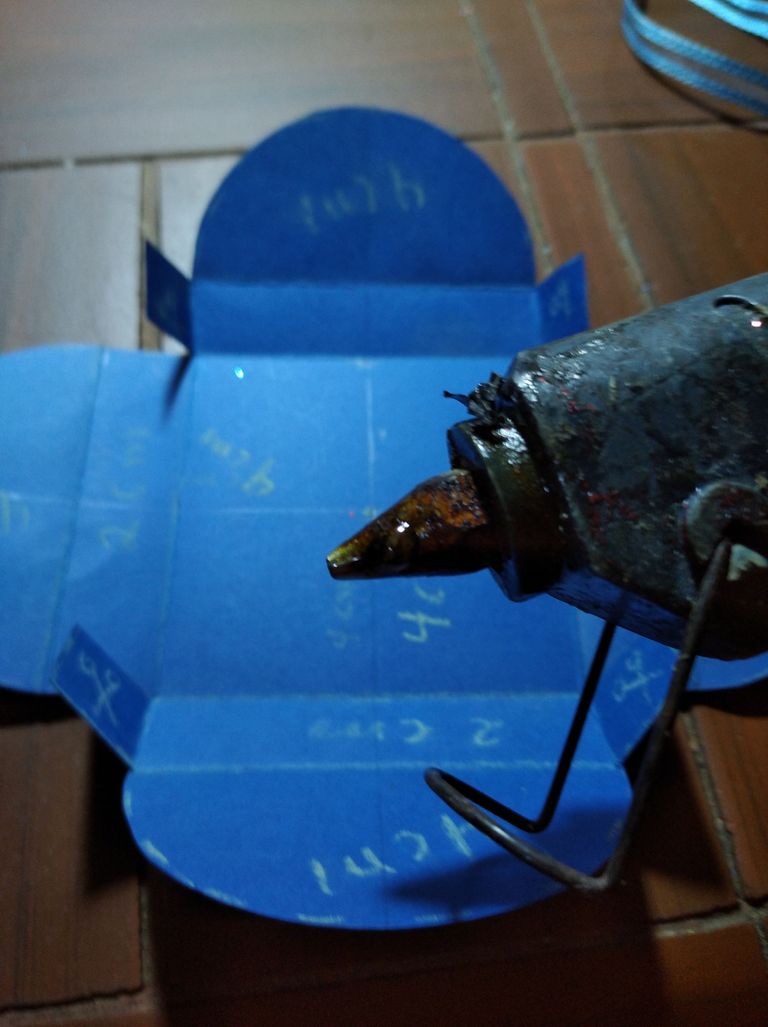
- With the silicone gun we glue each end of the box.
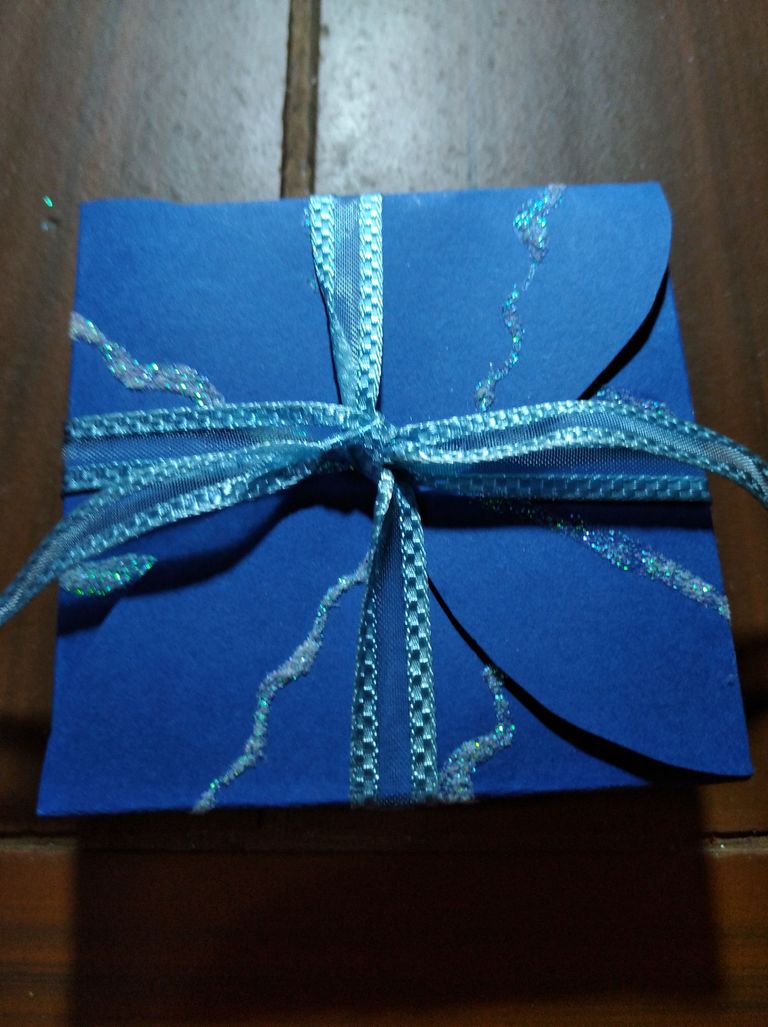
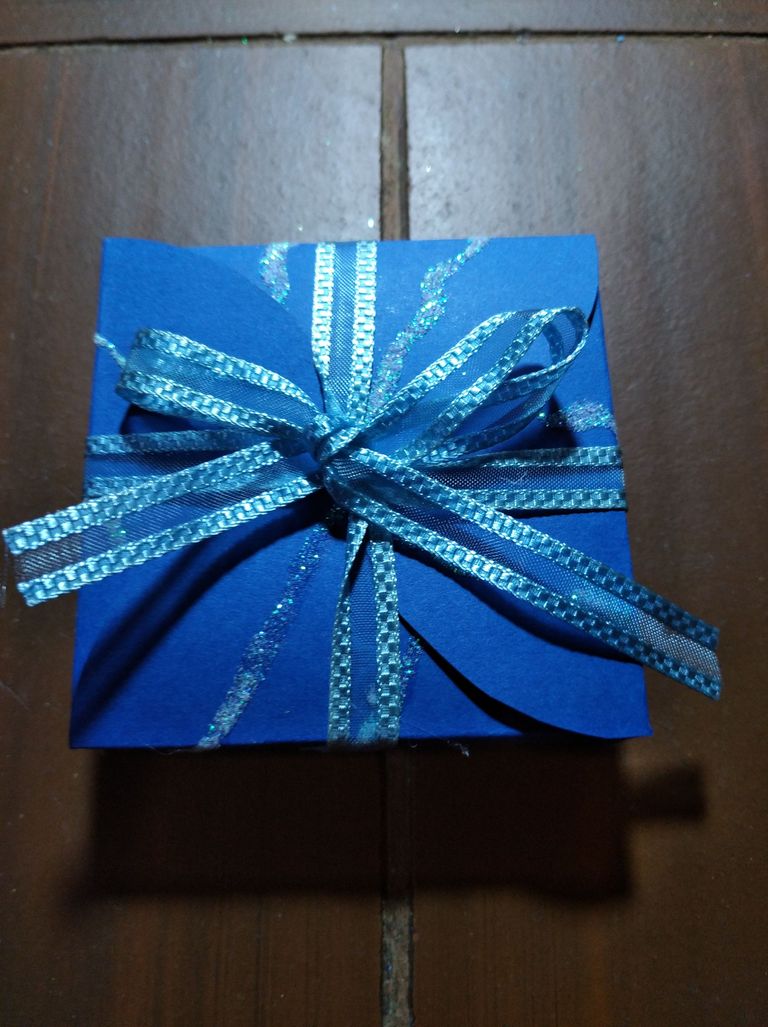
- We close it and decorate it with our decorative ribbon.
Spanish
- Una vez seca la pega, retiramos el exceso de escarcha y procedemos a formar la cajita.
- Con la pistola de silicón pegamos cada extremo de la cajita.
- La cerramos y adornamos con nuestra cinta decorativa.
English
And ready. We already have a personalized box made with our hands and what we can do when we need it if we have the materials.
I hope you find it very useful.
Spanish
Y listo. Ya tenemos una cajita personalizada realizada con nuestras manos y que podemos hacer cuando la necesitemos si contamos con los materiales.
Espero les sea de gran utilidad.
Congratulations, your post has been curated by @dsc-r2cornell. Also, find us on Discord
Felicitaciones, su publicación ha sido votado por @dsc-r2cornell. También, encuéntranos en Discord