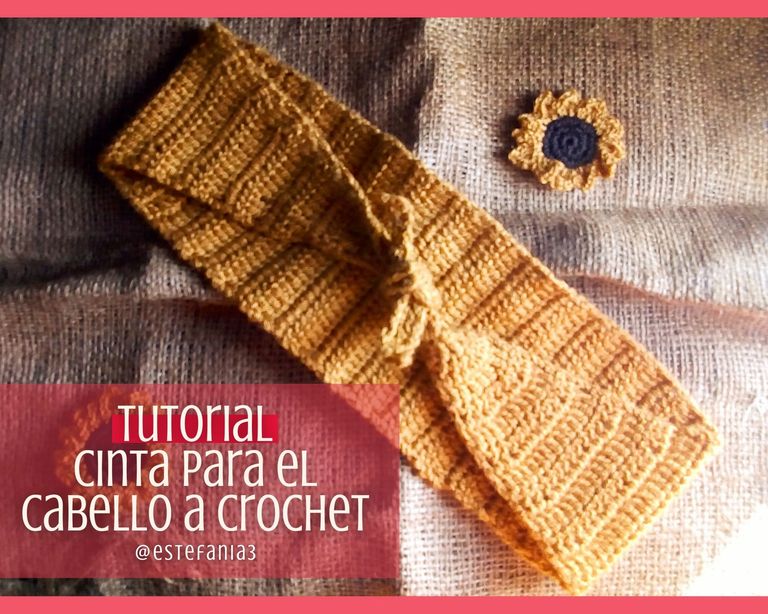

¡Hola Chicos!
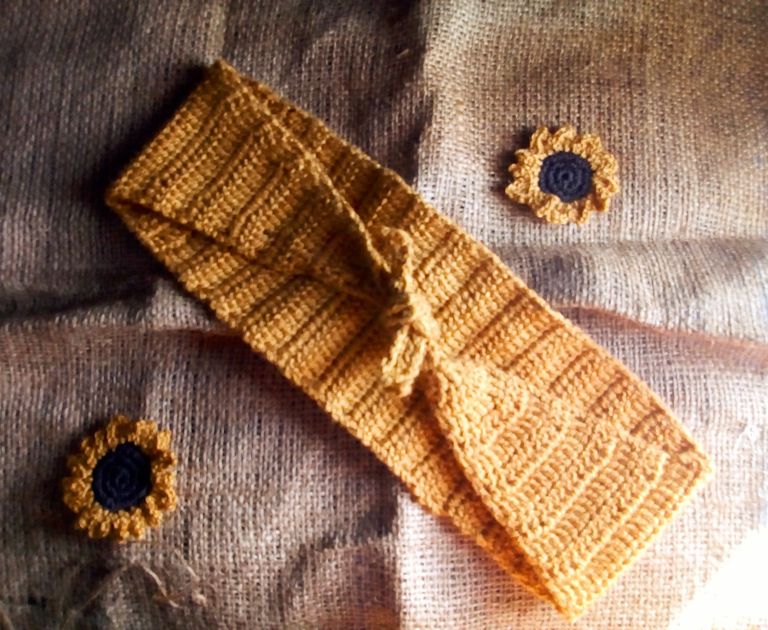
He vuelto al tejido después de algunas semanas de abandono y el día de hoy quiero compartirles una cinta para el cabello que tejí hace poco para mí.
En la región donde vivo hace un calor terrible y se me hace casi imposible estar con el cabello suelto porque me acalora mucho y suelo utilizar muchas bandanas y cintillos para recogerlo bien.
La tejí bien ancha porque en la parte de atrás tengo muchos cabellitos cortos y esto me ayuda a mantenerlos en su lugar.
Antes que nada me gustaría aclarar que no tengo fotos tan detalladas del paso a paso porque una vez que comienzas a tejer tu mente se transporta a otro mundo y lo que menos estuve fue pendiente de tomar evidencias del proceso (quienes tejen me entenderán), pero les voy a explicar a detalle como va el proceso.
Créanme, no tiene nada de complicado hacerlo y si eres principiante este proyecto te va muy bien 😉. Si más que agregar vamos con el paso a paso de esta linda cinta para el cabello. ♥
Hello Guys!
I have returned to knitting after a few weeks of neglect and today I want to share with you a headband that I recently knitted for myself.
In the region where I live, it is terribly hot and it is almost impossible for me to be with my hair down because it gets very hot and I usually use a lot of bandanas and headbands to keep it up well.
I wove it very wide because in the back I have a lot of short hairs and this helps me to keep them in place.
First of all I would like to clarify that I do not have such detailed photos of the step by step because once you start to weave your mind is transported to another world and the least I was waiting for was taking evidence of the process (those who weave will understand me), but I am going to explain in detail how the process is going.
Believe me, it is not difficult to do it and if you are a beginner this project will suit you very well 😉. If more to add we go with the step by step of this beautiful hair band. ♥
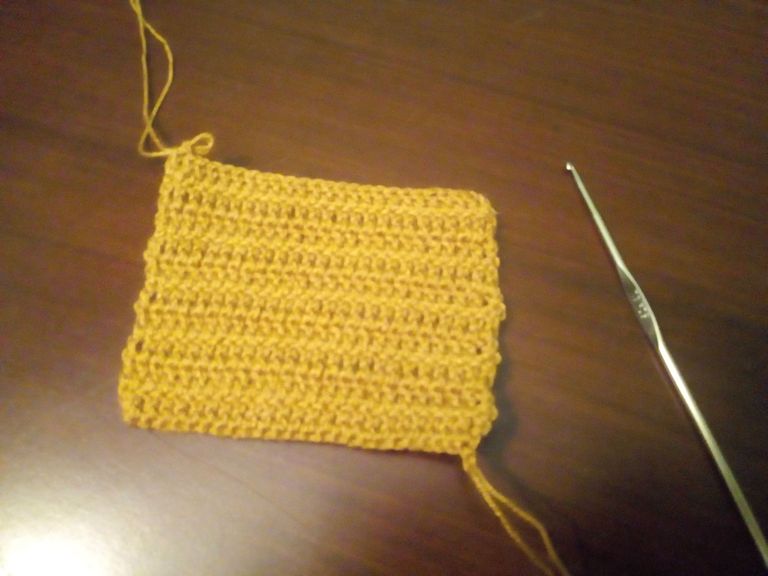
He iniciado la labor haciendo la parte central, que es un gran rectangulo. Para ello comenzamos tejiendo 25 cadenetas más 3 cadenetas adicionales que serían la elevación de la primera vuelta.
Seguido tejemos 24 puntos altos. Yo lo he tejido en sentido vertical porque considero que queda más resistente la labor y cuando vayamos a amarrarlo no se va a deformar o estirar nuestra cinta.
Para las próximas vueltas vamos a repetir los mismos pasos, tejemos 3 cadenetas para elevar la vuelta y 24 puntos altos. Seguimos así hasta completas 22 vueltas.
I have started the work by making the central part, which is a large rectangle. To do this we start by knitting 25 chains plus 3 additional chains that would be the elevation of the first round.
Next we knit 24 double crochets. I have woven it vertically because I consider that the work is more resistant and when we go to tie it it will not deform or stretch our ribbon.
For the next rounds we are going to repeat the same steps, we knit 3 chains to raise the round and 24 double crochets. We continue like this until you complete 22 laps.
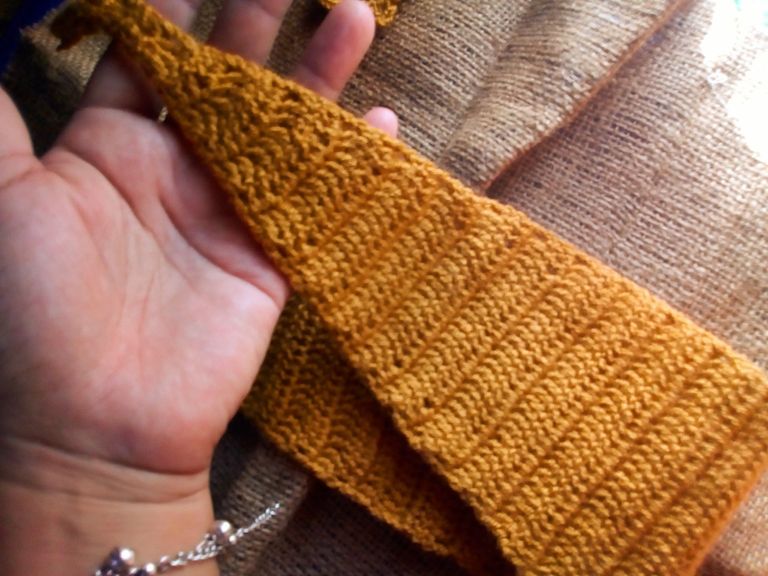
Al finalizar con la parte central es momento de hacer las reducciones en el tejido, para ello vamos a comenzar tejiendo el punto alto para elevar la vuelta, dos puntos altos, dejamos un punto base de separación y tejemos 17 puntos altos, dejamos nuevamente un punto base como separación y finalizamos con 3 puntos altos.
Para la siguiente vuelta vamos a tejer la cadeneta inicial y los 22 puntos altos, sin hacer reducciones y en la siguiente vuelta hacemos nuevamente una reducción de dos puntos, tejiendo 1 cadeneta al inicio junto a dos puntos altos un espacio y luego al final reducimos un punto antes de los 3 últimos puntos altos.
Reducimos en una vuelta y tejemos una vuelta sin reducciones, así hasta llegar a un total de 1 cadeneta y 4 puntos altos por vuelta.
Tejemos 5 vueltas de 5 puntos altos, lo que le dará forma a la parte con la que amarraremos nuestra cinta, luego reducimos a 3 puntos y para finalizar a dos puntos para darle fin a este lado de la cinta.
At the end of the central part it is time to make the reductions in the fabric, for this we are going to start by knitting the high point to raise the round, two double crochets, we leave a base point of separation and we knit 17 double crochets, we leave a stitch again base as separation and we finish with 3 double crochets.
For the next round we are going to work the initial chain and the 22 double crochets, without making reductions and on the next round we make a reduction of two stitches again, knitting 1 chain at the beginning together with two double crochets one space and then at the end we reduce one point before the last 3 high points.
We reduce by one round and we knit a round without reductions, like this until we reach a total of 1 chain and 4 treble crochets per round.
We knit 5 rounds of 5 treble crochets, which will shape the part with which we will tie our ribbon, then we reduce to 3 stitches and finally to two stitches to finish this side of the ribbon.
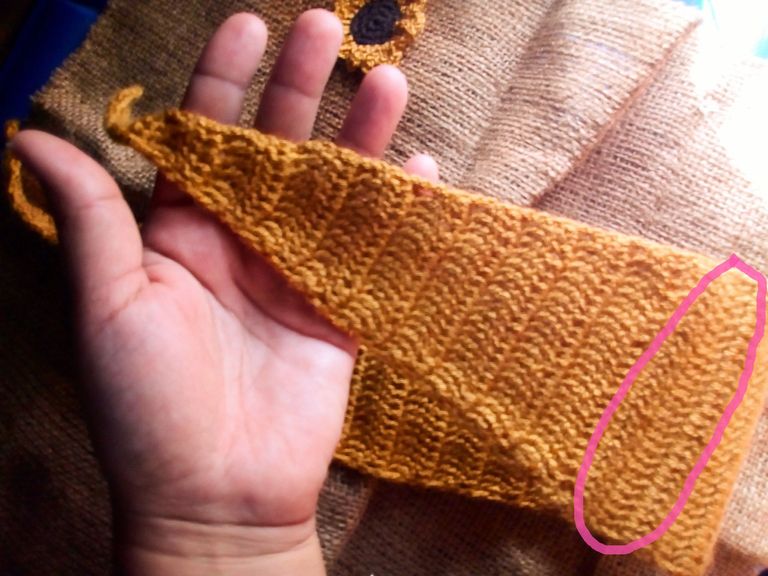
En el otro costado de la cinta debemos hacer el mismo proceso de reducciones, acá en la imagen les muestro la zona en donde he agregado el hilo para continuar tejiendo desde la base de esos puntos, se nota muy poco la diferencia y solo notarán este pequeño detalle quienes conocen del tejido, por eso se los señalo.
Es una de las maneras de hacerlo para que quede parejo de ambos lados.
Ya aquí hemos finalizado el tejido, solo resta hacer un pequeño nudo para unir ambos extremos y comenzar a disfrutar de esta linda cinta para el cabello.
Yo la utilizo todos los días es super cómoda y me ajusta muy bien. 😊
On the other side of the tape we must do the same process of reductions, here in the image I show you the area where I have added the thread to continue weaving from the base of those stitches, the difference is very little noticeable and you will only notice this small detail those who know about the fabric, that's why I point them out.
It is one of the ways to do it so that it is even on both sides.
Here we have finished the weaving, it only remains to make a small knot to join both ends and start enjoying this beautiful hair band.
I use it every day, it is super comfortable and it fits me very well. 😊


Espero haya sido de tu agrado y provecho.
Un gran abrazo a todos, y nos leemos en un próximo post
• Lakrearte en BLURT •
Att: Estefania Garcia ♥

Imágenes y separadores de mi autoría
Portada editada en Canva
Congratulations, your post has been curated by @r2cornell-curate. Also, find us on Discord
Felicitaciones, su publication ha sido votado por @r2cornell. También, encuéntranos en Discord