Today is the second day I was washing a bunch of clothes. I used to wash outside facing the garden while enjoying the wind. Leaves were falling from trees and this made me think I have to do something creative out of these natural resources. Green has been a relaxing color to me. I badly need it especially when I am too exposed to the computer.
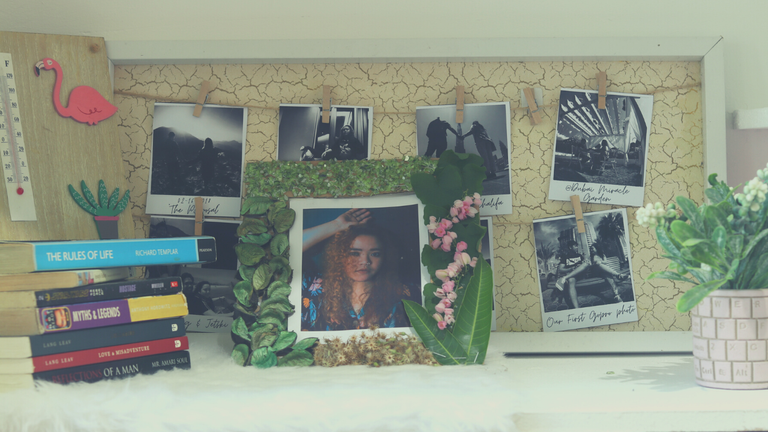
There was a renovation in the bedroom and I want to put something in the vanity mirror. Instead of buying expensive frames, why not I will make my own wherein I don't have to invest a single penny? For those people who love taking photos and collect them, I hope these ideas of mine will encourage you to make your own to display them wherever your favorite part of the four corners of your room.
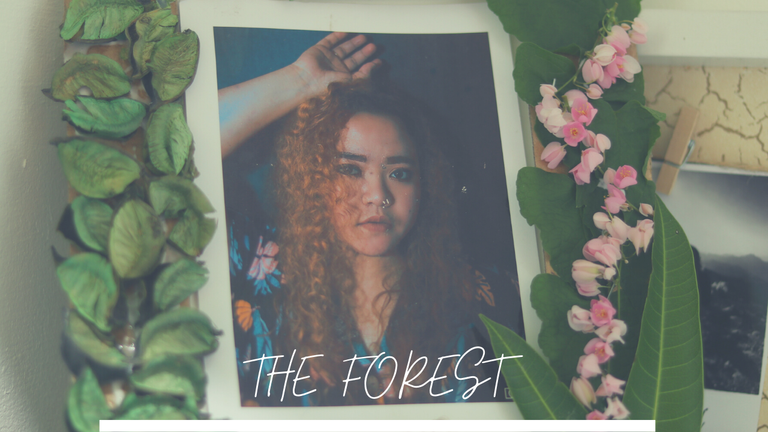
You have to find a photo that you like the most or any person who is important in your life. It can be your parents, best friends or grandparents. We love to see them displayed on the wall or place on top of the tables. By looking at their photo, we will be motivated and reminded of all the good times we had with them. I found an old photo of mine. This shot was taken last 2019. This was my first solo portrait. This is memorable and I missed my long curly hair.

I suggest you find any available box from your house that you don't longer use. We need a hard texture that's why we are using hard paper to keep the frame stand and can hold to whatever decorations you will put into it. Kindly measure first the size of the photo and trace it on the board. Once you are done, start cutting the middle space for where you will place the picture.
DECORATIONS TO USE
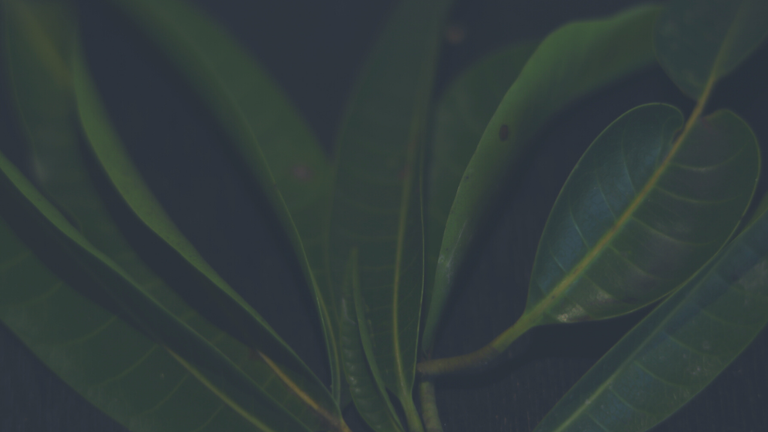
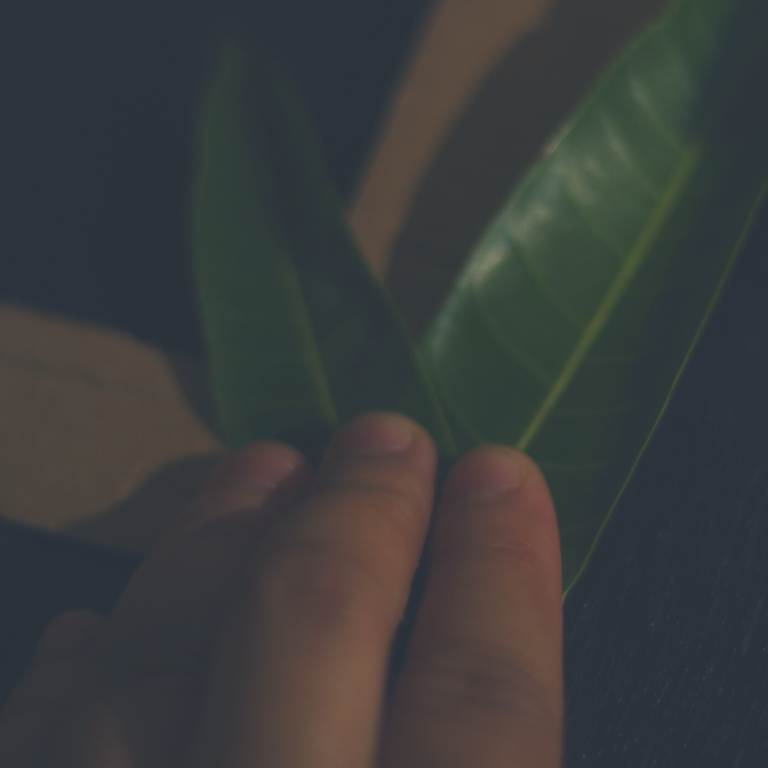
Mango leaves
(These were picked on the ground)
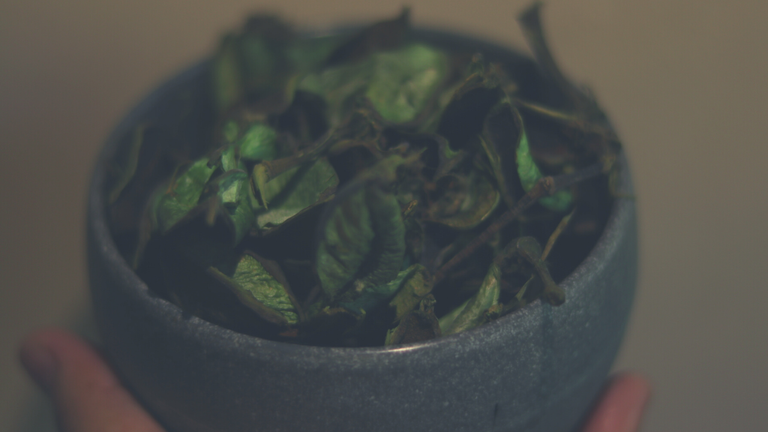
Scented dried leaves
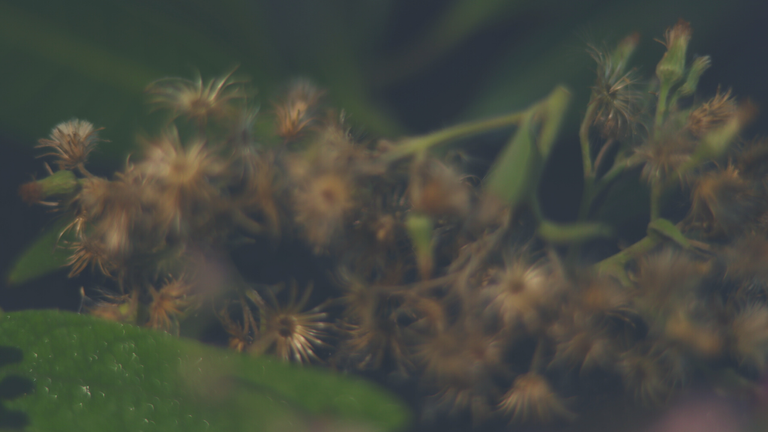
Dried tiny flowers
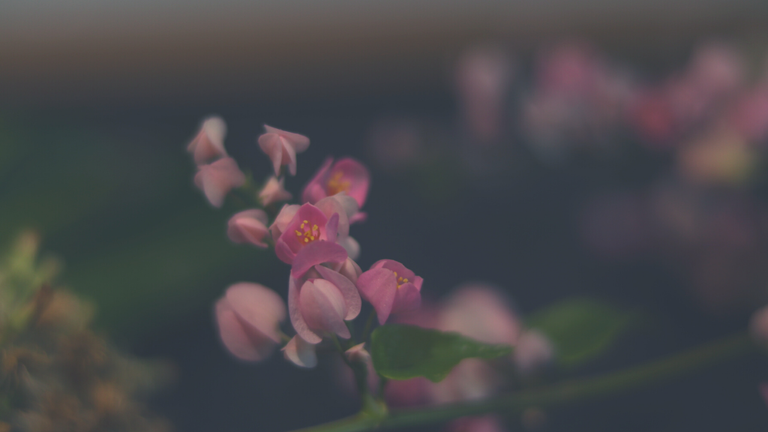
Pink flowers
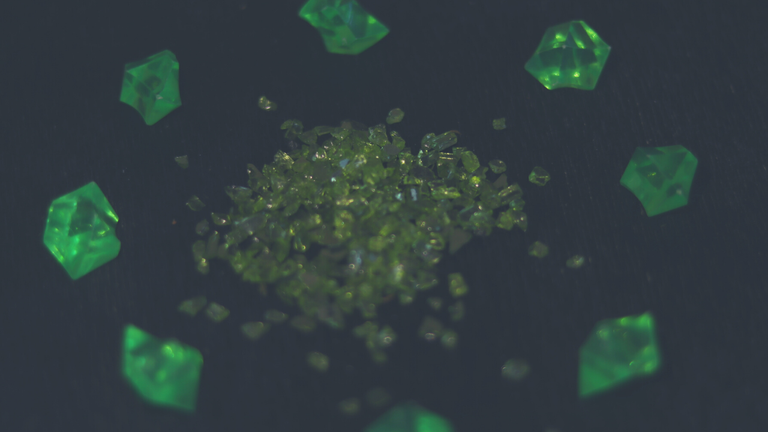
Emerald crashed crystals and gems
(For additional)
STEPS ON HOW TO MAKE THE PERFECT "FOREST" THEME FRAME
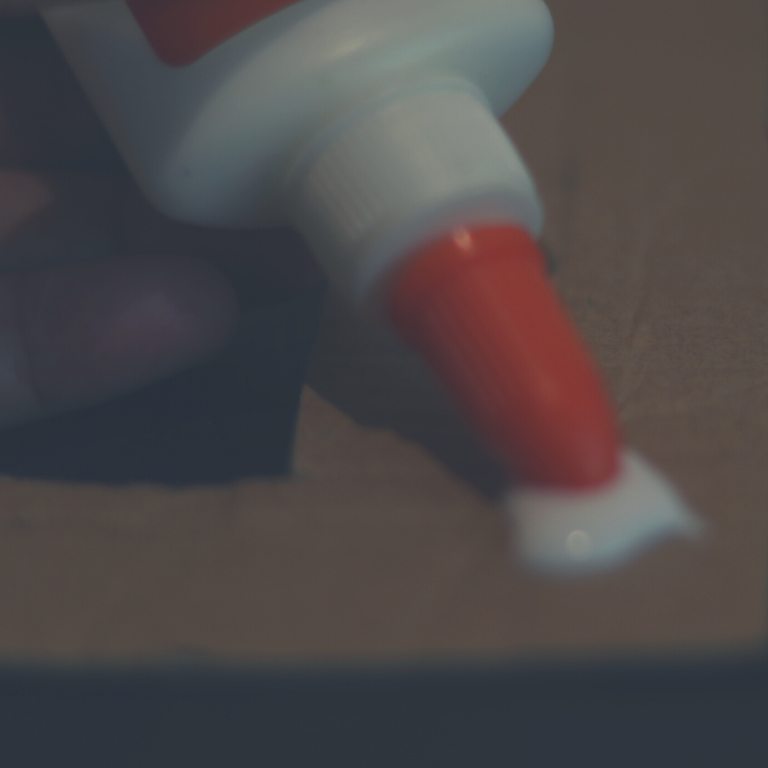
STEP 1: Scatter the glue on the hard paper. Control how you apply it to avoid overspill.
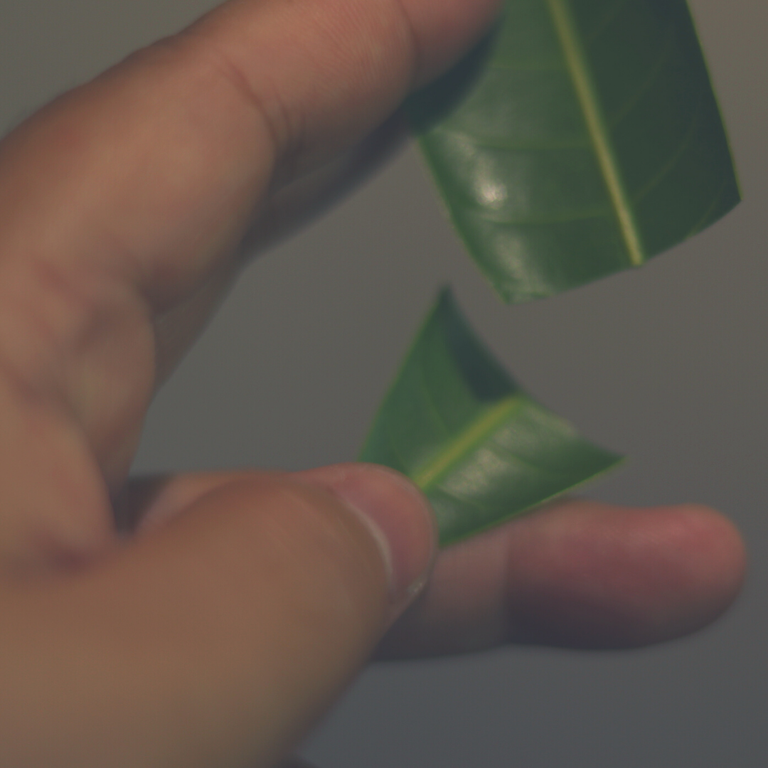
Step 2: Cut the end of the leaf and place it on the lower right edge. Press harder to stick the leaves with the glue. Leave for 2 minutes or put a heavy object on the top of the leaves to press it.
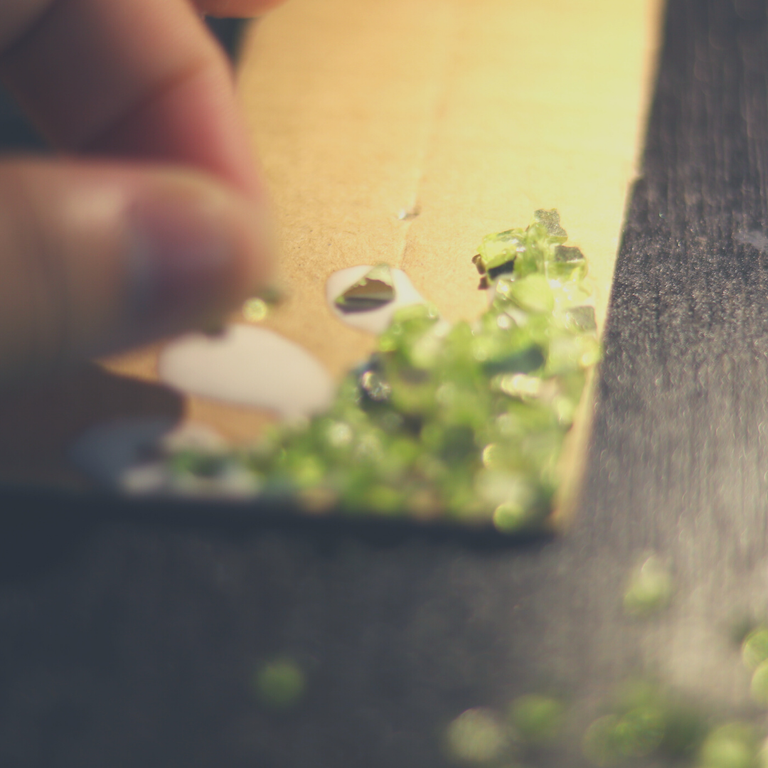
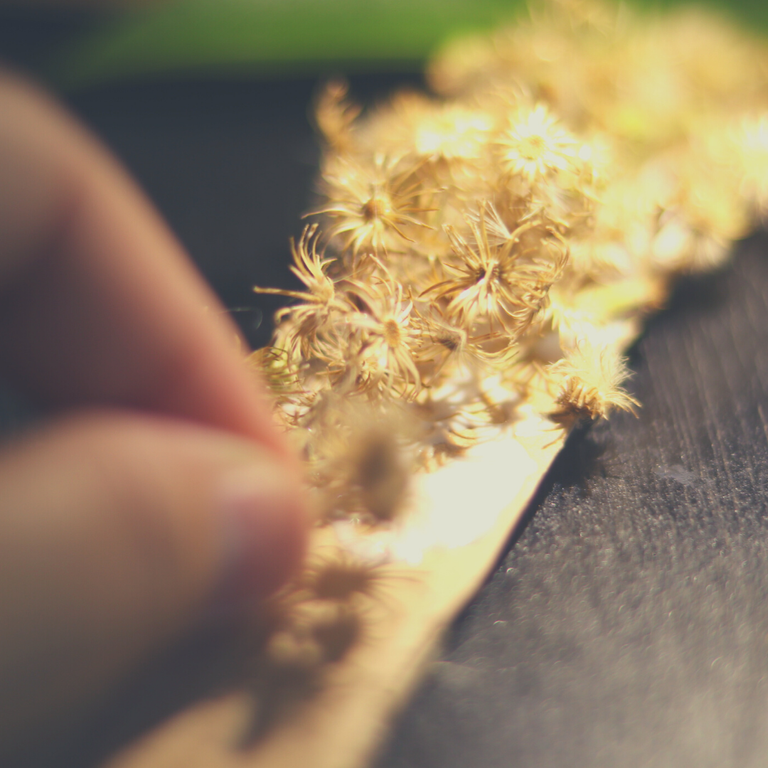
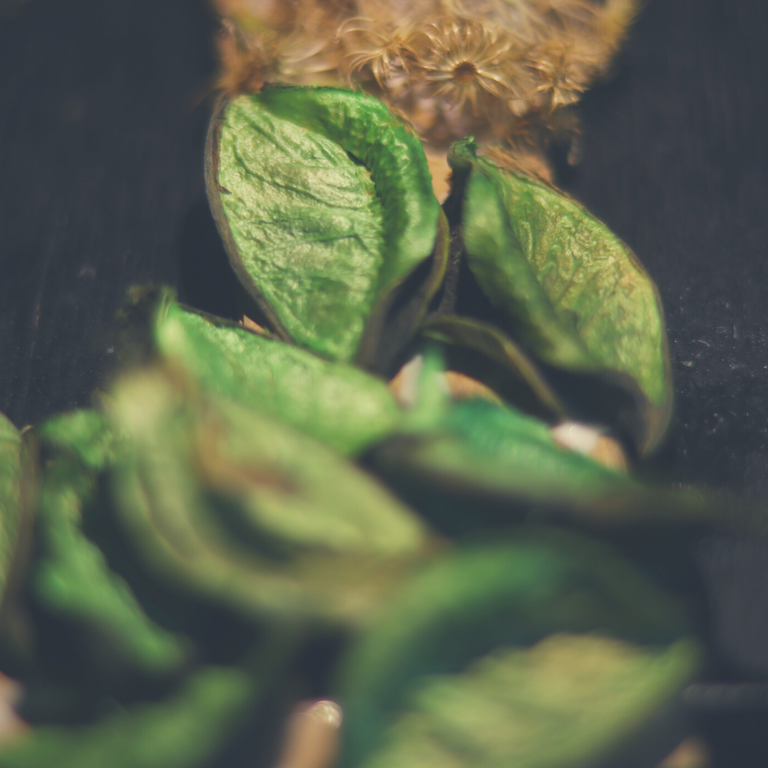
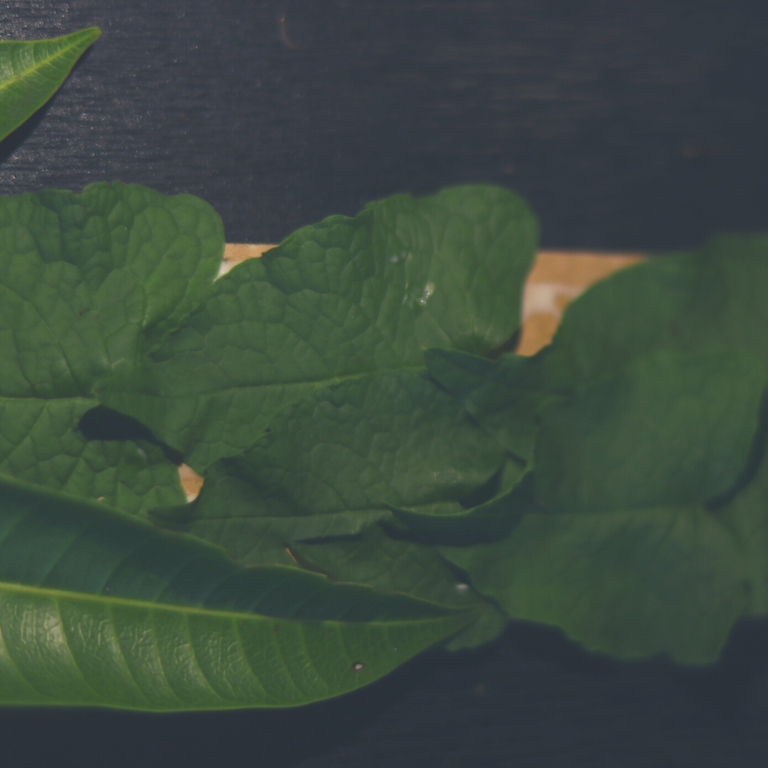
STEP 3: Start putting the decorations. You can start with the crashed crystals, followed with dried flowers then dried leaves and you can add some fresh heart-shaped leaves.
HOW TO MAKE A FRAME OUT OF POPSICLE STICKS?
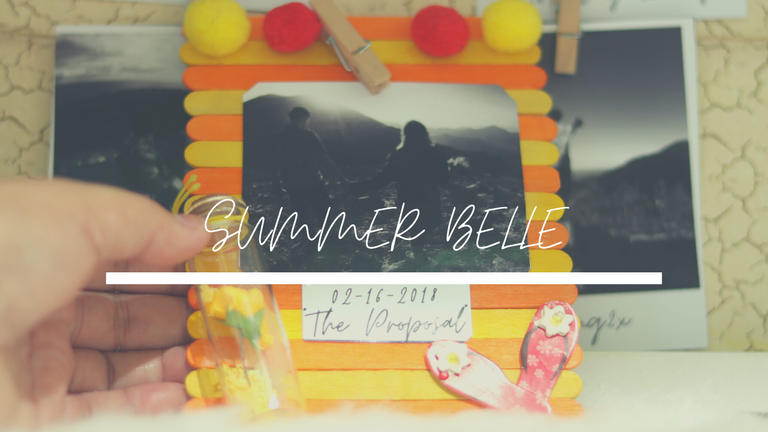
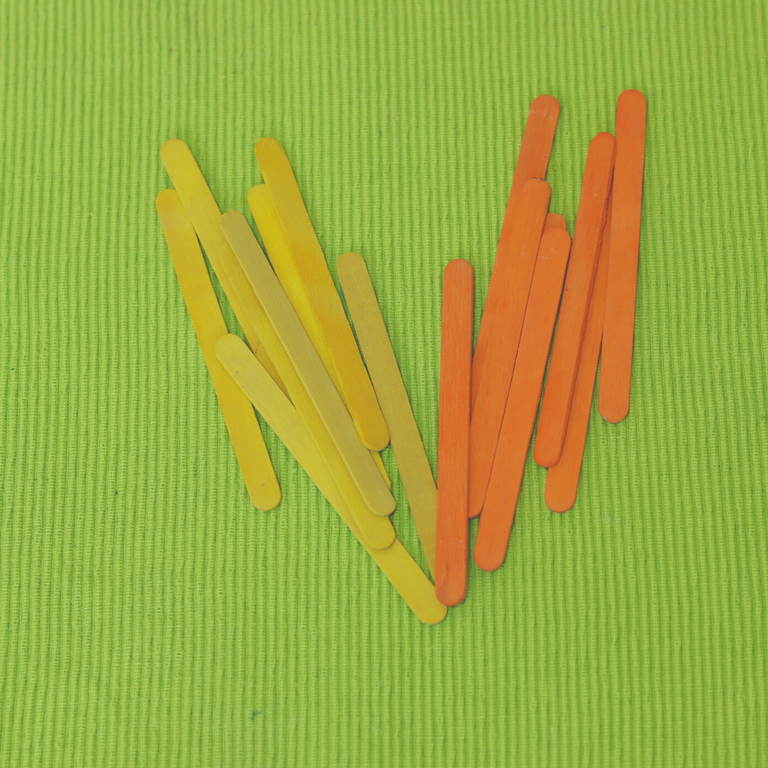
Prepare the popsicles. To match with the theme, we chose colors yellow and orange sticks which symbolizes summer (bright colors)
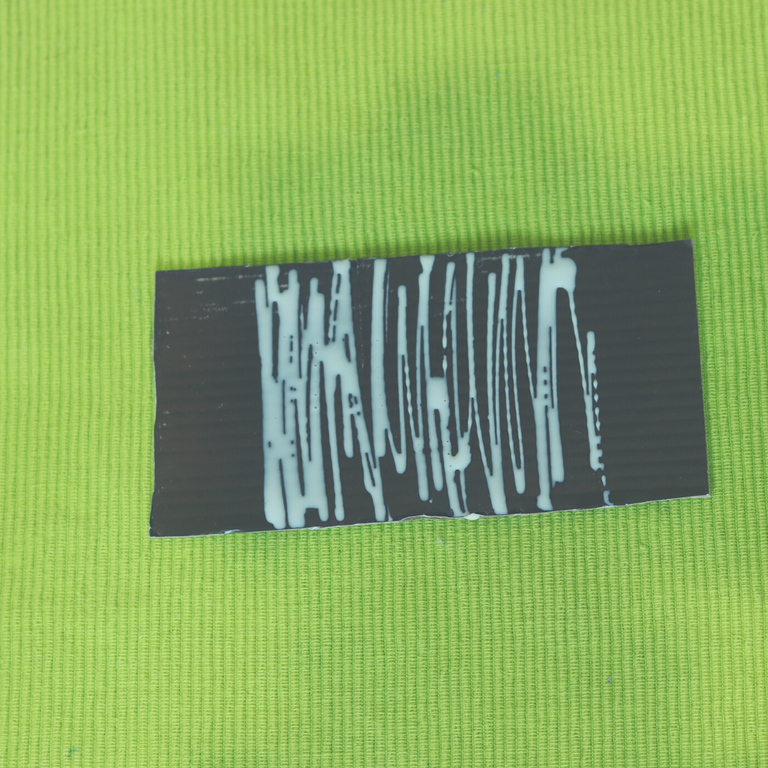
Put a liquid glue on the hard paper.
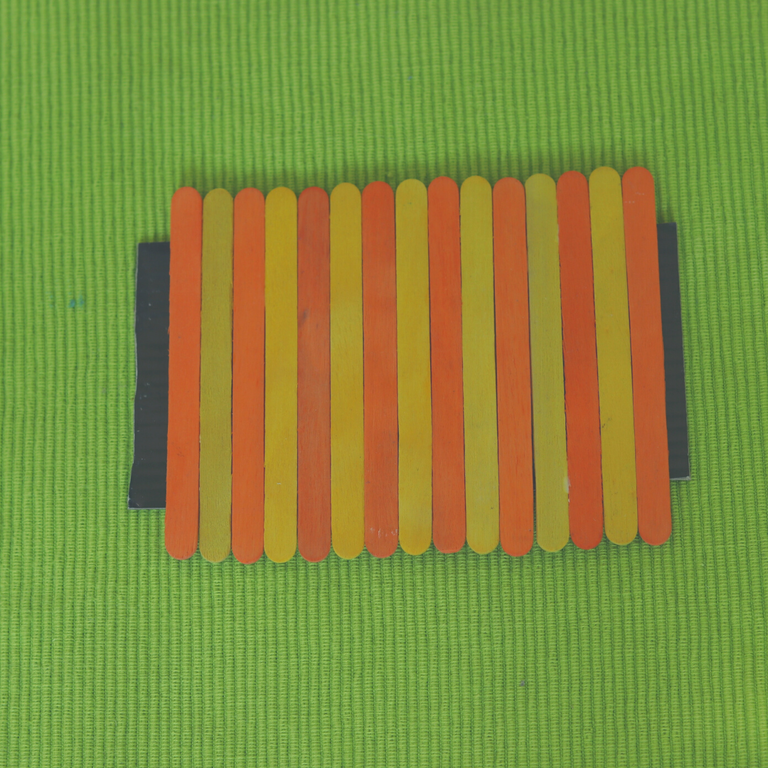
Slowly place the popsicle sticks on the hard paper. Make sure they are align to each other. Then cut the excess on each sides of the paper.
FOR DECORATIONS
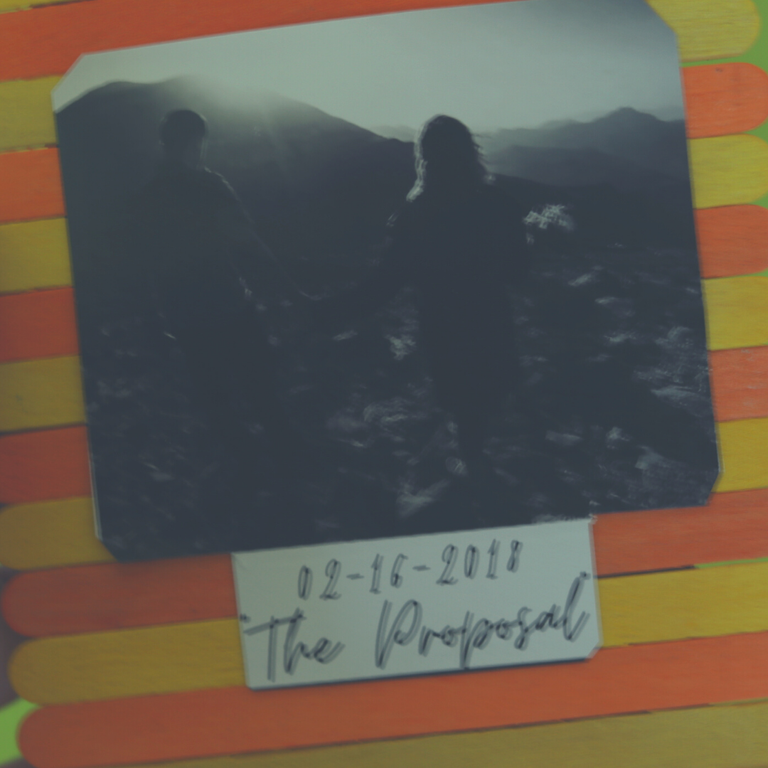
(small size photo)
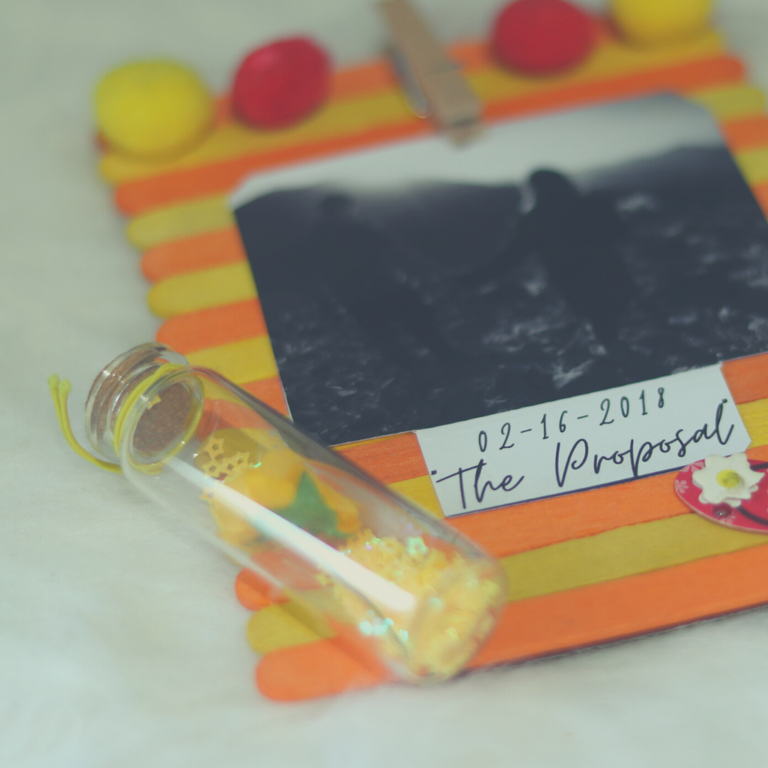
(Glass vail)
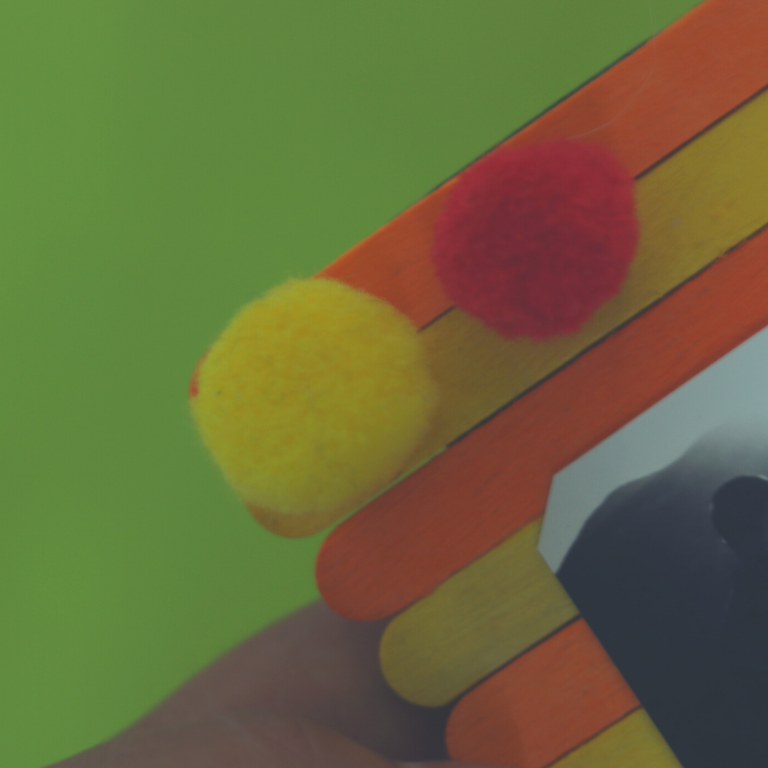
(Fluffy balls)
All Photos are taken and owned by me.
Thank you everyone, I hope you are enjoying this DIY ideas of mine. How about you? what's your plan? I cannot wait to know yours. Have a blessed Saturday Everyone.
Hi, @missdonna,
Thank you for your contribution to the Blurt ecosystem.
Please consider voting for the witness @symbionts.
Or delegate to @ecosynthesizer to earn a portion of the curation rewards!
Wow el detalle es impresionante amiga. Excelente participación muchísimos éxitos para ti.
Waoo I stay beautiful friend great work ..