Good afternoon everyone,
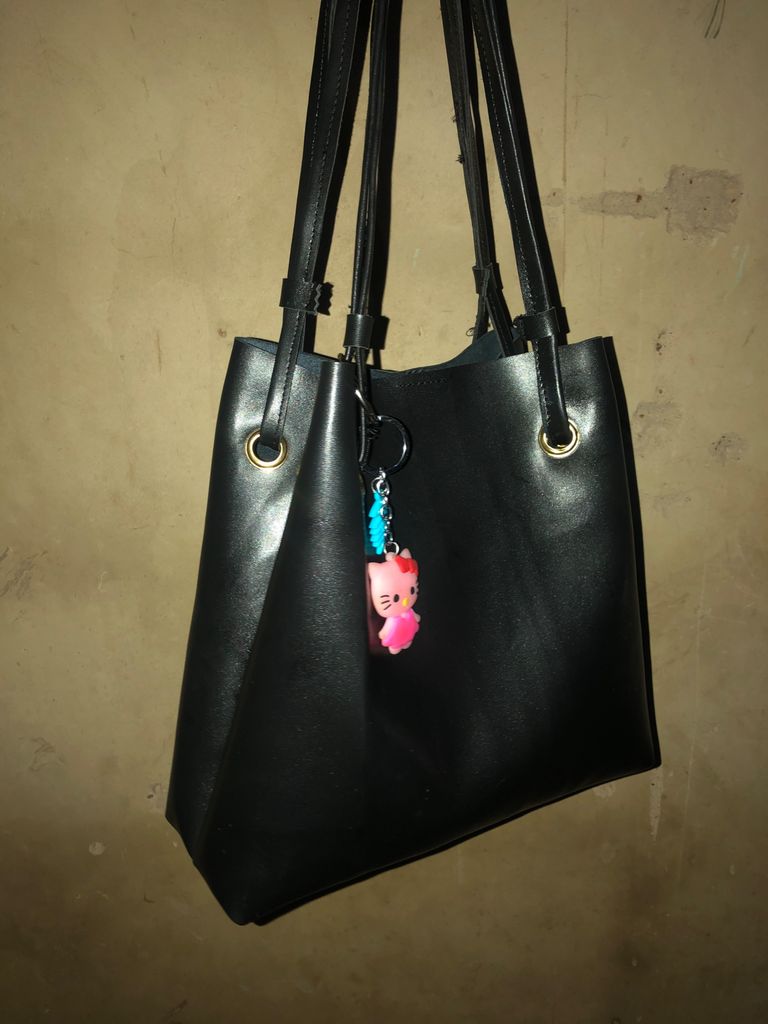
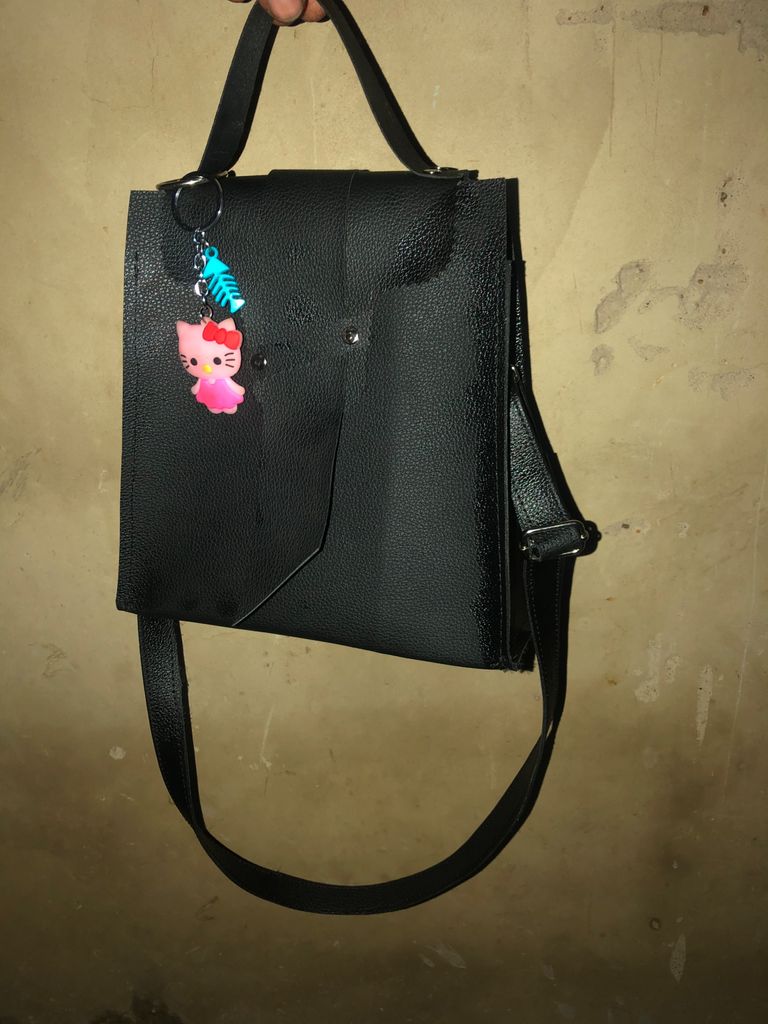
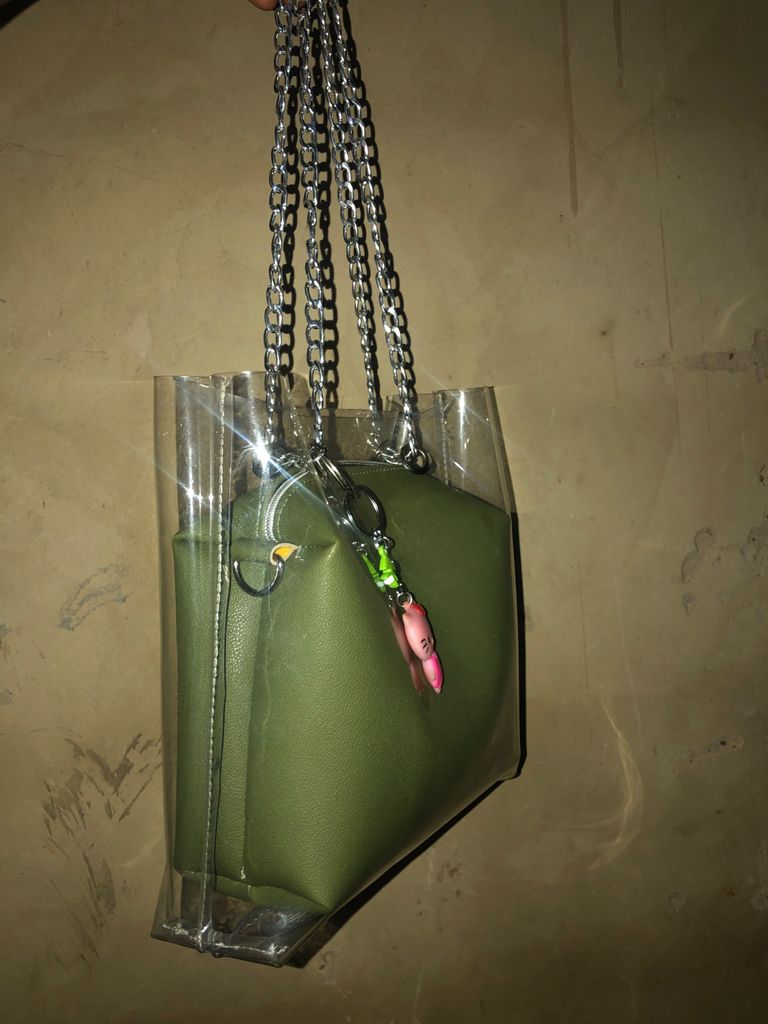
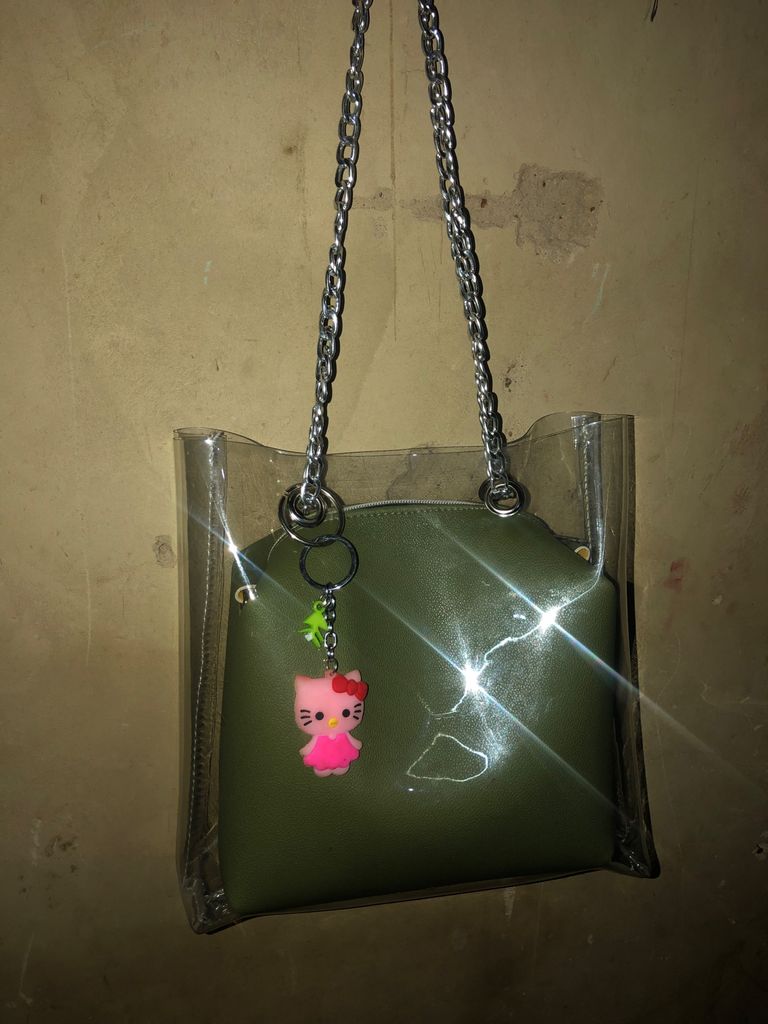
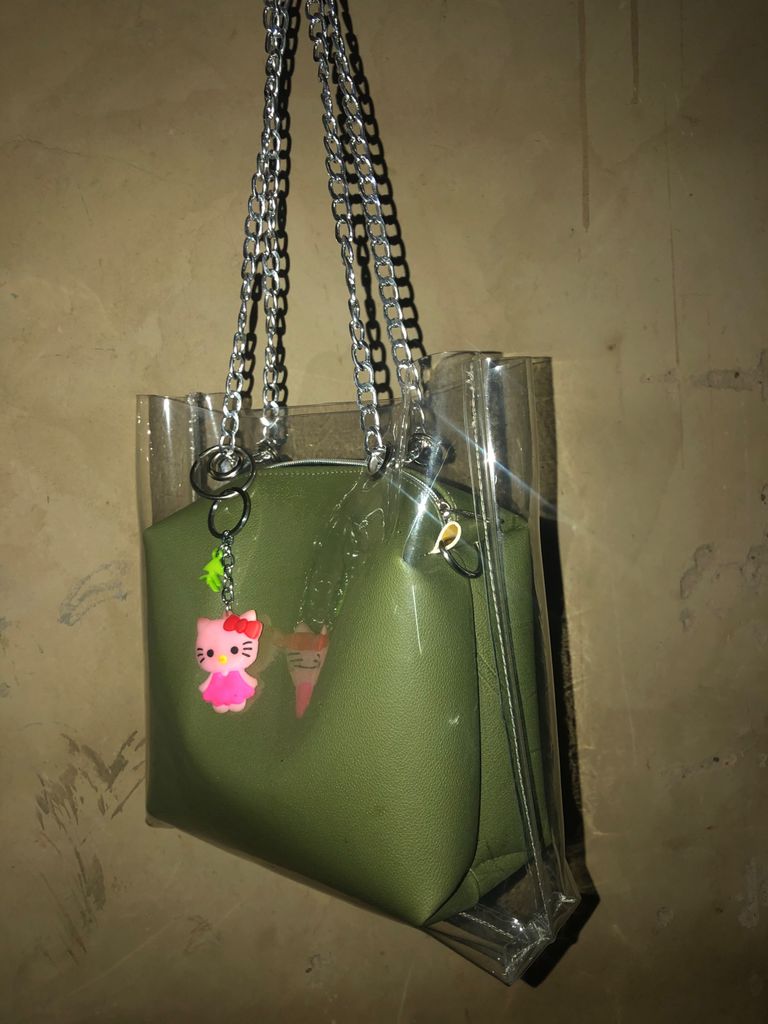
Happy new week. I bring to you my late night work last night. I am an artist and also a bag designers. In church yesterday, I got some orders which had to be delivered early this morning and the entrepreneurer in me could not turn down the offer. I was like, I will try my best. Unfortunately when I got home, I had some urgent things I had to attend to which made it impossible for me to start the work on time but I was focused. I knew no matter what I will try to meet up with the order. Late in the evening yesterday, I set out to work. The bags are three and of three different designs and their pictures are above and below.


When I started the bag, I was only able to take step by step picture of the first bag but I couldn't for the last two bags because it was getting late and I was getting tired already. At the end of everything I was able to get the three done and I learnt two lessons.
You never know how far you can go until you try it. (I've never collected an order of such with so short time, I was tired and almost discouraged while making them but I never relented)
Push yourself over your limit and accept challenges.
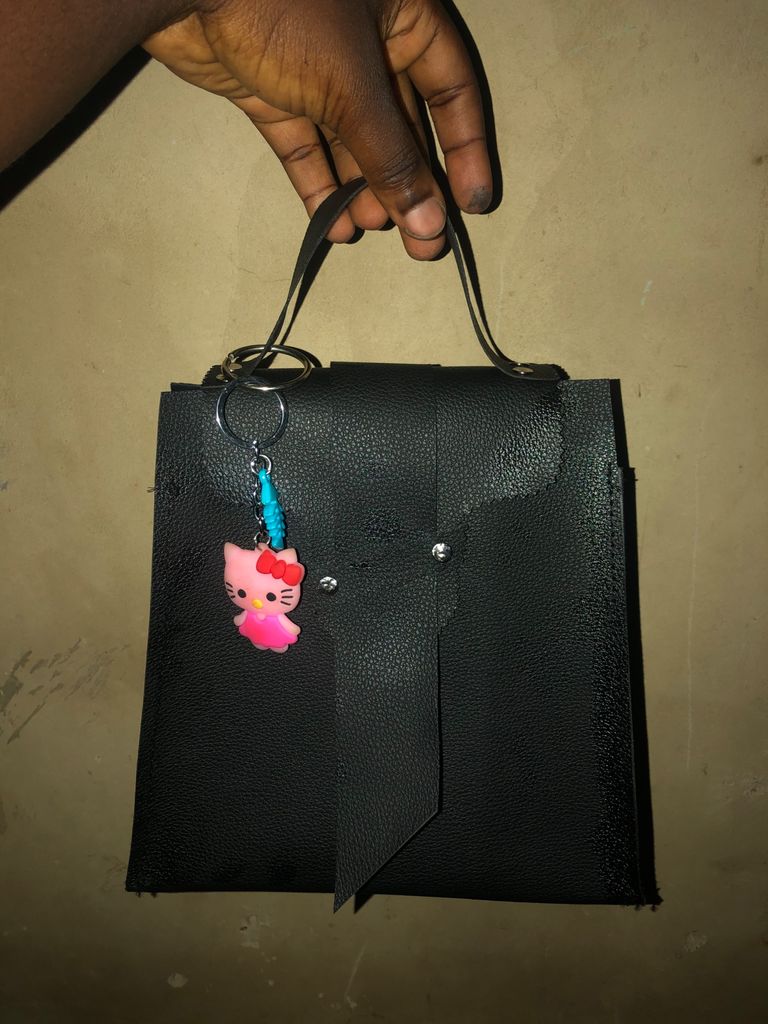
Below I'll be explaining the process of the first small black bag.
MATERIALS USED
- Leather of choice
- Side rings.
- Tiny pins
PROCESS
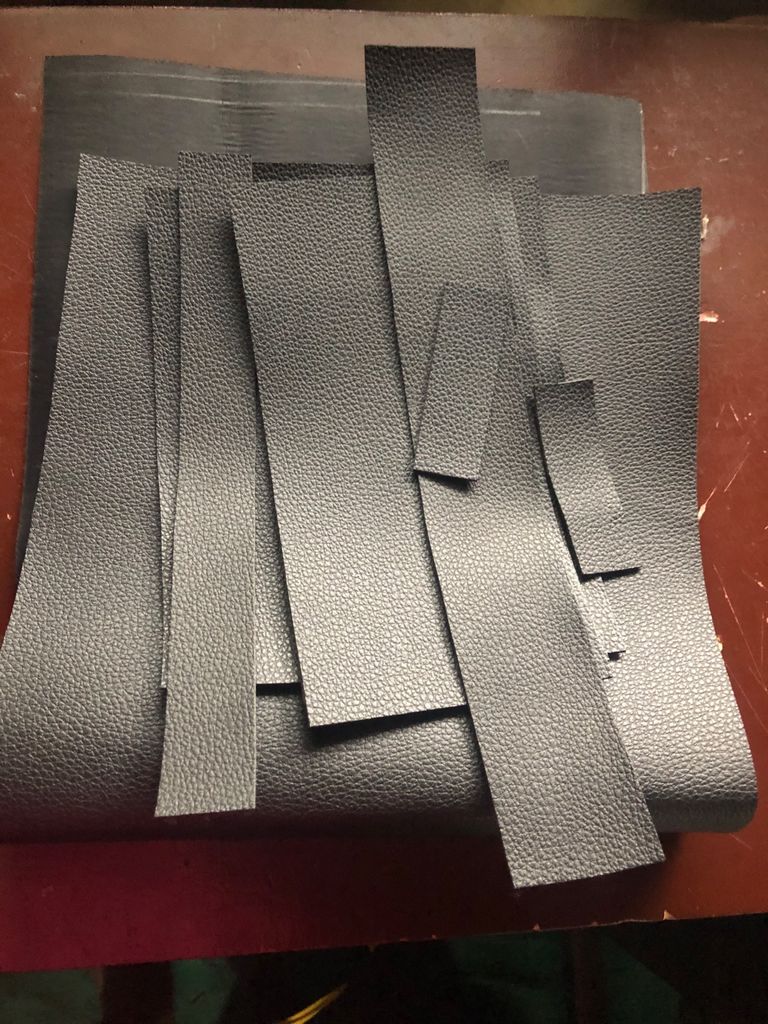
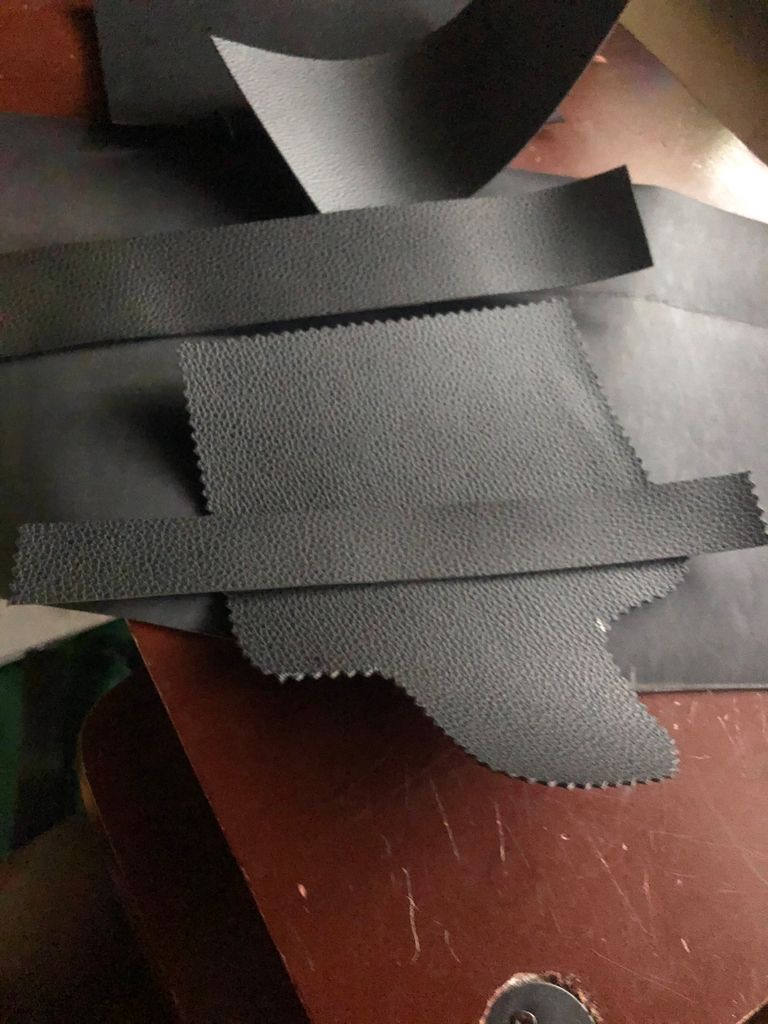
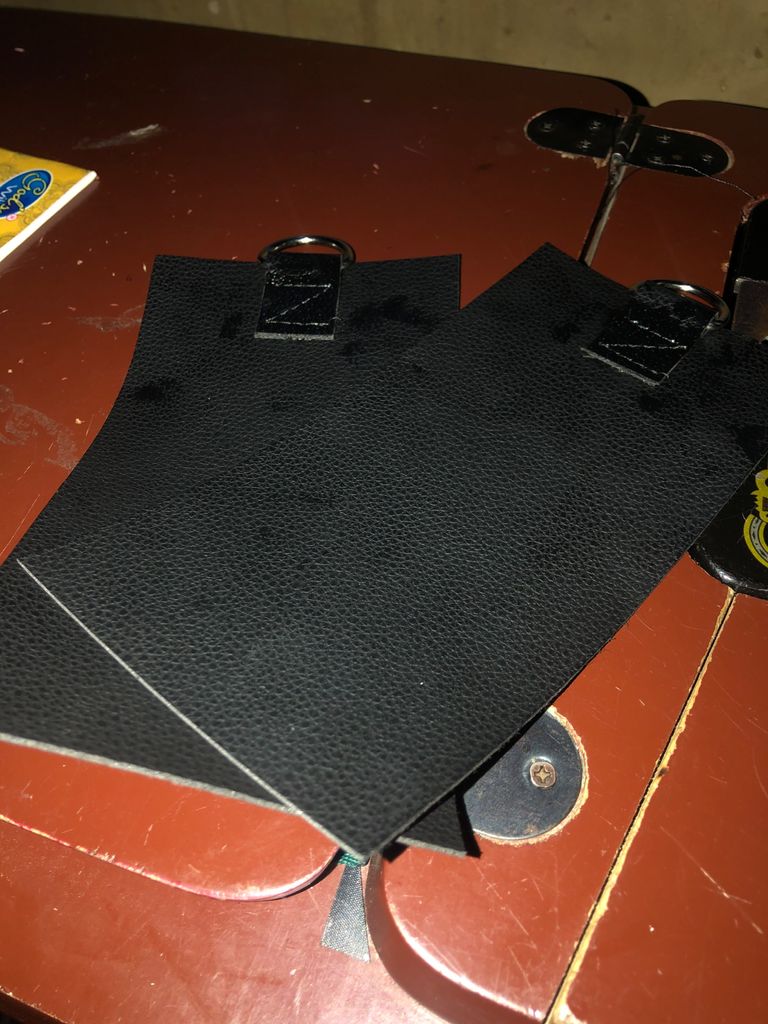
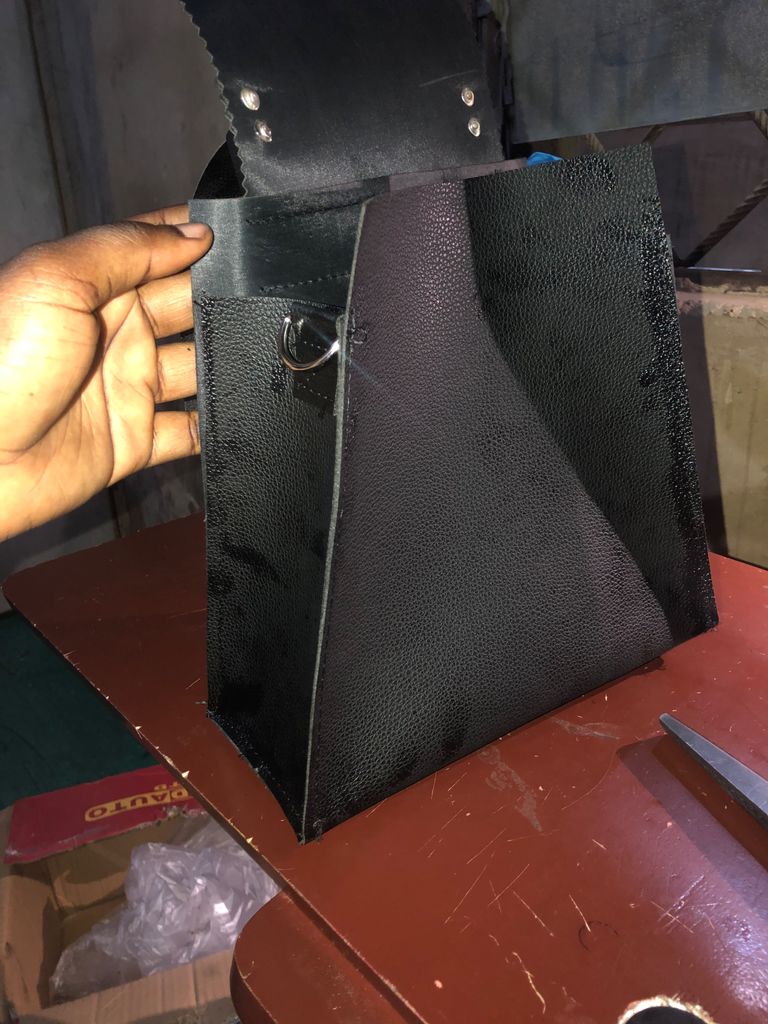
- First step was I calculated the measurements and I cut it out on the leather.
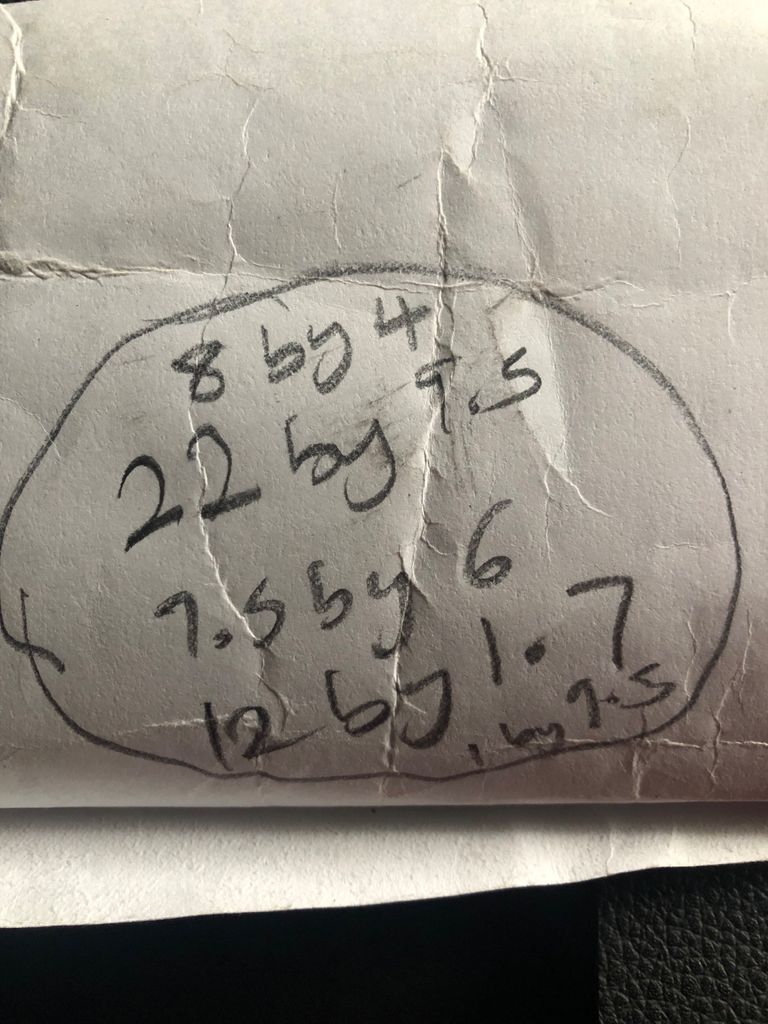
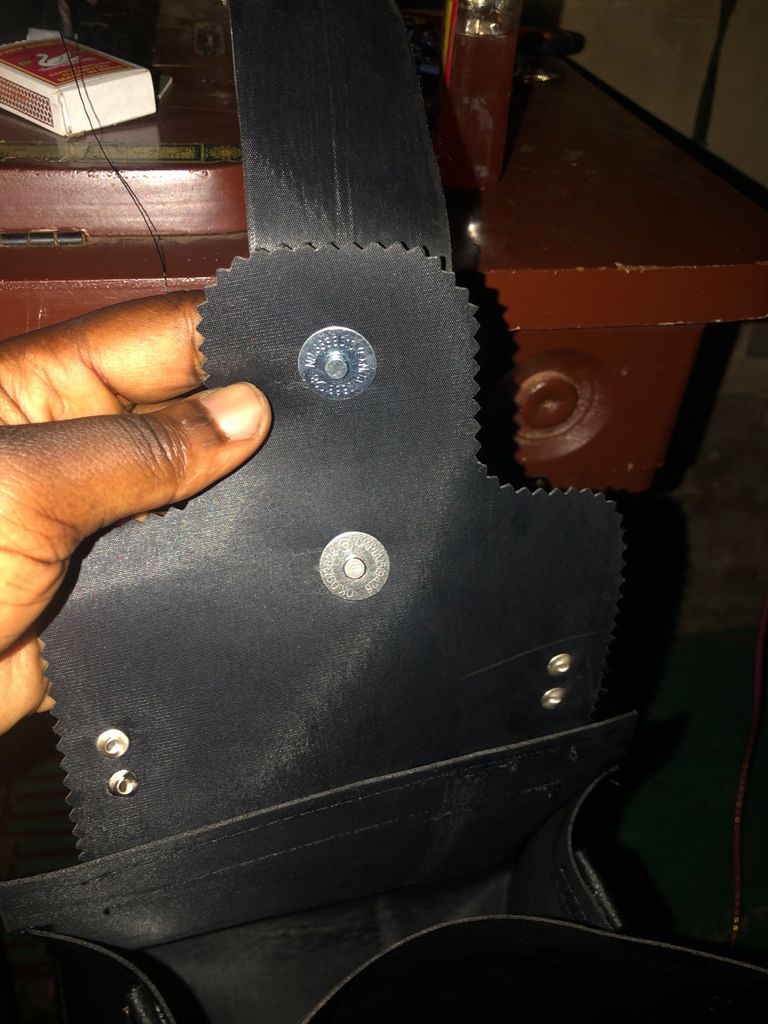
- Next step was I made the covering side of the bag which is the 7.5 by 6 inches. I cut cut out one side to form a design then I fixed the small handle of the bag using tagging pins. After that I stitched the 12 by 1.7 inches rope as seen below with the goal of covering the place I'll eventually fixed the magnet.
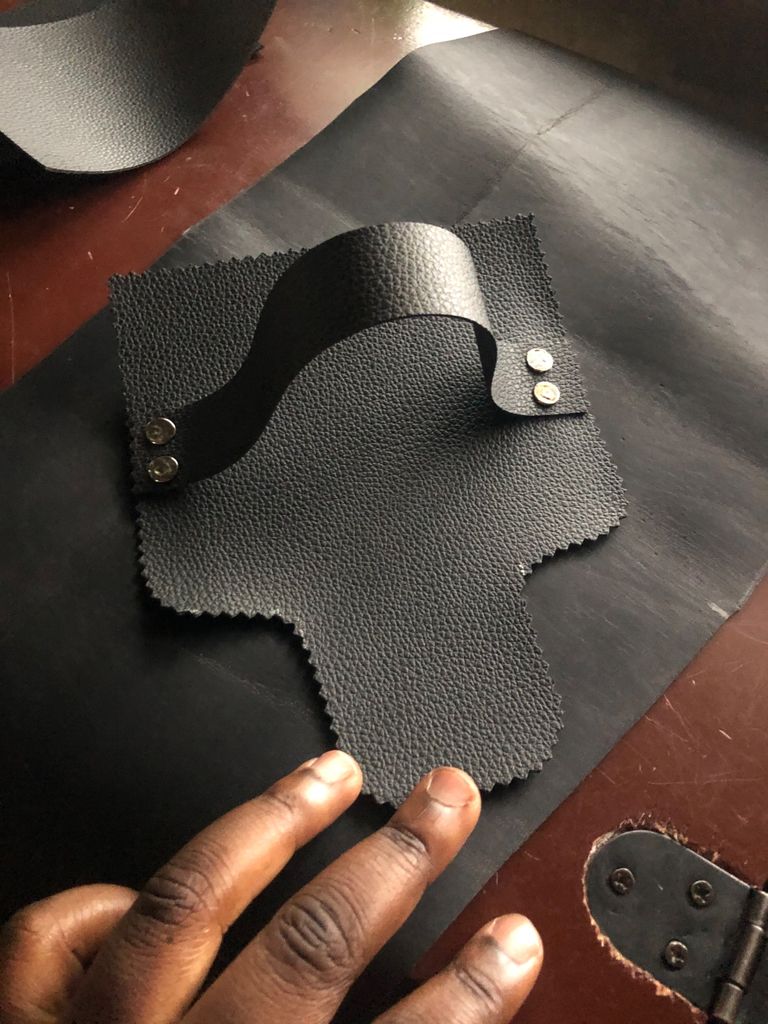
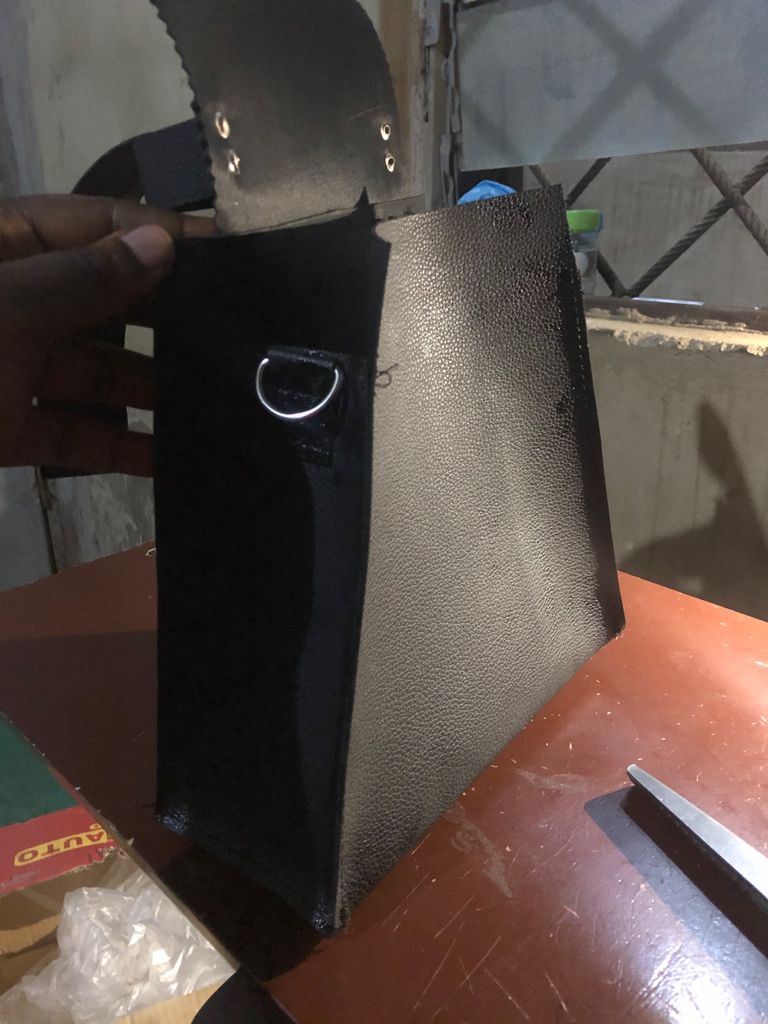
- Then I stitched the covering part with the main leather as seen below.
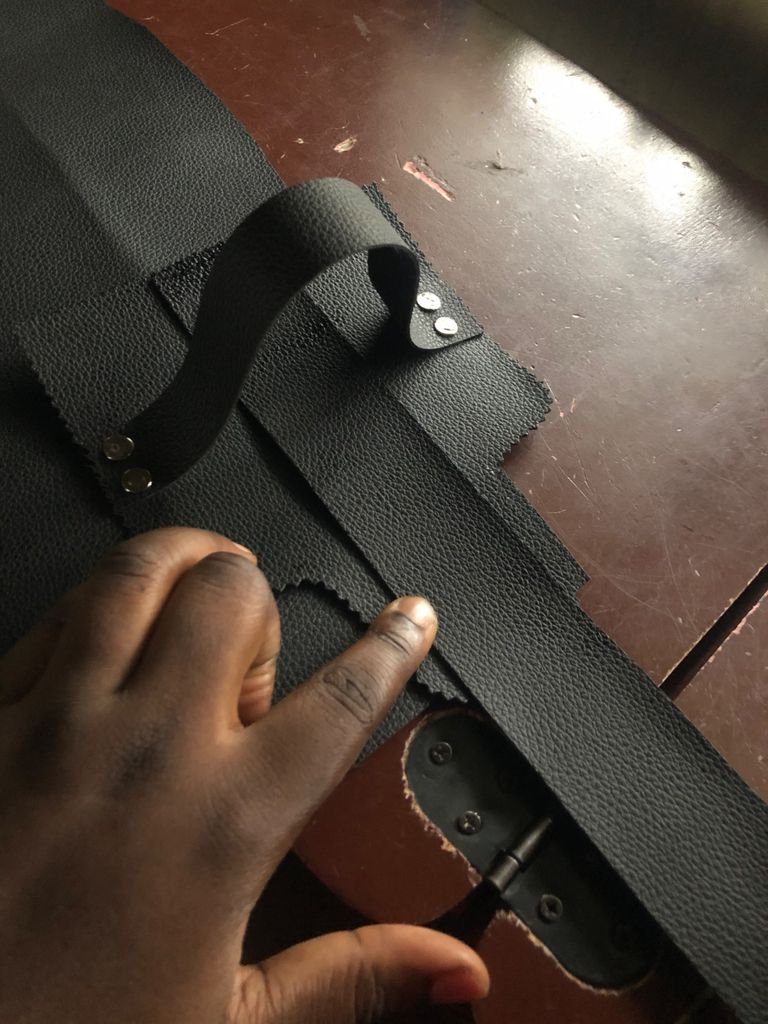
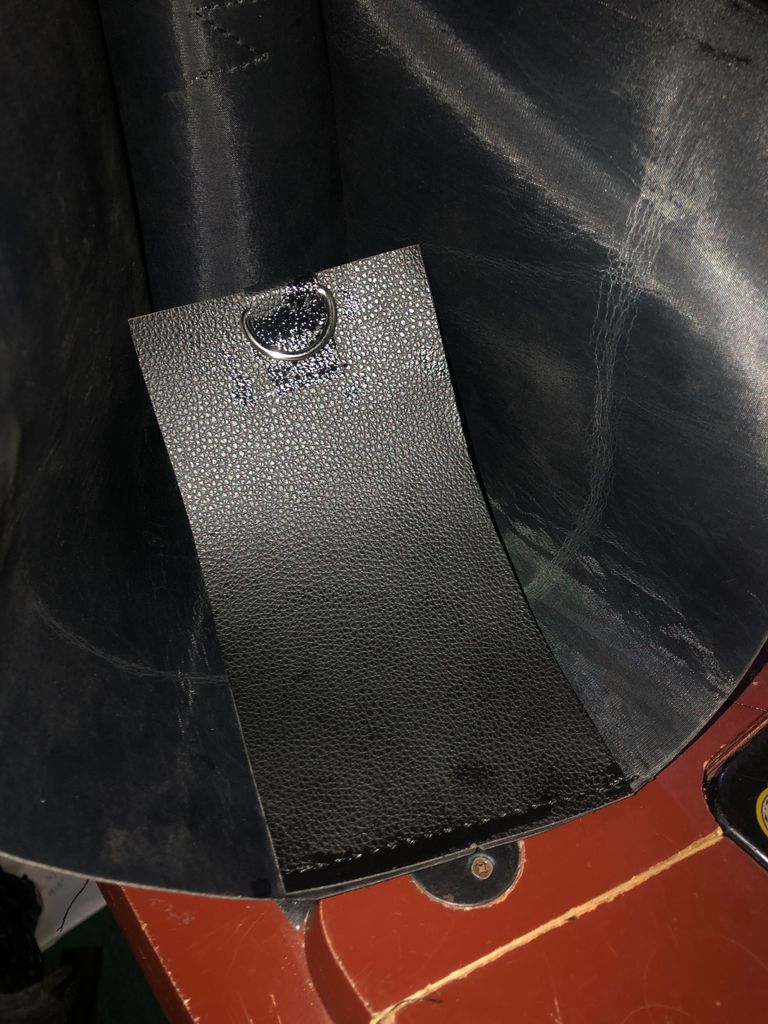
- Then I fixed the side rings to the side leathers with the measurement 8 by 4 inches. After that, I fixed the sides with the main leather.
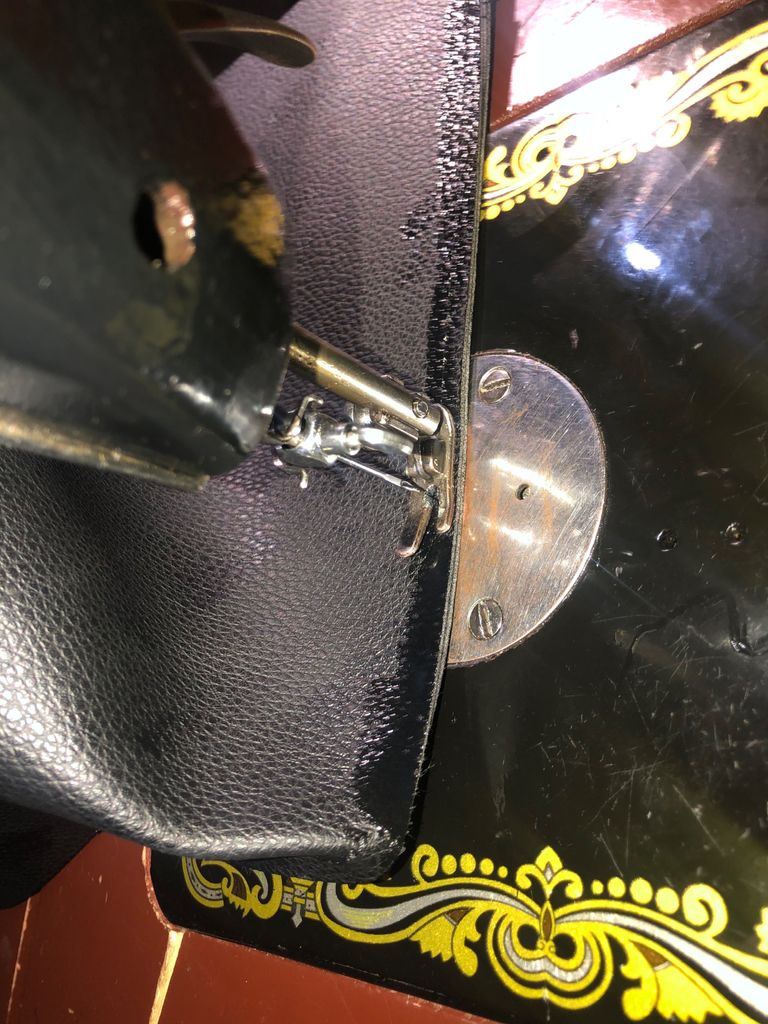
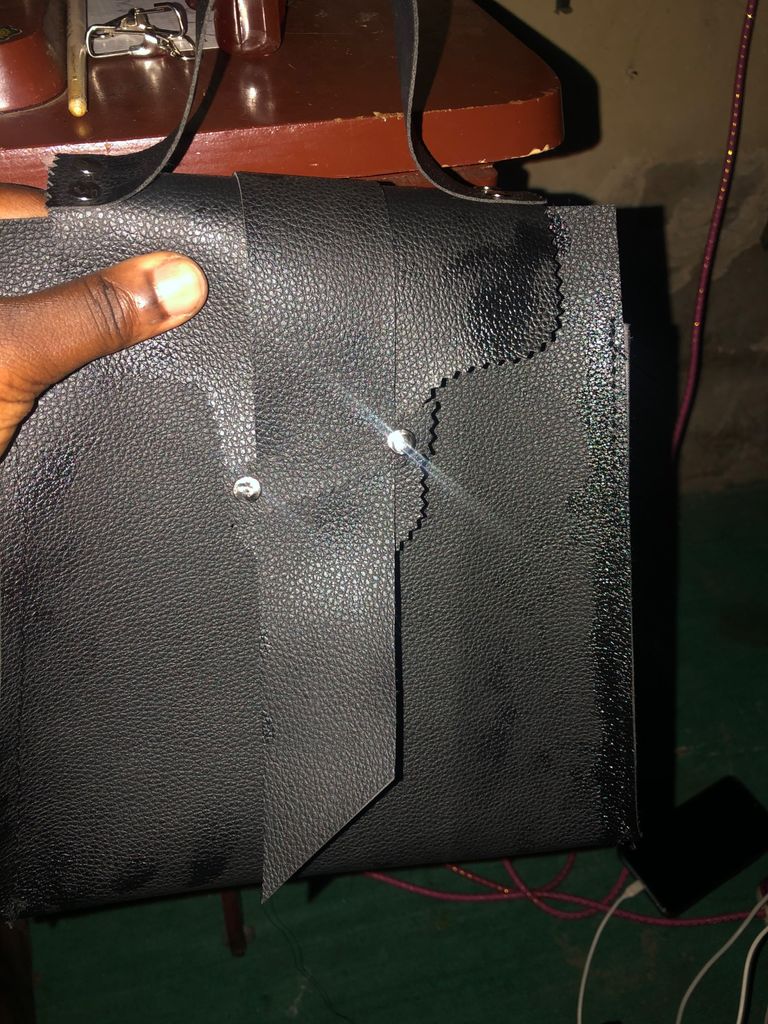
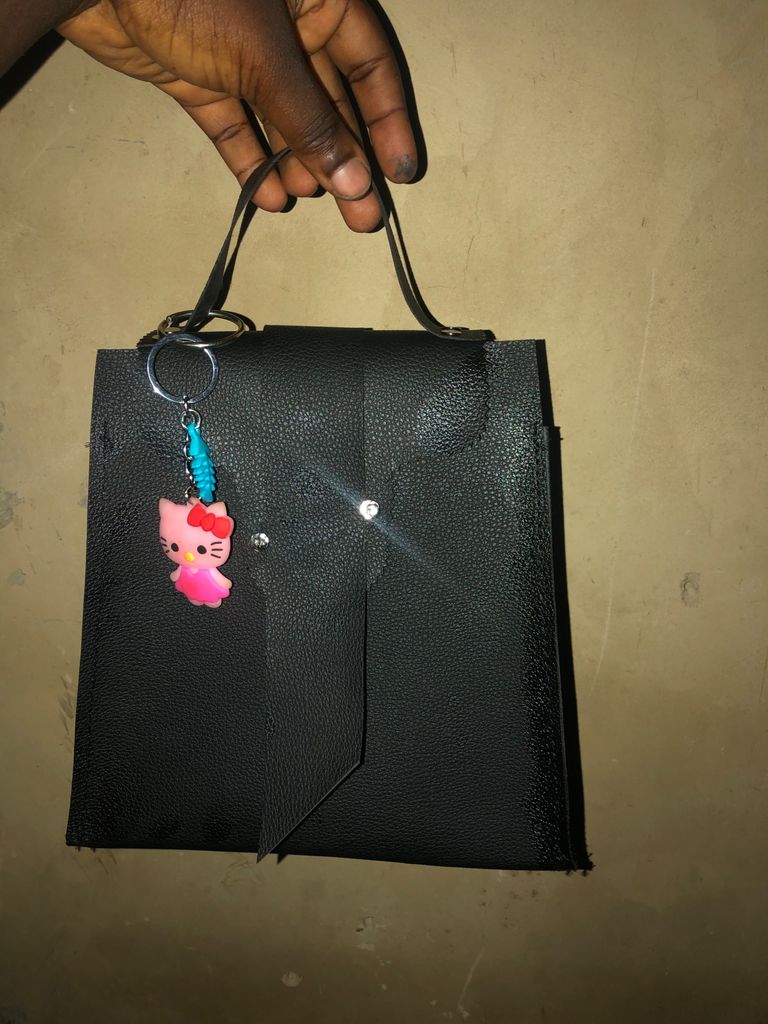
- Final steps was I fixed the magnets, used a small leather to hold the leather covering the magnets then I stitched the long handle of the bag and fixed the anchor rings to it. I couldnt take the pictures of the long handle making because the phone was down and I had to charge a bit.
FINAL LOOKS OF THE BAG.

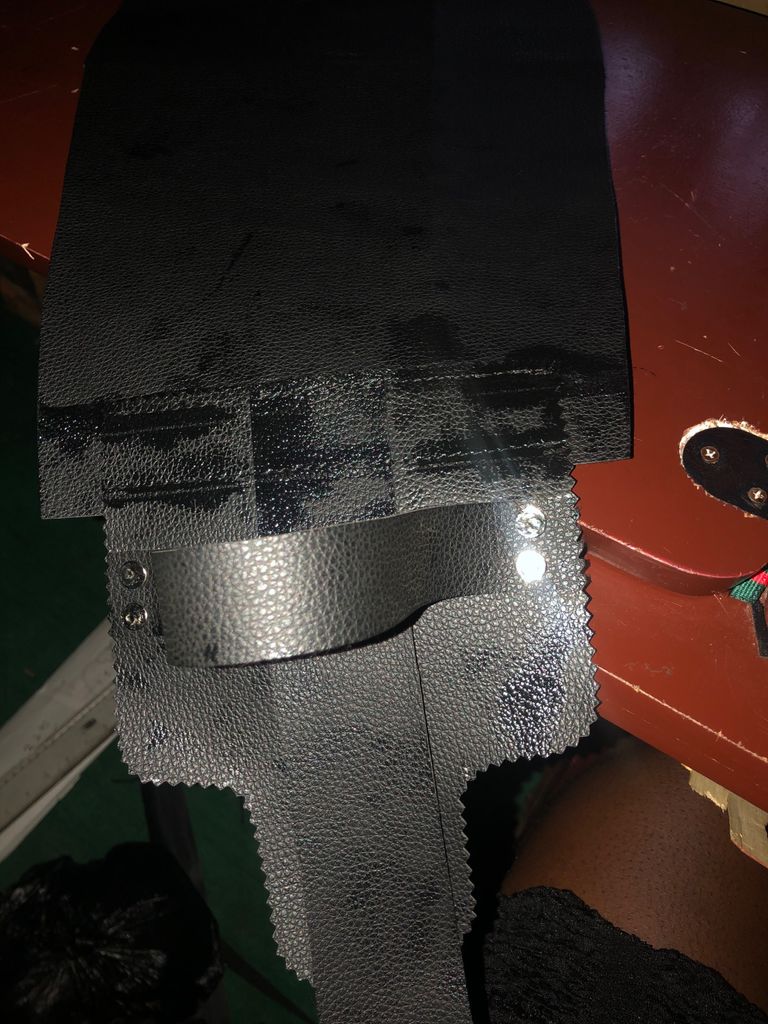
Below I'll be showing the pictures of the other two bags I eventually made.
Second bag
Third bag