
Hola Blurt❤, hoy les traigo un paso a paso de cómo hacer un gorro sanitaria, creo que puede ser útil para muchas personas este tutorial, porque a veces un familiar o amigo puede necesitar uno o incluso nosotros mismos podemos necesitarlo en cualquier momento y así podemos saber cómo hacerlo, la verdad es muy fácil. Yo no he hecho ningún curso ni he sabido nada de costura, todo esto fue una prueba y salió muy bien.
Hello Blurt❤, today I bring you a step by step of how to make a sanitary cap, I think it can be useful for many people this tutorial, because sometimes a family member or friend may need one or even we ourselves may need one at any time and this way we can know how to make one, the truth is very easy. I haven't done any courses or knew anything about sewing, all this was a test and it went very well.

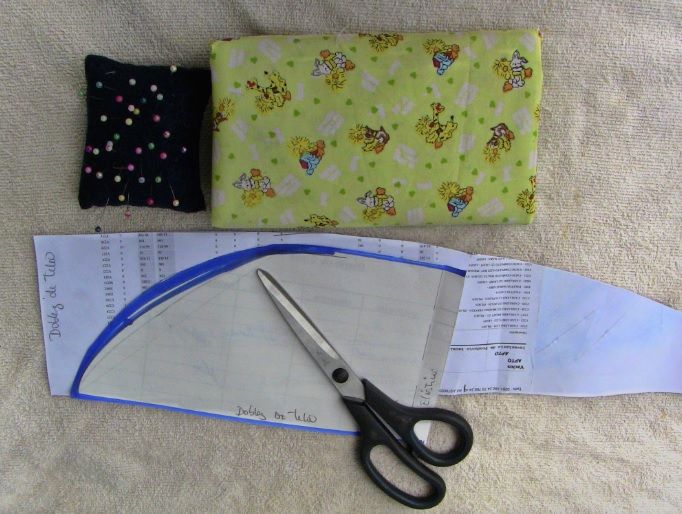
Materials | Materiales
•Patrón o Molde.
•Tela.
•Elástico.
•Tijeras.
•Alfileres.
•Maquina de coser.
•Pattern or mould.
•Cloth.
•Elastic.
•Scissors.
•Pins.
•Sewing machine.
Procedure | Procedimiento
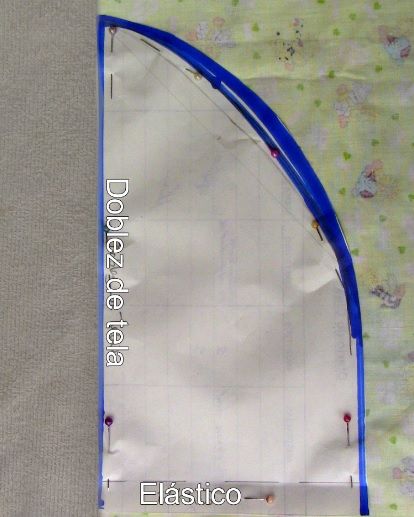
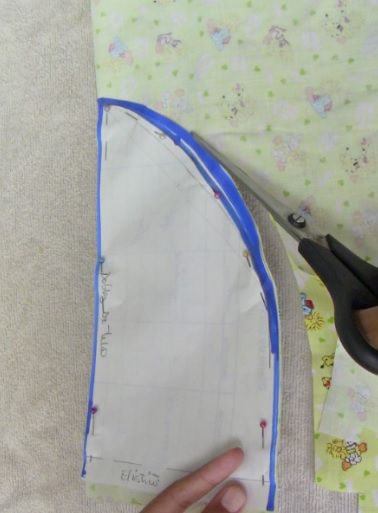
Primero doblaremos la tela y colocaremos el molde ajustándolo con alfileres para tener un corte más preciso. Hay que tener en cuenta que al cortar el patrón la tela debe estar al revés, y asegurarse de que el "doblez de tela" está exactamente donde está la tela doblada.
First we will fold the fabric and place the mold adjusting it with pins to have a more precise cut. You must take into account that when you cut the pattern the fabric must be upside down, and make sure that the "fabric fold" is exactly where the folded fabric is.
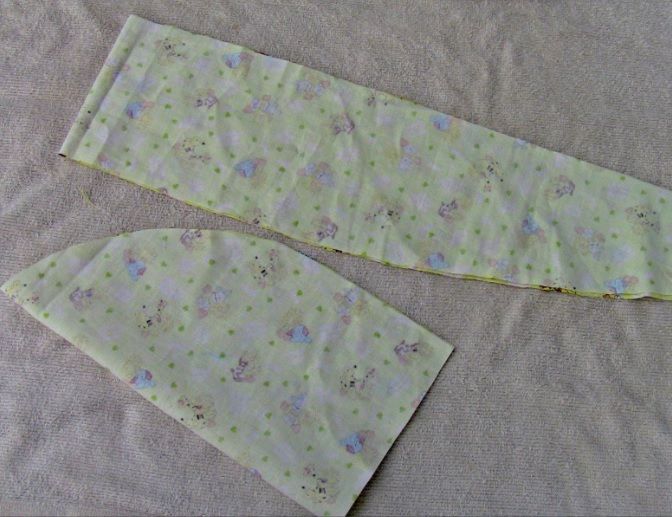
Procederemos a cortar nuestros patrones y antes de abrirlos haremos un pequeño corte en el centro para saber dónde está la mitad.
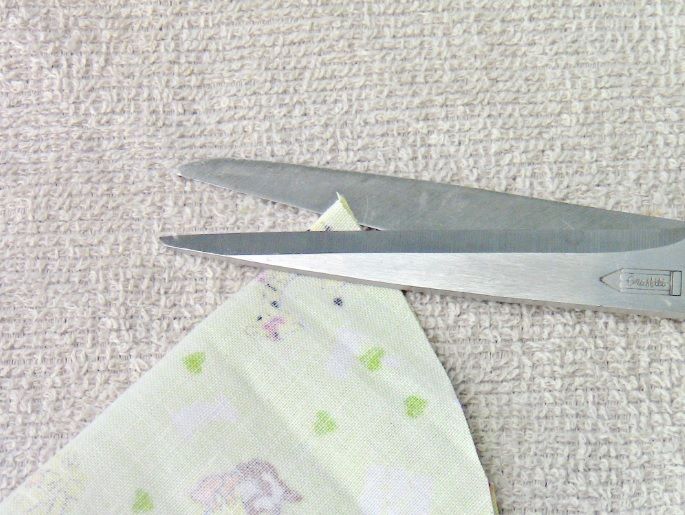
We proceed to cut our patterns and before opening them we will make a small cut in the center to know where the half is.
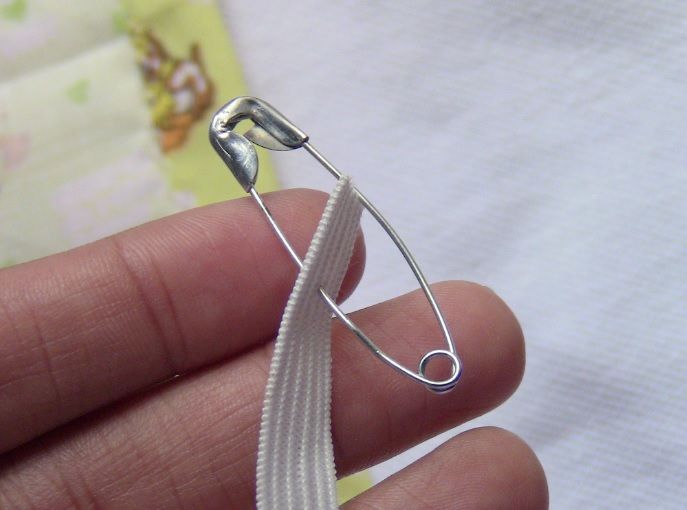
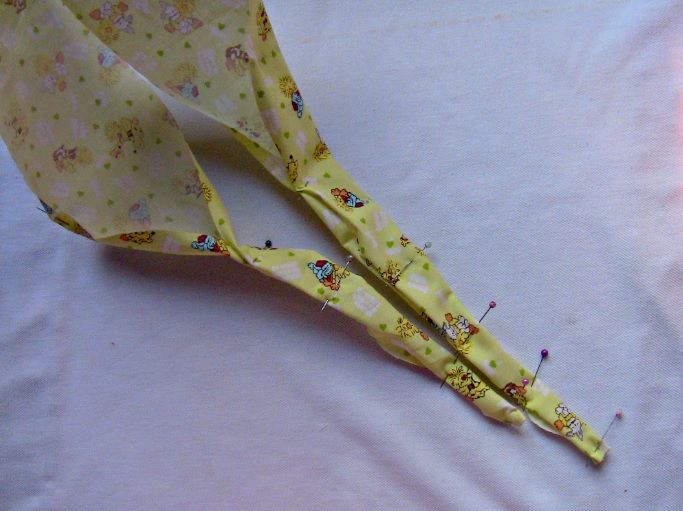
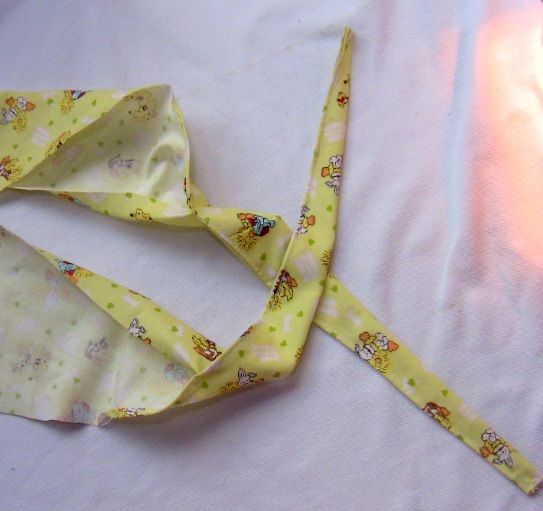
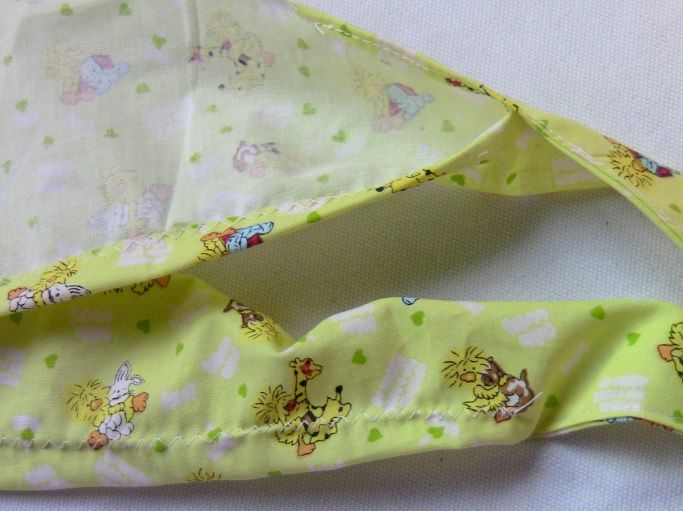
Ahora, haremos una costura donde irá el elástico. Seguidamente cortaremos una tira de elástico de 10 cm, lo engancharemos a un alfiler de seguridad, para pasar el elástico a través de la costura, aseguraremos un extremo con un alfiler para ir recogiendo la tela y asegurar el otro extremo para hacer una costura en amos extremos.
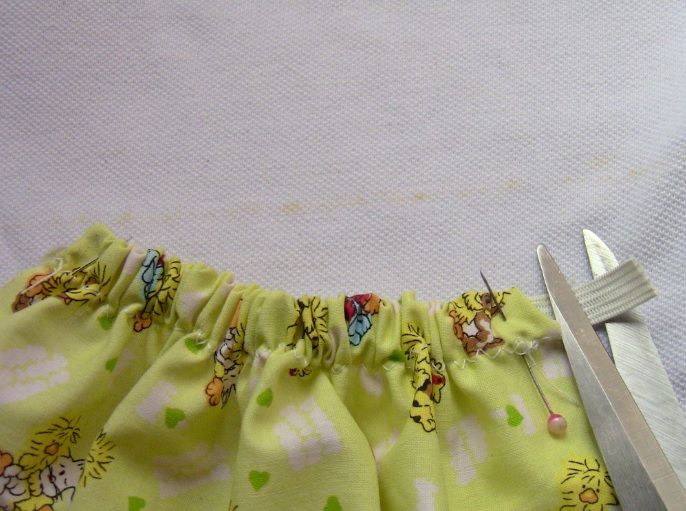
Now, we'll make a seam where the elastic will go.Then we will cut a strip of elastic of 10 cm, we will hook it to a safety pin, to pass the elastic through the seam, we will secure one end with a pin to go picking up the fabric and secure the other end to make a seam in both ends.
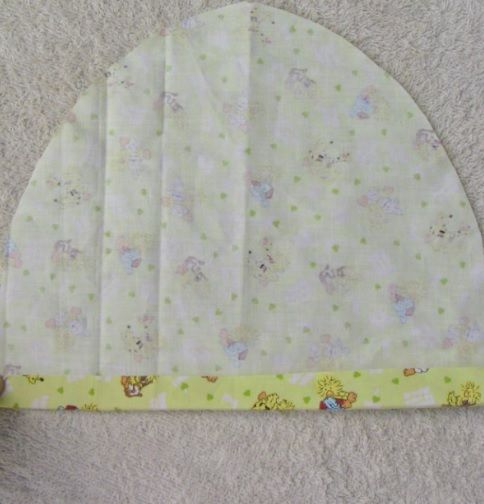
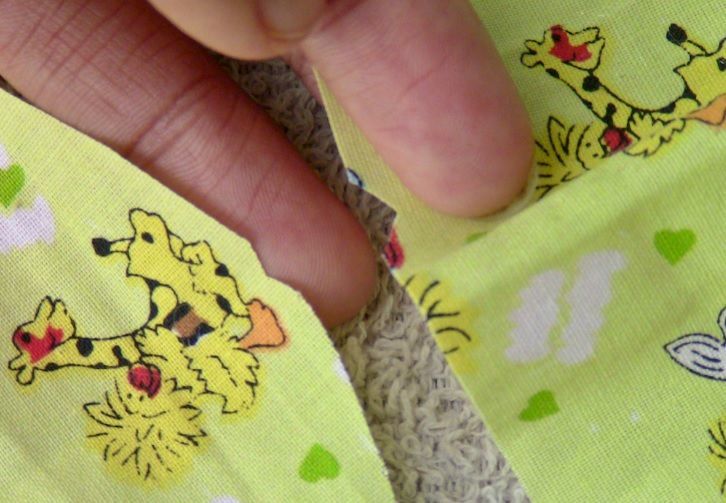
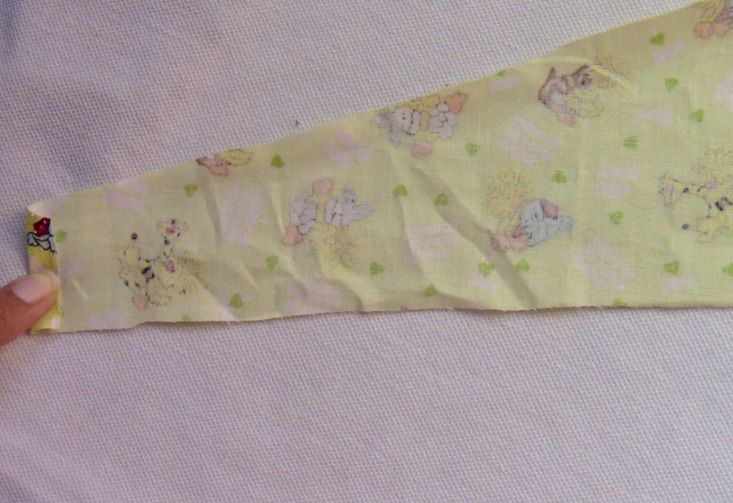
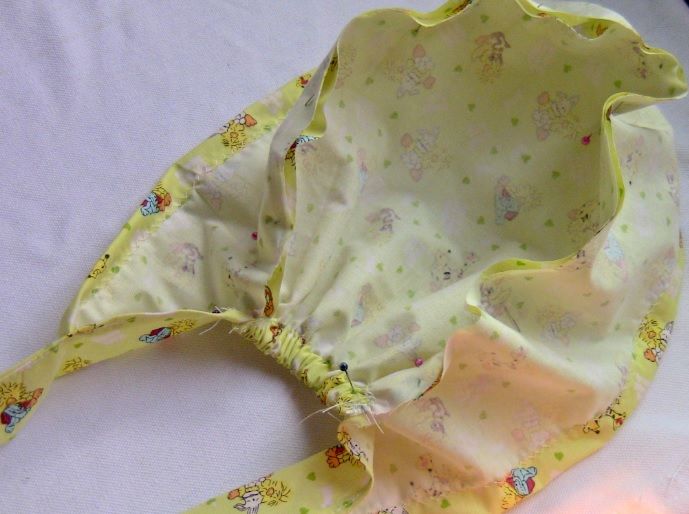
Una vez que nuestro primer patrón esté listo, empezaremos doblando un extremo de nuestro segundo patrón, luego doblaremos la parte superior y después la inferior, finalmente uniremos ambos lados y aseguraremos con un alfiler. De esta manera los uniremos hasta que lleguemos a donde la costura de ambos patrones comienza y termina.
Once our first pattern is ready, we will start by bending one end of our second pattern, then bend the top and then the bottom, finally join both sides and secure with a pin. This way we will join them until we get to where the seam of both patterns starts and ends.
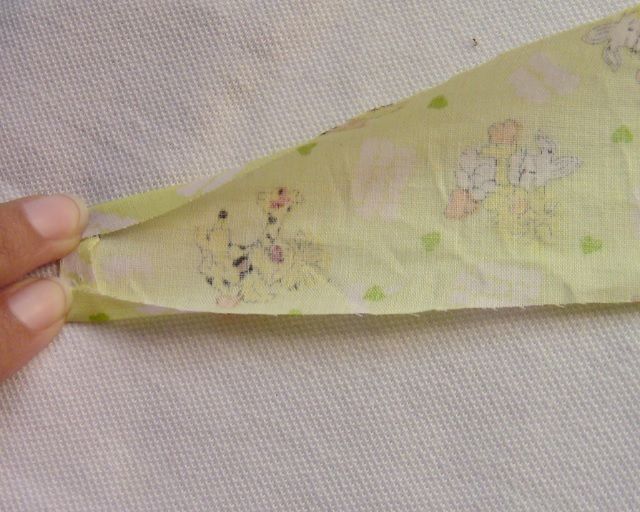
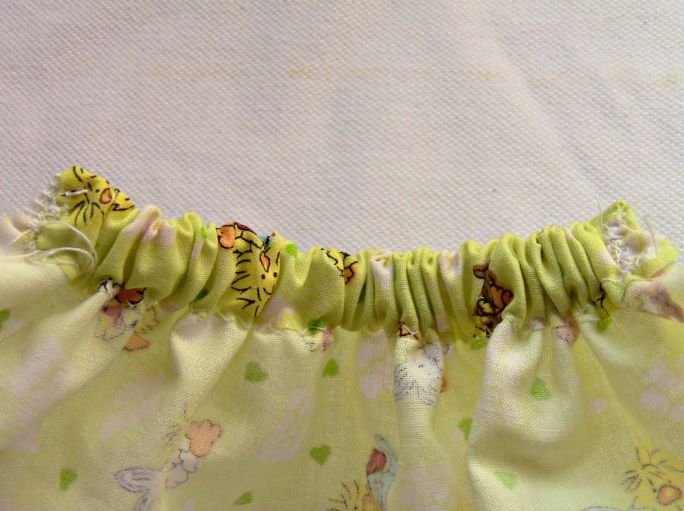
Ahora, cosemos el dobladillo.
Now, we sew the hem.
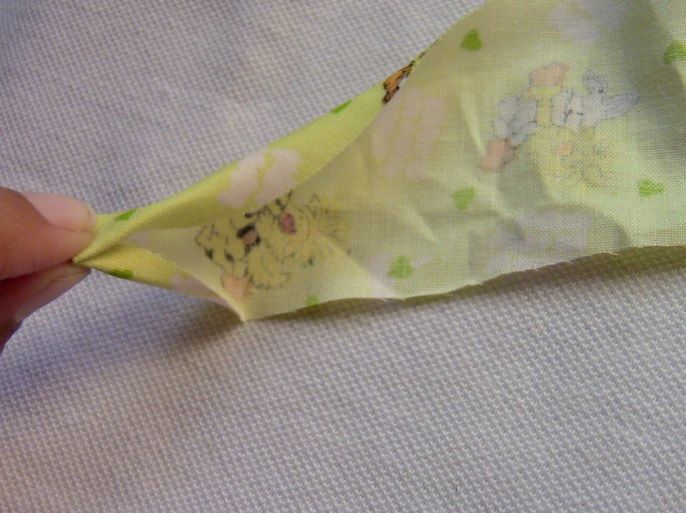
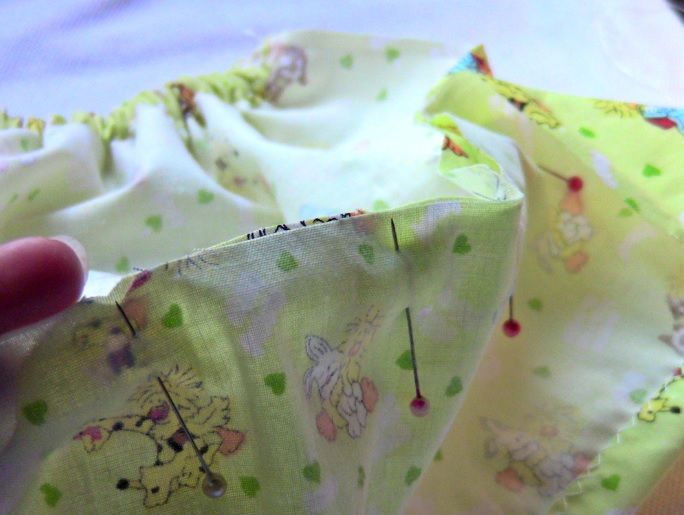
Finalmente, juntamos los dos patrones usando la guía que hicimos y cosemos.
Finally, we put the two patterns together using the guide we made and sew.
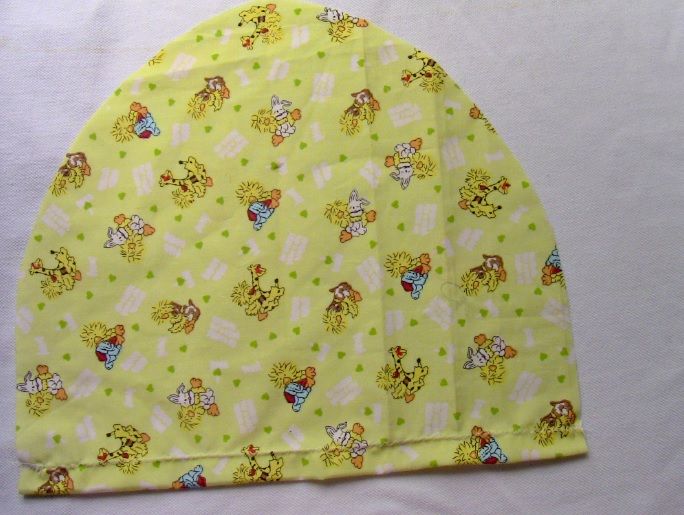
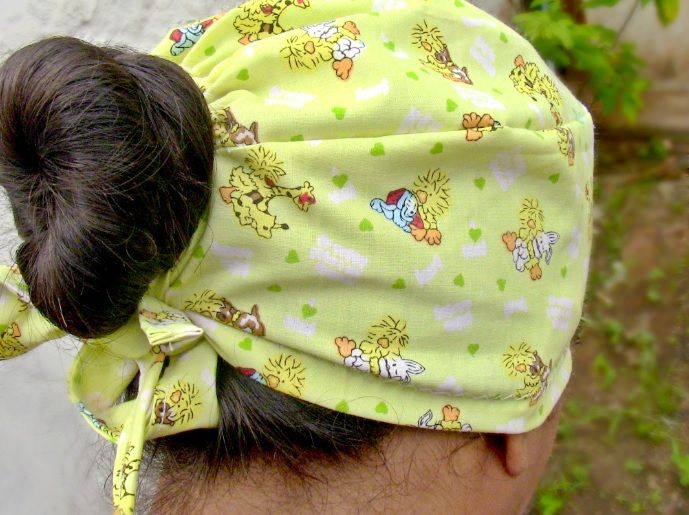
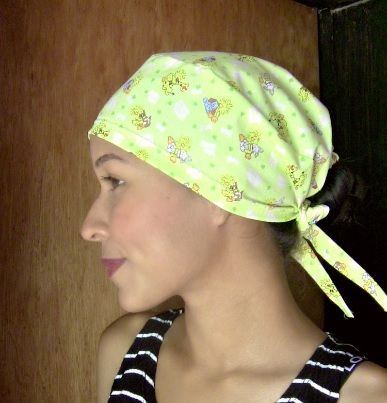
Y así es como se verá nuestra gorro sanitario, es muy simple de hacer, es económico y se puede ver que no utilice mucho material, solo unos pocos centímetro de elástico, una tela que tengan guardada (así como yo tenía esta tela), y si no tienes una máquina puedes hacerlo a mano.
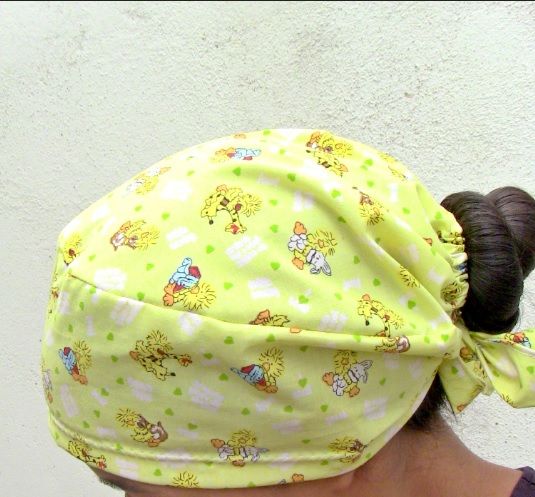
And that's how our sanitary cap will look like, it's very simple to make, it's economical and you can see that it doesn't use much material, just a few centimeters of elastic, a fabric that they have stored (just like I had this fabric), and if you don't have a machine you can make it by hand.
.png)