Making TIE/rb heavy starfighter with remote control plates.
Haciendo Caza estelar pesado TIE/rb con placas de control remoto
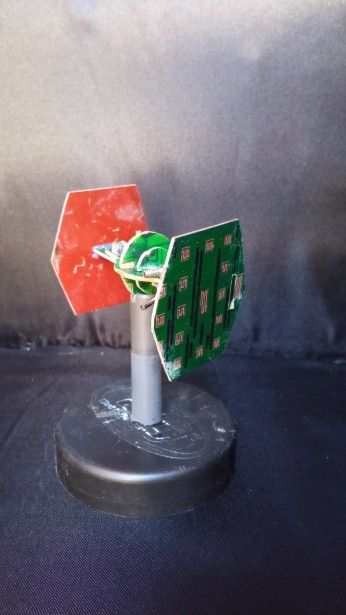
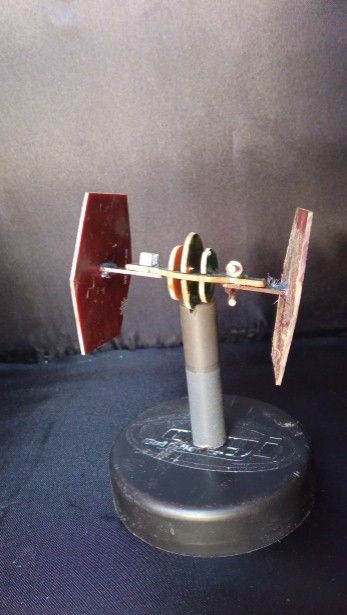
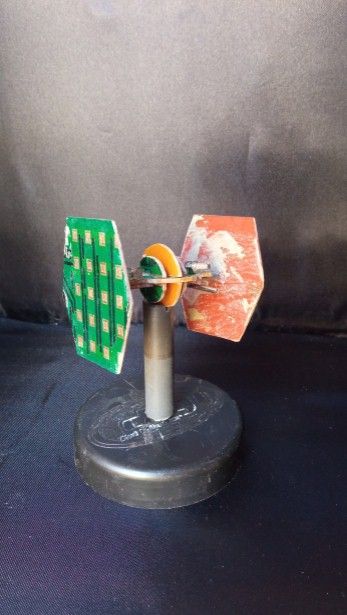
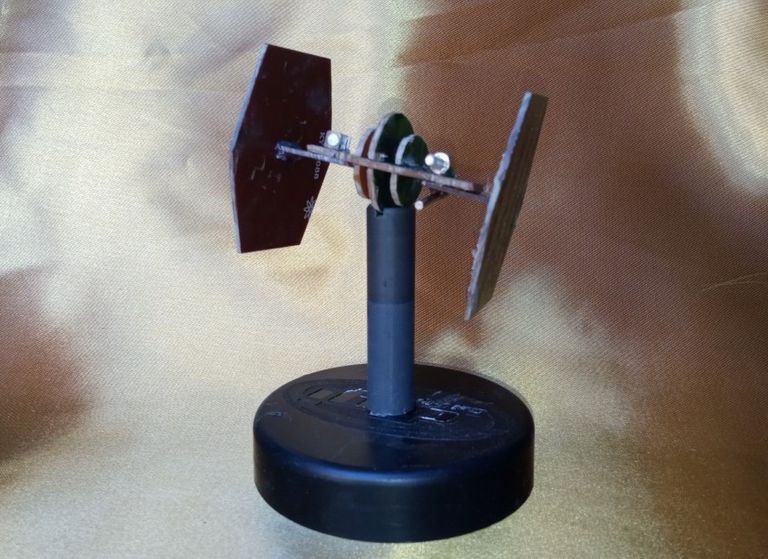
Greetings my dear friends readers, today I present a very curious work, a spaceship of the Star Wars super universe, specifically I bring you an imperial heavy fighter TIE/rb which I made with completely recycled materials and with a three-dimensional puzzle style structure.
Saludos mis queridos amigos lectores, hoy les presento un trabajo muy curioso, una nave espacial del super universo de Star Wars, específicamente les traigo un caza imperial pesado TIE/rb el cual elabore con materiales totalmente reciclados y con una estructura estilo rompecabezas tridimensionales.

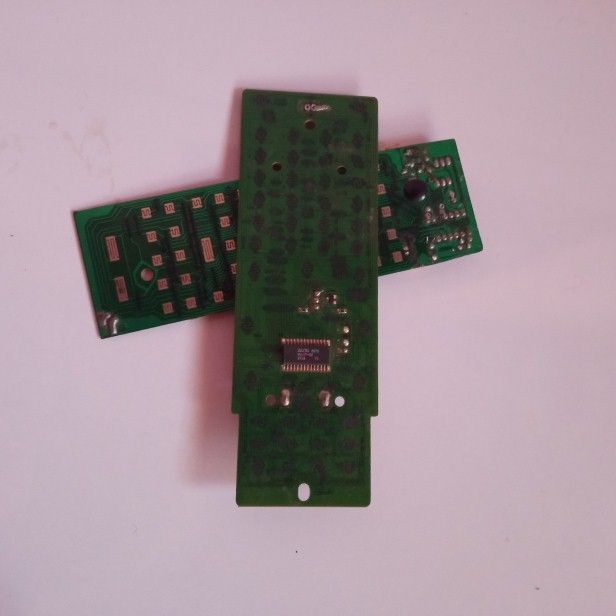
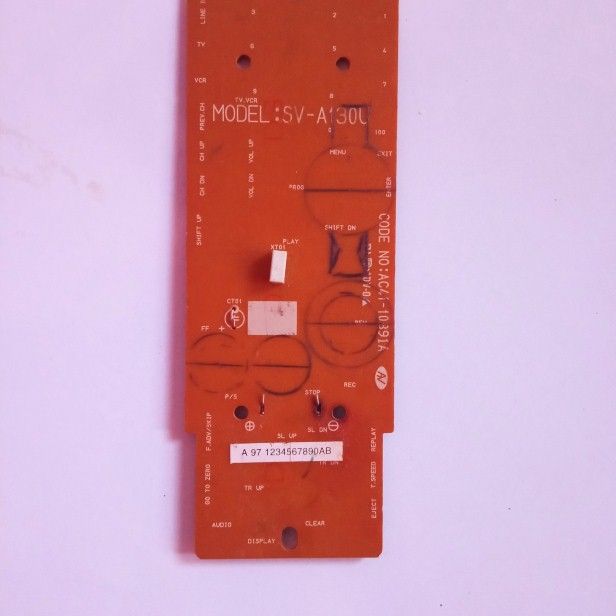
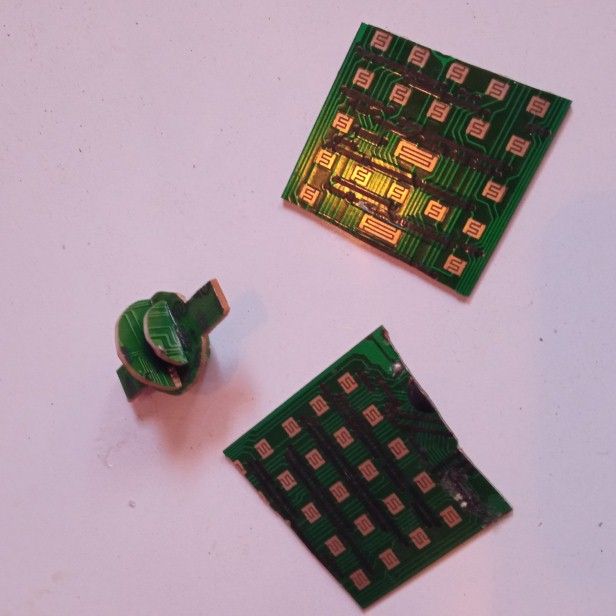
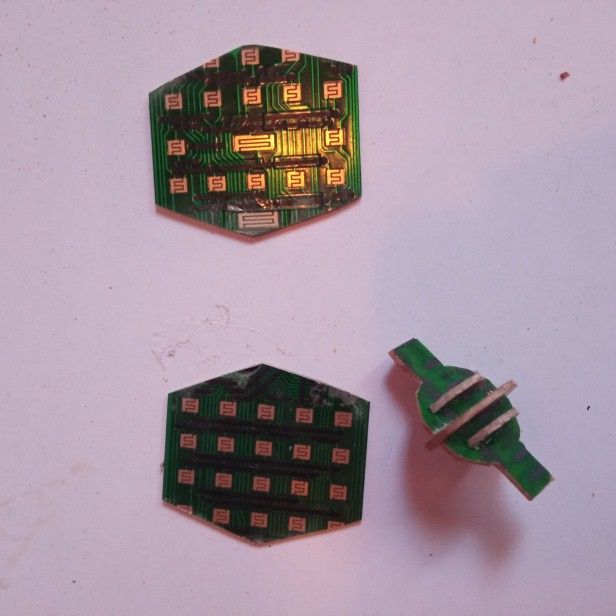
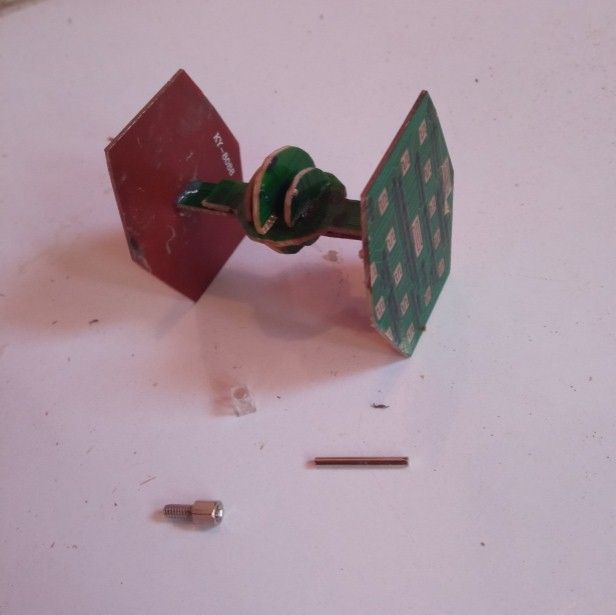
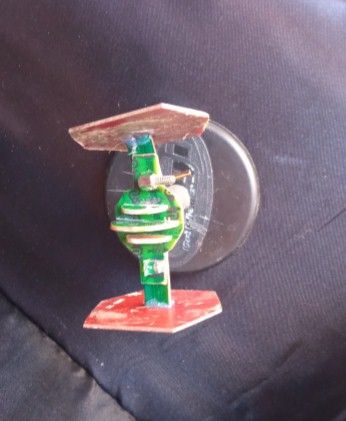
I'm not really an expert on the Star Wars universe, although I have enjoyed the movies. I always loved all their ships, they have an amazing variety. The thing is that I wanted to make one of those ships but I only had a couple of remote control boards and I came up with the idea of giving a 3d effect with few elements just like those old dinosaur three-dimensional puzzles.
Realmente no soy una experta del universo de Star Wars, aunque si he disfrutado sus películas. Siempre me encantaron todas sus naves, poseen una variedad asombrosa. El caso es que quise hacer una de esas naves pero solo disponía de un par de placas de control remoto y se me ocurrió la idea de dar un efecto 3d con pocos elementos tal y como lo hacen esos viejos rompecabezas tridimensionales de dinosaurios.
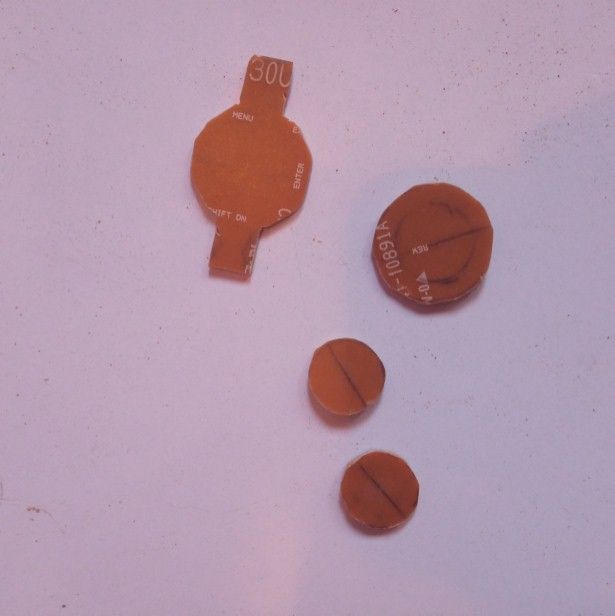
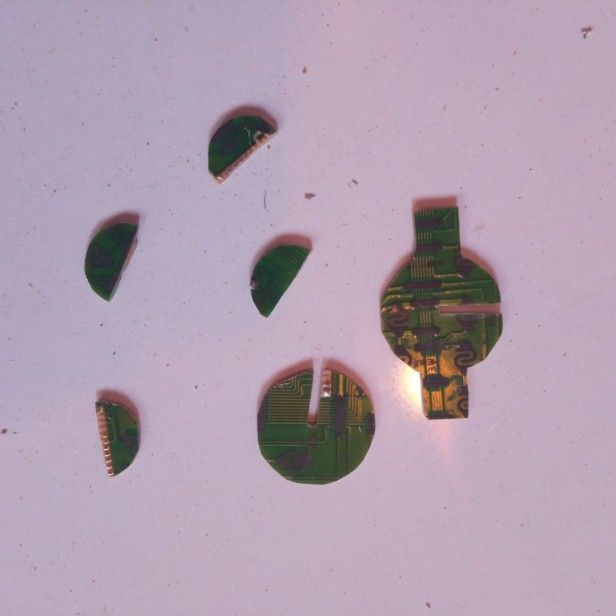
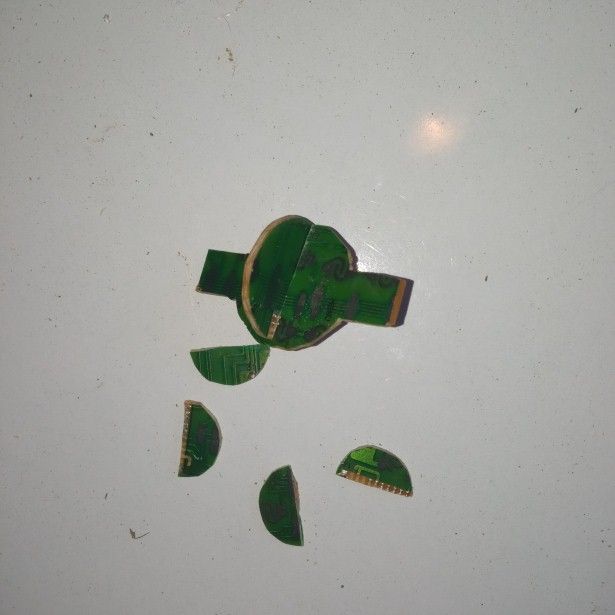
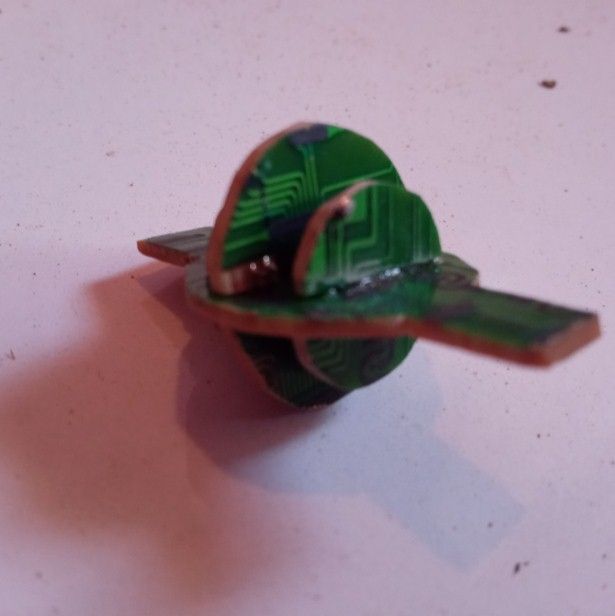
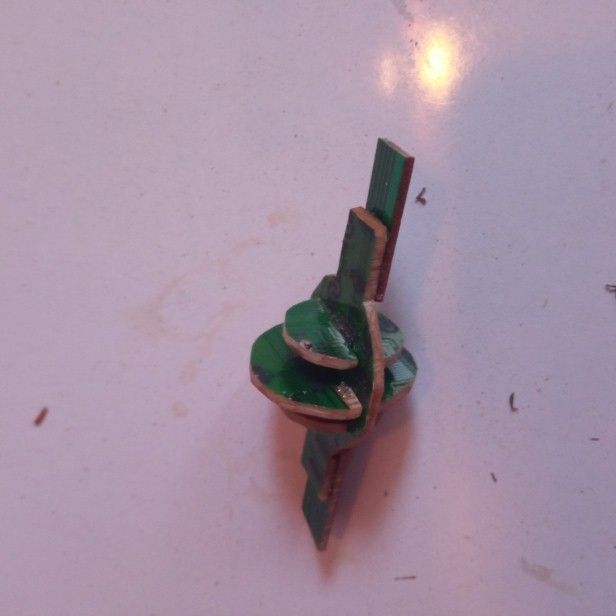
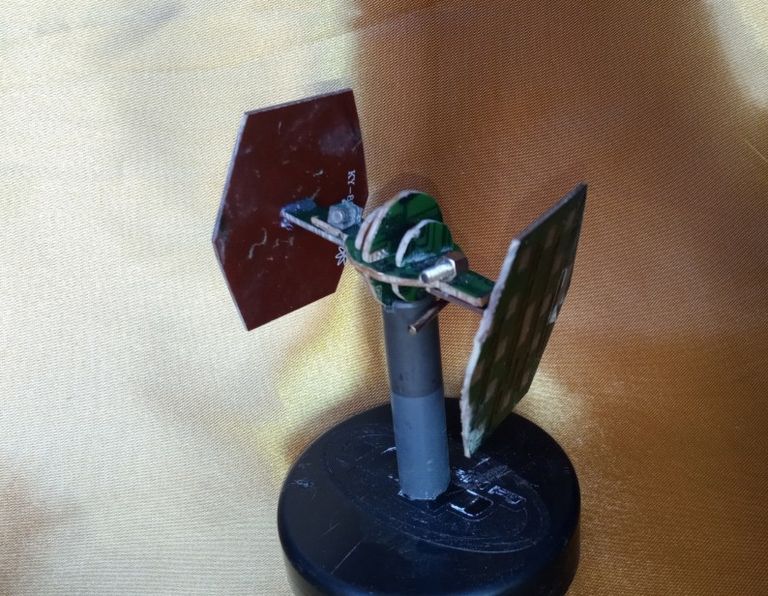
I got down to work and took out some tools such as pickaxes, blades and some sandpaper, I hope you enjoy the step by step, and watch the evolution of this imposing imperial fighter.
Me puse manos a la obra y saque algunas herramientas como piquetas cuchillas y algunas lijas, espero que disfruten el paso a paso, y observen la evolución de este imponente Caza imperial.


I hope you liked this intergalactic project and as always thanks for reading to the end, love you @shirahoshi and see you in a next post.
Espero que les gustara este proyecto intergaláctico y como siempre gracias por leer hasta el final, los quiere @shirahoshi y nos vemos en un próximo post.

The photographs are my own and were taken by me with a Redmi 9 and were edited in powerpoint.
Las fotografías son de mi autoría y fueron tomadas por mí con un Redmi 9 y se editaron en powerpoint.
The Step by Step Gif was made by me in AdobePhotoshop CC2014.
El Gif de Paso a Paso fue realizado por mi en AdobePhotoshop CC2014.
The logo was designed by me in Adobe Illustrator CC 2015 and its animated version was made in After Effects CC 2017.
El logo fue diseñado por mí en Adobe Illustrator CC 2015 y su versión animada la realice en After Effects CC 2017.
Language corrector used Deepl.
The space background used in the background of the cover you can get it here on Pixabay
El fondo espacial usado en el fondo de la caratula lo pueden conseguir acá en Pixabay

Congratulations, your post has been Manually curated by @r2cornell. You can use the tag #R2cornell. Also, find us on Discord
Felicitaciones, su publicación ha sido votada Manualmente por @r2cornell. Puedes usar el tag #R2cornell. También, nos puedes encontrar en Discord
Thank you very much for your support :)
Esta publicación ha recibido el voto de @blurthispano, una iniciativa dedicada a promover el contenido de calidad de la comunidad hispanohablante . Te invitamos a usar el tag #blurthispano. Nos puedes encontrar en Discord
Vota por nosotros como Testigo (Witness) en el siguiente enlace Testigo / Witness
Gracias! me alegra que les gustara la publicación ;)