Making a Majestic Origami Dragon
Haciendo un Majestuoso dragón de Origami
Greetings my dear readers, today I bring you, after a long time, a majestic paper dragon, which I made with much love and effort for all of you.
Saludos mis apreciados lectores, el día de hoy les traigo, luego de mucho tiempo un majestuoso dragón de papel, el cual realice con mucho cariño y esfuerzo para todos ustedes.

This majestic dragon is folded by me but it is a Saku Design (さ く) and has a fairly high degree of complexity, I wanted to make it to get out of the routine and impose a challenge to keep my mind busy and prepared for any situation.
Este majestuoso dragón es plegado por mí pero es un Diseño de Saku (さ く) y tiene un grado de complejidad bastante alto, quise realizarlo para salir un poco de la rutina e imponerme un reto el cual mantenga mi mente ocupada y preparada para cualquier situación.
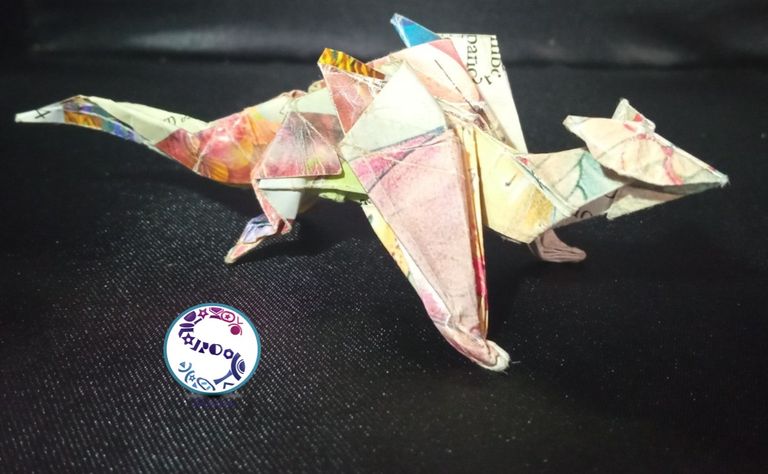
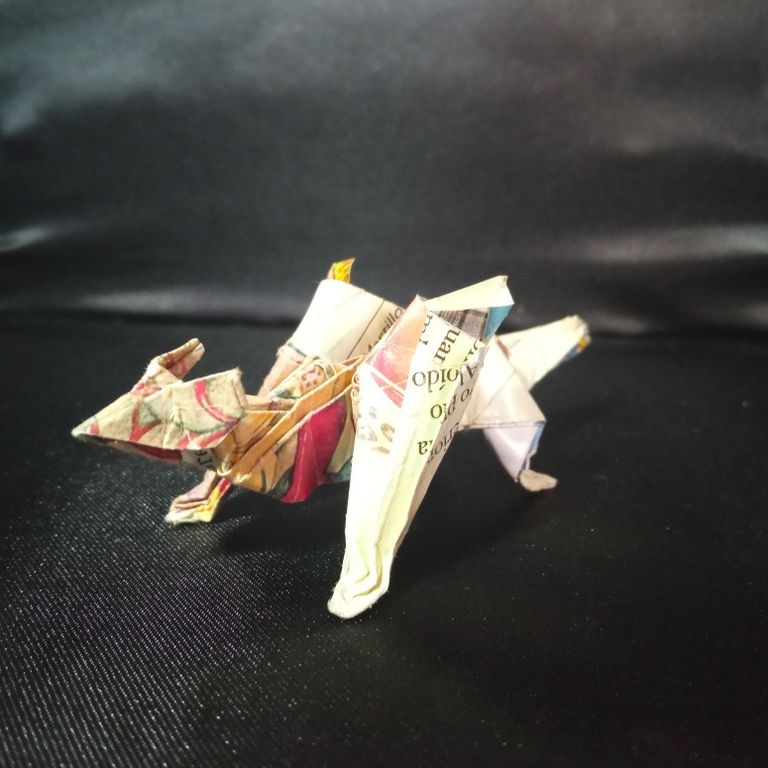
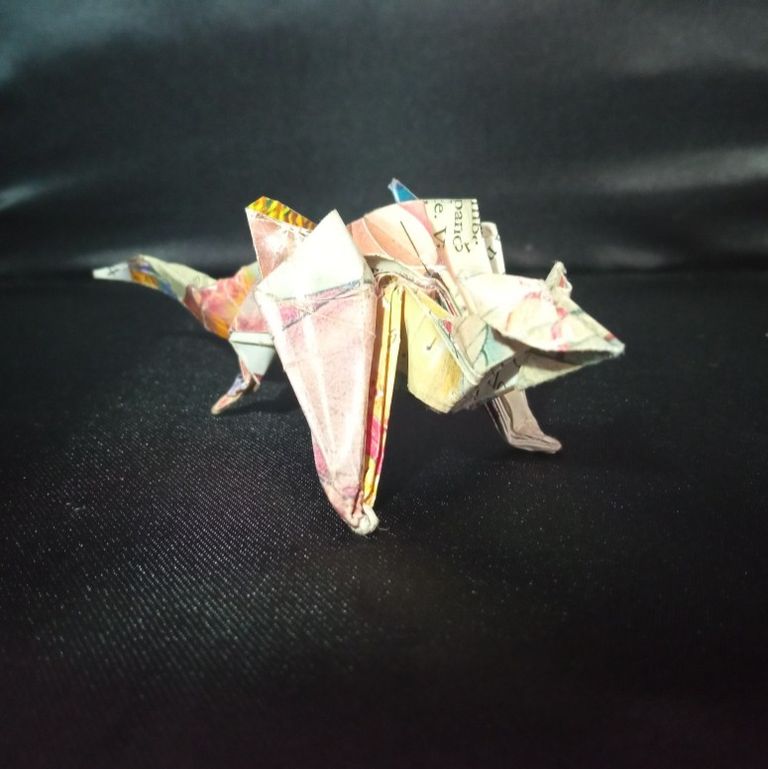
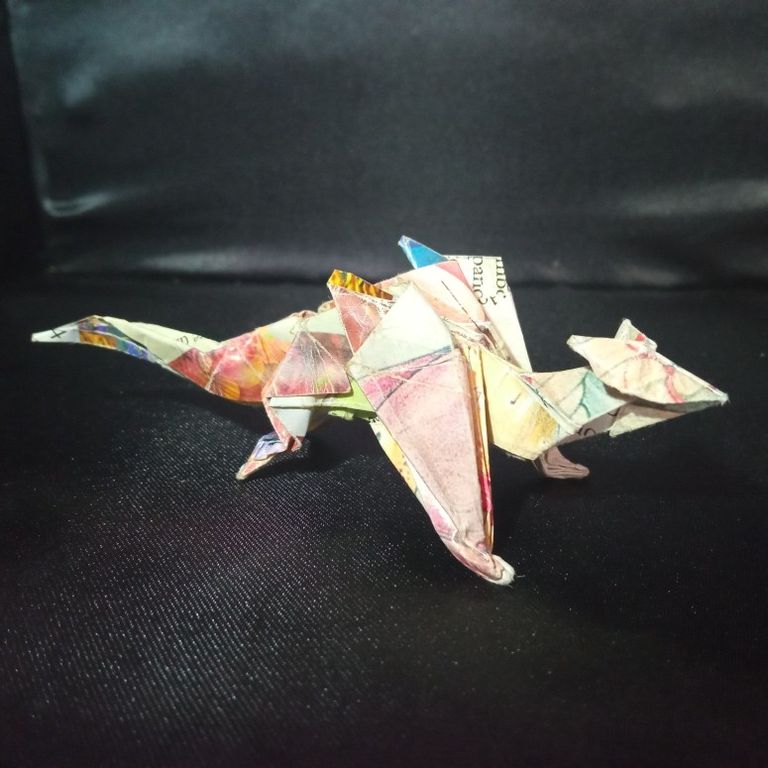
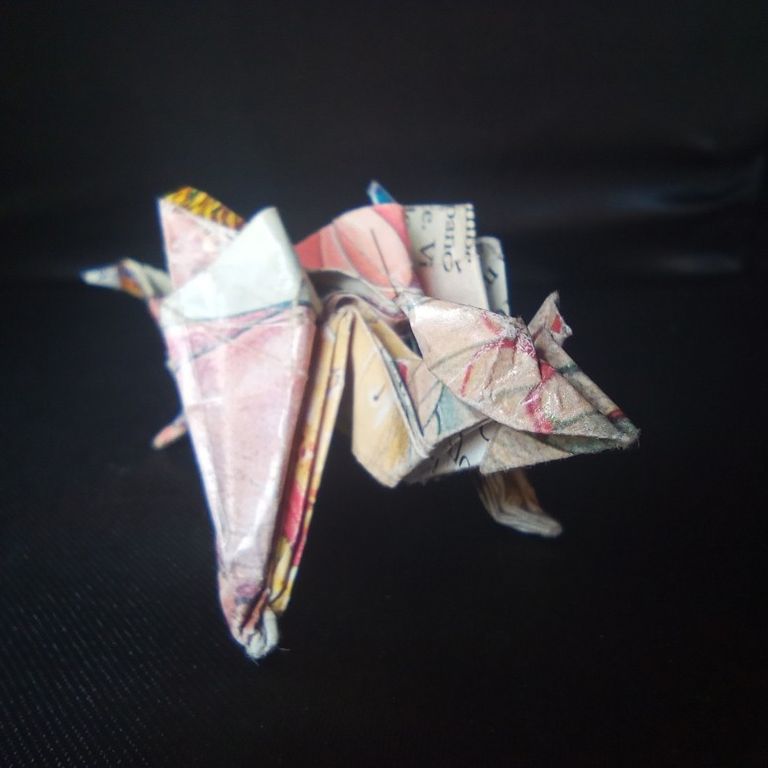
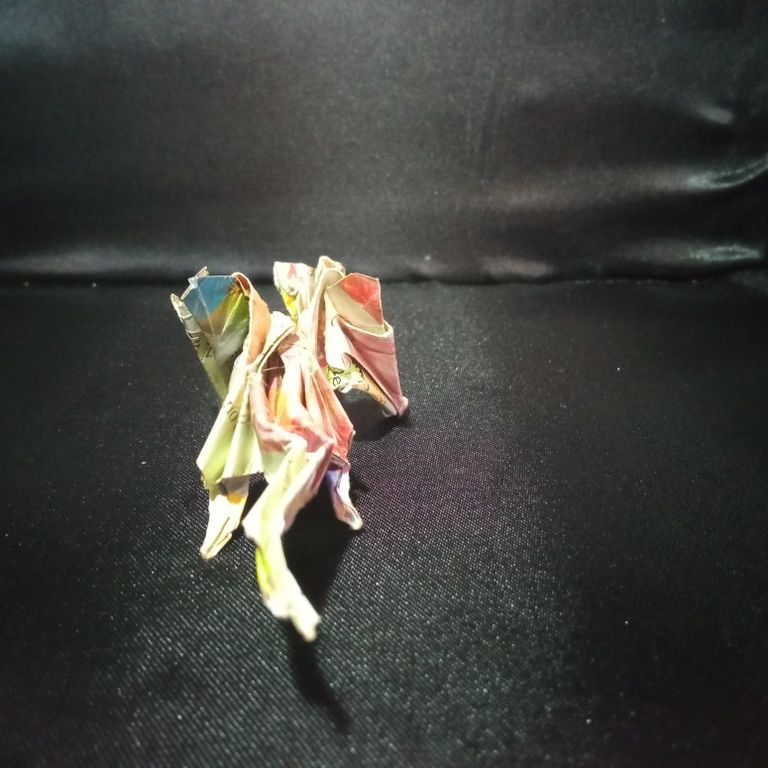
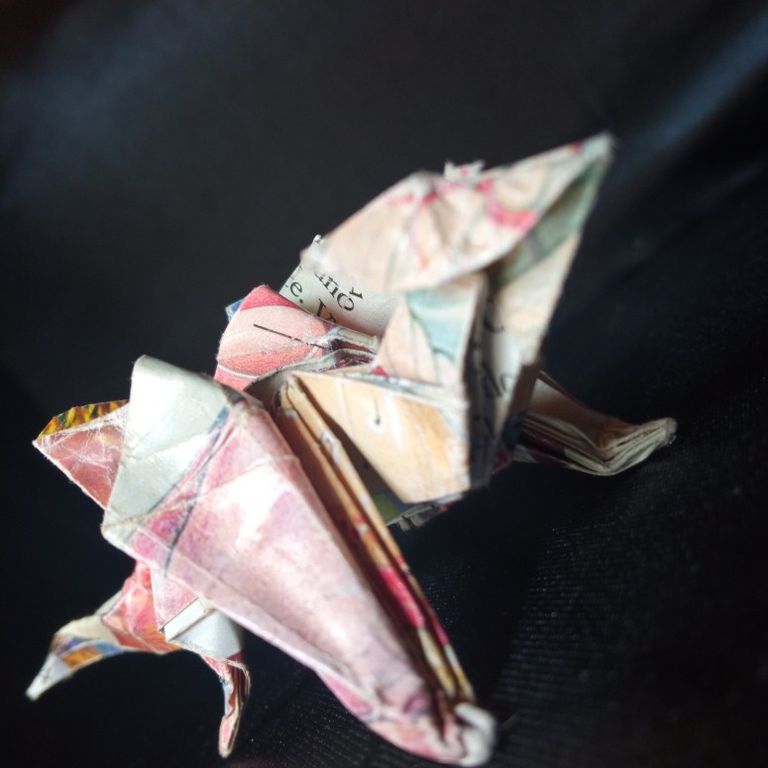
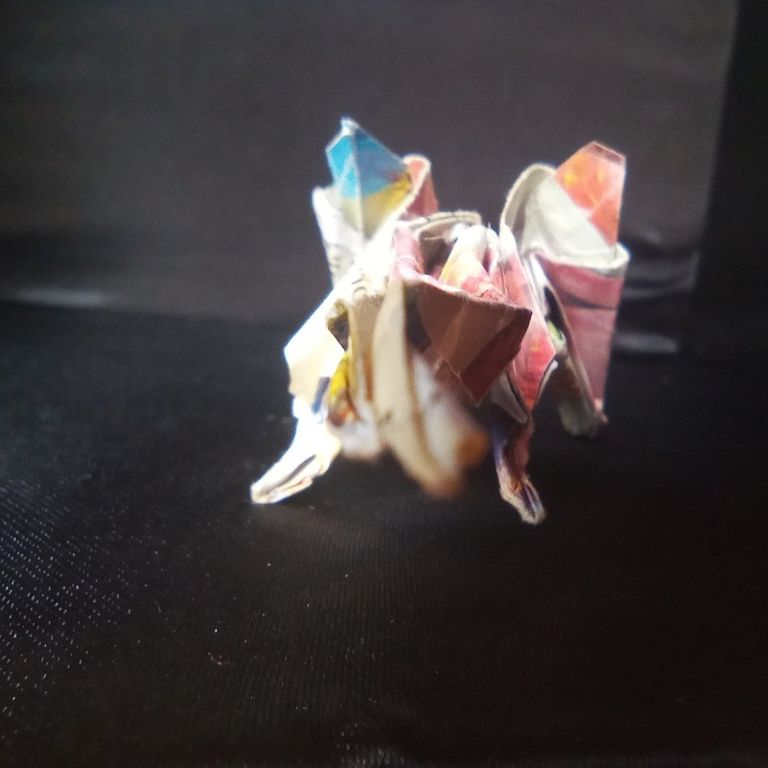
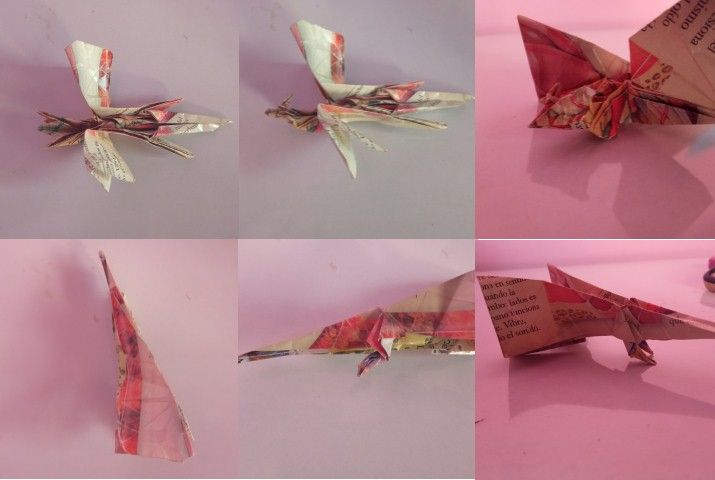
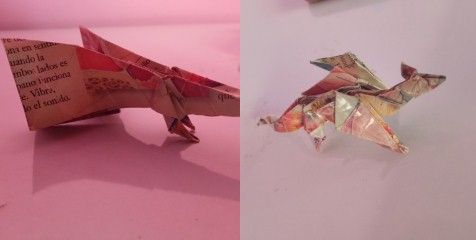
I usually leave the pictures of the result for the end, but being able to finish this magnificent and complex dragon made me feel so proud that I wanted to show the result first from all possible angles.
Generalmente dejo las imágenes del resultado para el final, pero poder culminar este magnífico y complejo dragón me hizo sentir tan orgullosa que quise mostrar primero el resultado desde todos los ángulos posible.

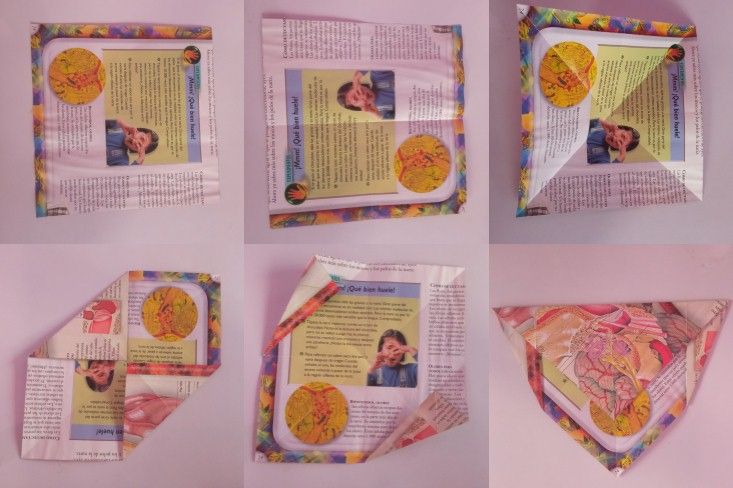
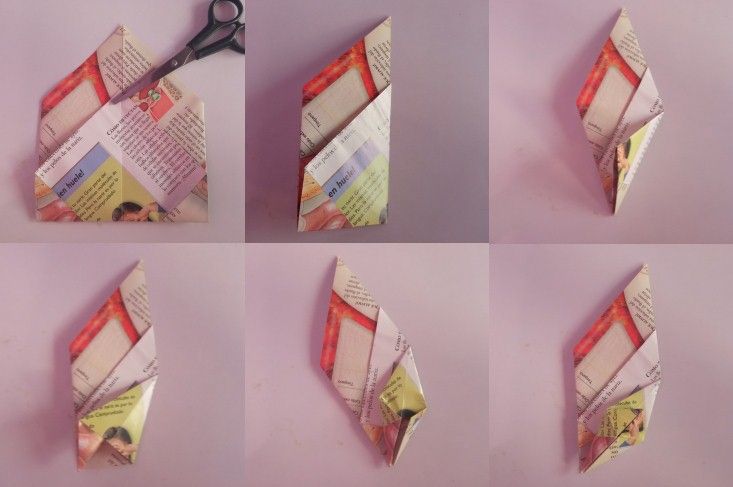
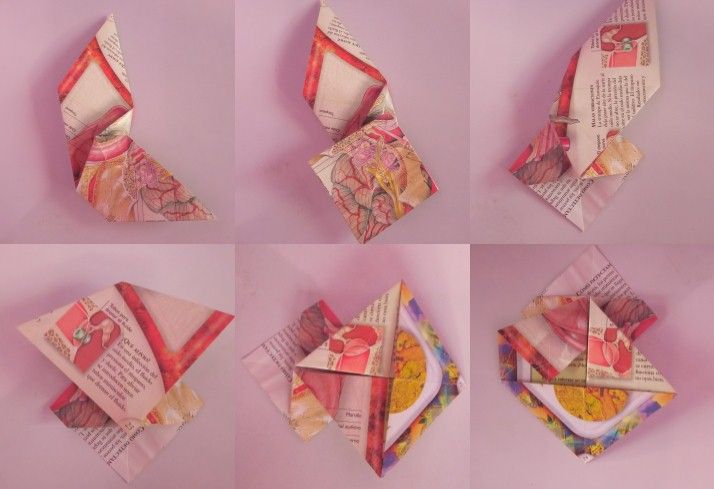
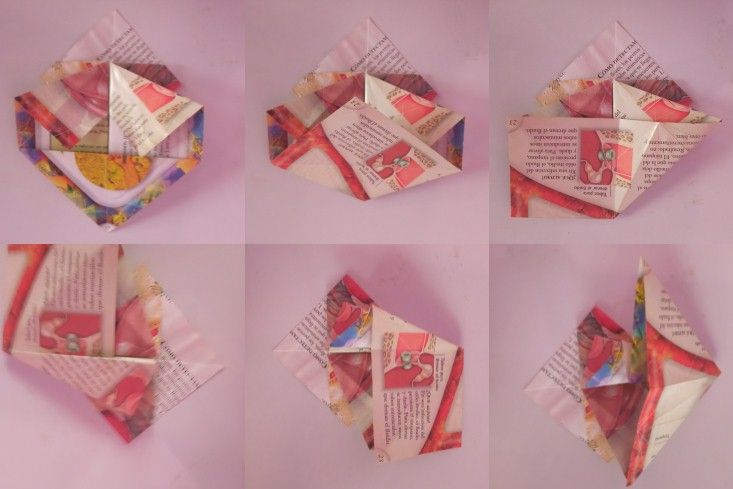
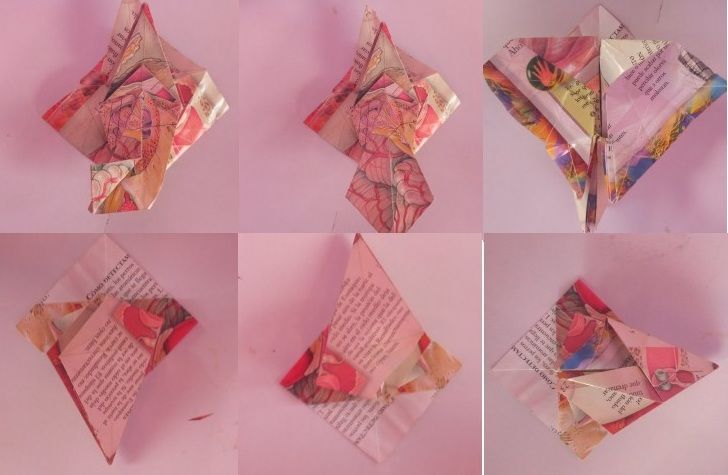
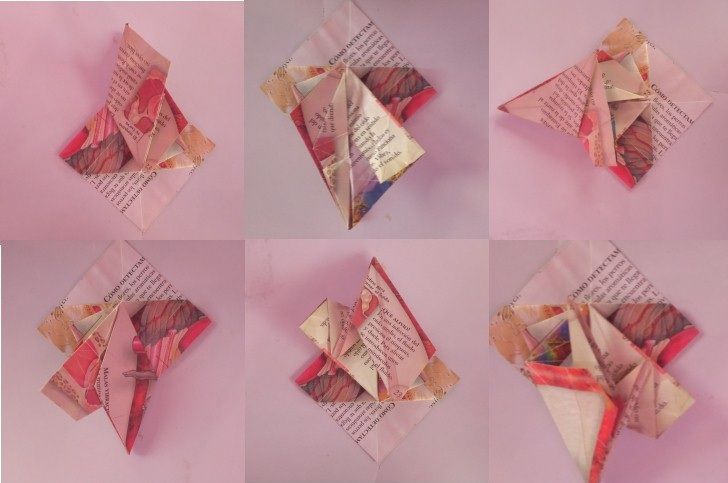
At first I thought of describing the step by step, but the folds become more difficult to explain as you progress, so I will leave the images of the sequence in which I was able to make this beautiful piece of paper. As usual I try to enhance the origami in recycled material to give that beautiful color dynamics, that is why we will need a recycled sheet of any magazine, a pencil, a ruler and a scissors in order to obtain a square, as perfect as possible, in this case of 18 cm.
En un principio pensé en describirles el paso a paso, pero los pliegues se vuelven más difíciles de explicar a medida que se avanza, así que dejare las imágenes de la secuencia en la cual yo pude realizar esta hermosa pieza de papel. Como es costumbre trato de realzar los origami en material reciclado para dar esa dinámica de color tan hermosa, es por ello que necesitaremos una hoja de reciclaje de cualquier revista, un lápiz, una regla y una tijera con el fin de obtener un cuadrado, lo más perfecto posible, en este caso de 18 cm.


Steps ---- Pasos
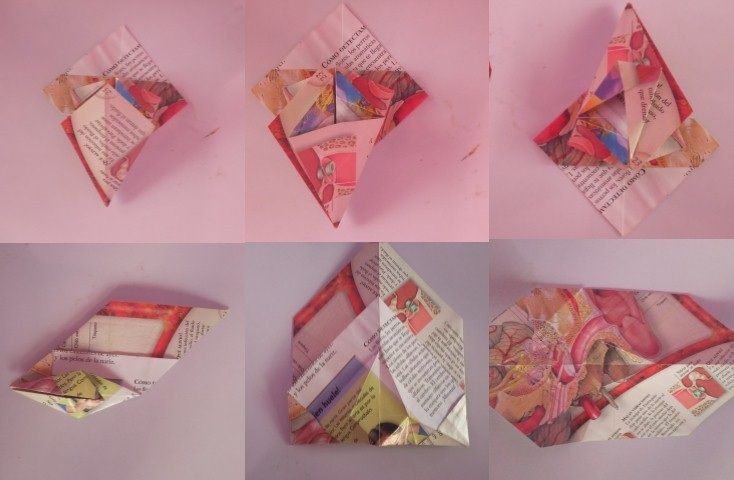
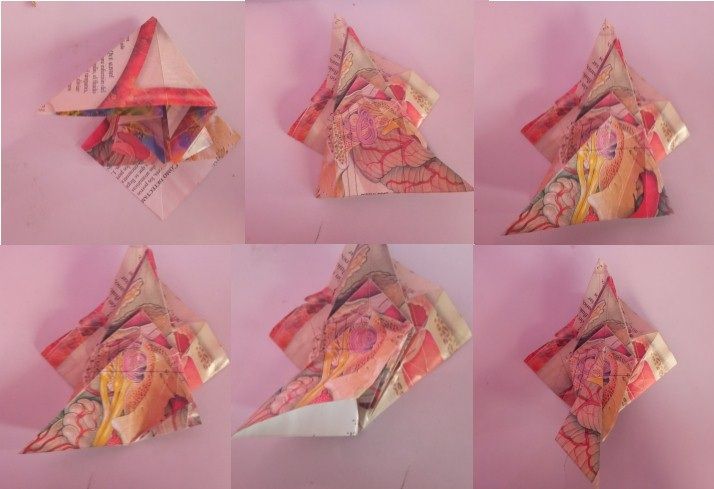
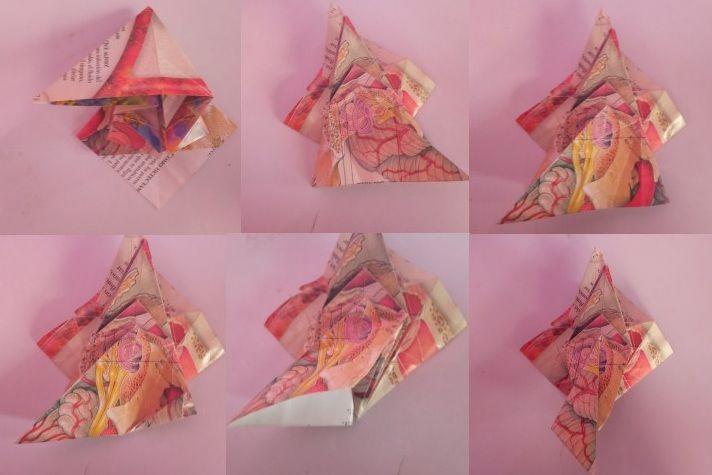

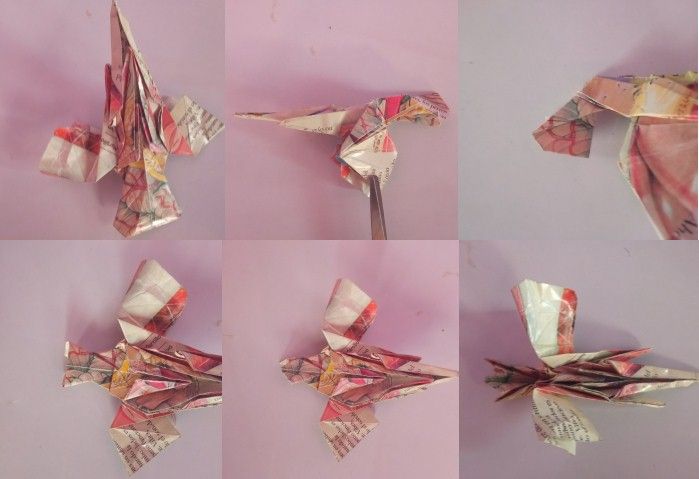

Just at this point I was so focused on the folds that I even forgot to take the pictures, but I didn't really follow the instructions for the wings and developed them as I liked ;).
Justo en este punto estaba tan concentrada con los pliegues que incluso olvide tomar las fotografías, pero el realmente no seguí mucho las instrucciones para las alas y las desarrolle como más me gusto ;).
I hope you liked the result as much as I did and although this piece is not so easy to make, you will be motivated to practice a little origami because it is a very beautiful and relaxing art. As always thanks to those who read the post until the end, love you @shirahoshi and I hope to see you in a future post.
Espero que les gustara tanto el resultado como a mí y aunque esta pieza no es tan sencilla de hacer, se motive a practicar un poco de origami debido a que es un arte muy hermoso y relajante. Como siempre gracias a los que leyeron el post hasta el final, los quiere @shirahoshi y los espero en un próximo post.

Las fotografías son de mi autoría y fueron tomadas por mí con un Redmi 9 y se editaron en powerpoint.
For more details on this origami, please refer to the web page used as reference.
Para más detalles sobre este origami pueden consultar la página Web que se usó como referencia.
Language corrector used Deepl.
The Step by Step Gif was made by me in AdobePhotoshop CC2014.
El Gif de Paso a Paso fue realizado por mi en AdobePhotoshop CC2014.

Esta publicación ha recibido el voto de @blurthispano, una iniciativa dedicada a promover el contenido de calidad de la comunidad hispanohablante . Te invitamos a usar el tag #blurthispano. Nos puedes encontrar en Discord
Vota por nosotros como Testigo (Witness) en el siguiente enlace Testigo / Witness