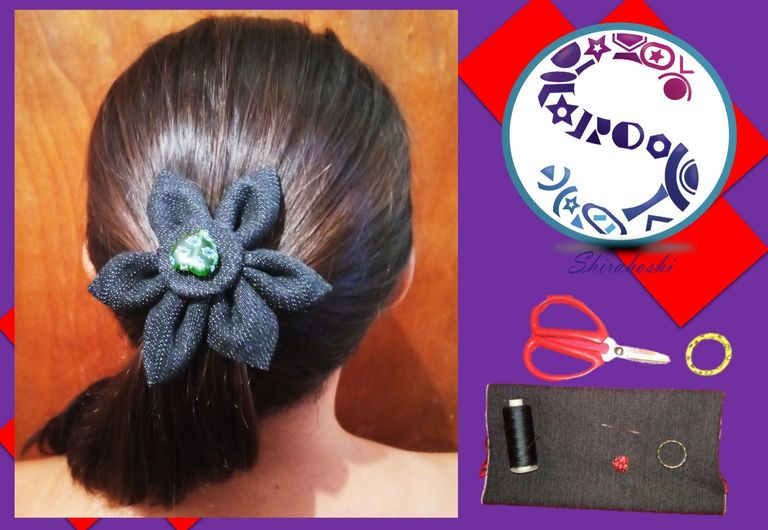
Hello friends of this great community, today I will be sharing with you a cute flower-shaped jeans bow tie, it is very nice and economical and the most important thing is that it is not difficult to make, stay with me until the end of the post and enjoy every step to get to this beautiful and flirty craft.
Hola amigos de esta grandiosa comunidad, el día de hoy les estaré compartiendo una linda moñera de jeans en forma de flor, es muy linda y económica y lo más importante es que no es nada difícil de realizar, quédate conmigo hasta el final del post y disfruta de cada paso para llegar a esta hermosa y coqueta manualidad.
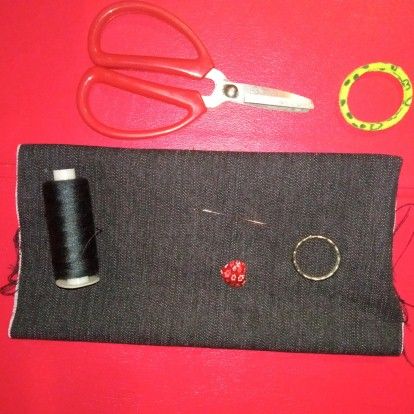
The materials I used were the following:
- Jeans fabric
- Scissors
- Silicone
- A glass
- Pencil
- Needle
- Thread
- Decorative heart stone
- Tiepin
- Key ring
Los materiales que utilice fueron los siguientes:
- Tela de jeans
- Tijera
- Silicón
- Un vaso
- Lapicero
- Aguja
- Hilo
- Piedra decorativa de corazón
- Moñera
- Aro de llavero


First I grabbed the jeans fabric, stretched it and placed it on the opposite side, as you can see in the pictures.
Primero agarro la tela de jeans la estiró y la colocó por el lado contrario, así como observan en las imágenes.
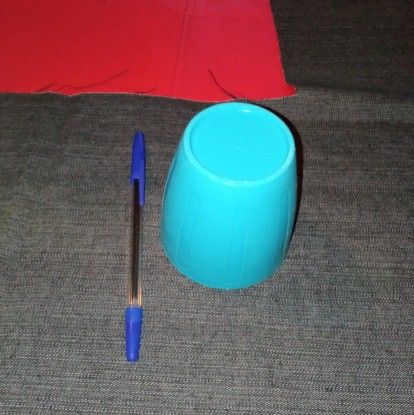
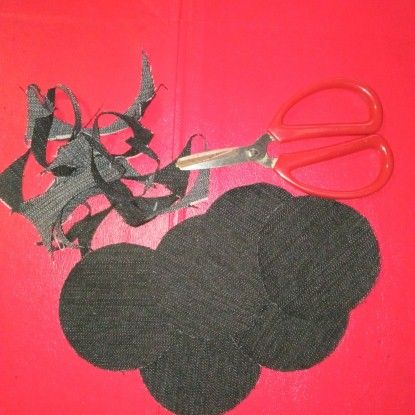
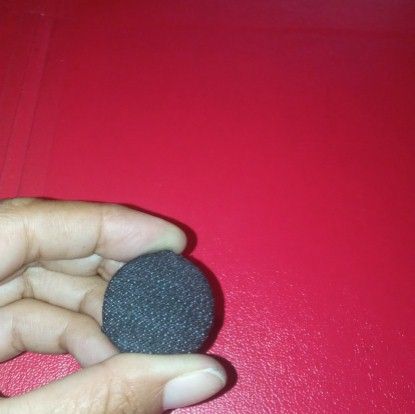
Then with a glass I mark six circles of the size I want.
Luego con un vaso marco seis círculos del tamaño que deseo.
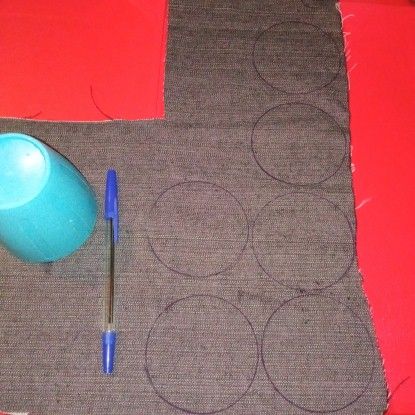
In this step I proceed to cut out the circles.
En este paso procedo a recortar los círculos.
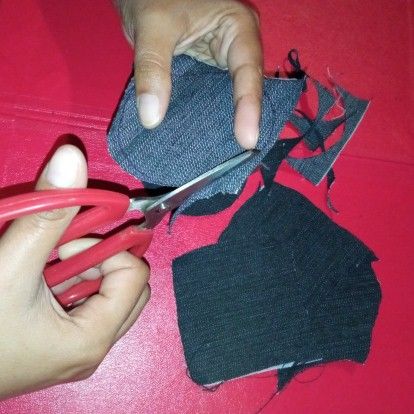
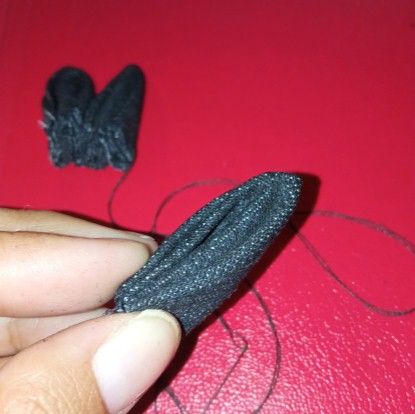
Once all the circles have been cut out, I proceed to make 3 double circles in half as shown in the images.
Ya recortados todos los círculos procedo hacer 3 dobles por la mitad como muestro en las imágenes.
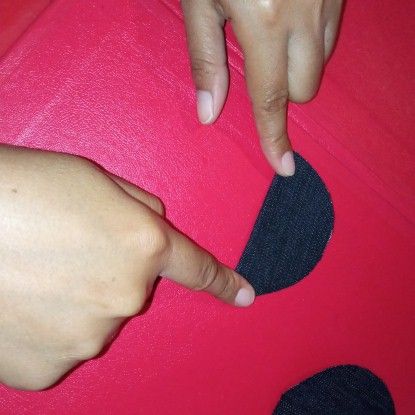
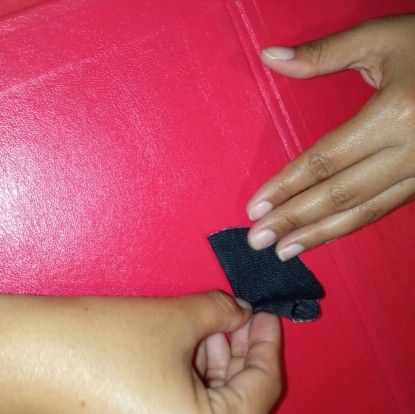
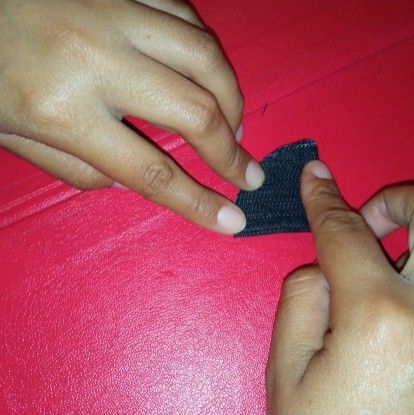
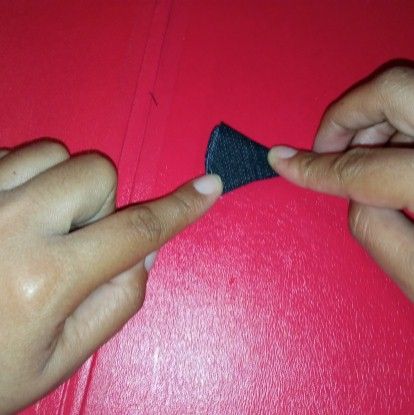
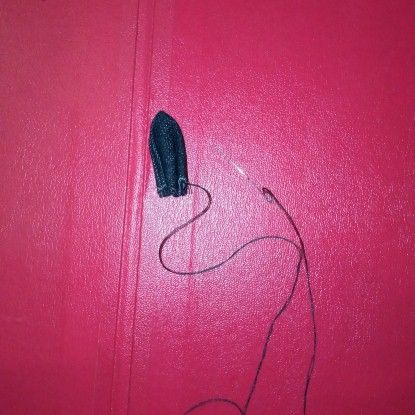
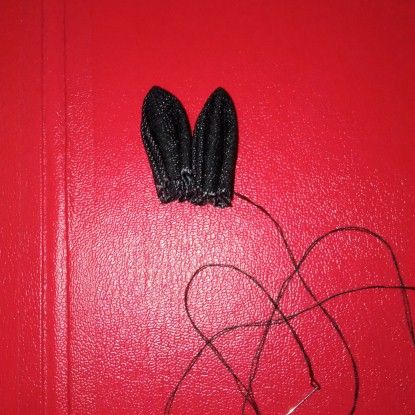
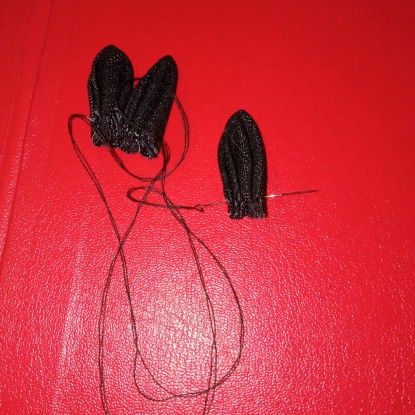
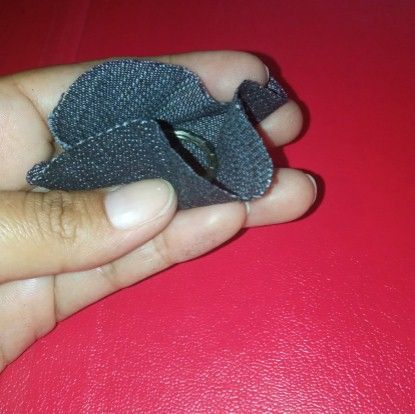
Then we grab the ends and bring it to the central part, first one side and then the other.
Luego agarramos los extremos y lo llevamos a la parte central primero un lado y luego el otro.
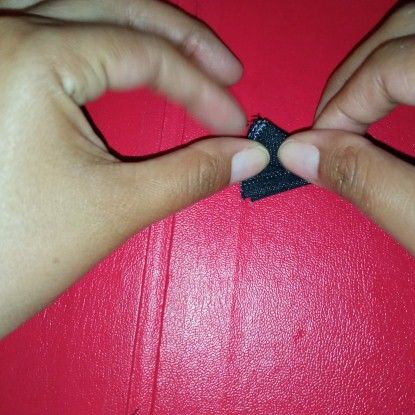


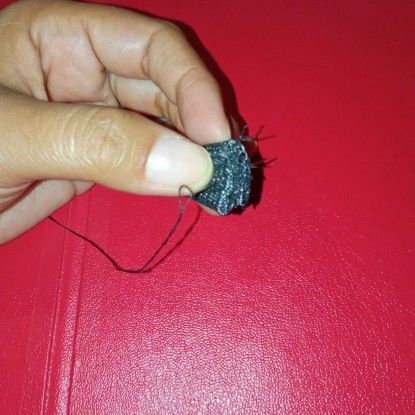
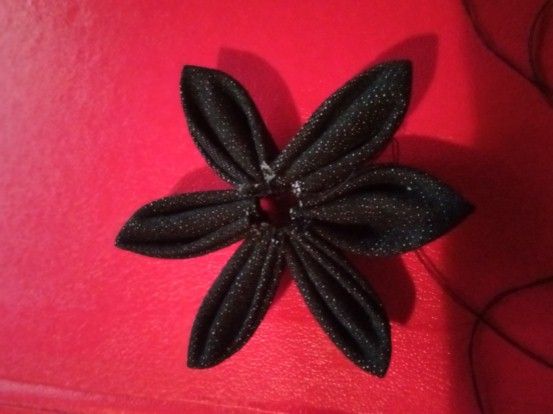
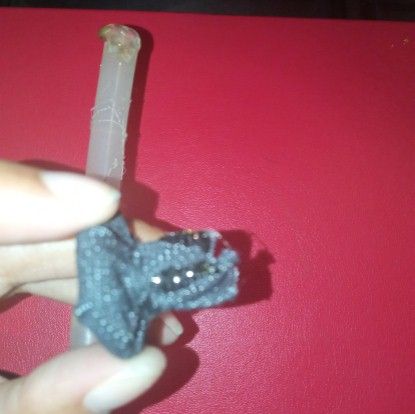
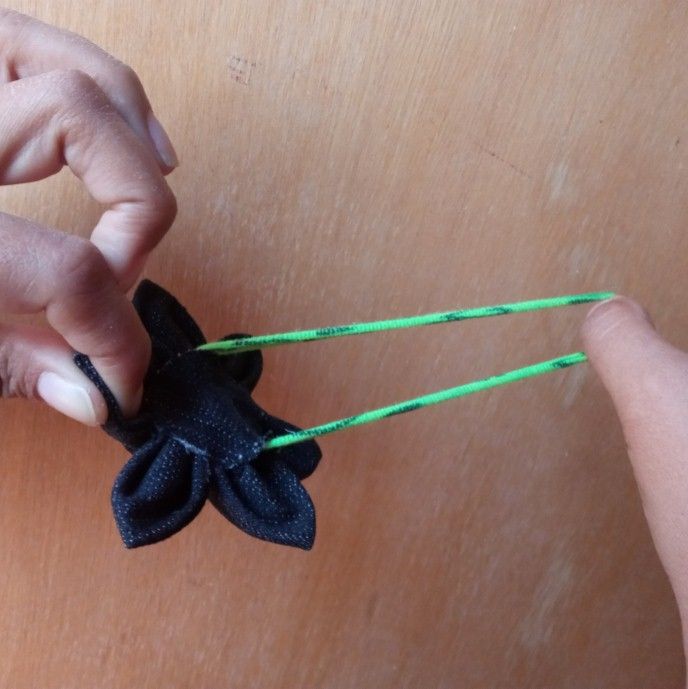
Here with the needle prepared with thread we are going to introduce the petal of the flower at the end and repeat the process with all the petals.
Aquí con la aguja preparada con hilo vamos a introducir el pétalo de la flor por la parte final y así se repetirá el proceso con todos los pétalos.
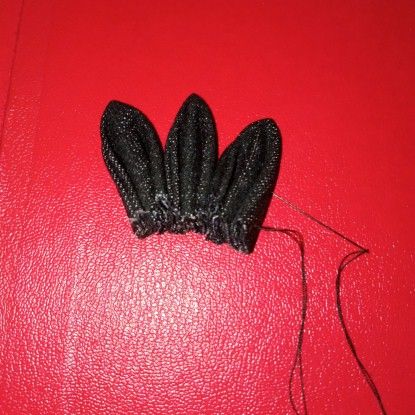
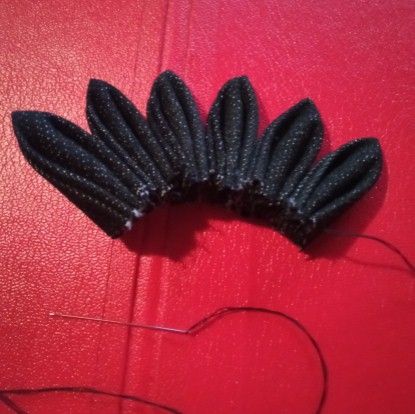
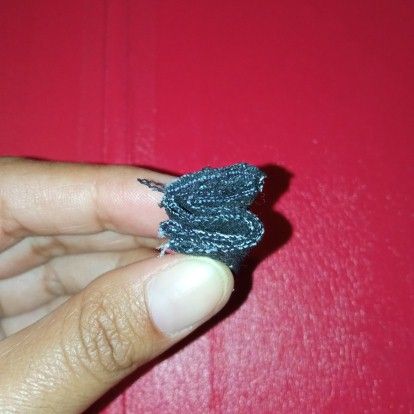
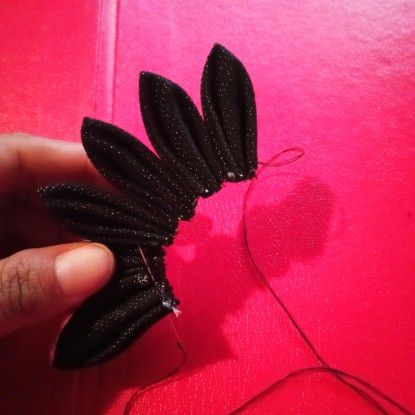
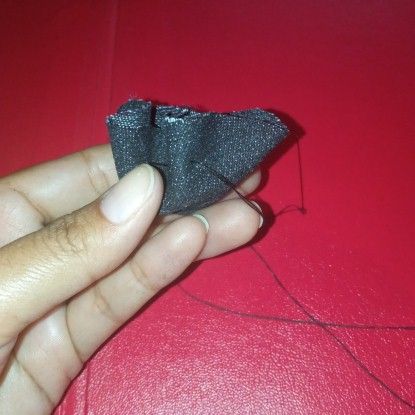
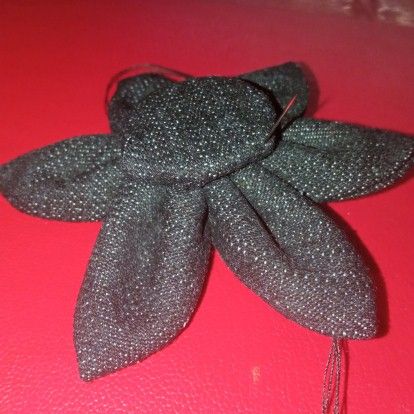
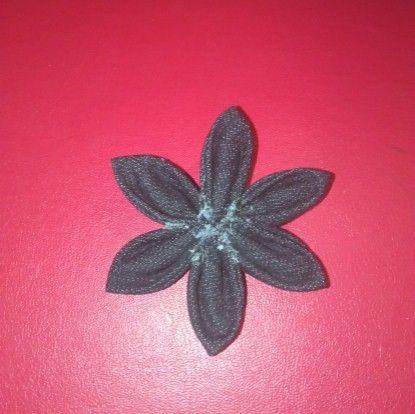
Pass the needle through the first petal and finish off well to fix the flower.
Pasamos la aguja por el primer pétalo y rematamos bien para dejar fijo la flor.
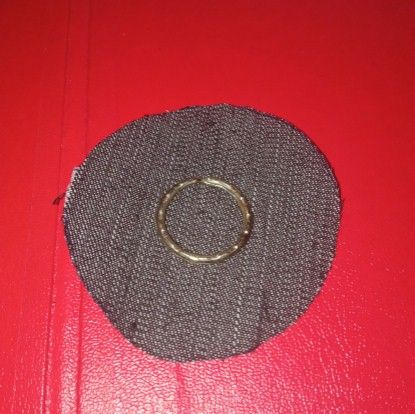
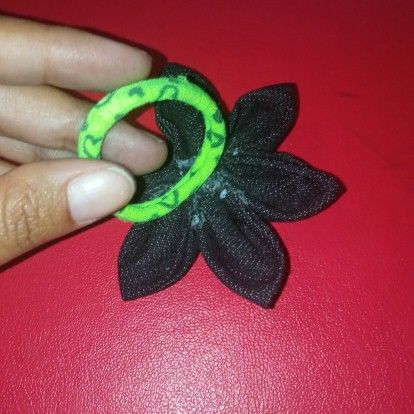
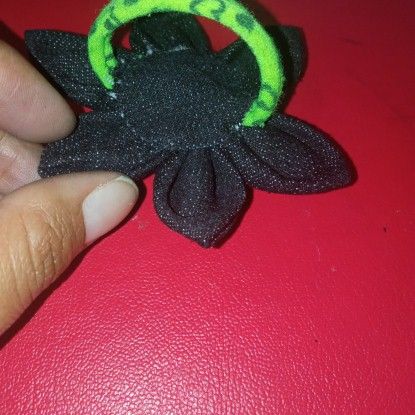
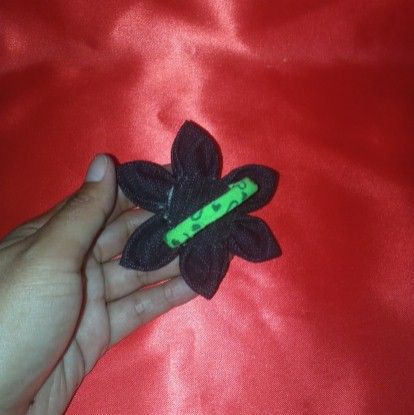
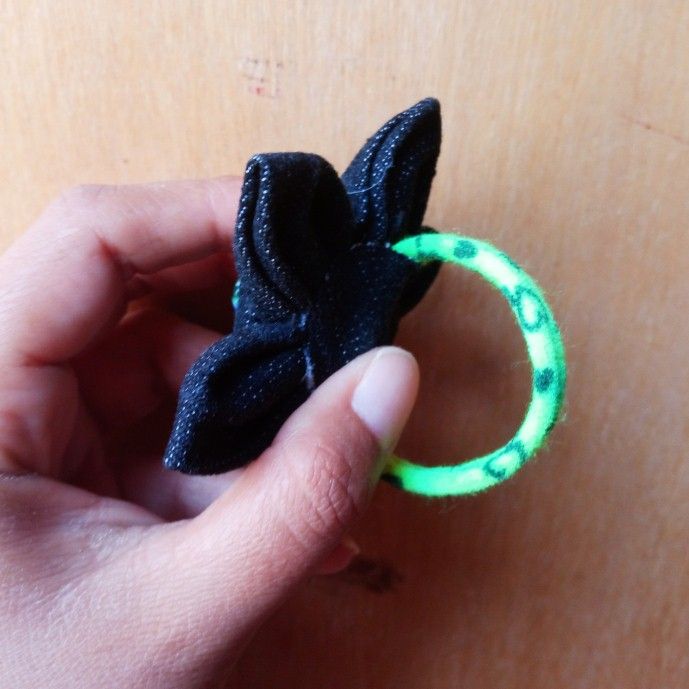
We make another circle, cut it out and in the middle place a key ring and proceed to make a bag and hold it well in the form of a bow to stabilize. This is a nice button.
Hacemos otro círculo, recortamos y en todo el medio colocó un aro de llavero y procedo hacer un saco y sujetamos bien en forma de moño para estabilizar. Quedando un lindo botón.

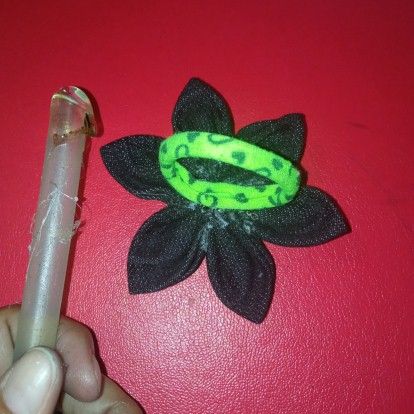
We also take the silicone and place a few stitches on the bow and glue all around the middle of the flower. To adjust and be more secure when using my bow tie, I make some stitches with the needle and thread, making it stronger and more resistant.
También agarramos el silicón y le colocamos al moño unos puntos y pegamos en todo el medio de la flor. Para ajustar y estar más segura al momento de usar mi moñera, le hago unos puntos con la aguja y el hilo, quedando más fuerte y resistente.

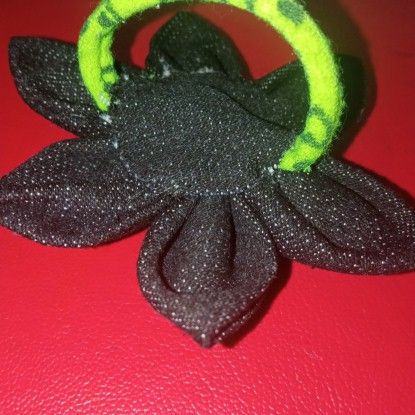
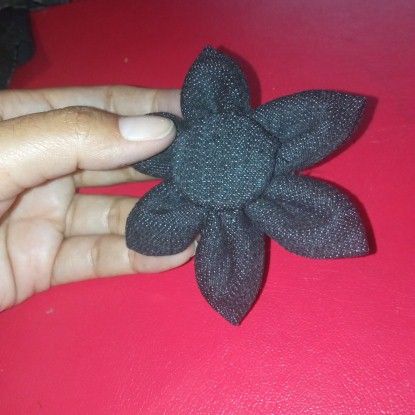
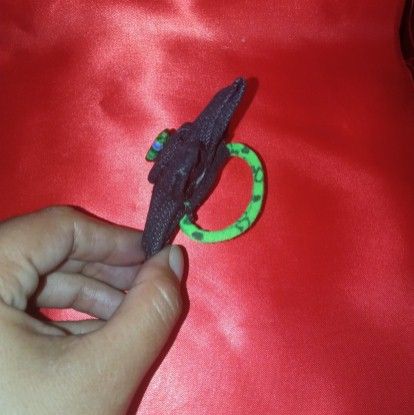
On the opposite side of the flower I place a few dots of silicone on each petal and proceed to join, and at once I add silicone to the tail and glue it to the flower.
Por el lado contrario de la flor le colocó unos puntos de silicón en cada pétalo y procedo a unir, de una vez le agrego silicón a la cola y la pego de la flor.
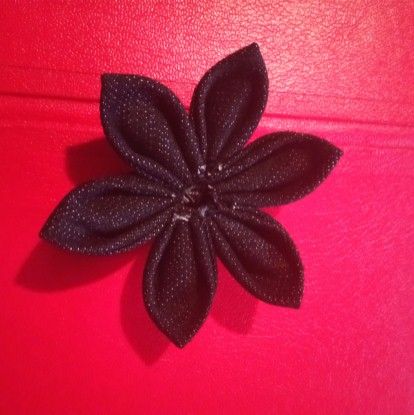
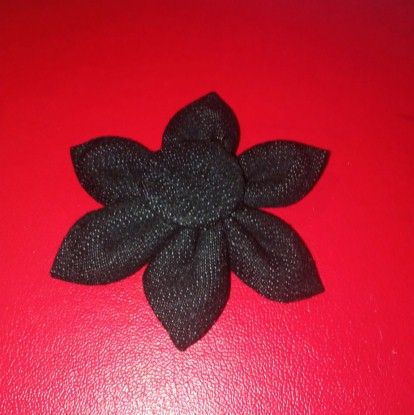
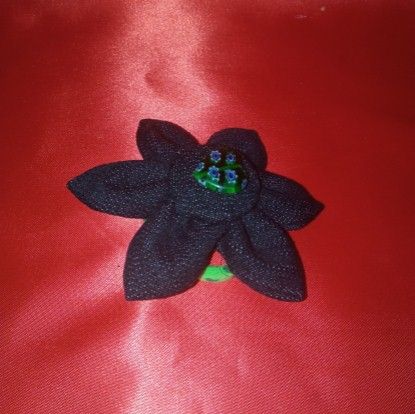
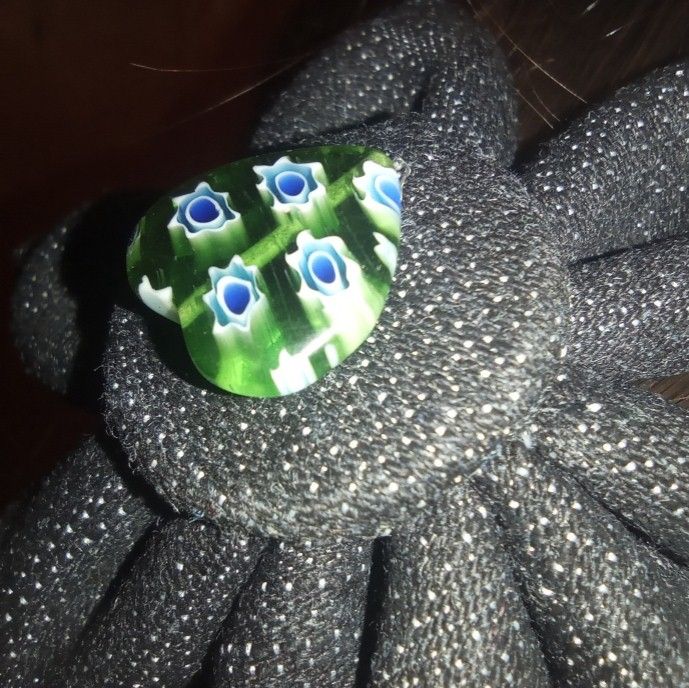
Finally, I make a small circle and where the tail is I cover the imperfections as shown in the images, making it look super cute and to decorate the button I put a decorative heart-shaped stone.
Ya para finalizar hago un círculo pequeño y dónde está la cola tapo las imperfecciones así como muestro en las imágenes quedando super lindo y para decorar el botón le coloque una piedra decorativa en forma de corazón.

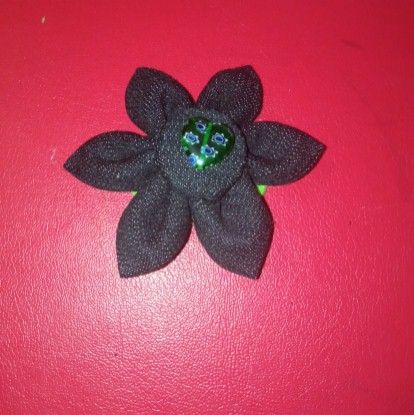
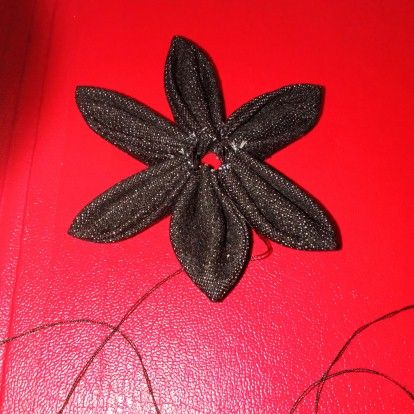
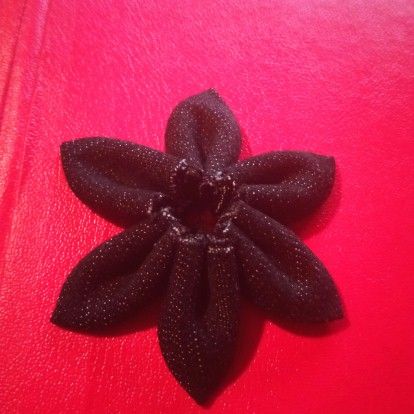
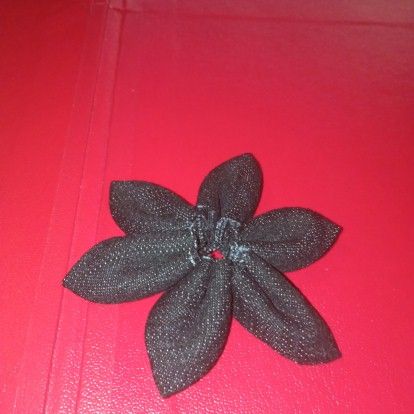
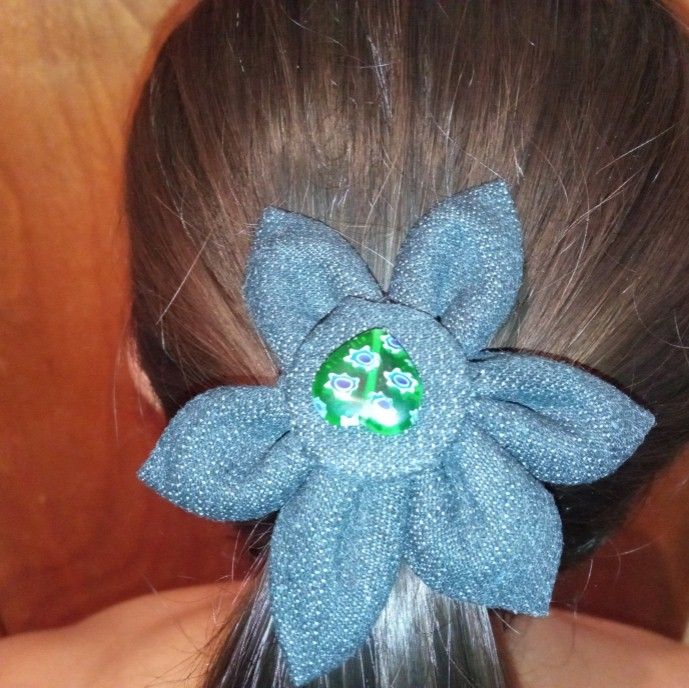
As always I leave you a photo session where I show the final result.
Como siempre les dejo una sesión de fotos donde muestro el resultado final.
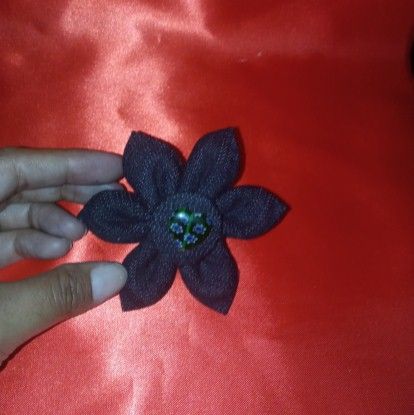
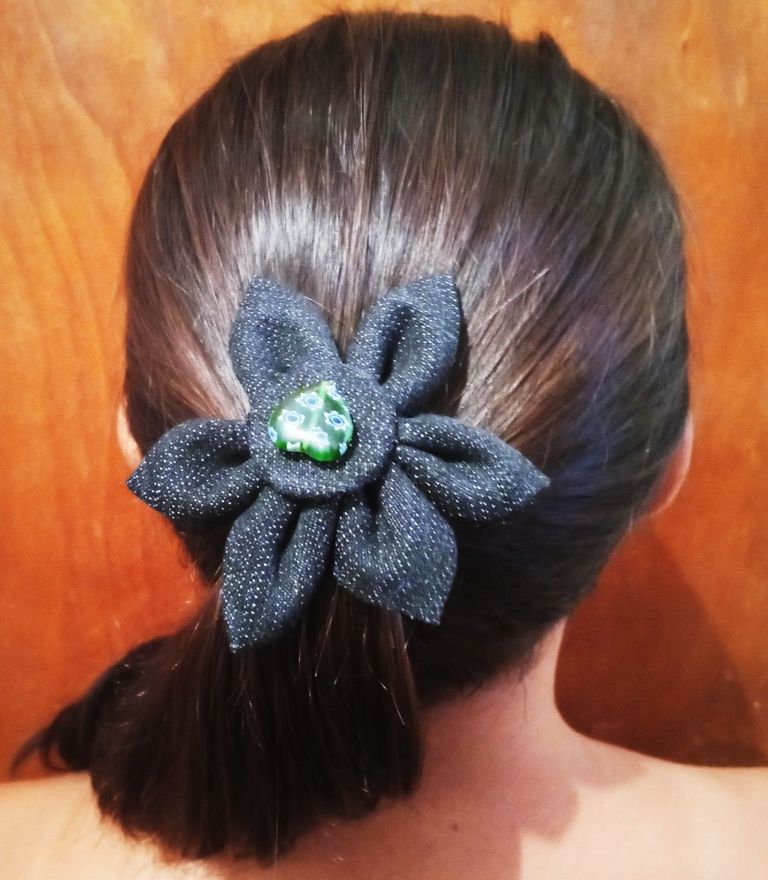
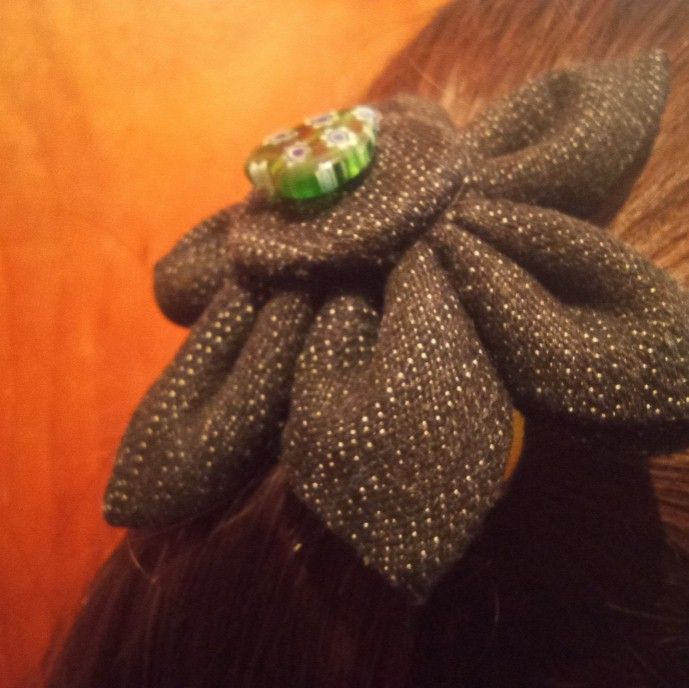
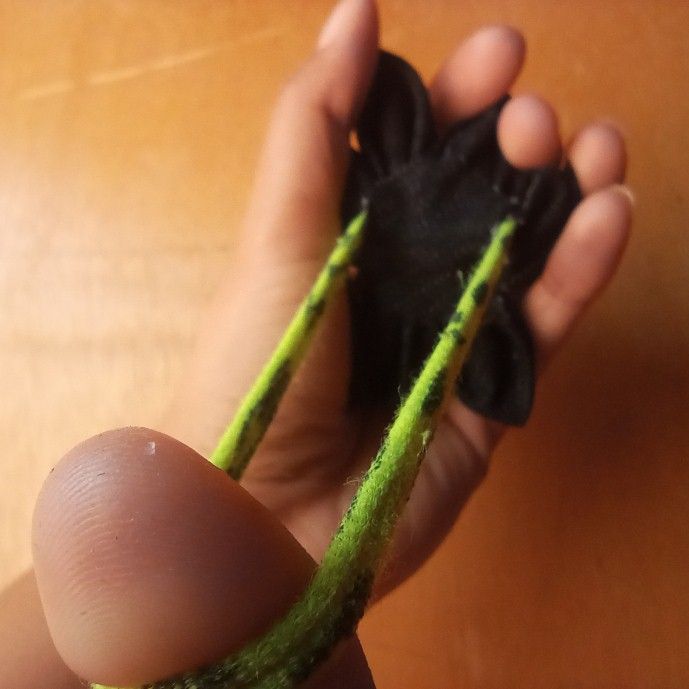
In this part, I will show you how resistant this spectacular flower bun is.
En esta parte les mostrare lo resistente que queda esta espectacular moñera flor.
Without more to say and hoping that this craft post is to the liking of each reader I say goodbye wishing you a happy and blessed day, love you @shirahoshi.
Sin más que decir y esperando que este post de manualidad sea del agrado de cada lector me despido deseándole un feliz y bendecido día, los quiere @shirahoshi.
The photographs are my own and were taken by me with a Redmi 9 and were edited in powerpoint.
Las fotografías son de mi autoría y fueron tomadas por mí con un Redmi 9 y se editaron en powerpoint.
The Step by Step Gif was made by me in AdobePhotoshop CC2014.
El Gif de Paso a Paso fue realizado por mi en AdobePhotoshop CC2014.
The logo was designed by me in Adobe Illustrator CC 2015 and its animated version was made in After Effects CC 2017.
El logo fue diseñado por mí en Adobe Illustrator CC 2015 y su versión animada la realice en After Effects CC 2017.
Language corrector used Deepl.
Corrector de idioma utilizado Deepl.

My social networks-Mis redes sociales
Congratulations, your post has been curated by @r2cornell-curate. You can use the tag #R2cornell. Also, find us on Discord
Felicitaciones, su publicación ha sido votada por @ r2cornell-curate. Puedes usar el tag #R2cornell. También, nos puedes encontrar en Discord
Esta publicación ha recibido el voto de @blurthispano, una iniciativa dedicada a promover el contenido de calidad de la comunidad hispanohablante . Te invitamos a usar el tag #blurthispano. Nos puedes encontrar en Discord
Vota por nosotros como Testigo (Witness) en el siguiente enlace Testigo / Witness