Making a beautiful bracelet with recycled glass.
Haciendo un hermoso brazalete con vaso reciclado.
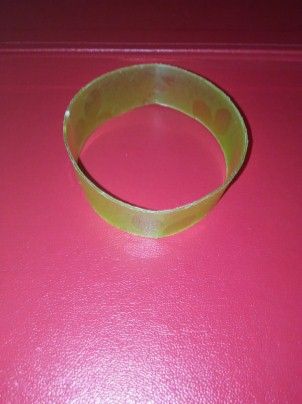
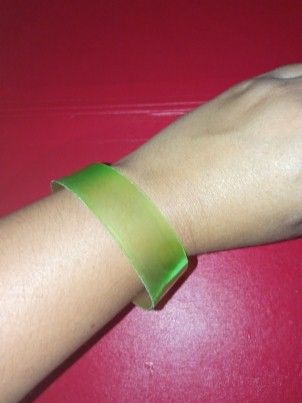
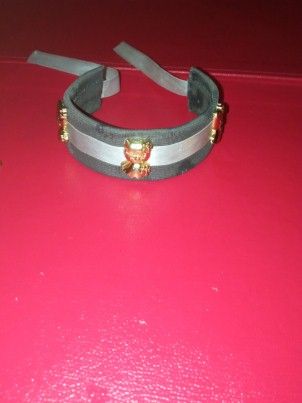
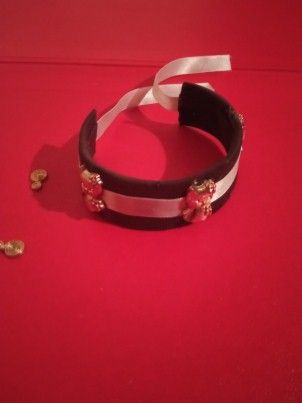
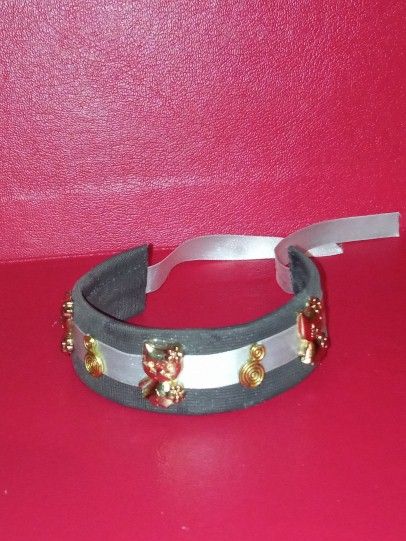
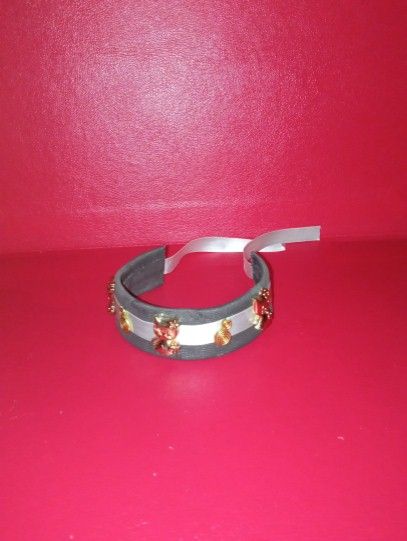
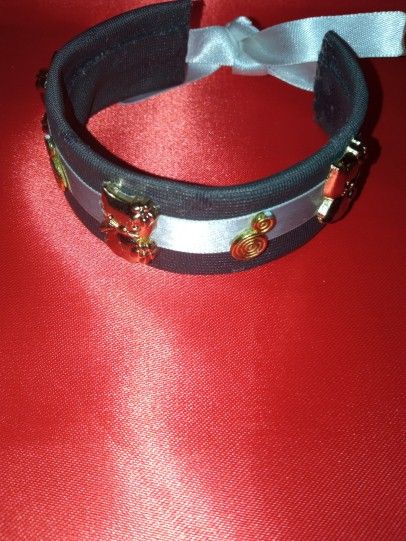
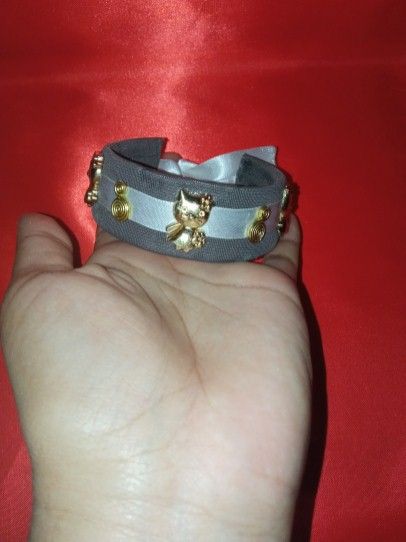
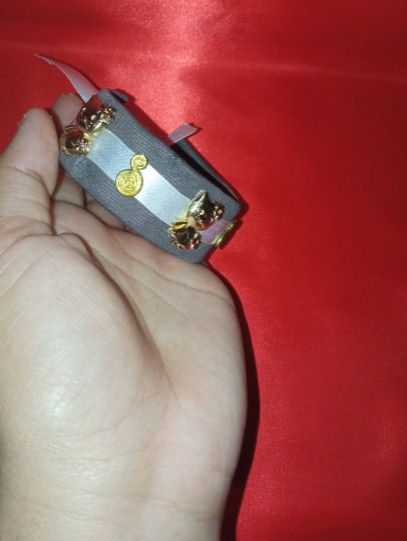
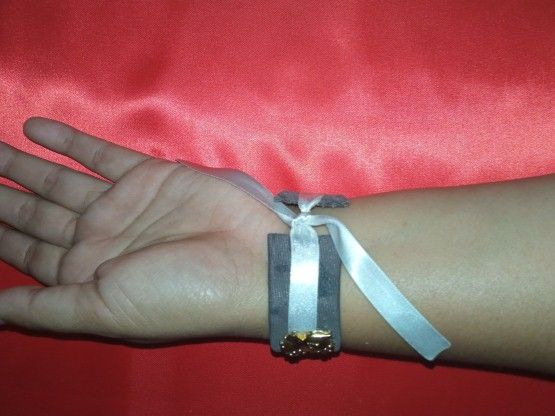
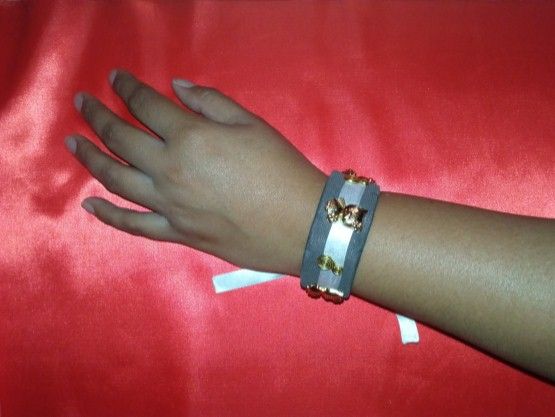
Hello reader friends, happy and blessed Wednesday, today I will be presenting you a nice bracelet made with a plastic cup that was unused, it is extremely beautiful and you can't miss it so join me to see the step by step.
Hola amigos lectores, feliz y bendecido miércoles hoy les estaré presentando un lindo brazalete realizado con un vaso de plástico que tenía sin uso, queda sumamente hermoso no te lo puedes perder así que acompáñame a ver el paso a paso.
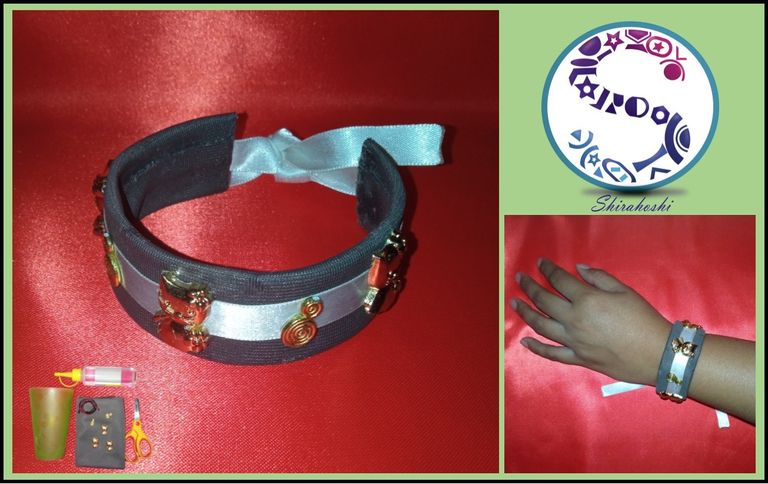
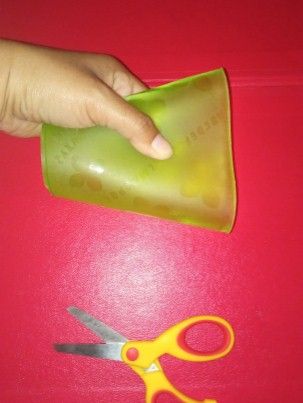
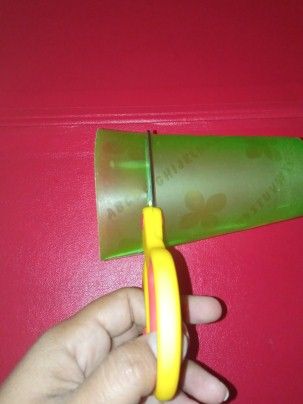
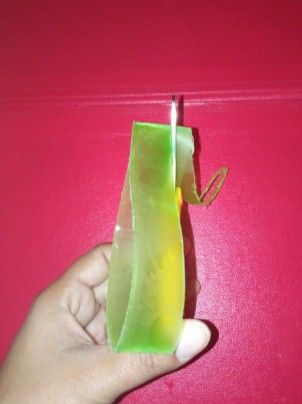
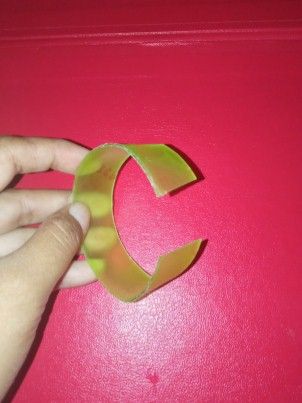
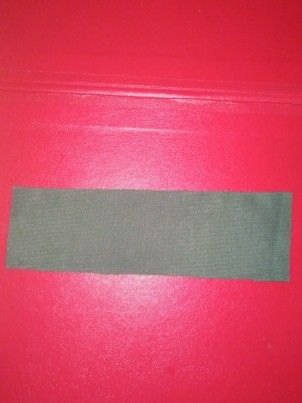
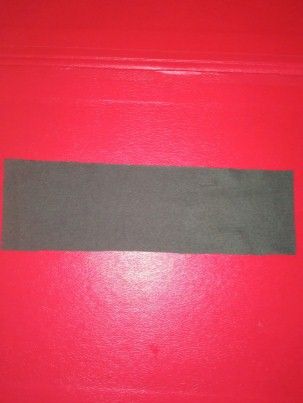
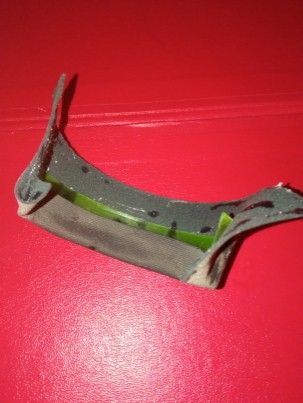
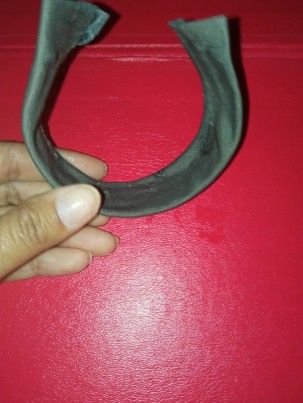
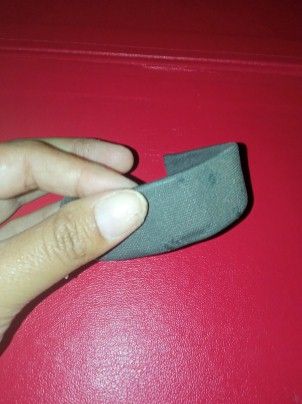
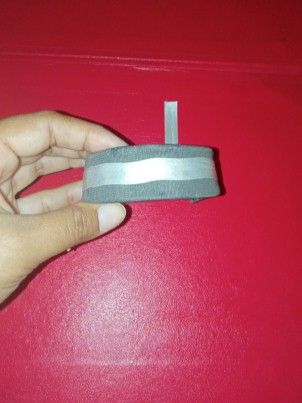
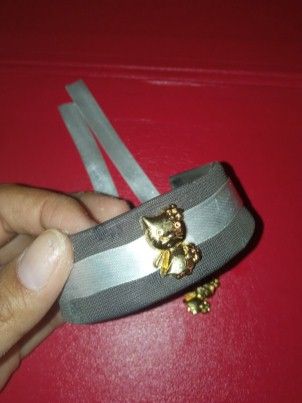
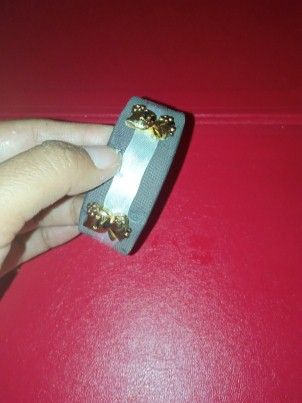
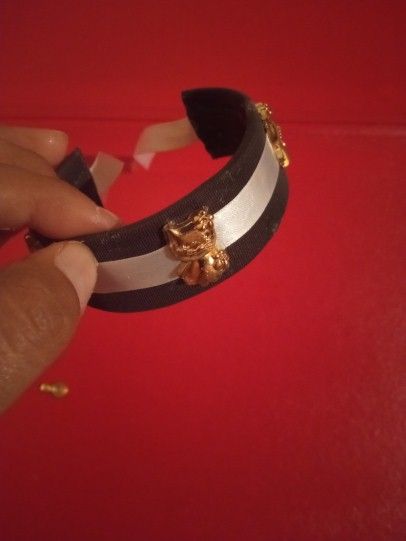
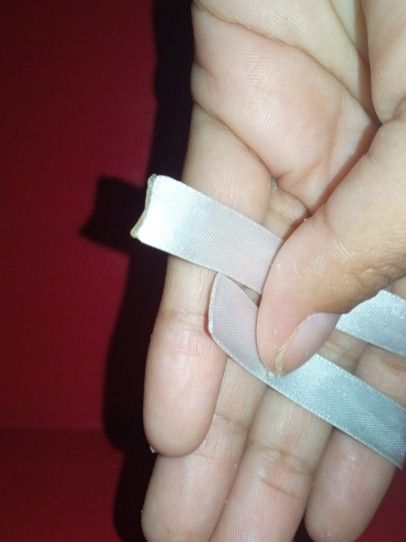
As you know I love to reuse what I have at home without use and today is one of those days that I want to turn a plastic cup into a beautiful bracelet and it really is inexpensive and very easy to do, here I will be showing you every move I make to get this lovely garment.
Cómo saben me encanta reutilizar lo tengo en casa sin uso y hoy es uno de esos días que quiero convertir un vaso de plástico en un hermoso brazalete y realmente es económico y muy fácil de realizar, aquí les estaré mostrando cada movimiento que doy para llegar a obtener está prenda encantadora.
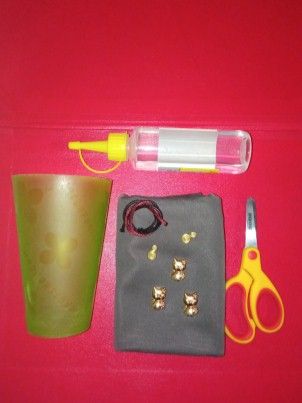
The materials I used were:
- Scissors.
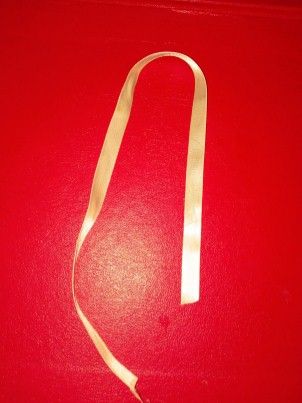
- A piece of fabric.
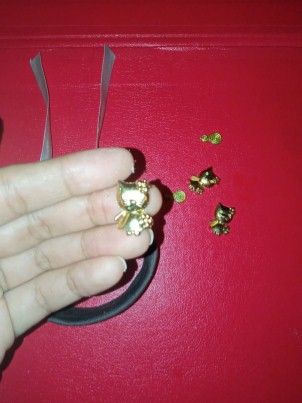
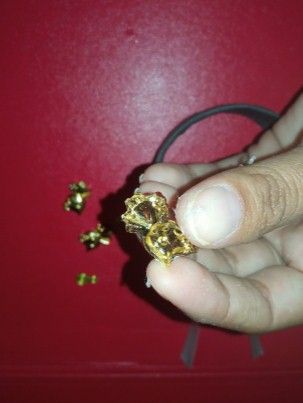
- Some decorative charms.
- Silicone.
- Plastic cup.
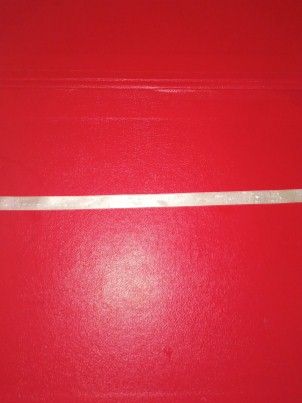
- Tape.
Los materiales que utilice fueron:
- Tijera.
- Un retazo de tela.
- Unos dijes decorativos.
- Silicón.
- Vaso de plástico.
- Cinta.


Without more to say and hoping that this craft post is to the liking of each reader I say goodbye with a big hug loves you @shirahoshi and I hope to see you in a next post.
Sin más que decir y esperando que este post de manualidad sea del agrado de cada lector me despido con un gran abrazo los quiere @shirahoshi y los espero en un próximo post.
The photographs are my own and were taken by me with a Redmi 9 and were edited in powerpoint.
Las fotografías son de mi autoría y fueron tomadas por mí con un Redmi 9 y se editaron en powerpoint.
The Step by Step Gif was made by me in AdobePhotoshop CC2014.
El Gif de Paso a Paso fue realizado por mi en AdobePhotoshop CC2014.
The logo was designed by me in Adobe Illustrator CC 2015 and its animated version was made in After Effects CC 2017.
El logo fue diseñado por mí en Adobe Illustrator CC 2015 y su versión animada la realice en After Effects CC 2017.
Language corrector used Deepl.

Congratulations, your post has been Manually curated by @blessed-girl. You can use the tag #R2cornell. Also, find us on Discord
Felicitaciones, su publicación ha sido votada manualmente por @blessed-girl. Puedes usar el tag #R2cornell. También, nos puedes encontrar en Discord
Te invitamos a votar por @blurthispano como Witness