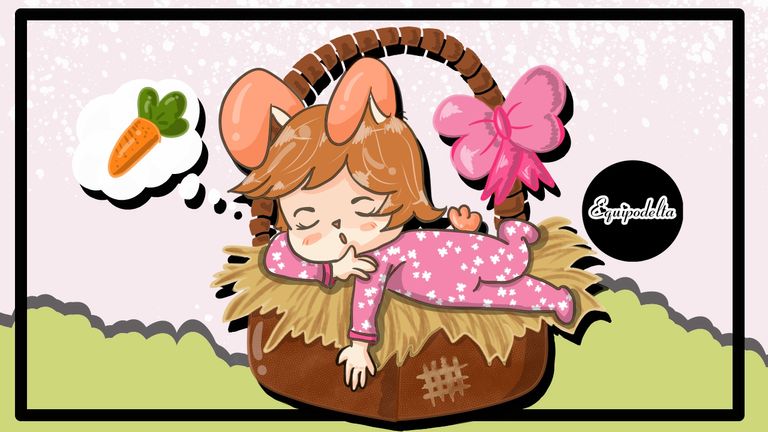


Hello dear lovers of the cute.
Today I injected the best possible excess of tenderness into this design, much, much, much of my love and passion for drawing, with a lot of desire to continue improving.
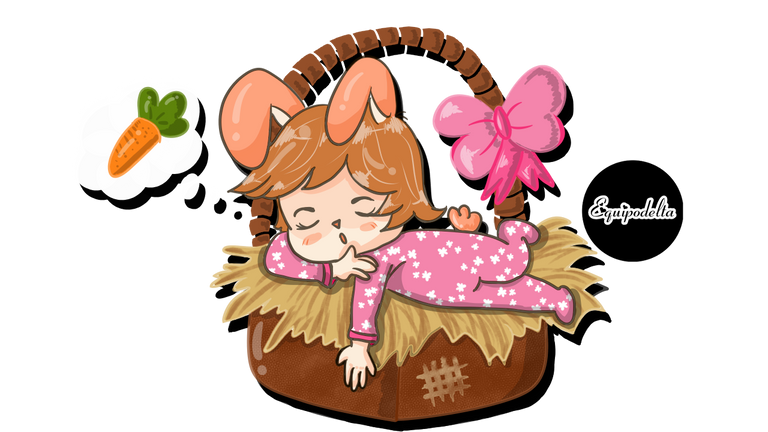
A sleepy bunny, this one has fallen asleep in a gift basket, I was inspired by Easter, of course without the eggs, hahaha!
I am happy because I am already capturing the idea of the challenge, I like it more and more and I fall in love more... Looking at the challenges of the next few days, my mother! How hard they look! But let's do it! Much spirit.
I hope they like you and I can get that AWWWW! I hope so much. I love you. Many blessings to you all.

Hola queridos amantes de lo cute.
Hoy inyecté lo mejor posible exceso de ternura en este diseño, mucho, pero mucho, pero mucho de mi amor y pasión por dibujar, con muchas ganas de seguir mejorando.
Un conejito dormilón, este se ha dormido en una cesta de regalo, me inspiré en pascua, por supuesto que sin los huevos, ¡Jajaja!.
Me contenta porque ya voy capturando la idea del reto, cada vez me gusta y me enamoro más... Viendo los retos de los siguientes días, ¡Mi madre! ¡Qué difícil se ven! pero ¡Vamos a hacerlo!. Mucho ánimo.
Espero les gustes y les pueda sacar ese ¡AWWWW! Que tanto espero. Los quiero. Muchas bendiciones para todos vos.

Post

PASO A PASO / STEP BY STEP

Boceto / Sketch
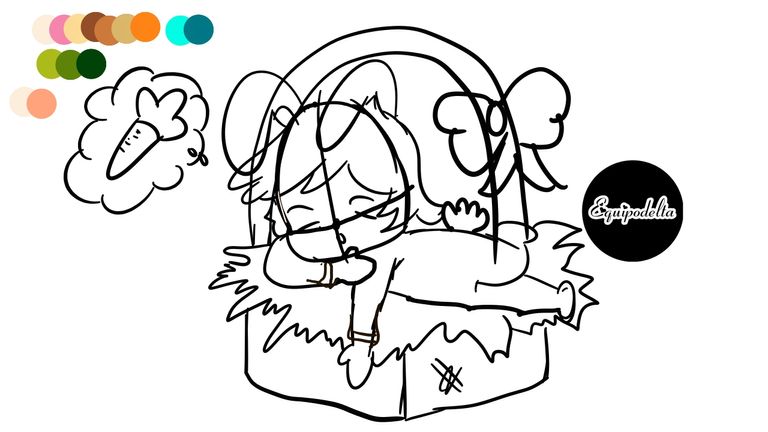

Si quieres ver con detalle el nacimiento de este diseño, te invito a ver mi vídeo, que he puesto en mi canal de Youtube, que colocaré al final del post.
Cuando grabo mi proceso, trato de tener los colores que pienso usar para tenerlos listos, facilitar mi trabajo, centrarme en lo que haré y ahorrarme tiempo de edición del vídeo. Hay algunos colores que no usé de esta pequeña paleta.
Un conejito dormilón. ¡Qué cute!.

If you want to see in detail the birth of this design, I invite you to watch my video, which I have put on my Youtube channel, which I will place at the end of the post.
When I record my process, I try to have the colors that I plan to use to have them ready, make my work easier, focus on what I will do and save time editing the video. There are some colors I didn't use from this little palette.
A sleeping bunny. What a cute!

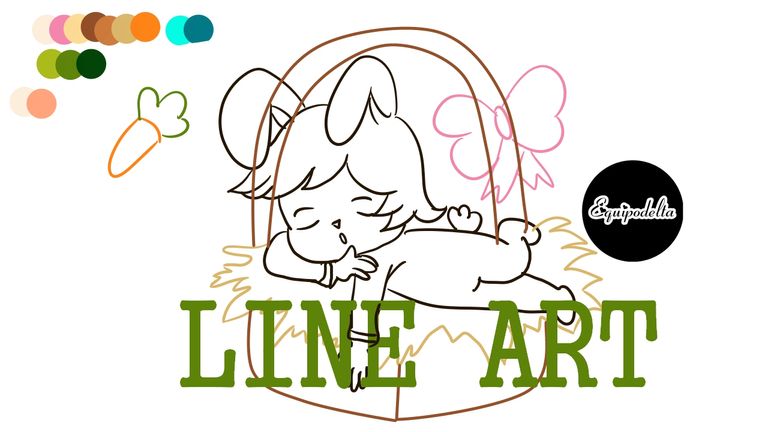
Line art

Fondo, color base y cesta. /
Background, base color and basket.
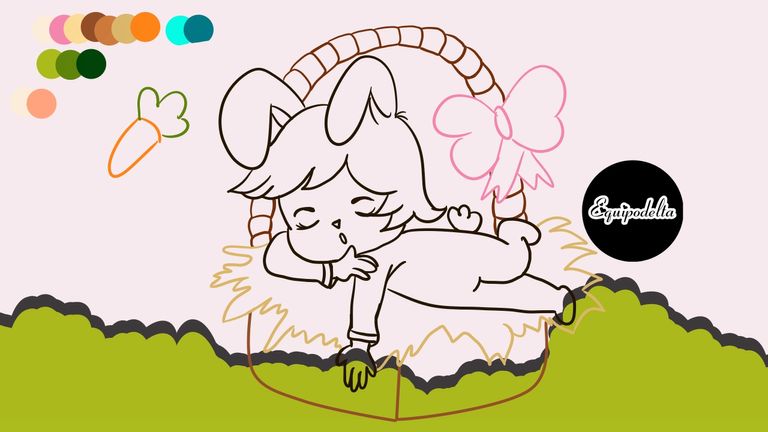

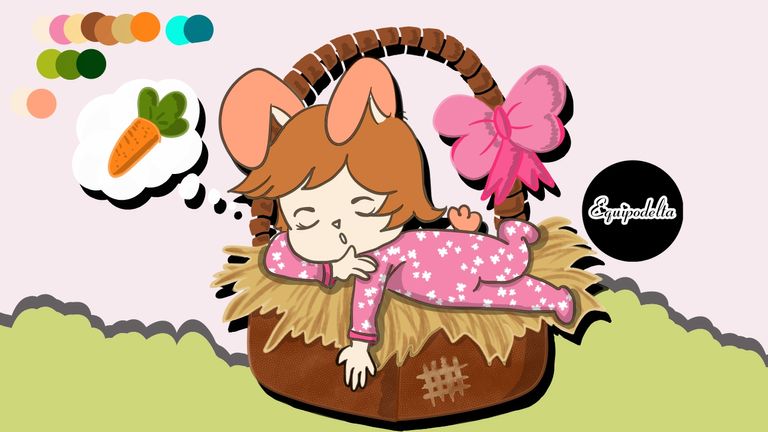
Algunas cosas verás con detalle en el vídeo, cómo creo y me facilito el trabajo por ejemplo. El line art, pudiste apreciar que trabajé con varios colores, la intención es que al rellenar el color, estas desaparezcan, pues como mencioné en anteriores post, estoy tratando de hacer algo diferente, a veces las líneas endurecen un diseño.
Fondo: sencillo, realizado en tonos pasteles al que repetí la sombra de la hierba y luego oscurecí, está realizado con el pincel Pluma redonda.
Conjuntamente con el color base trabajé en la textura de la cesta, esto lo hice con el pincel Malla y un detalle con el pincel A Cuadros.
Luego trabajé en la ropita, estas las logre con mi pincel personalizado Asteriscos, seguidamente en otras capas, trabaje lo que es tratar de semejar la paja donde duerme el conejito, esto lo hice con mi pincel personalizado Pelo y finalmente trabajé en parte del sombreado.

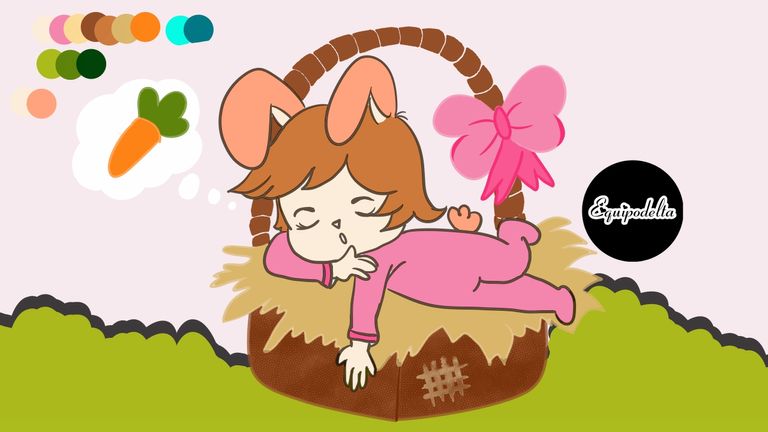
Some things you will see in detail in the video, how I create and facilitate the work for example. The line art, you could appreciate that I worked with several colors, the intention is that when filling the color, these disappear, because as I mentioned in previous post, I am trying to do something different, sometimes the lines harden a design.
Background: simple, made in pastel tones that I repeated the shadow of the grass and then darkened, is made with the brush Round Feather.
Together with the base color I worked on the texture of the basket, this I did with the brush
Then I worked on the clothes, these achieved with my custom brush Asterisks, then in other layers, work what is trying to resemble the straw where the rabbit sleeps, this I did with my custom brush Hair and finally worked in part of the shading.

Luces / Lights
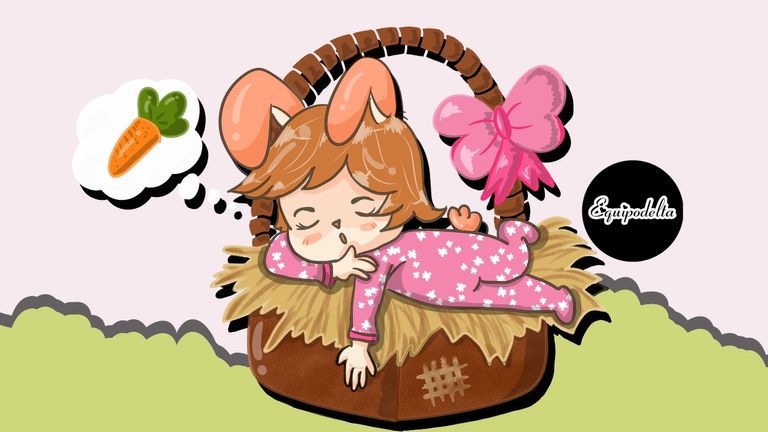

Las luces las agregué de la forma que acostumbro, ya estos siendo los últimos pasos de este diseño, luego agregué con el pincel Pulverización, los destellos en el fondo, fácil, en pocos pasos.
No te olvides ver el vídeo.
Nos vemos en el siguiente desafío.

I added the lights the way I usually do, these being the last steps of this design, then I added with the Spray brush, the flashes in the background, easy, in a few steps.
Don't forget to watch the video.
See you in the next challenge.

Detalles Técnicos / Technical Details
Custom brushes used: Rojo.
Duración: 3 horas
Program: MediBang Paint Pro.
Graphics tablet: Huion (Usb Pen Tablet).


Congratulations! This post has been upvoted by the @blurtcurator communal account,
You can request a vote every 12 hours from the #getupvote channel in the official Blurt Discord.Don't wait to join ,lots of good stuff happening there.
Te invitamos a votar por @blurthispano como Witness
Congratulations, your post has been upvoted by @r2cornell, which is the curating account for @R2cornell's Discord Community.