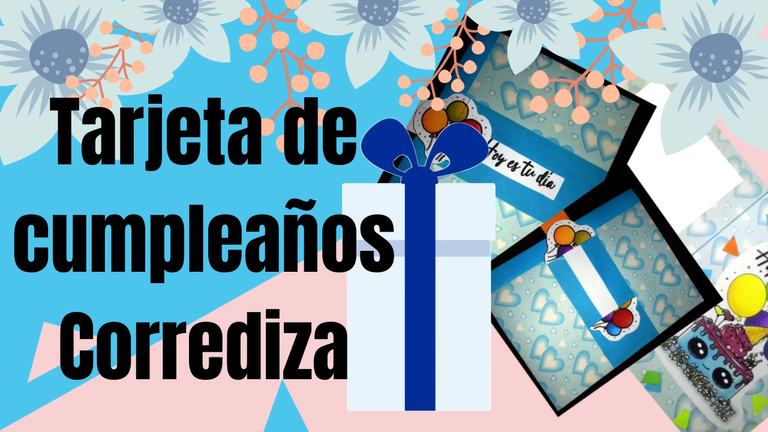


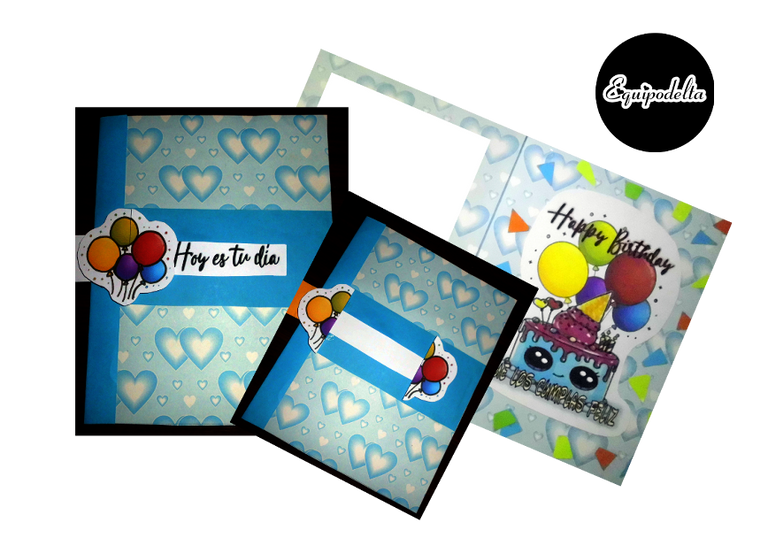
Hello my dear visitors and followers, today I want to show you, how to make a slider greeting card, which you can customize to your liking to surprise a loved one.
Big and small will love it... I have a base, I gave it to my husband and it looked like a child with a new toy sliding the card.
Come with me and I'll tell you.
I show you step by step in detail, I also present a video on my Youtube channel, click here if you want to see it.

Hola mis queridos visitantes y seguidores, hoy quiero mostrarles, cómo hacer una tarjeta de felicitación deslizable, que puedes personalizar a tu gusto para sorprender a algún ser querido.
Grandes y chicos lo amarán... Tengo base, se lo regale a mi esposo y parecía un niño con juguete nuevo deslizando la tarjeta.
Acompáñame y te cuento.
También te presento un vídeo en mi canal Youtube, pincha aquí si quieres verlo.
Vídeo proceso mi canal Youtube.
Video process my Youtube channel.
Paso a Paso / Step By Step
Vamos a necesitar: / We will need:
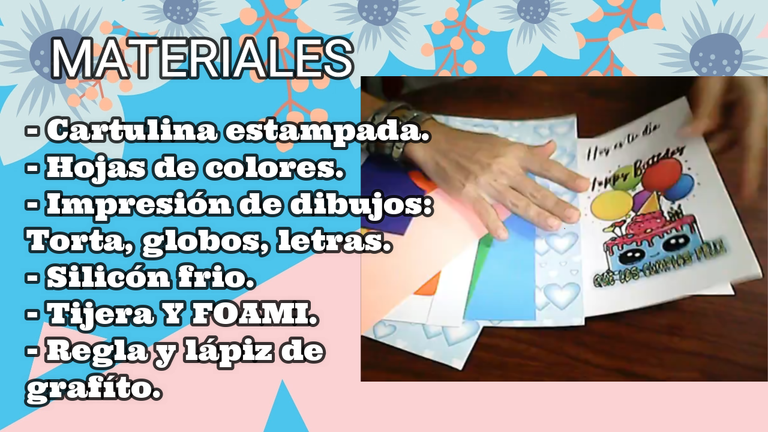
- 2 Stamped cardboard.
- Colored sheets.
- Printing of drawings: Cake, balloons, letters.
- Cold silicon.
- Scissors and foami.
- Ruler and graphite pencil.

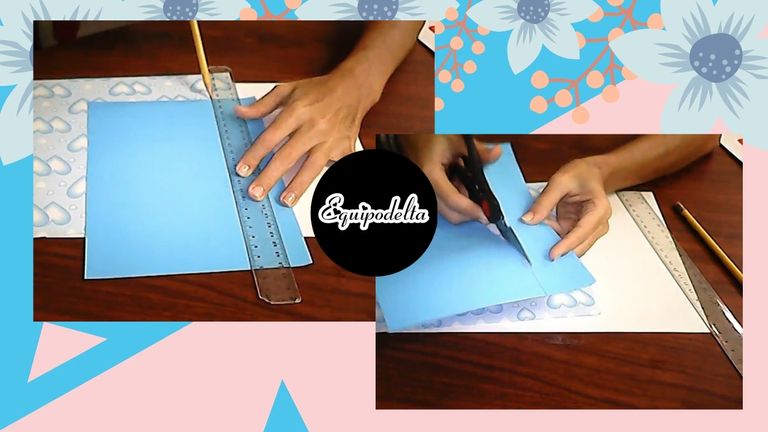
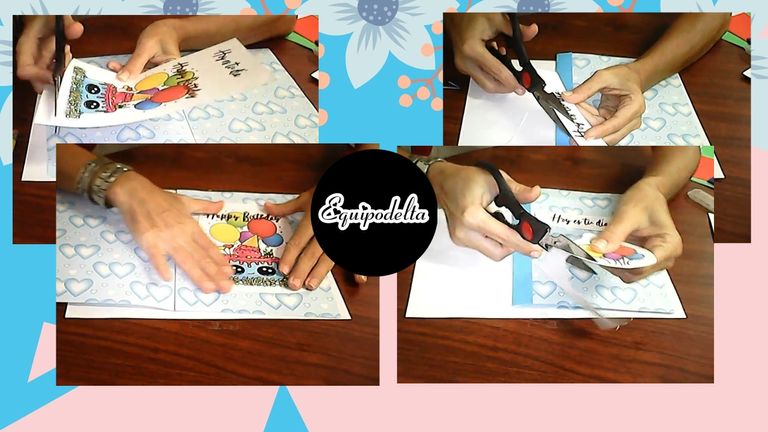
No trabajé con medidas específicas pues trabajé con materiales que ya tengo o reciclados, por lo que tomé la medida de uno de los papeles que tenía.
Traza una línea con el lápiz de grafíto y la regla en la cartulina y recorta. Repite el paso con la otra cartulina.
I did not work with specific measures because I worked with materials that I already have or recycled, so I took the measure of one of the papers I had.
Draw a line with the graphite pencil and the ruler on the cardboard and cut out. Repeat this step with the other cardboard.
Tomamos un papel de color, para que funcione como nuestra bisagra, verificamos que tenga una buena medida, trazamos una línea que nos sirva de guía y recortamos.
We take a colored paper, so that it works as our hinge, we verify that it has a good measure, we draw a line that serves as a guide and we cut.

Cubrimos con silicón frío el papel que cortamos que funcionará como bisagra y unimos las dos piezas de cartulina.
We cover with cold silicone the paper we cut that will work as a hinge and we join the two pieces of cardboard.
Recortamos todas nuestras piezas impresas y la pegamos en cada parte interna de la tarjeta, reservamos las que van por fuera.
We cut out all our printed pieces and stick them on the inside of the card, reserving the ones that go on the outside.
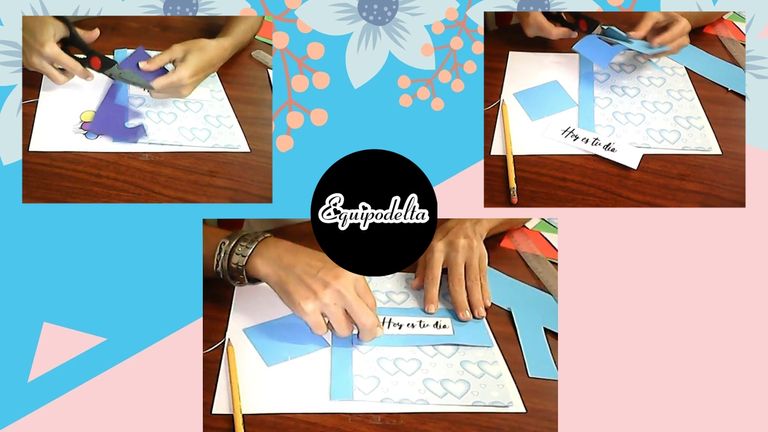
Recortamos un pedazo de foami que irá pegado a los globos y reservamos. luego tomamos la medida de nuestro mensaje y recortamos un listón de papel de color que será nuestra bisagra que mostrará el mensaje.
We cut a piece of foami that will be glued to the balloons and we reserve. Then we take the measure of our message and cut a strip of colored paper that will be our hinge that will show the message.
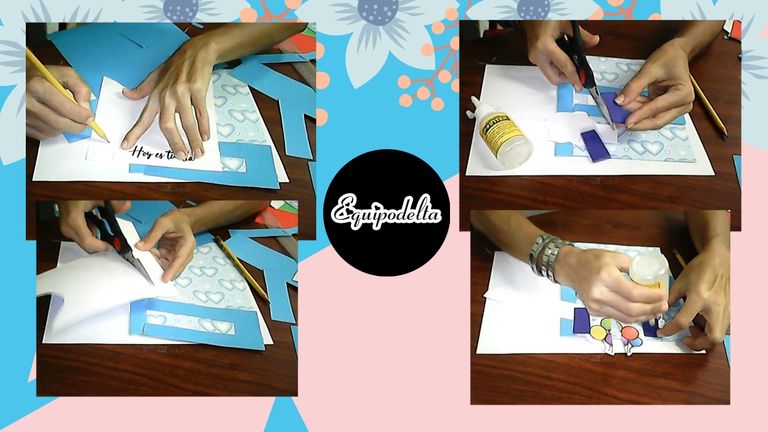
Tomamos nuevamente la medida de la cartulina del mensaje y marcamos una linea con el lapiz, procurando que esta cartulina sea más larga que nuestro mensaje y recortamos.
Tomamos nuestro trozo de foami y cortamos en dos, hacemos este mismo procedimiento con los globos y pegamos cada uno por separado.
We take again the measure of the cardboard of the message and we mark a line with the pencil, trying that this cardboard is longer than our message and we cut out.
We take our piece of foami and cut it in two, we do the same procedure with the balloons and we glue each one separately.

Pegamos un extremo del papel que funcionará como tapa.
Colocamos nuestro mensaje por dentro y lo pegamos en el lugar correspondiente, luego colocamos nuestro trozo de cartulina blanca que funcionara como deslizable, pegamos el resto de los lados del papel evitando pegar la cartulina blanca y dejando que esta pueda moverse.
Sobre la cartulina que rodará colocamos un puntito de pega en silicón y fijamos una parte de los globitos.
We stick one end of the paper that will work as a cover.
We placed our message inside and pasted it in the corresponding place, then we placed our piece of white cardboard that will work as a slider, we pasted the rest of the sides of the paper avoiding to paste the white cardboard and allowing it to move.
On the cardboard that will roll, we put a small point of silicone glue and we fixed a part of the balloons.
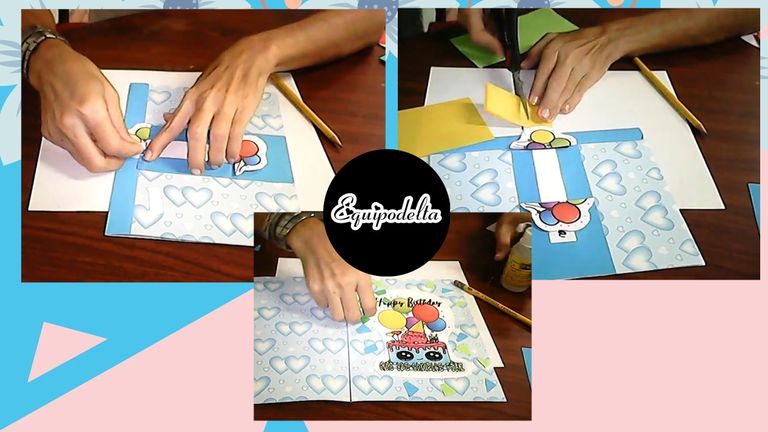
Pegamos el otro lado de los globitos de la siguiente forma, un punto de pegamento arriba y un punto de pegamento abajo, de esta manera se podrá deslizar la cartulina que mostrará nuestro mensaje.
Agregamos detalles llamativos, por ejemplo, en la cartulina que se desliza coloqué un trozo de papel amarillo y en la parte interna pegue muchos papelillos de colores.
Finalmente agrega tu dedicatoria y listo.
We glue the other side of the balloons in the following way, a point of glue above and a point of glue below, this way we can slide the cardboard that will show our message.
We add eye-catching details, for example, on the sliding cardboard I put a piece of yellow paper and on the inside I stuck many colored papers.
Finally add your dedication and that's it.
Detalles Técnicos / Technical Details
Program:
Graphics tablet: Huion (Usb Pen Tablet).
Music Vídeo.
––––––––––––––––––––––––––––––
I'll Meet You There by Sapajou
Creative Commons — Attribution 3.0 Unported — CC BY 3.0
Music promoted by Audio Library
–––––––––––––––––––––––––––––––
![]() 👉
👉 ![]() 👉
👉 ![]() 👉
👉  👉
👉 ![]()