
- hello guys, for me i believed if you understand the core basics in graphics design you can go any length with it. And corel draw is one of the App I'm used to.
So i will like to share step by step process of how i reproduce a 'Pepsi' logo using a corel draw X3
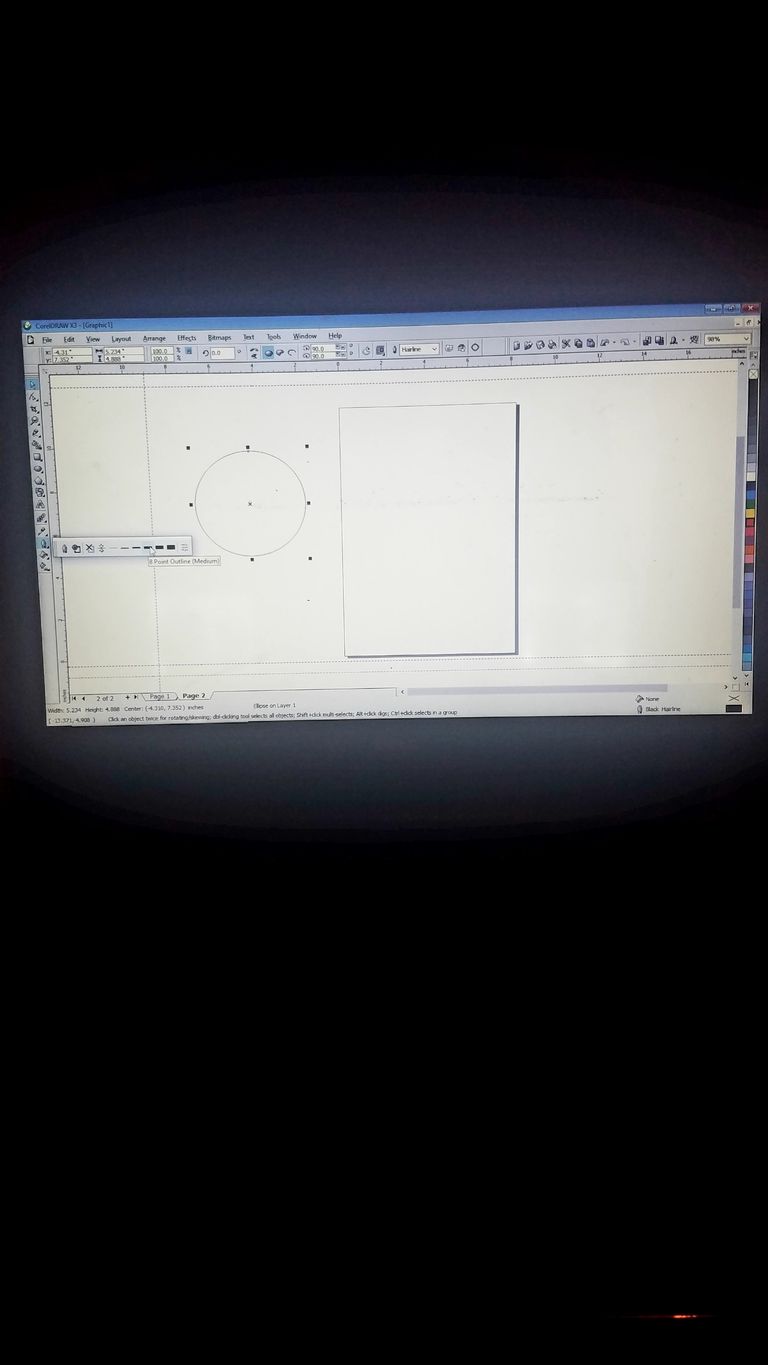
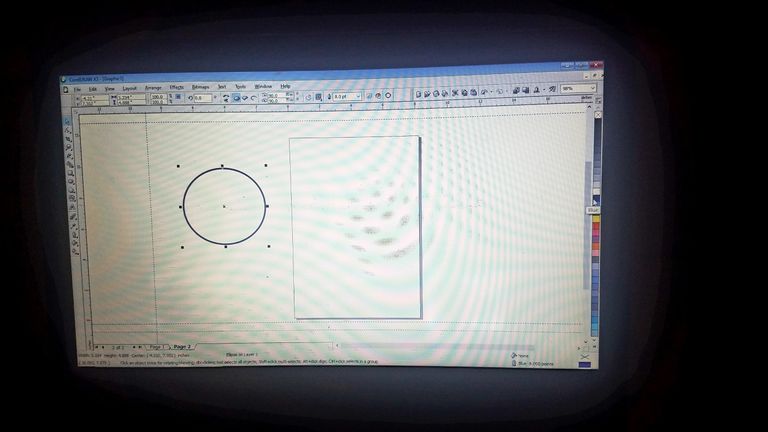
I started with drawing a circle, using 8 point as the outline border.
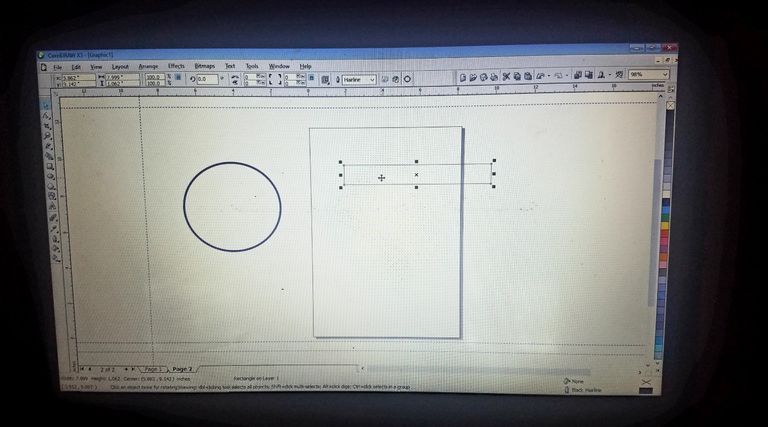
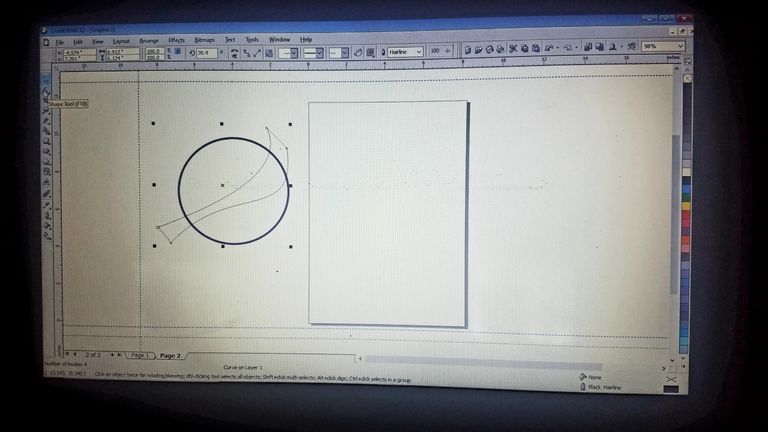
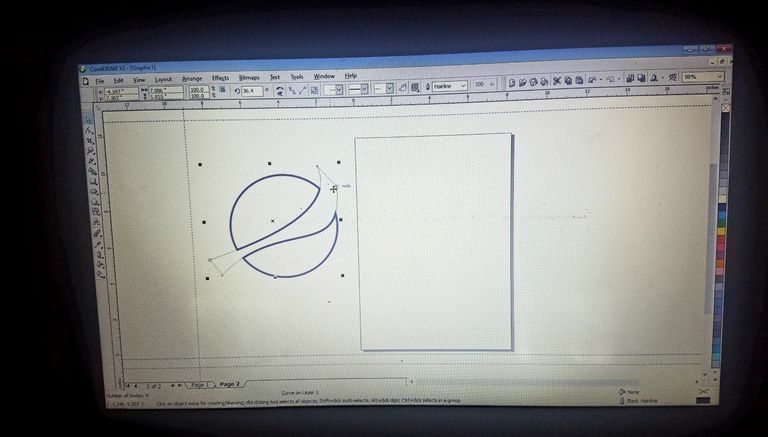
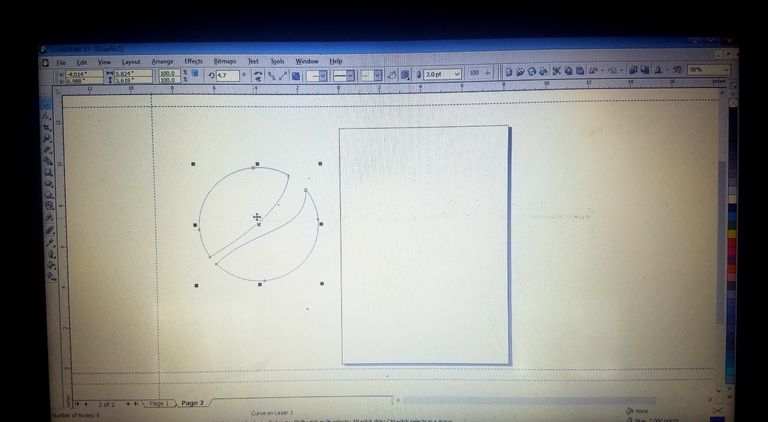
In the images above, i show where i drew a rectangular bar using the rectangle tool on the tool bar, i know shaped the rectangular bar with the 'shape tool' just to get the shape in between the red and the blue color in the logo, after i've gotten the shape i placed it in between the circle i grouped the whole image, highlights them and trim. After i trim it i ungrouped the whole image and i must have gotten the shaped that i need, i now apply colours👇
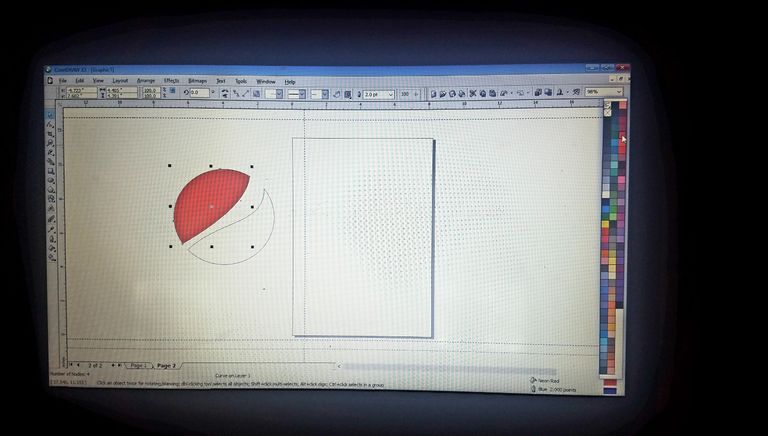
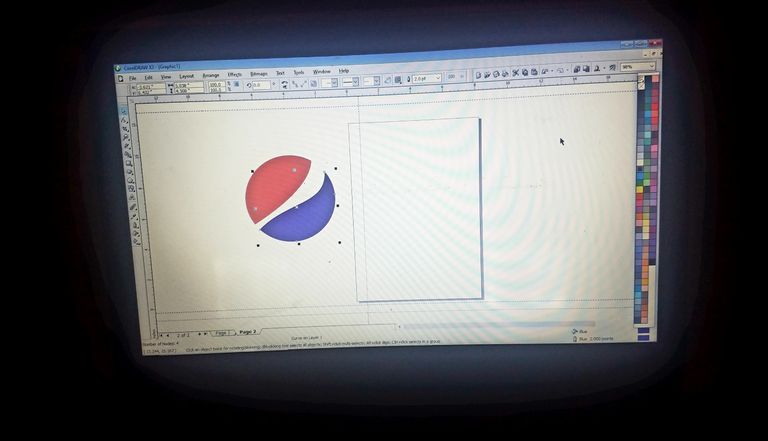
The first part i coloured it red and the second part blue.
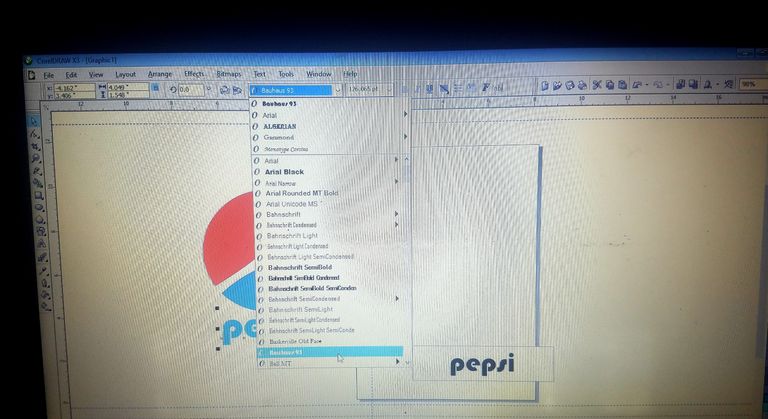
Then i wrote the word 'Pepsi' using the appropriate font. I guess its looking like a Pepsi already.
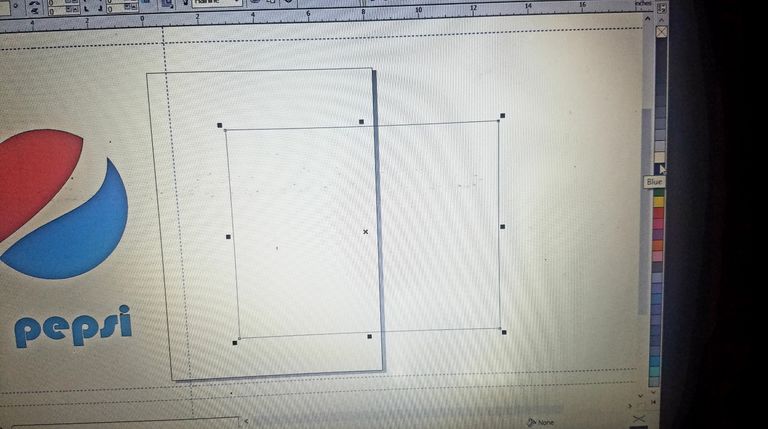
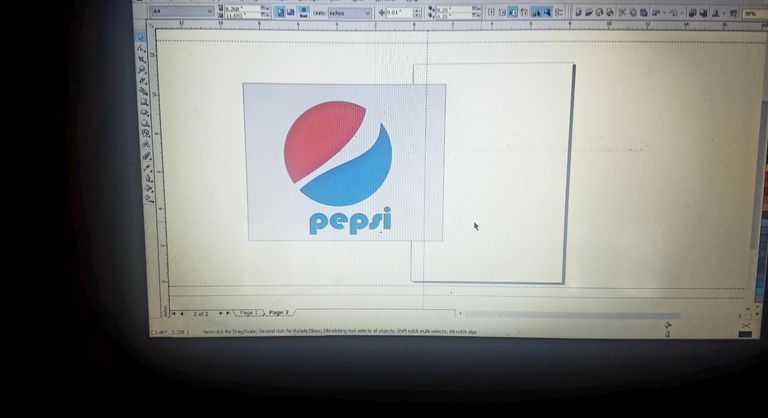
For me to get a background for the image draw, i drew a big rectangle and applied a grey color placed on the image designed, right click on it and order to bring the image forward.

After have applied the background image, i grouped the whole image.
Thank you for your time,for reading my blog✍
Peace & love😘
Awesome and thanks for sharing this. good job as well.
Maybe check out this post on
Tags to help your posts earn more rewards.
Many thanks buddy, thanks for this gesture and for sharing the use of tags with me, I've gone through it and picked some few things!