Hello everyone, today I come to bring you a tutorial on how to properly install one of the distros that has been hitting really hard these last weeks. I'm talking about Manjaro Linux.
I'm going to be as clear as possible, because as you know, Manjaro doesn't have a graphical installer yet (although they are working on it). And I am sure that when the installer is ready, Manjaro will become one of the best distros.
Well now, let's get started, first of all, we must download the Manjaro Linux image.
Clarification: The guide is intended for users who want to perform the clean installation from scratch.
I am going to use the Xfce version of Manjaro, but it is also available in KDE, Mate and Cinnamon.
- For the 32-bit version:click here!
- For the 64 bits version: click here!
The next thing is to burn it, it can be in a DVD or a pendrive, it is up to you.
We put our DVD or Pendrive and booteamos. The following screen will appear
Here we are going to press F2, and we are going to choose our language: Spanish (Argentina).
Then, we will choose the second option: Boot Manjaro Linux with nonfree graphic drivers (Boot Manjaro Linux with nonfree graphic drivers) This is to have a better performance when installing and using the live mode.
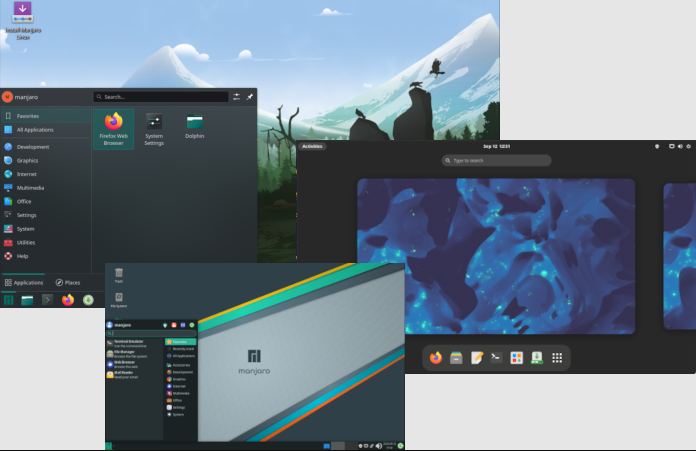
Once it finishes loading, you will be able to see your nice desktop.
At least from what I saw, the Xfce version comes with Midori as default browser, it is very good.
I also tested it a little bit and the truth is that the performance is great, fast and fluid.
Now if we go to the installation
We open the desktop file called Manjaro CLI Installer
As you can see, Manjaro has two versions of the installer: The "Stable Installer" and the "Testing Installer". In this case we are going to use the "Stable Installer" version.
a
Once we select the installer, we will be welcomed by
manjaro
And we will go to this screen
Manjaro Linux, step by step installation guide
And this is where the good stuff starts
First of all, we are going to set the Date and Time of the system.
Here we can choose between two options: UTC or Localtime. In my case I will use UTC.
We select our region, in my case America -> Argentina (Buenos Aires)
Then, select the Date and Time
Linux
a
Well, once this is done, we move on to the second part of the installation: disk partitioning.
Here it gets good again
For the disk partitioning, Manjaro gives us 2 options: a wizard that will guide us (option 1) or manually (option 2). Obviously we choose option 1
Manjaro Linux, step by step installation guide
As we can see, it recognized perfectly the mounted disks.
ATTENTION: As you can see, in this case /dev/sda is the PENDRIVE and /dev/sdb is my hard disk. I don't know why that happened, but it doesn't matter, just make sure to select /dev/sdb.
guide
step
Ok, let's start partitioning: first of all, the installer will ask us to choose the size of the /boot partition. I set it to 512 which is much more than enough.
Second: the size for the Swap partition. I put 2gb.
Linux
Third: The root partition (/). I put 15gb, which is also more than enough, to avoid future problems.
a
Then the system will automatically set the remaining disk space for the Home partition.
manjaro
Now, let's choose the formats for the / and /Home partitions, choose the ext4 format, accept and that's it.
Manjaro Linux, step by step installation guide
guide
step by step guide
installation
Linux
Back to the menu and it's time to install the system.
a
manjaro
Manjaro Linux, step by step installation guide
guide
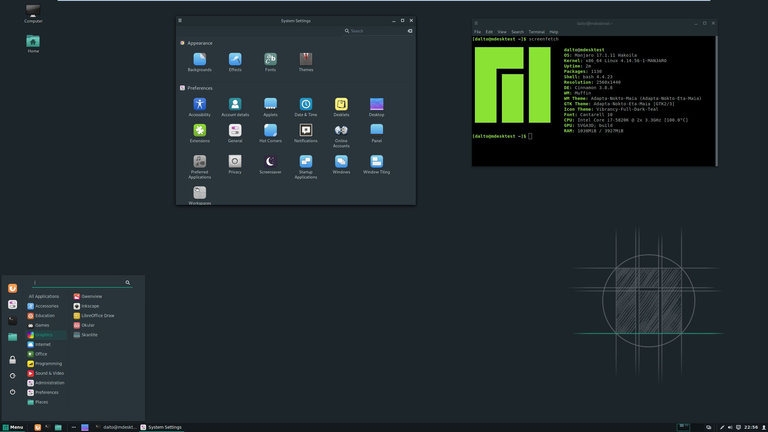
Now we will configure the system
step
First, we will select the root password
installation
Linux
Then we choose our user name
a
manjaro
We give them sudo rights and a password
Manjaro Linux, step by step installation guide
guide
As a final step, we are going to install the bootloader (GRUB)
step
Choose the first option and click on yes and it will be installed
installation
Linux
a
manjaro
Well, those were the steps for installation. We reboot and we can start enjoying Manjaro.
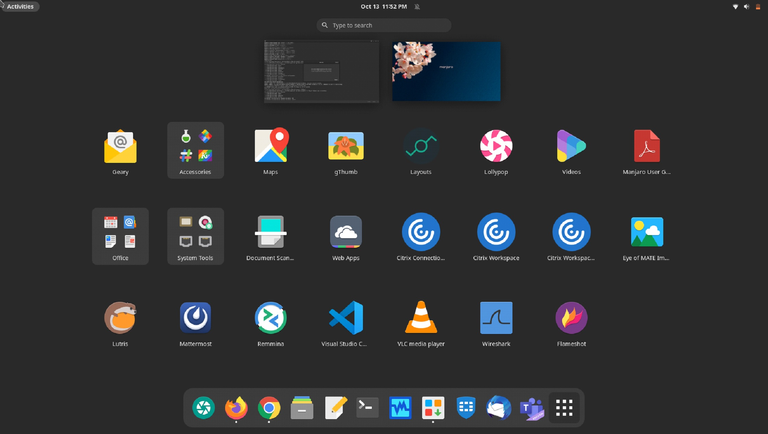
Now let's see some of the applications that Manjaro brings by default
Browser.
By default, Manjaro comes with Midori, a light and fast browser. Of course if we don't like Midori, we can install the browser we like the most, in my case, Chromium. We can do it from the Manjaro repos or from AUR. :3
Manjaro Linux, step by step installation guide
Music and Video.
Xnoise is the default player for music and videos, and although it is the first time I use it, it is powerful and quite easy to use. I import my music without problems and without the need to install any audio codec.
guide
Office.
Manjaro comes with a LibreOffice installer, we only have to select the applications we want and the language and that's it. It couldn't be easier
step
As File Manager, Thunar comes by default, like any Xfce version.
Although, I don't like it very much, that's why I decided to use PacmanFM.

Hola a todos, hoy vengo a traerles un tutorial de como instalar debidamente una de las distros que estuvo golpeando realmente fuerte estas ultimas semanas. Hablo de Manjaro Linux.
Voy a ser lo mas claro posible, ya que como sabran, Manjaro todavia no posee instalador grafico ( aunque ya estan trabajando en eso). Y estoy seguro de que cuando este listo el instalador, Manjaro se convertira en una de las mejores distros.
Bueno ahora si, vamos a empezar, primero que nada, debemos de bajar la imagen de Manjaro Linux.
Aclaración: La guía está dirigida a los usuarios que quieran realizar la instalación limpia desde cero.

Voy a usar la version Xfce de Manjaro, pero tambien esta disponible en KDE, Mate y Cinnamon.
- Para la version de 32 bits: click aqui!
- Para la version de 64 bits: click aqui!
Lo siguiente es grabarlo, puede ser en un DVD o un pendrive, queda a eleccion de ustedes.
Metemos nuestro DVD o Pendrive y booteamos. Nos aparecere la siguiente pantalla
guia
Aqui vamos a precionar F2, y vamos a elegir nuestro idioma: Español (Argentina)
Luego, vamos a elegir la segunda opcion: Boot Manjaro Linux with nonfree graphic drivers (Iniciar Manjaro Linux con drivers privativos) Esto es para tener un mejor rendimiento a la hora de instalar y usar el modo live.
Una ves que termine de cargar, podran ver su lindo escritorio
Al menos por lo que vi, la version Xfce trae Midori como navegador por defecto, es muy bueno.
Tambien lo probe un poco y la verdad que el rendimiento es genial, rapido y fluido.
Ahora si vamos a la intalacion
Abrimos el archivo del escritorio llamado Manjaro CLI Installer
Como pueden ver, Manjaro tene dos versiones del instalador: La "Stable Installer" y la "Testing Installer". En este caso vamos a usar la version "Stable Installer"
a
Una ves que seleccionamos el instalador, nos dara la bienvenida
manjaro
Y pasaremos a esta pantalla
Manjaro Linux, guia de instalacion paso a paso
Y aqui es donde comienza lo bueno
Primero que nada, vamos a poner la Fecha y Hora del sistema.
Aqui podemos elegir entre dos opciones: UTC o Localtime. En mi caso utilizare UTC.
guia
Seleccionamos nuestra region, en mi caso America -> Argentina (Buenos Aires)
paso
instalacion
Luego, seleccionamos la Fecha y Hora
Linux
a
Bien, una vez hecho esto, pasamos a la segunda parte de la instalacion: el particionado del disco.
manjaro
Aca la cosa se pone buena otra vez
Para el particionado del disco, Manjaro nos da 2 opciones: un asistente que nos guiara (opcion 1) o de forma manual (opcion 2). Obvio elegimos la 1
Manjaro Linux, guia de instalacion paso a paso
Como podemos ver, me reconocio perfectamente los discos montados
ATENCION: Como pueden ver, en este caso /dev/sda es el PENDRIVE y /dev/sdb es mi disco rigido. No se porque paso eso, pero no importa, simplemente nos aseguramos de seleccionar /dev/sdb
guia
paso
Bien, vamos a comenzar el particionado: primero que nada, el instalador nos pedira que eligamosel tamano que tendra la particion /boot. Yo le puse 512 que es mucho mas que suficiente
instalacion
Segundo: el tamano para la particion Swap. Yo le meti 2gb.
Linux
Tercero: La particion raiz (/). Le meti 15gb, que es tambien mas que suficiente, esto para evitar problemas futuros.
a
Luego el sistema pondra automaticamente para la particion Home lo que queda de disco.
manjaro
Ahora, vamos a elegir los formatos para las particiones / y /Home, elegimos el formato ext4, aceptamos y listo.
Manjaro Linux, guia de instalacion paso a paso
guia
paso
instalacion
Linux
Volvemos al menu y llego el momento de instalar el sistema
a
manjaro
Manjaro Linux, guia de instalacion paso a paso
guia
Ahora configuraremos el sistema
paso
Primero, seleccionaremos la contrasena de root
instalacion
Linux
Despues elegimos nuestro nombre de usuario
a
manjaro
Les damos derechos de sudo y una password
Manjaro Linux, guia de instalacion paso a paso
guia
Como paso final, vamos a instalar el bootloader (GRUB)
paso
Elegimos la primera opcion y le damos que si y se instalara
instalacion
Linux
a
manjaro
Bien, esos fueron los pasos para su instalacion. Reiniciamos y ya podemos empezar a disfrutar de Manjaro.
Ahora vamos a ver algunos de las aplicaciones que trae Manjaro por defecto
Navegador.

Por defecto, Manjaro viene con Midori, un navegador ligero y de rápida navegación. Por supuesto si no nos gusta Midori, podemos instalar el navegador que más nos guste, en mi caso, Chromium. Podemos hacerlo desde los repos de Manjaro o desde AUR. :3
Manjaro Linux, guia de instalacion paso a paso
Música y Video.
Xnoise es el reproductor por defecto para la música y videos, y aunque es la primera vez que lo uso, es potente y bastante fácil de usar. Importo sin problemas mi música y sin necesidad de instalar ningún codec de audio.
guia
Ofimática.
Manjaro trae un instalador de LibreOffice, solo tenemos que seleccionar las aplicaciones que queremos y el idioma y listo. Más fácil imposible
Como Gestor de Archivos, trae Thunar por defecto, como cualquier versión de Xfce.
Aunque, ami no me guste mucho, es por eso que decidí usar PacmanFM.
Capturas de pantallas / Screenshots:
Descargas / Download.
| Blogs, Sitios Web y Redes Sociales / Blogs, Webs & Social Networks | Plataformas de Contenidos/ Contents Platforms |
|---|---|
| Mi Blog / My Blog | Los Apuntes de Tux |
| Mi Blog / My Blog | El Mundo de Ubuntu |
| Mi Blog / My Blog | Nel Regno di Linux |
| Mi Blog / My Blog | Linuxlandit & The Conqueror Worm |
| Mi Blog / My Blog | Pianeta Ubuntu |
| Mi Blog / My Blog | Re Ubuntu |
| Mi Blog / My Blog | Nel Regno di Ubuntu |
| Red Social Twitter / Twitter Social Network | @hugorep |

| Blurt Official | Blurt.one | BeBlurt | Blurt Buzz |
|---|---|---|---|
 |  |  |  |

 |  |  |  |
|---|
Upvoted. Thank You for sending some of your rewards to @null. Get more BLURT:
@ mariuszkarowski/how-to-get-automatic-upvote-from-my-accounts@ blurtbooster/blurt-booster-introduction-rules-and-guidelines-1699999662965@ nalexadre/blurt-nexus-creating-an-affiliate-account-1700008765859@ kryptodenno - win BLURT POWER delegationNote: This bot will not vote on AI-generated content
Thanks!