Introduction to Django .
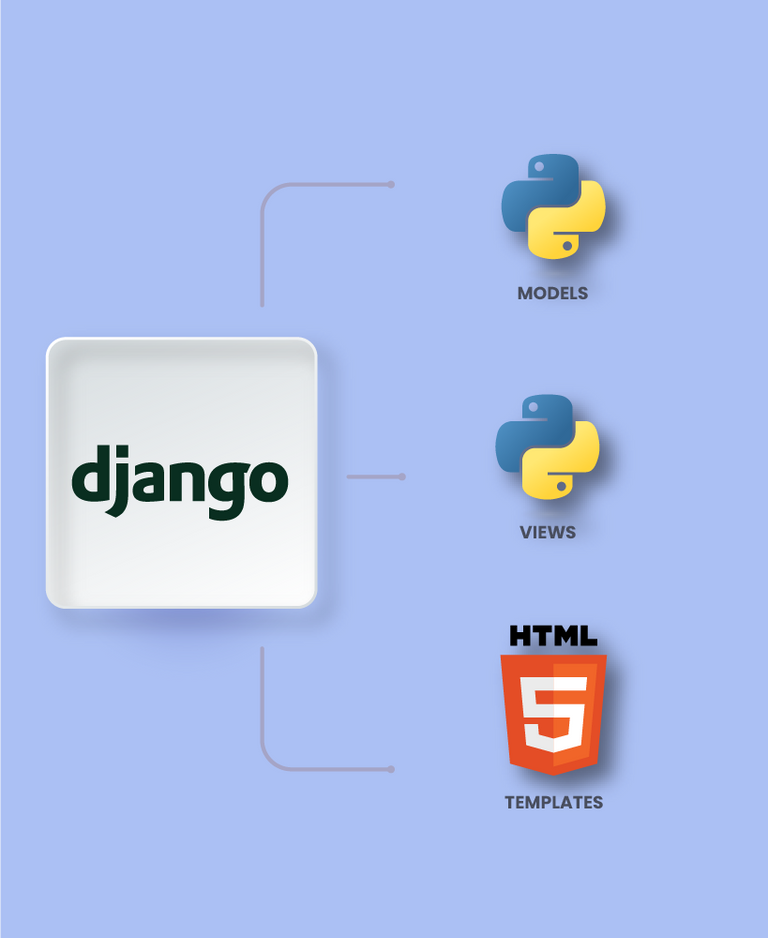
Django is a web development framework written in Python with which you can build and maintain high-quality web applications with minimal effort.
Install Python .
Django is written entirely in Python, so the first step in installing the framework is to make sure you have Python installed.
http://www.python.org/download/
Install Django.
http://www.djangoproject.com/download/
Linux: sudo python setup.py install
Windows: python setup.py install
The Django files will be installed in the site-packages directory of your Python installation, where Python looks for third-party libraries.
Test Django installation.
In a command shell, change to another directory (not the directory that contains the Django directory) and start the interactive Python interpreter by typing python. If the installation was successful, you should be able to import the Django module:
import django
django.VERSION
(1, 1, 0, 'end', 1)
Establish a database.
At this point, you could start writing a Web application with Django, because the only prerequisite is a Python installation. However, you will likely be developing a database-driven website, in which case you will need to set up a database server.
Django supports four database engines:
PostgreSQL ( http://www.postgresql.org/ )
SQLite 3 ( http://www.sqlite.org/ )
MySQL ( http://www.mysql.com/ )
Oracle ( http://www.oracle.com/ )
Database configuration is a two-step process:
First, you will need to install and configure the database server.
Second, you will need to install the Python library for our backend database. This is third-party Python code that allows you to interact with the database.
Using Django with MySQL.
Django requires MySQL 4.0 or higher. Versions 3.x do not support nested subqueries and some other standard SQL statements.
You will also need to install the MySQLdb package from http://www.djangoproject.com/r/python-mysql/ .
On Linux , you can check if your management system distribution package offers a package called python-mysql, python-MySQLdb, mysql-python, or something similar.
Start a project.
Once you have installed Python , Django , and (optionally) the database server/library, you can take the first step of developing a Django application by creating a project.
A project is a collection of settings for a Django instance, including database settings, Django-specific options, and application settings.
If this is your first time using Django, you will have to be careful with the initial setup. Create a new directory to start working with, maybe something like /home/username/djcode/
Go to the directory you created and run the following command:
django-admin.py startproject mysite
This will create a mysite directory in the current directory.
The startproject command creates a directory containing four files:
mysite/
init.py
manage.py
settings.py
urls.py
init.py: A file required for Python to treat the mysite directory as a package (a group of Python modules). It is an empty file, and normally nothing is added to it.
manage.py: Command line utility that allows you to interact with the Django project in various ways. With python manage.py you can get an idea of what it can do. You never have to edit this file; it is created in the directory for pure convenience.
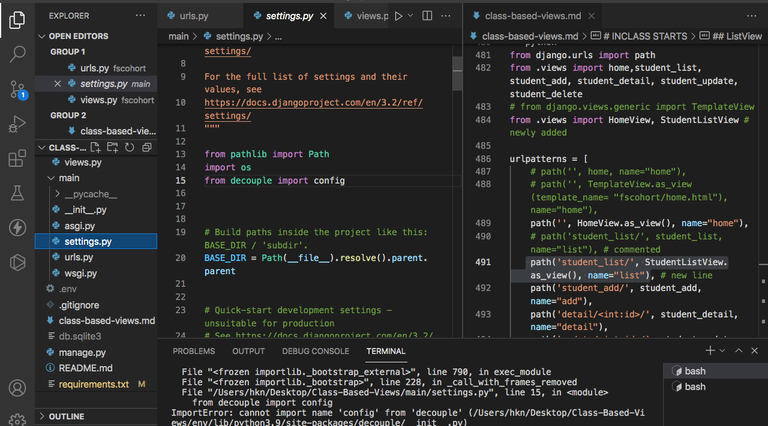
settings.py: Configuration features of this Django project. Take a look to get an idea of the types of settings available, along with their default values.
urls.py: The URLs for this Django project. Think of it as the “table of contents” of your Django site. At the moment, it is empty.
Despite their small size, these files already constitute a working Django application.
Run the development server (runserver).
The Django development server (also called runserver because of the command it launches) is a lightweight web server that you can use during the development of your site. It's included with Django so you can develop your site quickly, without having to deal with setting up the production server (Apache, for example) until you're ready for production.
The development server tracks your code and automatically reloads it, making it easy for you to change code without needing to restart anything.
To start the server, go to the project directory if you haven't already, and run this command:
python manage.py runserver
This will start the server locally on port 8000, accessible only to connections from your own computer. Now that it is running, visit http://127.0.0.1:8000/ with your Web browser. You will see a “ Welcome to Django ”

Introducción a Django.
Django es un framework de desarrollo web escrito en Python con el que usted puede construir y mantener aplicaciones web de alta calidad con un mínimo de esfuerzo.
Instalar Python.
Django está escrito completamente en Python, por lo que el primer paso en la instalación del marco es el asegurarse de que tiene Python instalado.
Instalar Django.
Linux: sudo python setup.py install
Windows: python setup.py install
Los archivos de Django se instalarán en el directorio site-packages de su instalación de Python, en donde Python busca las bibliotecas de terceros.
Prueba de la instalación de Django.
En una shell de comandos, cambie a otro directorio (no el directorio que contiene el directorio de Django) e inicie el intérprete de Python interactivo escribiendo python. Si la instalación fue exitosa, usted debe ser capaz de importar el módulo de Django:
import django
django.VERSION
(1, 1, 0, ‘final’, 1)
Establecer una base de datos.
En este punto, usted podría comenzar a escribir una aplicación Web con Django, porque el único requisito previo es una instalación de Python. Sin embargo, es probable que desarrolle un sitio web controlado por base de datos, en cuyo caso tendrá que configurar un servidor de base de datos.
Django es compatible con cuatro motores de base de datos:
PostgreSQL (http://www.postgresql.org/)
SQLite 3 (http://www.sqlite.org/)
MySQL (http://www.mysql.com/)
Oracle (http://www.oracle.com/)
La configuración de la base de datos es un proceso de dos pasos:
En primer lugar, tendrá que instalar y configurar el servidor de base de datos.
En segundo lugar, tendrá que instalar la librería Python para nuestra base de datos de back-end. Esto es código Python de terceros que permite interactuar con la base de datos.
Uso de Django con MySQL.
Django requiere MySQL 4.0 o superior. Las versiones 3.x no soportan subconsultas anidadas y algunas otras sentencias SQL estándar .
También tendrá que instalar el paquete de MySQLdb desde http://www.djangoproject.com/r/python-mysql/.
En Linux, puede comprobar si su paquete de distribución del sistema de gestión ofrece un paquete llamado python-mysql, python-MySQLdb, mysql-python, o algo similar.
Iniciar un proyecto.
Una vez que haya instalado Python, Django, y (opcionalmente) el servidor/librería de base de datos, puede dar el primer paso del desarrollo de una aplicación Django mediante la creación de un proyecto.
Un proyecto es una colección de ajustes de una instancia de Django, incluyendo la configuración de la base de datos, las opciones específicas de Django, y la configuración de la aplicación.
Si es la primera vez que usa Django, usted tendrá que tener cuidado con la configuración inicial. Cree un nuevo directorio para comenzar a trabajar, tal vez algo como /home/nombre de usuario/djcode/
Vaya al directorio que ha creado y ejecute el comando siguiente:
django-admin.py startproject mysite
Esto creará un directorio mysite en el directorio actual.
El comando startproject crea un directorio que contiene cuatro archivos:
mysite/
init.py
manage.py
settings.py
urls.py
init.py: Un archivo necesario para que Python trate el directorio mysite como un paquete (un grupo de módulos de Python). Es un fichero vacío, y normalmente no se le añade nada.
manage.py: Utilidad de línea de comandos que le permite interactuar con el proyecto Django de diversas maneras. Con python manage.py puede tener una idea de lo que puede hacer. Usted nunca tiene que editar este archivo, sino que se crea en el directorio por pura conveniencia.
settings.py: Características de configuración de este proyecto Django. Echele un vistazo para tener una idea de los tipos de configuraciones disponibles, junto con sus valores predeterminados.
urls.py: Las direcciones URL de este proyecto Django. Piense en ello como la “tabla de contenidos” de su sitio Django. Por el momento, está vacío.
A pesar de su pequeño tamaño, estos archivos ya constituyen una aplicación Django de trabajo.
Ejecutar el servidor de desarrollo (runserver).
El servidor de desarrollo de Django (también llamado runserver debido al comando que lanza) es un servidor web ligero que puede utilizar durante el desarrollo de su sitio. Está incluido con Django para que pueda desarrollar su sitio rápidamente, sin tener que lidiar con la configuración del servidor de producción (Apache, por ejemplo) hasta que esté listo para la producción.
El servidor de desarrollo rastrea su código y automáticamente vuelve a cargarlo, por lo que es fácil para usted cambiar el código sin necesidad de reiniciar nada.
Para iniciar el servidor, vaya al directorio del proyecto si no lo ha hecho, y ejecute este comando:
python manage.py runserver
Esto iniciará el servidor de forma local en el puerto 8000, accesible sólo para las conexiones de su propio equipo. Ahora que está en ejecución, visite http://127.0.0.1:8000/ con su navegador Web. Verá un “Welcome to Django”
Capturas de pantallas / Screenshots:
| Blogs, Sitios Web y Redes Sociales / Blogs, Webs & Social Networks | Plataformas de Contenidos/ Contents Platforms |
|---|---|
| Mi Blog / My Blog | Los Apuntes de Tux |
| Mi Blog / My Blog | El Mundo de Ubuntu |
| Mi Blog / My Blog | Nel Regno di Linux |
| Mi Blog / My Blog | Linuxlandit & The Conqueror Worm |
| Mi Blog / My Blog | Pianeta Ubuntu |
| Mi Blog / My Blog | Re Ubuntu |
| Mi Blog / My Blog | Nel Regno di Ubuntu |
| Red Social Twitter / Twitter Social Network | @hugorep |

| Blurt Official | Blurt.one | BeBlurt | Blurt Buzz |
|---|---|---|---|
 |  |  |  |
 |  |  |  |
|---|

Upvoted. Thank You for sending some of your rewards to @null. Get more BLURT:
@ mariuszkarowski/how-to-get-automatic-upvote-from-my-accounts@ blurtbooster/blurt-booster-introduction-rules-and-guidelines-1699999662965@ nalexadre/blurt-nexus-creating-an-affiliate-account-1700008765859@ kryptodenno - win BLURT POWER delegationNote: This bot will not vote on AI-generated content
Thanks!