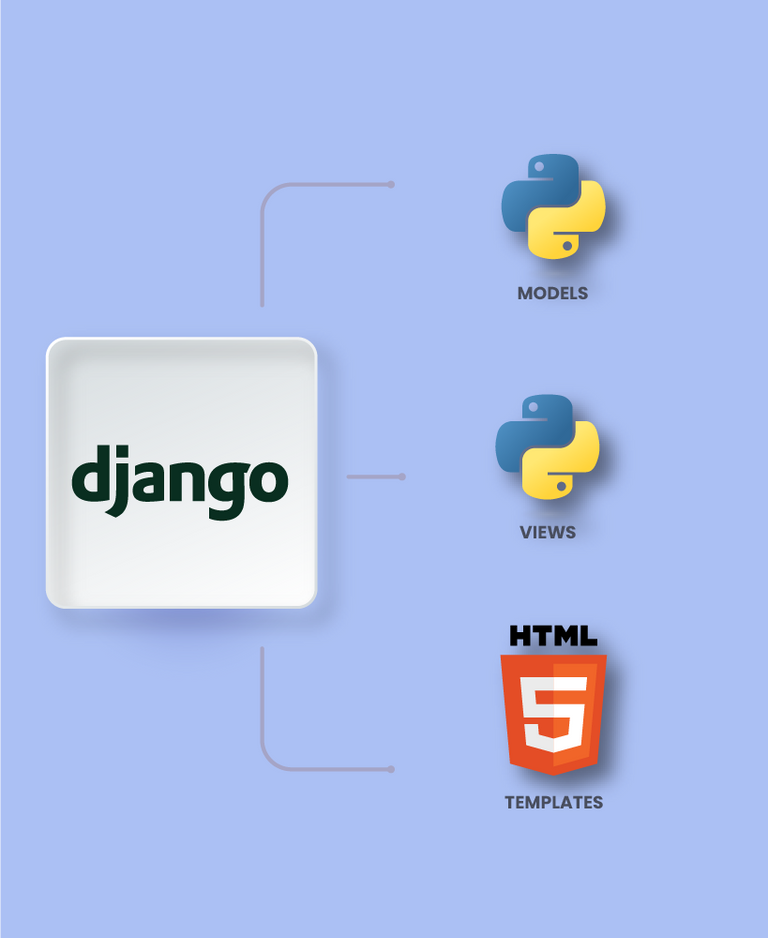
In this last part we will focus on Templates
It is not a good idea to code HTML directly in views.
It is much cleaner and easier to maintain to separate the page layout from the Python code. We can do this with the Django template system.
The Basics of the Template System.
A Django template is a text string to separate the presentation of a document from its data. A template defines containers and various bits of basic logic (tags) that govern how the document should be displayed. Typically templates are used to produce HTML, but Django templates are equally capable of generating any other text-based format.
Let's start with a simple example template. This Django template describes an HTML page that thanks a person for placing an order with the company.
Ordering notice Ordering notice
Dear {{ person_name }},
Thanks for placing an order from {{ company }}. It’s scheduled to ship on {{ ship_date|date:”F j, Y” }}.Here are the items you've ordered:
- {% for item in item_list %}
- {{ item }} {% endfor %}
{% else %} You didn't order a warranty, so you're on your own when the products inevitably stop working.
{% endif %} Sincerely, {{ company }} This template is basic HTML with some variables and template tags inside it. Any text surrounded by a pair of curly braces (e.g., {{ person_name }}) is a variable. This means “insert the value of the variable with the given name.” How can we specify variable values? We’ll get to that later.
Any text that is surrounded by curly braces and a percent (e.g., {% if ordered_warranted %}) is a template tag. The definition of a tag is pretty broad: a tag just tells the templating system “do something.”
Finally, the second paragraph of this template contains an example of a filter, which is the most convenient way to modify the format of a variable. In this example, {{ ship_date | date: “F j, Y” }}, we are passing the ship_date variable the date filter, giving the date filter the argument “F j, Y.” The date filter format formats dates to a given format, as specified in the argument. Filters are appended with a pipe character (|).
Every Django template has access to several built-in tags and filters, many of which will be discussed in the following sections.
Using the template system
Let's dive into Django's template system to see how it works, but we're not yet ready to integrate it with the views we created in the previous chapter. Our goal here is to show how the system works independently of the rest of Django. (We'll typically use the template system inside a Django view, but let's be clear that the template system is just a Python library that can be used anywhere, not just in Django views.)
Here's the most basic way you can use Django's template system:
Create a Template object by providing the raw template code as a string.
Call the Template object's render() method with a set of variables (the context). This returns a fully rendered template as a string, with all template variables and tags evaluated according to the context.
from django import template
t = template.Template(‘My name is {{ name }}.’)
c = template.Context({‘name’: ‘Adrian’})
print t.render(c)
My name is Adrian.
c = template.Context({‘name’: ‘Fred’})
print t.render(c)
My name is Fred.
Creating Template objects
The easiest way to create a Template object is to instantiate it directly. The Template class resides in the django.template module, and the constructor takes one argument, the raw template code.
Let's look at some basics of the template system:
from django.template import Template
t = Template(‘My name is {{ name }}.’)
print t
If we're doing it interactively, we'll see something like this:
<django.template.Template object at 0xb7d5f24c>
When you create a Template object, the template system compiles the raw template code internally in an optimized way, preparing it for rendering. But if the template code includes any syntax errors, the call to Template() will throw a TemplateSyntaxError exception.
Rendering a Template
Once you have a Template object, you can pass data to it by giving it a context. A context is simply a set of variable names.
Template and its associated values. A template uses a context to populate its variables and evaluate its tags.
A context is represented in Django by the Context class, which resides in the django.template module. Its constructor takes one optional argument: a dictionary that maps variable names to variable values. Call the Template object's render() method with the context to populate the template:
from django.template import Context, Template
t = Template(‘My name is {{ name }}.’)
c = Context({‘name’: ‘Stephane’})
t.render(c)
u’My name is Stephane.’
We should note here that the return value of t.render(c) is a Unicode object – not a regular Python string. Django uses Unicode objects instead of regular strings throughout the framework.
Here is an example of compiling and rendering a template, using a template similar to the example at the beginning of this chapter: >>> from django.template import Template, Context >>> raw_template = “”" Dear {{ person_name }}, … …
Thanks for placing an order from {{ company }}. It’s scheduled to … ship on {{ ship_date|date:”F j, Y” }}.
… … {% if ordered_warranty %}Your warranty information will be included in the packaging.
… {% else %} …You didn’t order a warranty, so you’re on your own when … the products inevitably stop working.
… {% endif %} … …Sincerely,
{{ company }}
“”” >>> t = Template(raw_template) >>> import datetime >>> c = Context({‘person_name’: ‘John Smith’, … ‘company’: ‘Outdoor Equipment’, … ‘ship_date’: datetime.date(2009, 4, 2), … ‘ordered_warranty’: False}) >>> t.render(c) u”
Dear John Smith,
nnThanks for placing an order from Outdoor Equipment. It’s scheduled to ship on April 2, 2009.
nnnYou didn’t order a warranty, so you’re on your own when the products inevitably stop working.
nnnSincerely,Outdoor Equipment
” First we import the Template and Context classes, both reside in the django.template module.We save the raw text of our template in the variable raw_template. Note that we use triple quotes to designate the string, since it spans multiple lines; in contrast, single-quoted strings cannot be wrapped across multiple lines.
Next we create a template object, t, by passing raw_template to the constructor of the Template class.
We import the date and time module from the Python standard library, because we will need it in the next statement.
We create a Context object, c. The Context constructor takes a Python dictionary, which maps variable names to values. Here, for example, we specify that person_name is ‘John Smith’, company is ‘Outdoor Equipment’, and so on.
Finally, we call the render() method of our template object, passing it the context. This returns the rendered template, that is, it replaces the template variables with the current values of the variables, and executes any tags in the template.
Those are the basics of using Django's template system: simply write a template string, create a Template object, create a Context, and call the render() method.

En esta última parte nos dedicaremos a las Plantillas – Templates
No es una buena idea codificar el HTML directamente en las vistas.
Es mucho más limpio y más fácil de mantener separar el diseño de la página del código Python. Podemos hacer esto con el sistema de plantillas de Django.
Base del Sistema de Plantillas
Una plantilla de Django es una cadena de texto para separar la presentación de un documento de sus datos. Una plantilla define contenedores y varios bits de lógica básica (etiquetas) que regulan la forma en que el documento debe ser mostrado. Por lo general las plantillas se utilizan para producir HTML, pero las plantillas Django plantillas son igualmente capaces de generar cualquier otro formato basado en texto.
Comencemos con una plantilla sencilla de ejemplo. Esta plantilla Django describe una página HTML que, da las gracias a una persona por hacer un pedido a la empresa.
Ordering notice
Ordering notice
Dear {{ person_name }},
Thanks for placing an order from {{ company }}. It’s scheduled to
ship on {{ ship_date|date:”F j, Y” }}.
Here are the items you’ve ordered:
-
{% for item in item_list %}
- {{ item }} {% endfor %}
{% if ordered_warranty %}
Your warranty information will be included in the packaging.
{% else %}
You didn’t order a warranty, so you’re on your own when
the products inevitably stop working.
{% endif %}
Sincerely,
{{ company }}
Esta plantilla es HTML básico con algunas variables y etiquetas de plantilla dentro de ella. Cualquier texto rodeado por un par de llaves (por ejemplo, {{ person_name }}) es una variable. Esto significa “insertar el valor de la variable con el nombre dado.” ¿Cómo podemos especificar los valores de las variables?Llegaremos a eso después.
Cualquier texto que está rodeado de llaves y porcentaje (por ejemplo, {% if ordered_warranted %}) es una etiqueta de plantilla. La definición de una etiqueta es bastante amplia: una etiqueta sólo le dice al sistema de plantillas “haz algo”.
Por último, el segundo párrafo de esta plantilla contiene un ejemplo de filtro, que es la forma más conveniente de modificar el formato de una variable. En este ejemplo, {{ ship_date | date: “F j, Y” }}, estamos pasandole a la variable ship_date el filtro date, dándole al filtro date el argumento “F j, Y”. El formato de filtro date formatea las fechas a un formato dado, como se especifica en el argumento. Los filtros son adjuntados con un carácter de canalización (|).
Cada plantilla Django tiene acceso a varias etiquetas y filtros incorporados, muchos de los cuales serán discutidos en las siguientes secciones.
Usando el sistema de plantillas.
Entremos en el sistema de plantillas de Django para que cómo funciona, pero no estamos todavía para integrarlo con las vistas que hemos creado en el capítulo anterior. Nuestro objetivo aquí es mostrar cómo funciona el sistema independiente del resto de Django. (Por lo general vamos a usar el sistema de plantillas dentro de una vista de Django, pero hay que dejar claro que el sistema de plantillas es sólo una librería de Python que se puede utilizar en cualquier lugar, no sólo en las vistas de Django.)
Esta es la forma más básica en que se puede utilizar el sistema de plantillas de Django:
Crear un objeto Template proporcionando el código de la plantilla raw como una cadena.
Llamar al método render () del objeto Template con un conjunto de variables (el contexto). Esto devuelve una plantilla renderizada completamente como una cadena, con todas las variables y etiquetas de plantilla evaluadas de acuerdo al contexto.
from django import template
t = template.Template(‘My name is {{ name }}.’)
c = template.Context({‘name’: ‘Adrian’})
print t.render(c)
My name is Adrian.
c = template.Context({‘name’: ‘Fred’})
print t.render(c)
My name is Fred.
Crear objetos Template
La forma más fácil de crear un objeto Template es crear una instancia directamente. La clase Template reside en el módulo django.template, y el constructor toma un argumento, el código de plantilla raw.
Veamos algunos aspectos básicos del sistema de plantillas:
from django.template import Template
t = Template(‘My name is {{ name }}.’)
print t
Si lo estamos haciendo de forma interactiva, veremos algo como esto:
<django.template.Template object at 0xb7d5f24c>
Cuando se crea un objeto Template, el sistema de plantillas compila el código de la plantilla raw internamente de forma optimizada, preparándolo para el renderizado. Pero si el código de la plantilla incluye cualquier error de sintaxis, la llamada a Template() producirá una excepción TemplateSyntaxError.
Renderizar un Template.
Una vez que tiene un objeto Template, puede pasarle datos, dándole un contexto. Un contexto es simplemente un conjunto de nombres de variables de plantilla y sus valores asociados. Una plantilla usa un contexto para rellenar sus variables y evaluar sus etiquetas.
Un contexto es representado en Django por la clase Context, que reside en el módulo django.template. Su constructor toma un argumento opcional: un diccionario que mapea los nombres de variables a los valores de las variables. Llamar al método render() del objeto Template con el contexto para rellenar la plantilla:
from django.template import Context, Template
t = Template(‘My name is {{ name }}.’)
c = Context({‘name’: ‘Stephane’})
t.render(c)
u’My name is Stephane.’
Debemos señalar aquí que el valor de retorno de t.render(c) es un objeto Unicode – no una cadena Python normal. Django utiliza objetos Unicode en lugar de cadenas normales en todo el framework.
He aquí un ejemplo de compilar y renderizar una plantilla, usando una plantilla similar a la ejemplo del principio de este capítulo:
from django.template import Template, Context
raw_template = “”"
Dear {{ person_name }},
…
…Thanks for placing an order from {{ company }}. It’s scheduled to
… ship on {{ ship_date|date:”F j, Y” }}.
…
… {% if ordered_warranty %}
…Your warranty information will be included in the packaging.
… {% else %}
…You didn’t order a warranty, so you’re on your own when
… the products inevitably stop working.
… {% endif %}
…
…Sincerely,
{{ company }}“”"
t = Template(raw_template)
import datetime
c = Context({‘person_name’: ‘John Smith’,
… ‘company’: ‘Outdoor Equipment’,
… ‘ship_date’: datetime.date(2009, 4, 2),
… ‘ordered_warranty’: False})
t.render(c)
u”Dear John Smith,
nnThanks for placing an order from Outdoor Equipment. It’s scheduled tonship on April 2, 2009.
nnnYou didn’t order a warranty, so you’re on your own whennthe products inevitably stop working.
nnnSincerely,Outdoor Equipment
”Primero importamos las clases Template y Context, ambas residen en el módulo django.template.
Guardamos el texto raw de nuestra plantilla en la variable raw_template. Tenga en cuenta que usamos comillas triples para designar a la cadena, ya que se extiende por varias líneas, por contra, las cadenas entre comillas sencillas no pueden ser envueltas en varias líneas.
A continuación creamos un objeto plantilla, t, pasando raw_template al constructor de la clase Template.
Importamos el módulo de fecha y hora de la librería estándar de Python, porque la necesitaremos en la siguiente declaración.
Creamos un objeto Context, c. El constructor de Context, toma un diccionario Python, que mapea los nombres de variable a los valores. Aquí, por ejemplo, se especifica que persona_name es ‘John Smith’, company es ‘Outdoor Equipment “, y así sucesivamente.
Por último, llamamos al método render () de nuestro objeto plantilla, pasándole el contexto. Esto devuelve la plantilla renderizada, es decir, que reemplaza las variables de la plantilla con los valores actuales de las variables, y ejecuta cualquier etiqueta de la plantilla.
Esos son los fundamentos del uso del sistema de plantillas de Django: simplemente escribir una cadena de plantilla, crear un objeto Template, crear un Context, y llamar al método render().
Capturas de pantallas / Screenshots:
Blogs, Sitios Web y Redes Sociales / Blogs, Webs & Social Networks Plataformas de Contenidos/ Contents Platforms Mi Blog / My Blog Los Apuntes de Tux Mi Blog / My Blog El Mundo de Ubuntu Mi Blog / My Blog Nel Regno di Linux Mi Blog / My Blog Linuxlandit & The Conqueror Worm Mi Blog / My Blog Pianeta Ubuntu Mi Blog / My Blog Re Ubuntu Mi Blog / My Blog Nel Regno di Ubuntu Red Social Twitter / Twitter Social Network @hugorep
Blurt Official Blurt.one BeBlurt Blurt Buzz


Upvoted. Thank You for sending some of your rewards to @null. Get more BLURT:
@ mariuszkarowski/how-to-get-automatic-upvote-from-my-accounts@ blurtbooster/blurt-booster-introduction-rules-and-guidelines-1699999662965@ nalexadre/blurt-nexus-creating-an-affiliate-account-1700008765859@ kryptodenno - win BLURT POWER delegationNote: This bot will not vote on AI-generated content
Thanks!