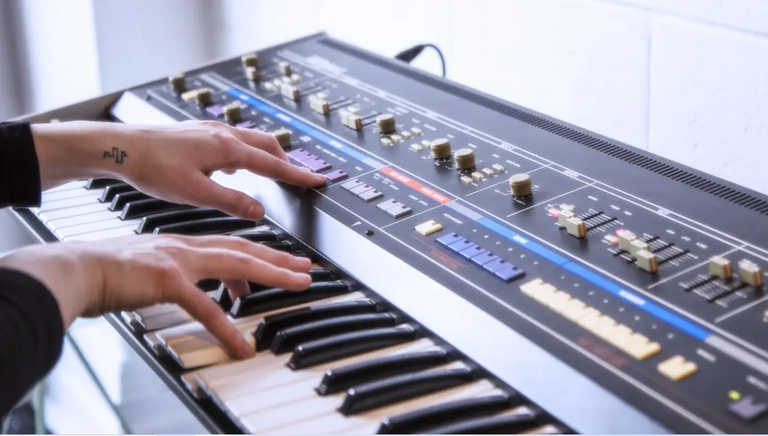
I continue to share with all my #blurtters or #blurttians (what is the real word?) friends this series of tutorials dedicated to MIDI.
MIDI is a versatile tool that allows you to do a multitude of things in the studio.
Turn any MIDI controller into any instrument you want using VST plugins. It gives you great editing power and synchronizes your entire studio, which will allow you to create tracks quickly and efficiently. And these are just some of its benefits… But it's a whole world in which there is a lot to learn.
To get the most out of MIDI, it's important to know what it is, when to use it, and how. Honestly, I'm a MIDI beginner myself, although I learn something new every day.
I'm going to share with you some key concepts that helped me understand how it works when I started producing.
With this guide to MIDI you'll learn everything you need to integrate it as an essential part of your creative process – from basic MIDI connections to using it to generate complete compositions.
If you already use it, I'll also give you some tips to optimize the use of your current equipment.
Here we go!
Polyphonic touch pressure (0xA0~0xAF).
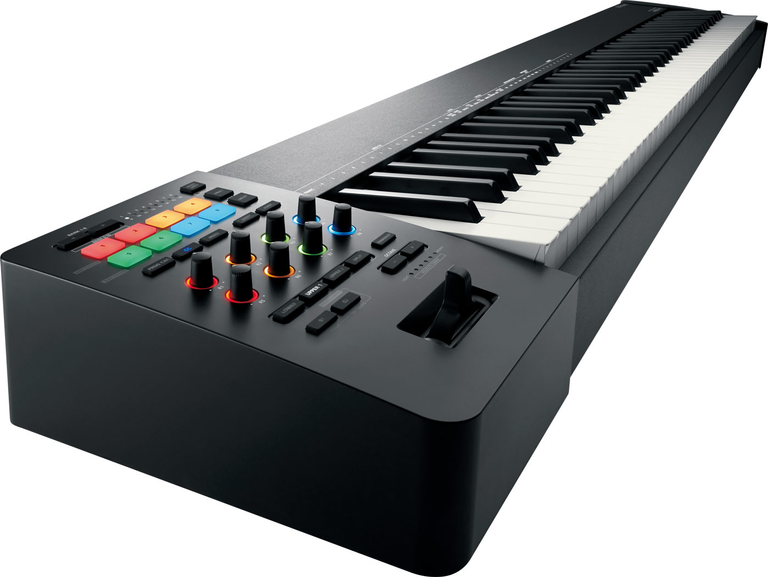
Some manufacturers call this message “aftertouch.” Applying pressure to a key after it has been pressed produces an aftertouch message. Similar to the structure of note-on and note-off messages, the first byte of data is the note number, and the second is the pressure applied to the note.
Polyphonic aftertouch mode is highly desirable as it allows for great flexibility in playing MIDI sequences. If the controller supports polyphonic aftertouch then each individual key can send its own aftertouch message. If the controller only supports monophonic aftertouch then if pressure is applied to any key, an aftertouch signal is sent to the entire controller.
One application of this message is to introduce modulation effects into the synthesizer, without needing to simultaneously use a modulation controller (which is usually a wheel, or a ribbon controller).
Change in controller (0xB0~0xBF).
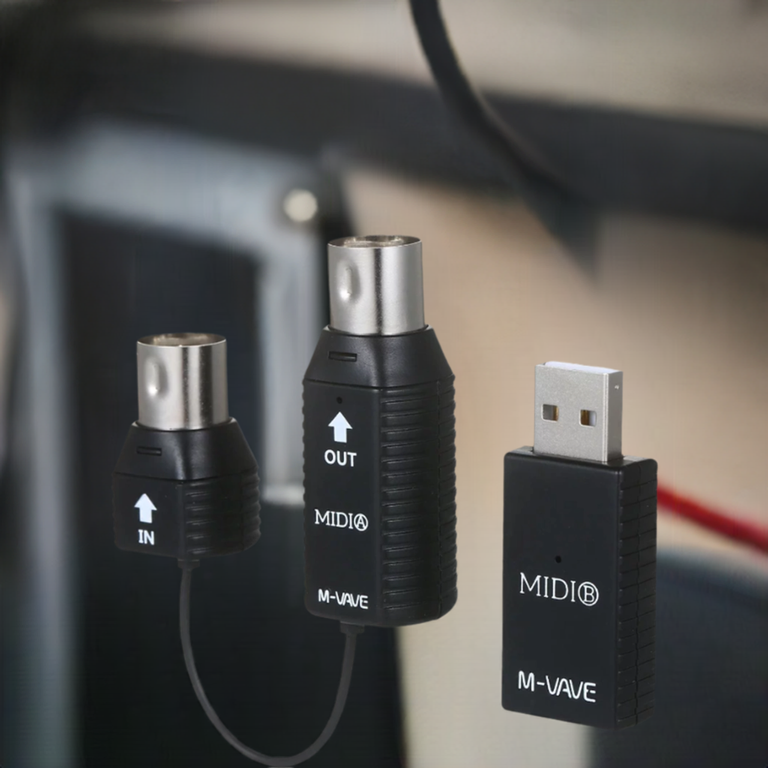
Most MIDI messages are specific in nature, but controller change messages are an exception. This type of message is also called a CC, or continuous controller. It can be used to alter any parameter desired by the hardware designer. This can be a sound generator parameter such as attack time, envelope shape, or more general parameters such as volume level. There is no real standardization of all continuous controllers, although there are some conventions regarding their use.
Controller numbers 0x00 to 0x1f (0 to 31 decimal) are continuous controllers that have control values (the third byte) between 0x00 and 0x7f (0 to 127 decimal). This range includes breath controllers, volume knobs, modulation knobs, etc. Controller numbers 0x20 to 0x3f are optionally used to send the extra 7 least significant bits for controllers 0x00 to 0x1f if very high resolution is required. Controller numbers 0x40 to 0x5f (64 to 95) are switch controllers, such as sustain pedals, portamento pedals, and general on/off switches. The third byte has a value of 0x00 to indicate an off state, and 0x7f (127 decimal) to indicate an on state. Controller numbers 0x60 through 0x79 (96 through 121) are undefined, and 0x7a through 0x7f (122 through 127) are reserved for channel mode messages. Initially, controller numbers were not required to be assigned to a specific physical controller, with the exception of the modulation knob, which was suggested to be assigned to number 0x01. This practice would later be standardized, and other controllers would be defined at specific positions, such as volume at 0x07 and sustain at 0x40.
List of drivers.
0×00 Bank selection
0×01 Modulation wheel
0×02 Breath Controller
0×03 Undefined
0×04 Foot controller
0×05 Portamento time
0×06 Data Entry
0×07 Master Volume
0×08 Balance
0×09 Undefined
0x0a Panorama (Pan)
0x0b Expression
0x0c Effect Control 1
0x0d Effect Control 2
0x0e Undefined
0x0f Undefined
0×10~0×13 General Purpose
0×14~0x1f Undefined
0×20~0x3f LSB for driver shifts in the range 0×00 to 0x1f where more resolution is needed
0×40 Damper/Sustain Pedal
0×41 Portamento
0×42 Sostenuto
0×43 Soft pedal
0×44 Legato Pedal
0×45 Hold 2
0×46 Sound Variation/Exciter
0×47 Harmonic Content/Compressor
0×48 Release Time/Distortion
0×49 Attack Time/Equalizer
0x4a Brightness/Expander(Gate)
0x4b Undefined/Reverb
0x4c Undefined/Delay
0x4d Undefined/Pitch transpose
0x4e Undefined / Flanger or Chorus
0x4f Undefined/ Special Effect
0×50~0×53 General Purpose
0×54 Portamento Control
0×55~0x5a Undefined
0x5b Depth of effect (Effect 1)
0x5c Tremolo Depth (Effect 2)
0x5d Chorus Depth (Effect 3)
0x5e Depth of the sky (Effect 4)
0x5f Phaser Depth (Effect 5)
0×60 Data Increment
0×61 Data increment
0×62 Parameter Number Not Registered LSB
0×63 Parameter Number Not Registered MSB
0×64 LSB Registered Parameter Number
0×65 MSB Registered Parameter Number
0×66~0×77 Undefined
0×78 All sound off
0×79 Reset all drivers
0x7a Local control
0x7b All notes off
0x7c Omni Mode Off
0x7d Omni Mode On
0x7e Mono Mode On
0x7f Poly Mode On
If you liked the article, subscribe to the feed by clicking on the image below to always be updated on new blog content:
I hope you liked this post. If you have any questions, queries or would like to add to this post, please feel free to write in the comments section. You can also visit Facebook, Twitter, Google +, Linkedin, Instagram, Pinterest and Feedly where you will find additional information to this blog. SHARE ON!

Sigo compartiendo con todos los amigos #blurtters o #blurttians (cómo se dice en realidad?) esta serie de tutoriales dedicados a MIDI.
MIDI es una versátil herramienta que te permite hacer infinidad de cosas en el estudio.
Convierte cualquier controlador MIDI en el instrumento que quieras usando plugins VST. Te aporta un gran poder de edición y sincroniza todo tu estudio, lo cual te permitirá crear pistas de forma ágil y eficiente. Y estos son solo algunos de sus beneficios… Pero es un todo un mundo en el que hay mucho que aprender.
Para sacar el máximo partido al MIDI, es importante saber qué es, cuándo usarlo y cómo. Sinceramente, yo mismo soy un principiante del MIDI, aunque aprendo algo nuevo cada día.
Voy a compartir contigo algunos conceptos clave que me ayudaron a entender su funcionamiento cuando empecé a producir.
Con esta guía sobre el MIDI aprenderás todo lo necesario para integrarlo como parte esencial de tu proceso creativo – desde las conexiones MIDI básicas hasta usarlo para generar composiciones completas.
Si ya lo usas, también te daré algunos consejos para optimizar el uso de tu equipo actual.
¡Allá vamos!
Presión de pulsación polifónica (0xA0~0xAF).

Algunos fabricantes llaman a este mensaje “aftertouch”. Aplicar presión a una tecla después de haber sido presionada produce un mensaje de aftertouch. Similar a la estructura de los mensajes de nota encendida y apagada, el primer byte de datos es el numero de nota, y el segundo es la presión aplicada a la misma.
La presión en modo polifónico es muy deseable pues permite una gran flexibilidad en la interpretación de secuencias MIDI. Si el controlador es compatible con aftertouch polifónico entonces cada tecla individual puede enviar su propio mensaje de aftertouch. Si el controlador sólo es compatible con aftertouch monofónico, entonces si la presión se aplica a cualquier tecla, una señal de aftertouch se envía para todo el controlador.
Una aplicación de este mensaje es para introducir efectos de modulación en el sintetizador, sin necesidad de que usar simultaneamente un controlador de modulación (el cual generalmente es un rueda, o un controlador tipo ribbon).
en controlador (0xB0~0xBF).
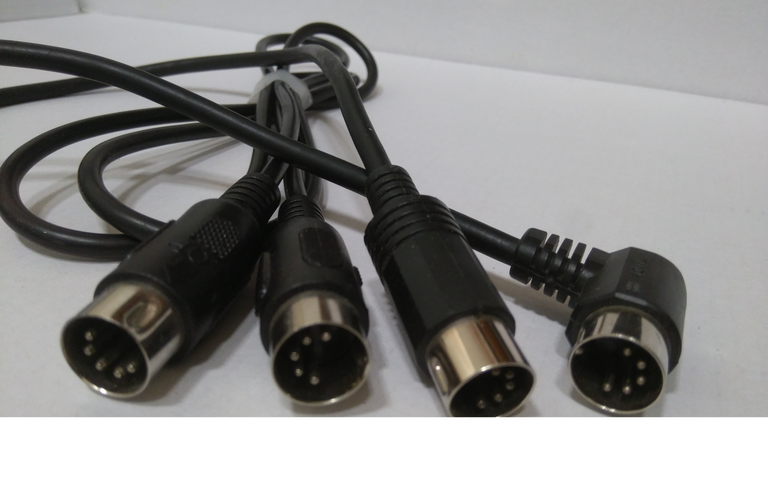
La mayoría de los mensajes MIDI son de naturaleza específica, pero los mensajes de cambio en controlador son una excepción. Este tipo de mensaje también se le llama CC ó continuous controller. Se puede emplear para alterar cualquier parametro que el diseñador del equipo desee. Puede ser un parámetro del generador de sonidos, como el tiempo de ataque, la forma de la envolvente ó parámetros más generales como el nivel de volumen. No hay una verdadera estandarización de todos los controladores continuos, aunque hay algunas convenciones sobre su uso.
Los números de controlador entre 0×00 y 0x1f (0 a 31 decimal), son controladores continuos que poseen valores de control (el tercer byte) entre 0×00 y 0x7f (0 a 127 decimal). En este rango se encuentran los controladores de aliento, potenciómetros de volumen, modulación,etc. Los números de controlador entre 0×20 a 0x3f, se emplean opcionalmente para enviar los 7 bits menos significativos extras para los controladores entre 0×00 y 0x1f si se requiere de una resolución muy alta. Los números de controlador del 0×40 al 0x5f (64 al 95) son controladores de conmutación, como los pedales de sustain, portamento, e interruptores on/off en general. El tercer byte tiene un valor de 0×00 para indicar un estado de apagado (off) y de 0x7f (127 decimal) para indicar un estado de encendido (on). Los números de controlador de 0×60 a 0×79 (96 a 121) son indefinidos, y los de 0x7a a 0x7f (122 a 127) están reservados para mensajes de modalidad de canal. Inicialmente no se necesitaba que se asignaran los números de controlador a un controlador físico específico, con la excepción del mando de modulación el cual se sugería que fuese asignado al número 0×01. Más adelante se estandarizaría esta práctica y se definirían otros controladores en posiciones específicas como el volumen en 0×07 y el sustain en 0×40.
Lista de controladores.
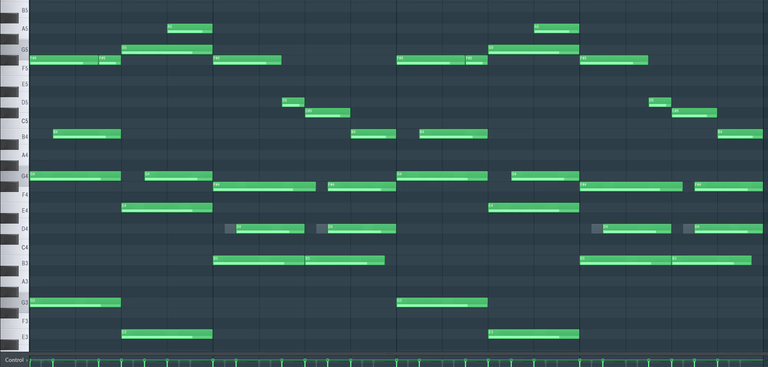
0×00 Selección de banco
0×01 Rueda de modulación
0×02 Controlador de aliento
0×03 Sin definir
0×04 Controlador de pie
0×05 Tiempo de portamento
0×06 Entrada de datos
0×07 Volumen principal
0×08 Balance
0×09 Sin definir
0x0a Panorama (Pan)
0x0b Expresión
0x0c Control de efecto 1
0x0d Control de efecto 2
0x0e Sin definir
0x0f Sin definir
0×10~0×13 Propósito general
0×14~0x1f Sin definir
0×20~0x3f LSB para cambios de controladores en el rango de 0×00 a 0x1f donde se necesite más resolución
0×40 Pedal de Damper/Sustain
0×41 Portamento
0×42 Sostenuto
0×43 Pedal de suavizado (Soft)
0×44 Pedal de Legato
0×45 Hold 2
0×46 Variación de sonido/Excitador
0×47 Contenido Armónico/Compresor
0×48 Tiempo de liberación (Release Time)/Distorsión
0×49 Tiempo de ataque/Ecualizador
0x4a Brillo/Expansor (Compuerta) (Expander(Gate))
0x4b Sin definir/Reverberación
0x4c Sin definir/Retardo (Delay)
0x4d Sin definir/Transposición de tono (Pitch transpose)
0x4e Sin definir/ Flanger ó Chorus
0x4f Sin definir/ Efecto Especial
0×50~0×53 Propósito general
0×54 Control de Portamento
0×55~0x5a Sin definir
0x5b Profundidad del efecto (Efecto 1)
0x5c Profundidad de trémolo (Efecto 2)
0x5d Profundidad del Chorus (Efecto 3)
0x5e Profundidad del celeste (Efecto 4)
0x5f Profundidad del phaser (Efecto 5)
0×60 Incremento de datos
0×61 Incremento de datos
0×62 Número de Párametro no Registrado LSB
0×63 Número de Párametro no Registrado MSB
0×64 Número de Párametro Registrado LSB
0×65 Número de Párametro Registrado MSB
0×66~0×77 Sin definir
0×78 Todo el sonido apagado
0×79 Reiniciar todos los controladores
0x7a Control local
0x7b Todas las notas apagadas
0x7c Modo Omni Apagado
0x7d Modo Omni Encendido
0x7e Modo Mono Encendido
0x7f Modo Poly Encendido
Source images / Fuente imágenes: MIDI.org


| Blogs, Sitios Web y Redes Sociales / Blogs, Webs & Social Networks | Plataformas de Contenidos/ Contents Platforms |
|---|---|
| Mi Blog / My Blog | Los Apuntes de Tux |
| Mi Blog / My Blog | El Mundo de Ubuntu |
| Mi Blog / My Blog | Nel Regno di Linux |
| Mi Blog / My Blog | Linuxlandit & The Conqueror Worm |
| Mi Blog / My Blog | Pianeta Ubuntu |
| Mi Blog / My Blog | Re Ubuntu |
| Mi Blog / My Blog | Nel Regno di Ubuntu |
| Red Social Twitter / Twitter Social Network | @hugorep |

| Blurt Official | Blurt.one | BeBlurt | Blurt Buzz |
|---|---|---|---|
 |  |  |  |

 |  |  |  |
|---|
