Español
¡Hola comunidad creativa!
Tenía bastante rato que no regresaba a este espacio, hoy quiero volver con un nuevo proyecto que me tiene muy emocionada por la facilidad con la que lo he concretado. Realizar publicaciones relacionadas a manualidades, especialmente aquellas que requieren buena parte de tu tiempo, dedicación y amor son mis preferidas porque a través Blurt puede dar a conocer contenido que sirve como referencia ante cualquier inquietud que mis lectores tengan.
El reciclaje se ha convertido en parte de mi cotidianidad porque sencillamente después de muchos años logré comprender la importancia de este tema para la sanidad del planeta, gracias al desconocimiento casi absoluto que tenemos le estamos causando un grave daño, todo esto sin darnos cuenta que estamos comprometiendo el futuro de nuestras generaciones próximas.
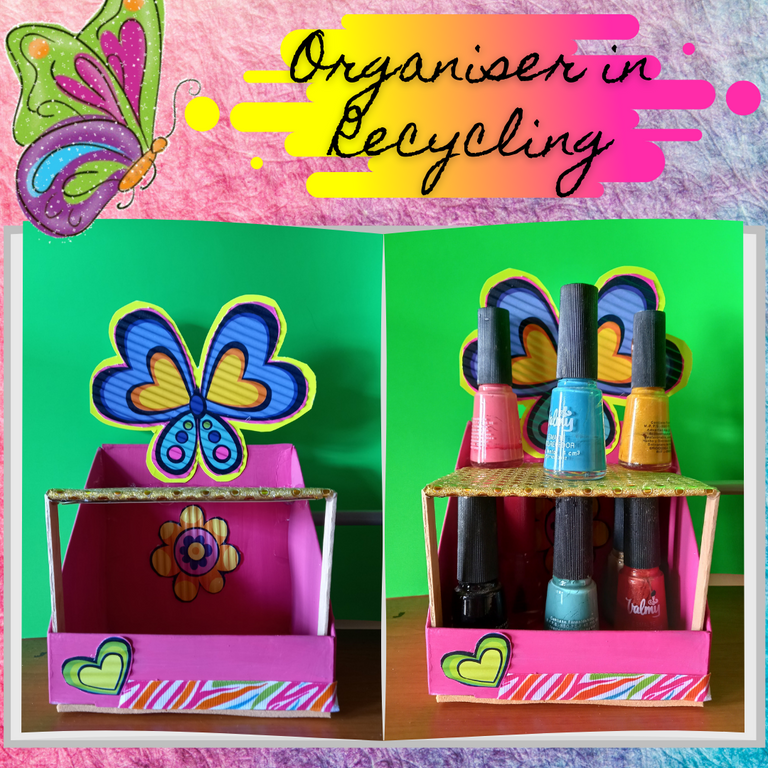
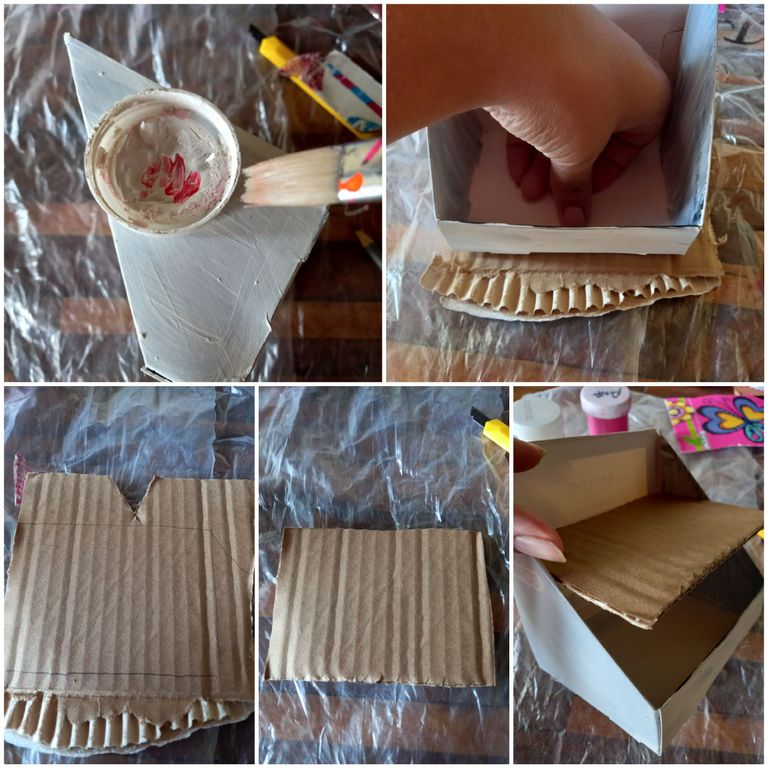
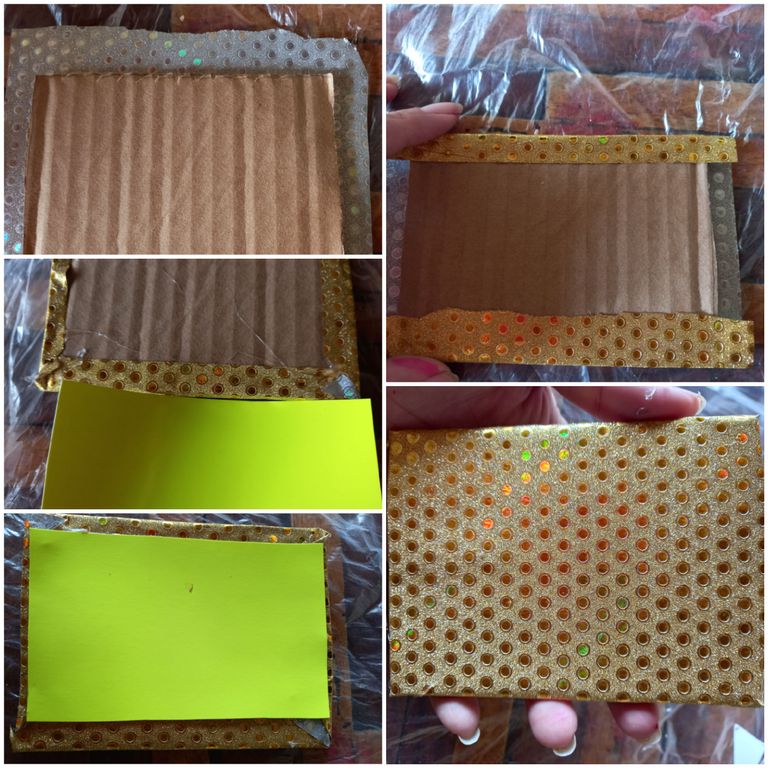
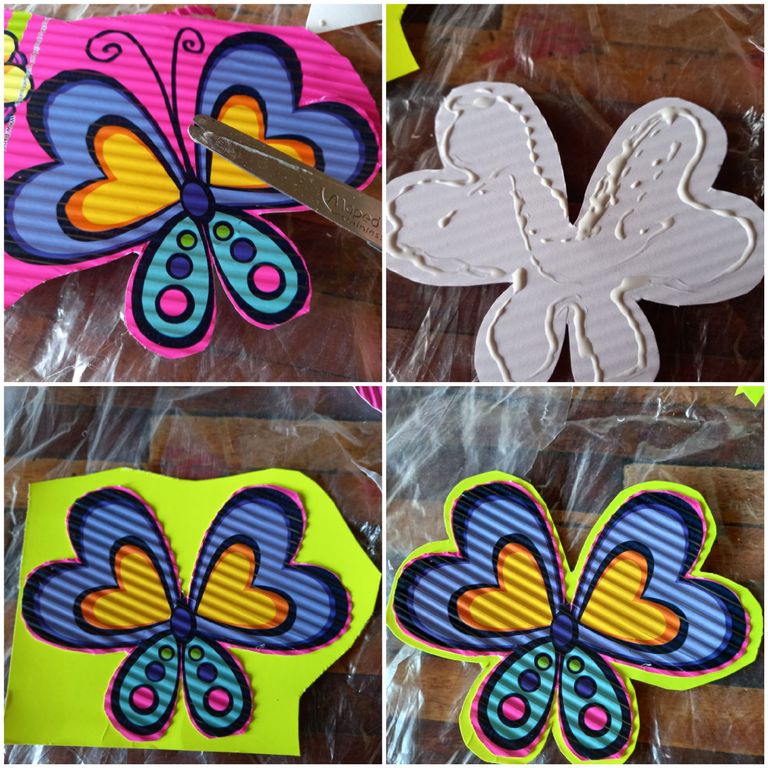
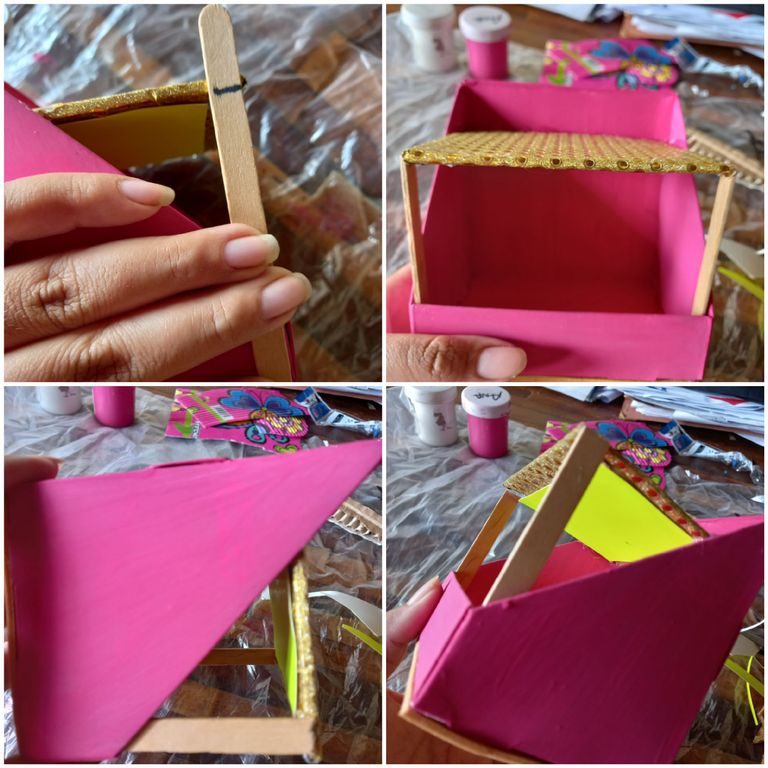
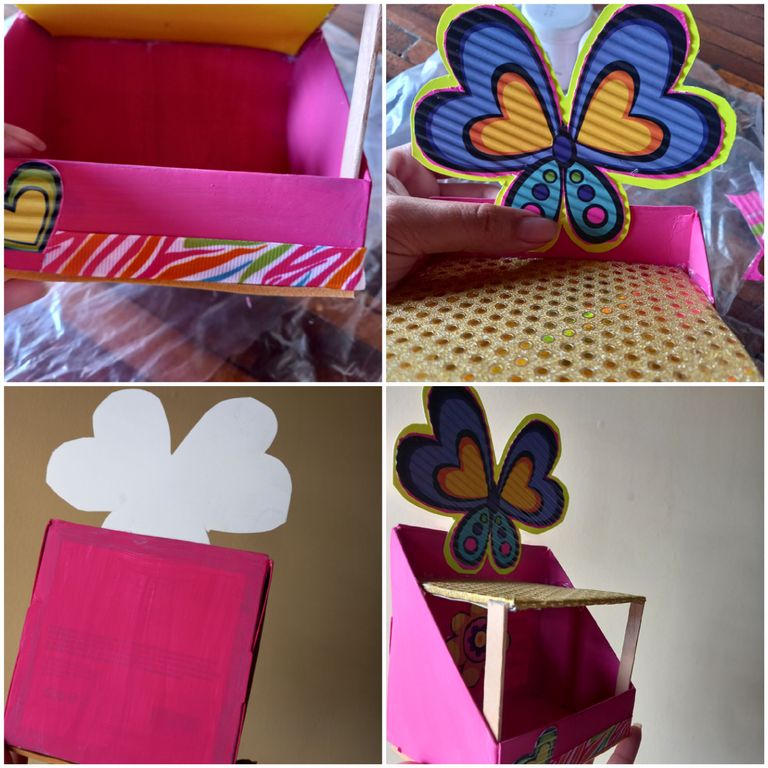
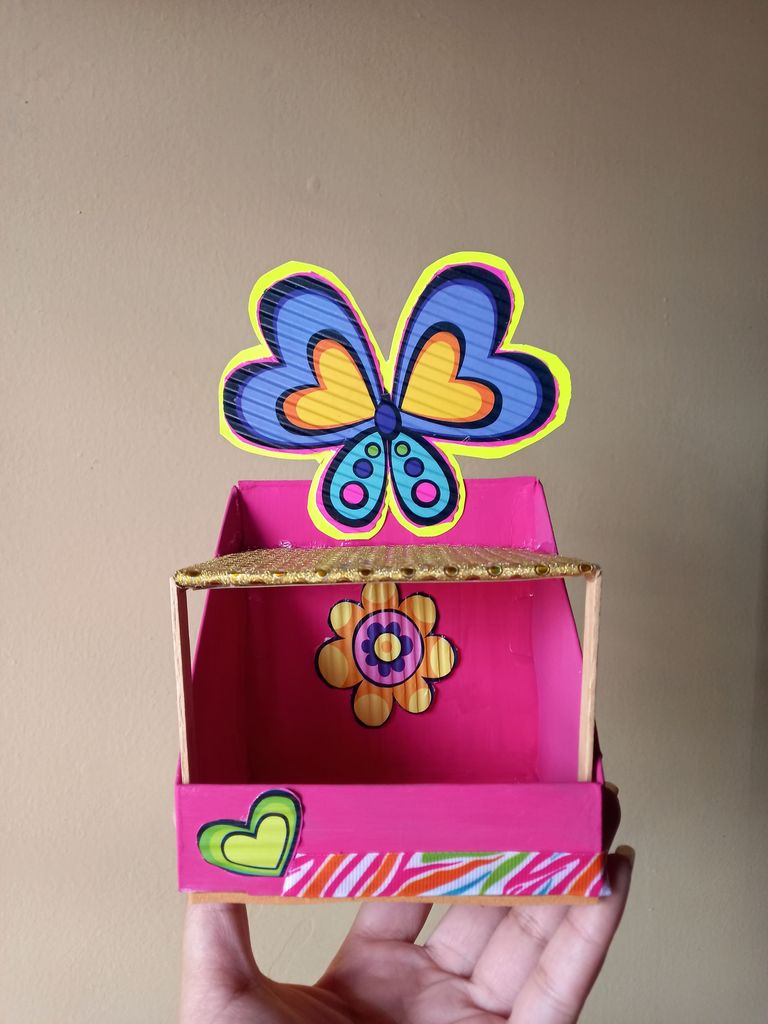
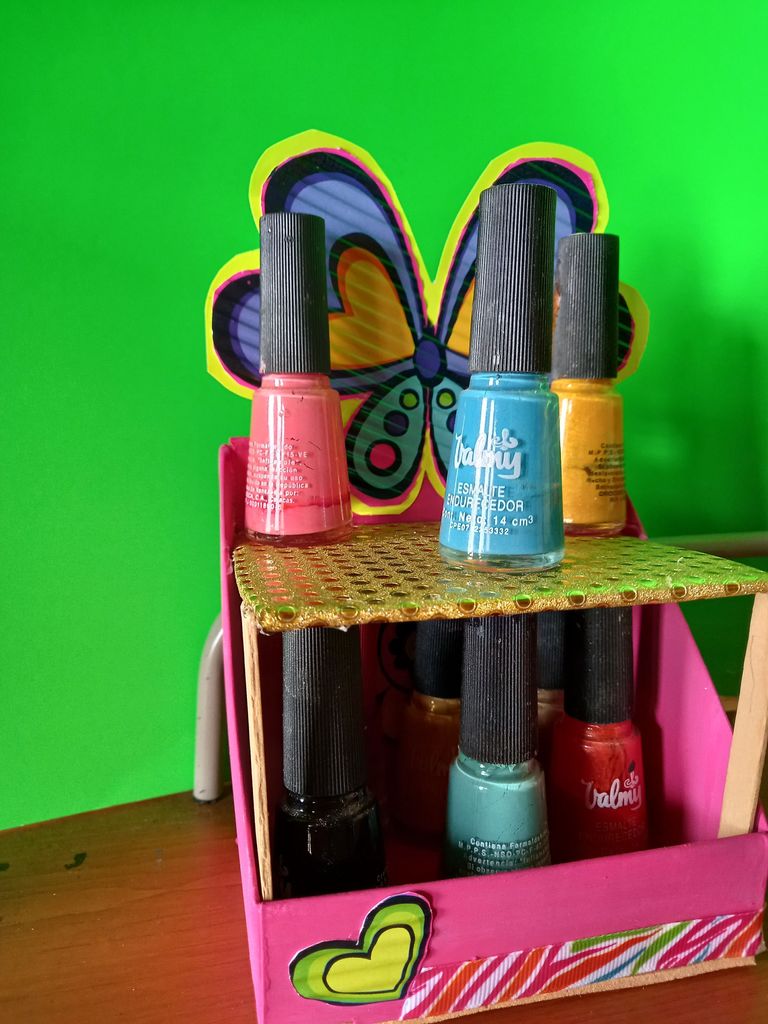
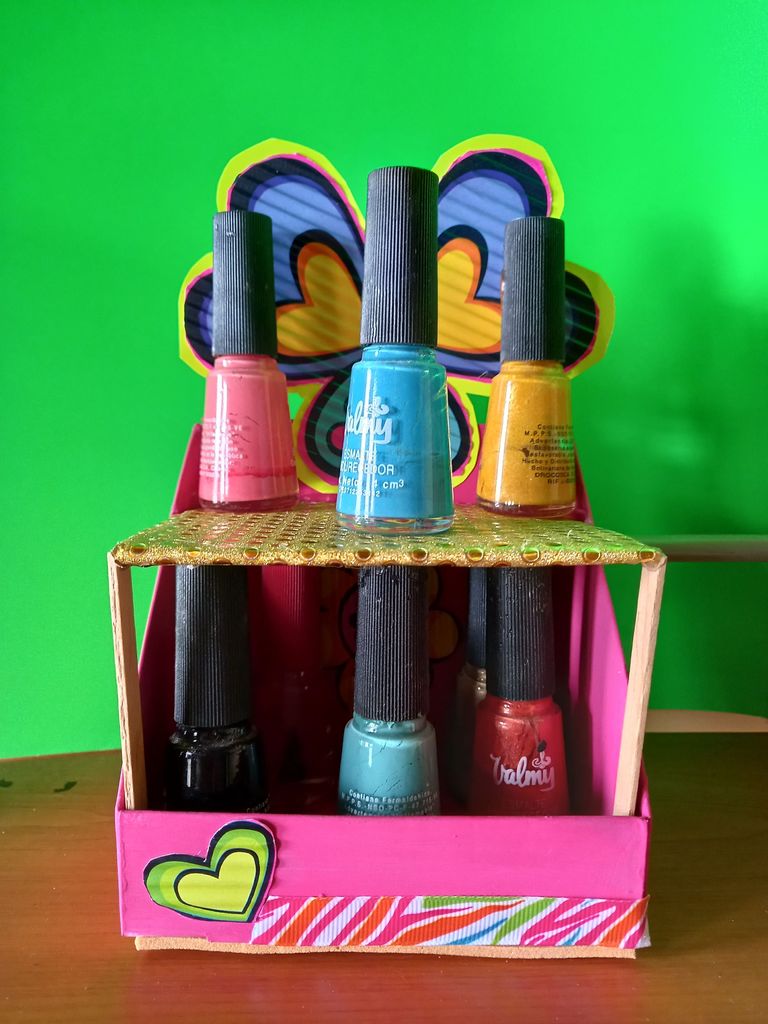
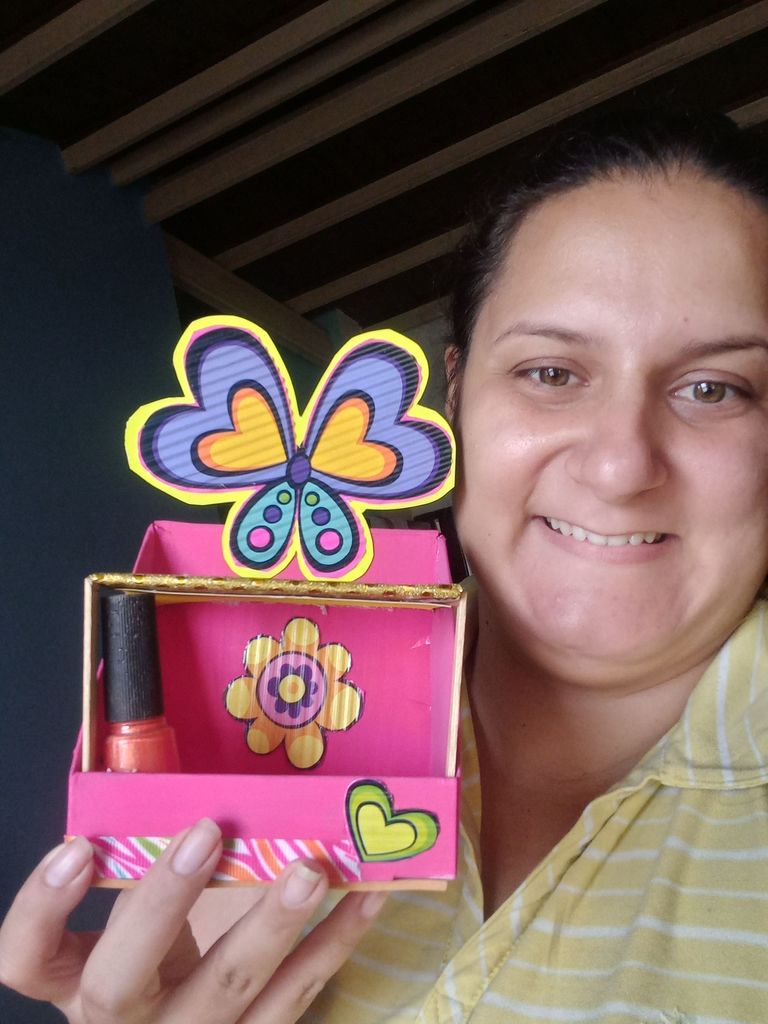
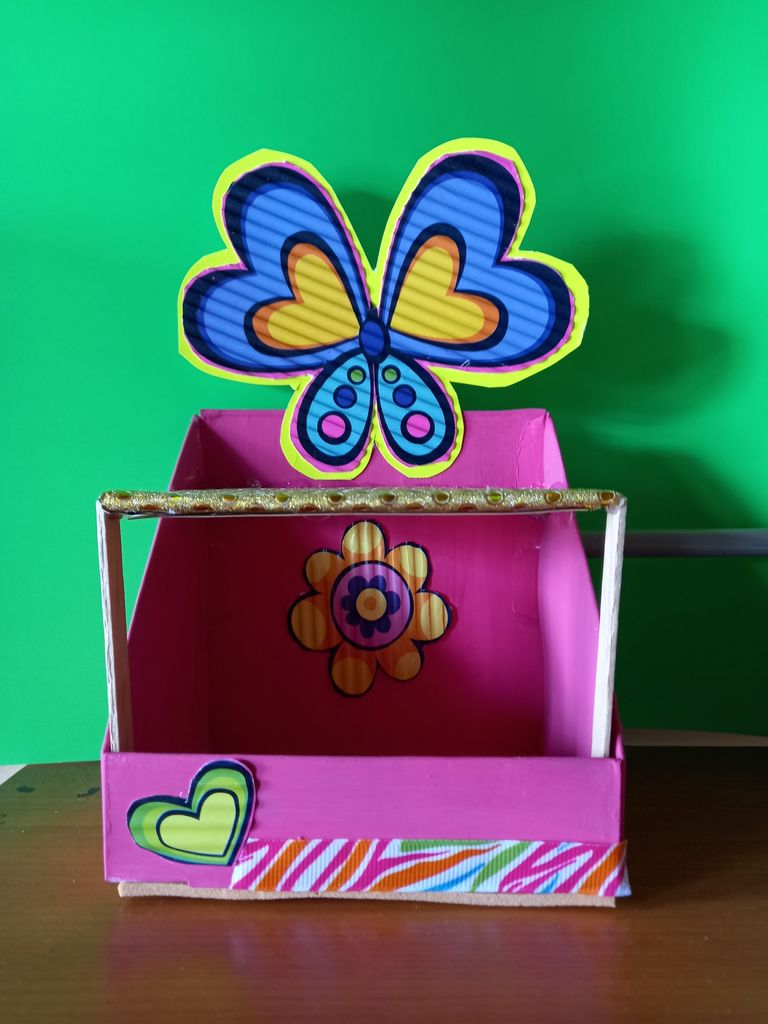
Hoy quiero compartir un procedimiento PASO A PASO de cómo reciclar una caja de cartón, adornos impresos en cartulina para diseñar un hermoso ORGANIZADOR DE ESMALTES PARA UÑAS muy útil para quienes tenemos este tipo de productos en casa, además, luce bastante bien que hasta podemos exhibir en cualquier parte de nuestra casa u oficina.
Estaremos utilizando materiales muy sencillos:
- Caja que ya no utilices
- Silicon caliente
- Pega
- Cartulina
- Cinta decorativa de tu preferencia
- Paleta de madera
- Pinturas al frío
- Pinceles
- Tijera
- Regla
Inglés
Hello creative community!
It's been a while since I've been back to this space, today I want to return with a new project that I'm very excited about because of the ease with which I've done it. Making publications related to crafts, especially those that require a good part of your time, dedication and love are my favourite because through Blurt I can make known content that serves as a reference for any concerns that my readers may have.
Recycling has become part of my daily life because simply after many years I managed to understand the importance of this issue for the health of the planet, thanks to the almost absolute ignorance that we have we are causing serious damage, all this without realizing that we are compromising the future of our next generations.
Today I want to share a STEP BY STEP procedure of how to recycle a cardboard box, ornaments printed on cardboard to design a beautiful Nail polish organizer very useful for those of us who have this type of products at home, in addition, it looks pretty good that we can even display anywhere in our home or office.
We will be using very simple materials:
- Box that you no longer use
- Hot silicon
- Glue
- Cardboard
- Decorative tape of your choice
- Wooden palette
- Cold paints
- Brushes
- Scissors
- Ruler

La caja que estaré utilizando es muy parecida a la fotografía, venían unos productos que adquirí, la guarde para ver que se ocurriría luego en función de emplear el reciclaje.
The box that I will be using is very similar to the photograph, there were some products that I bought, I kept it to see what would happen next in terms of using the recycling.
RESULTADO:
Todas las imágenes son de mi propiedad.
Utilice traductor DeepL versión gratuita
Imágenes, separadores, banner hechos en Canva
Contenido original de @marytp20
All images without my property.
Use translator DeepL free version
Images, separators, banner made in Canva
Original content by @marytp20

Congratulations, your post has been curated by @r2cornell-curate. Also, find us on Discord
Felicitaciones, su publication ha sido votado por @r2cornell. También, encuéntranos en Discord
Te invitamos a votar por @blurthispano como Witness